Sharing is caring!
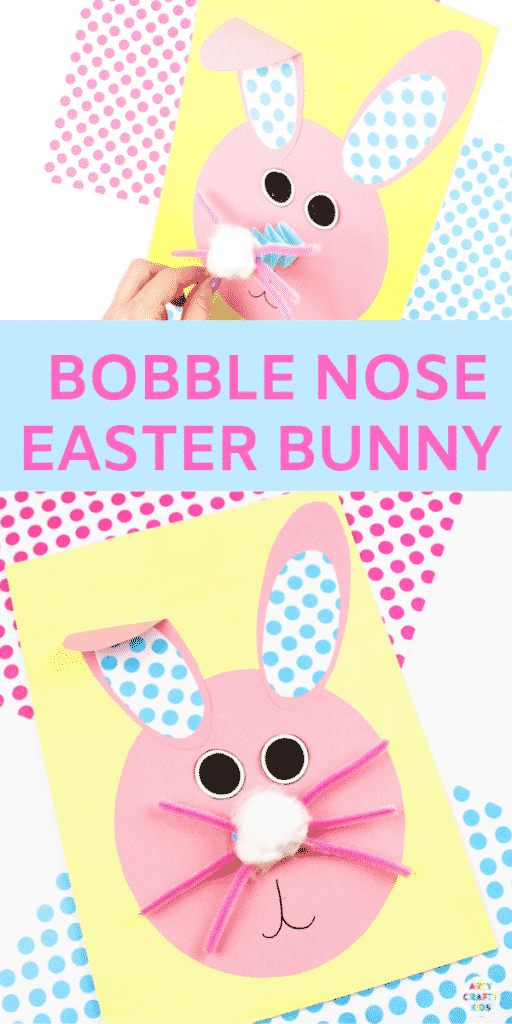
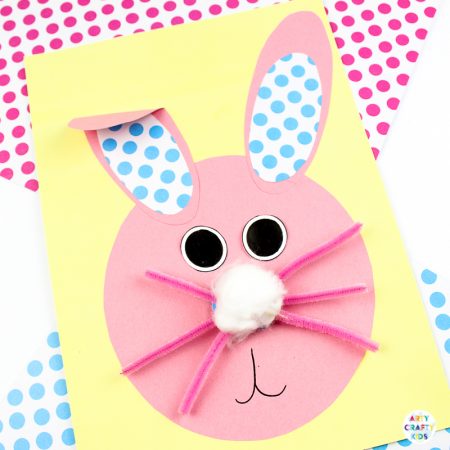
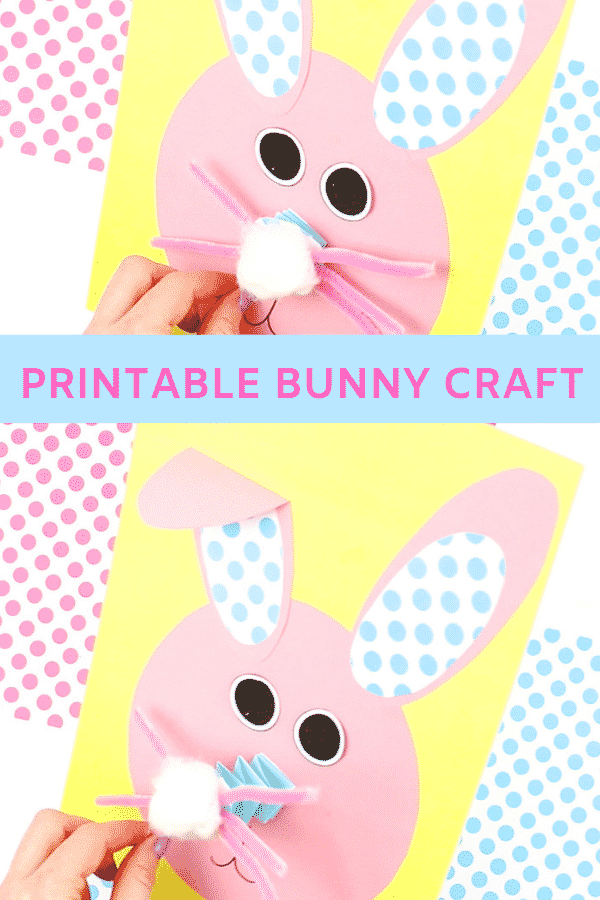
We love our interactive paper crafts at Arty Crafty Kids and have a growing collection of animals crafts with bobble features. With its wiggly and stretchy nose, kids will love creating this engaging and simply adorable addition – Bobble Nose Paper Easter Bunny Craft.
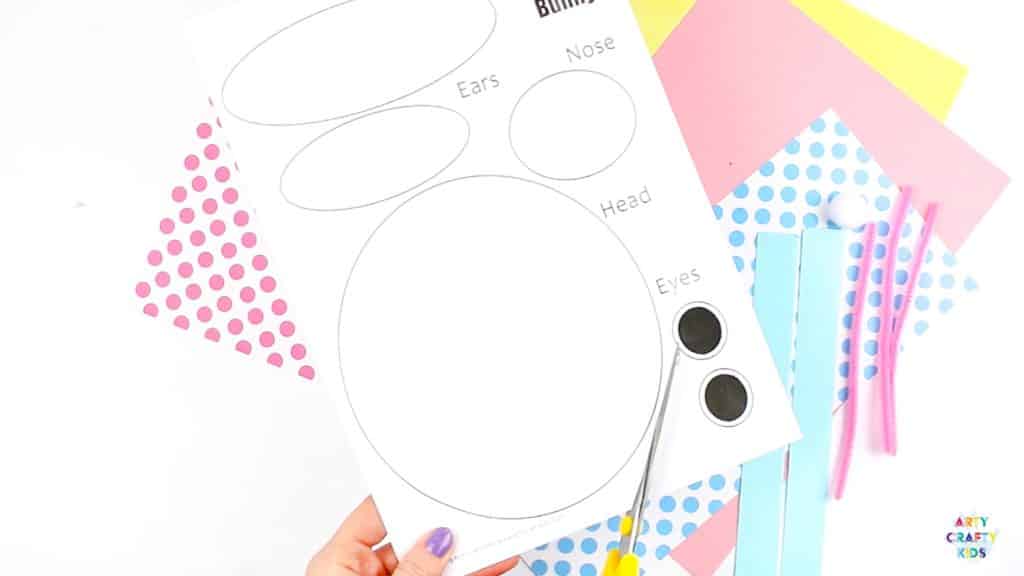
Like many of our paper crafts, our Bobble Nose Paper Easter Bunny comes with a printable template with simple shapes to encourage Arty Crafty Kids to practice their cutting and tracing skills.
This is a wonderfully simple Easter craft that can be used within the classroom and adapted to suit children of all ages. For instance, if the bobble nose is too much for younger children… leave it out!
Bobble Nose Paper Easter Bunny: Materials
Coloured Card Stock
Coloured Paper (contrasting colours or/and patterns)
x3 Pipe Cleaners
Pom-Pom OR Cotton Ball
Glue Stick
Scissors
Optional – Clear Sticky Tape
The Bobble Nose Easter Bunny Template is exclusively available to Arty Crafty Kids Club members.
Join the Arty Crafty Kids club to download the templates and access our complete collection of Art & Craft templates, Colouring Pages, How to Draw Guides, Activity Booklets and much more!
Already a member? login here! and search Bobble Nose Easter Bunny
How to make a Bobble Nose Bunny:
Step 1:
Download and the print the Bobble Nose Easter Bunny from the Arty Crafty Kids members area.
Not a member?
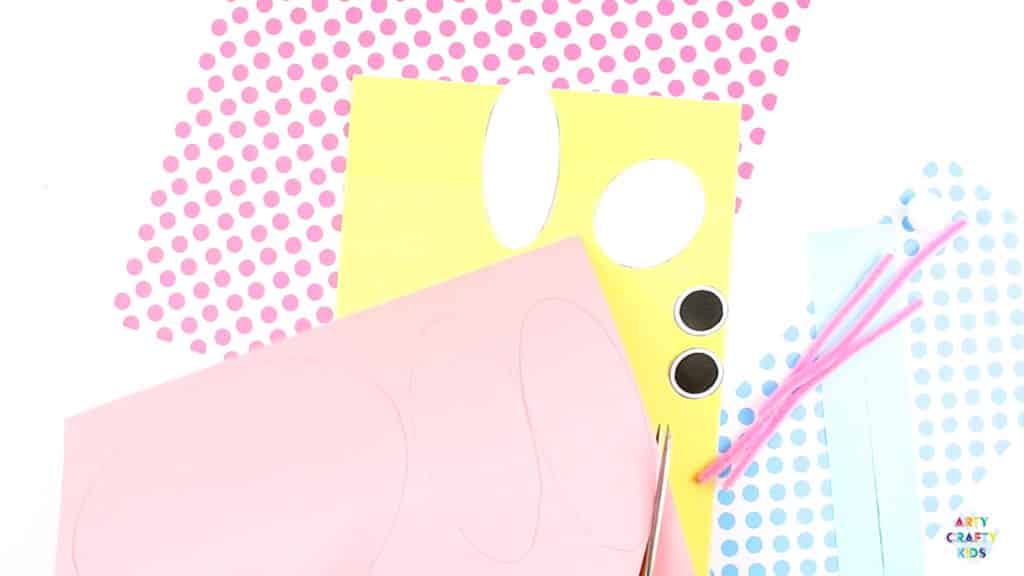
Cut out the template elements.
Step 2:
Trace around the head and large ear (twice) on to one sheet of coloured paper.
Cut out the Easter Bunny elements.
Step 3:
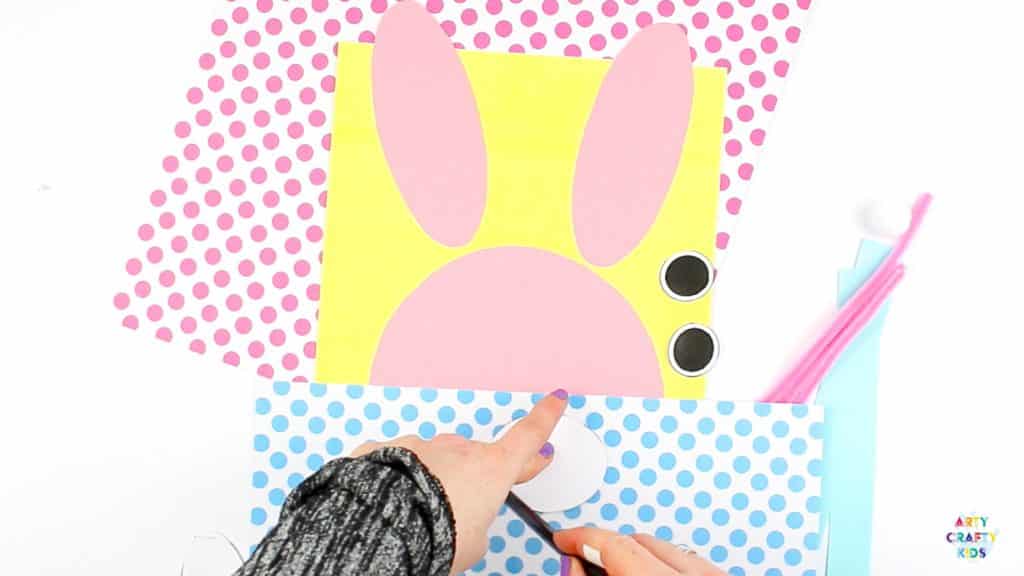
Trace around the nose and smaller ear element (twice)on to a contrasting piece of coloured/patterned paper.
Cut out the shapes.
Step 4:
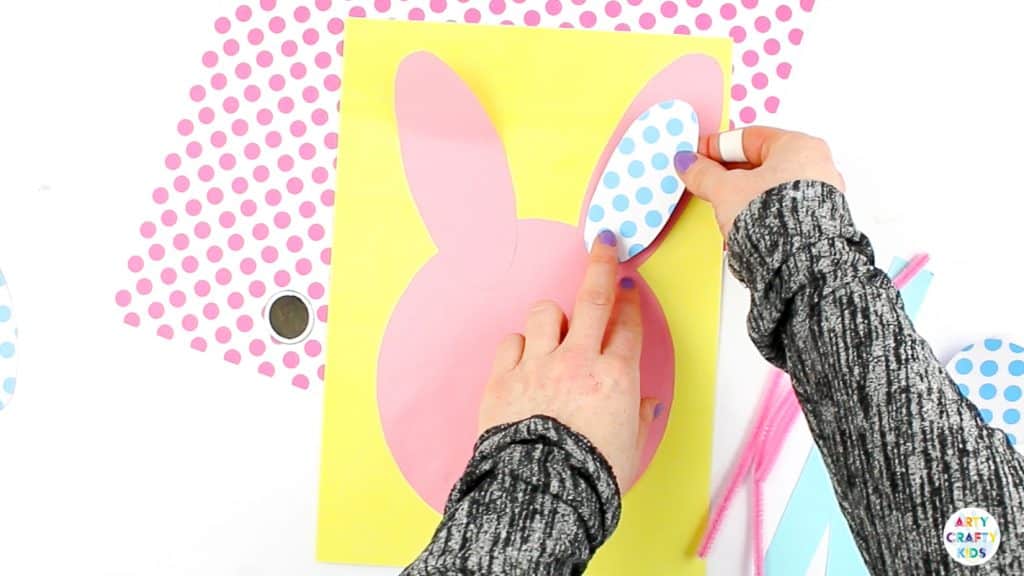
Assemble the shapes and secure with with a glue stick.
Step 5:
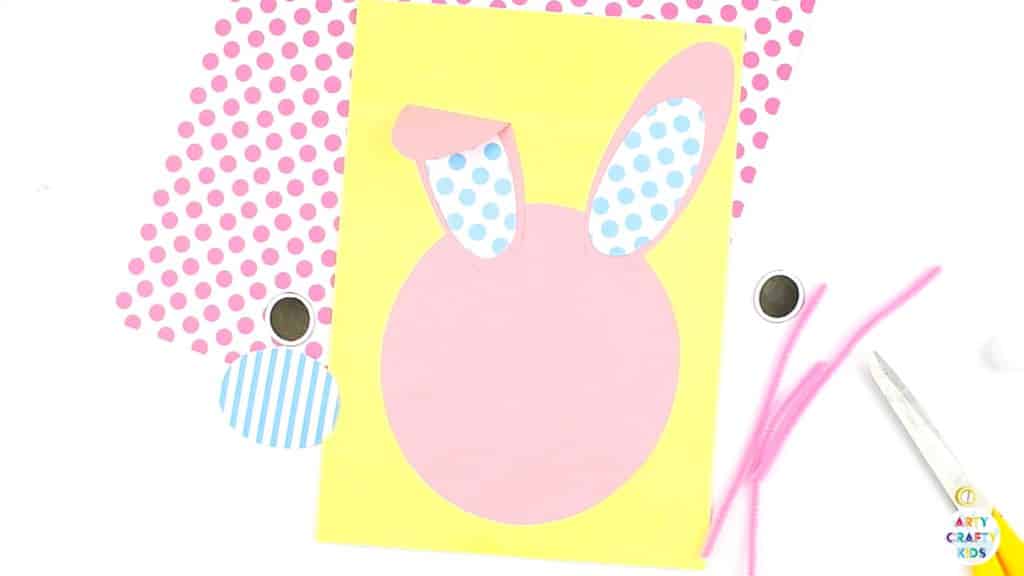
With one of the ear pieces, only glue half way up the ear and fold the remaining ear over.
Step 6:
Let’s create a bobble nose!
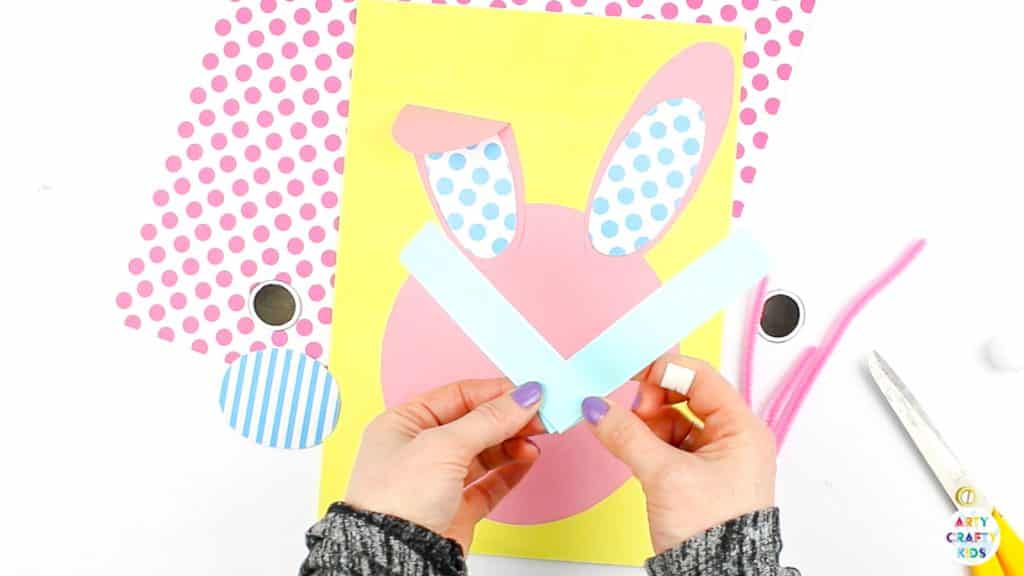
Using scissors or a paper cutter, cut out two even strips of coloured paper – ideally, the strips will be fairly wide and for length, I would recommend cutting the paper from the shortest side of an A4 piece of paper.
Take the two strips and position them in a 90° angle as shown above. Glue the connecting papers together.
Step 7:
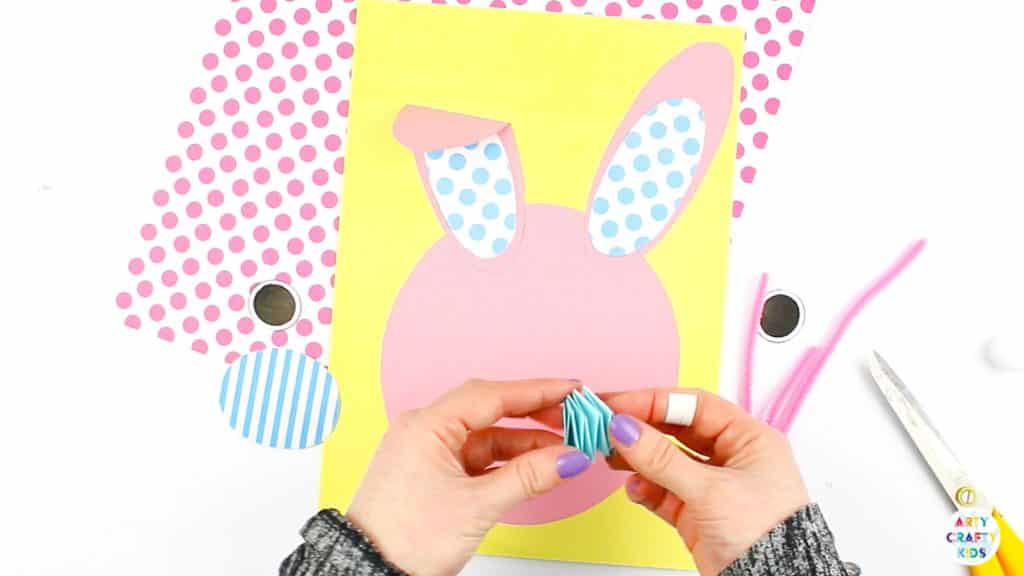
Fold the bottom strip over the top and crease the fold along the edge. This will make the accordion fold tight!
Continue this process until all the is paper has been folded.
Seal the ends with glue.
Step 8:
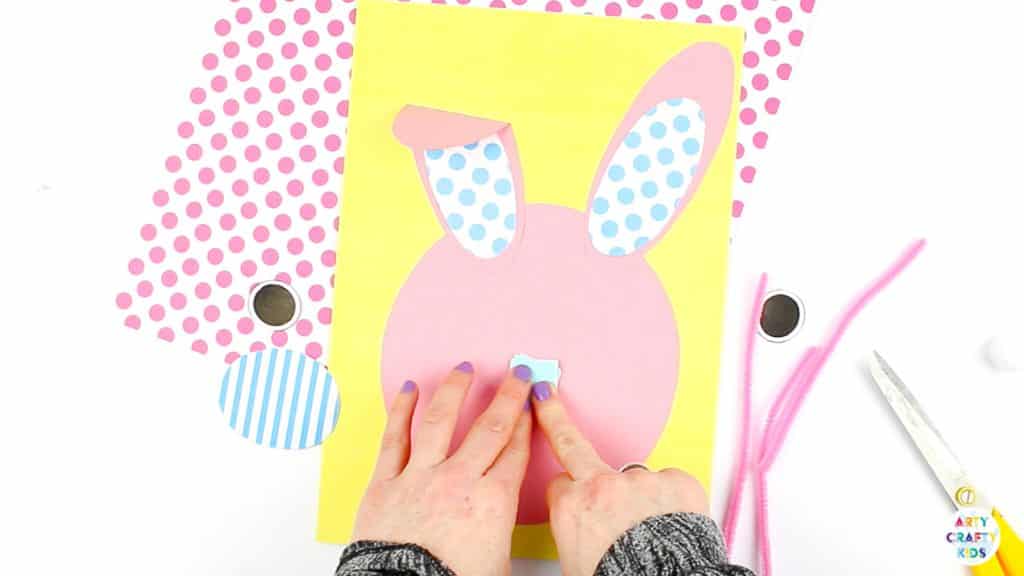
Attach one end of the accordion fold to the coloured card.
Step 9:
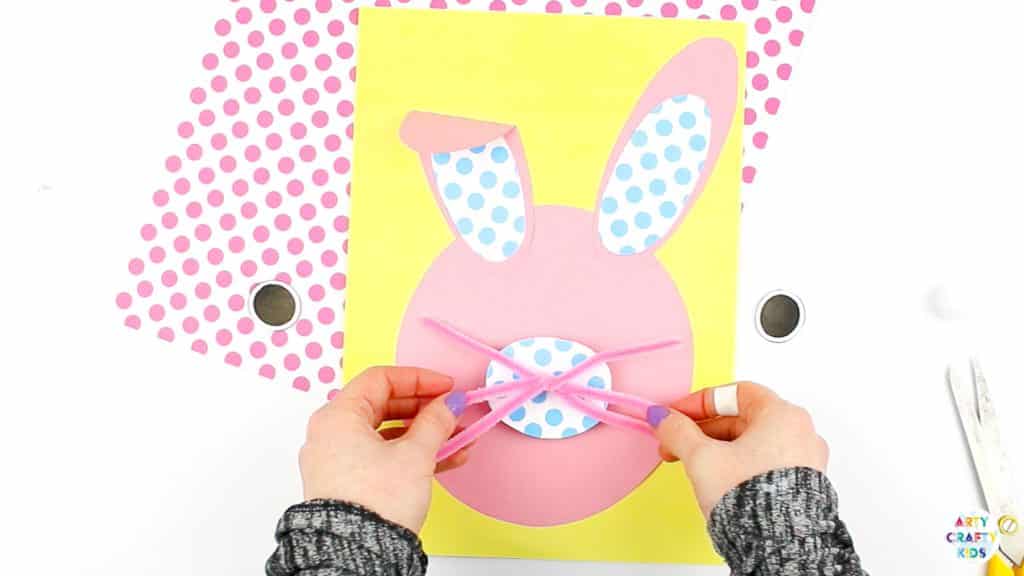
Stick the oval nose to the top of the accordion fold.
Take three evenly cut pipe cleaners and twist to secure.
Stick the pipe cleaners to the nose area with glue or sticky tape.
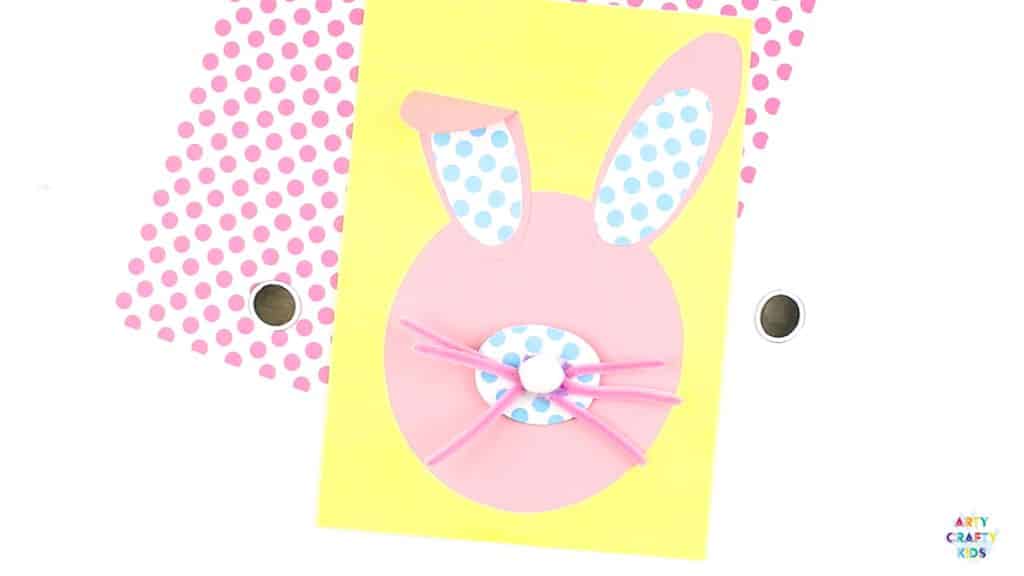
Step 10:
Complete the nose with a white pom-pom or cotton wool ball.
Pom-pom’s can be a little tricky to secure without a hot glue gun. For ease, a cotton wool ball might be easier!
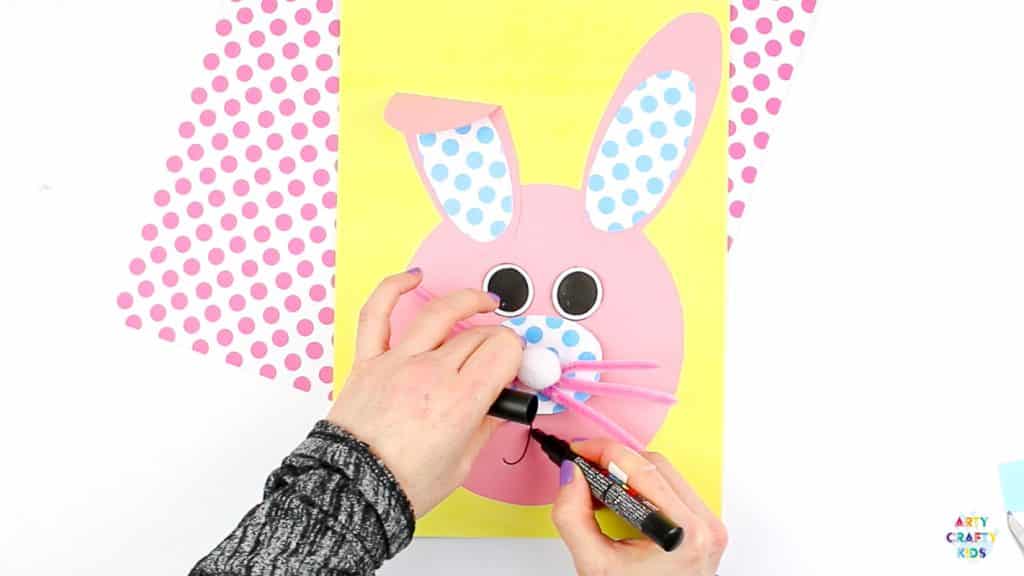
Step 11:
Complete the Bobble Nose Paper Easter Bunny with a pair of eyes and a smile!
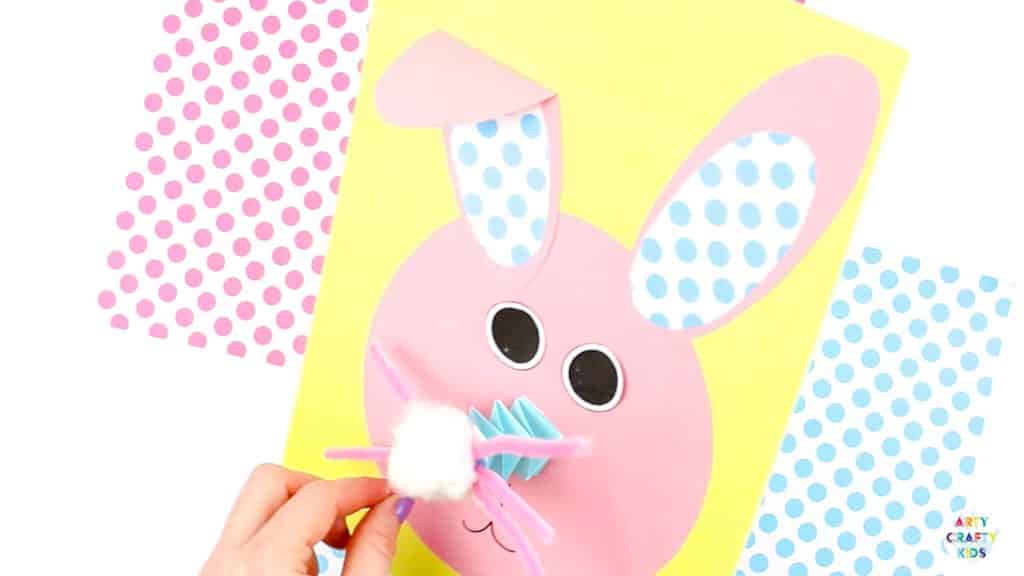
Once all the glue has tried, the nose will be ready to bobble!
Arty Crafty Kids Club
Creative and playful Art & Craft Templates
How to Draw Guides and Pre-writing Line Work
Colouring Pages & Seasonal Activity Booklets
Perfect for Educators and Parents, with new content added weekly!
I hope your Arty Crafty Kids enjoy this Bobble Nose Paper Easter Bunny Craft.
For more Easter art and craft ideas, check out these popular posts:
Cotton Tail Silhouette Easter Bunny Art
Happy Crafting!
