Sharing is caring!
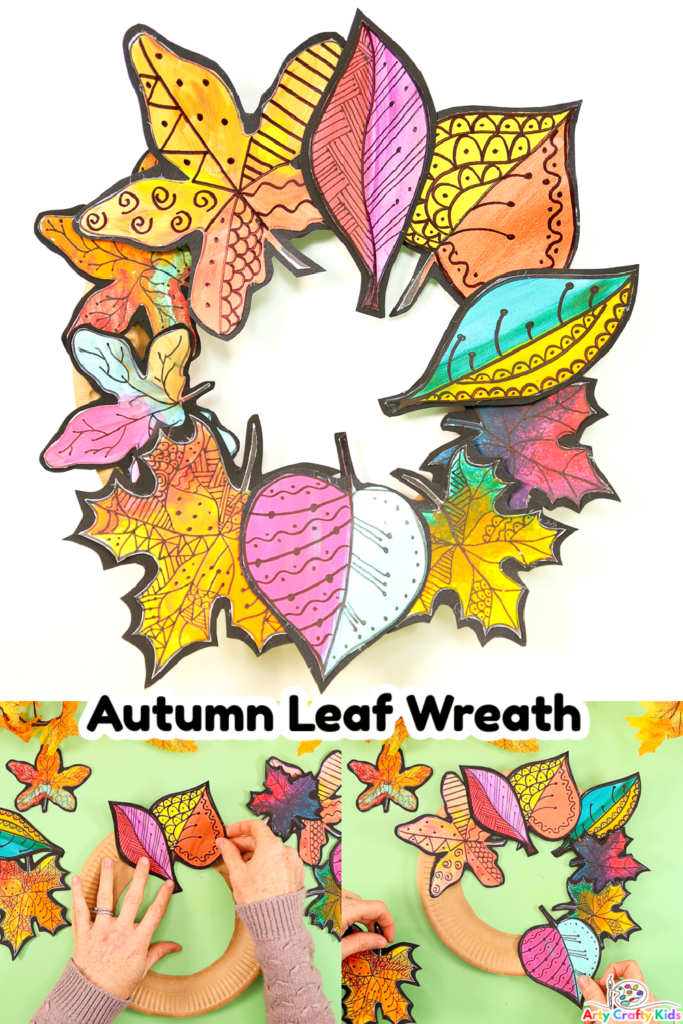
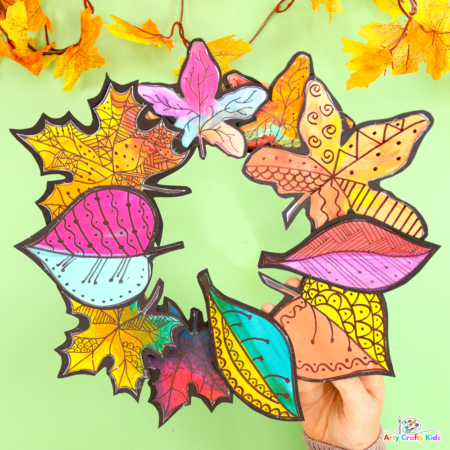
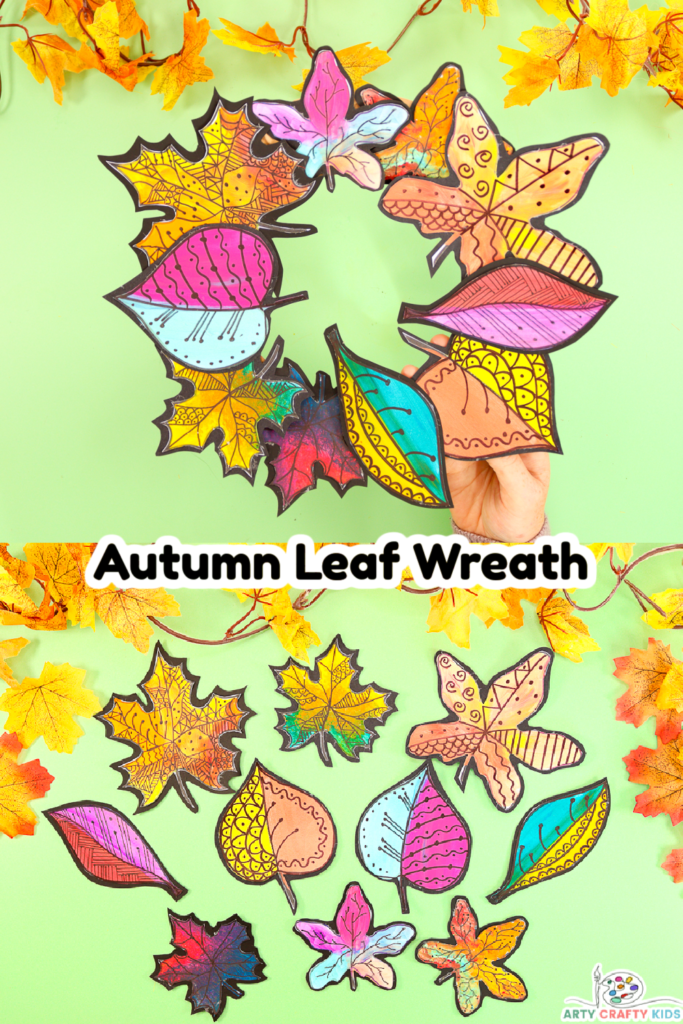
Combine art and craft to create a gorgeous Autumn Paper Leaf Wreath with your Arty Crafty Kids this fall.
This lovely Autumn wreath can be decorated with leaves designed by your children; capturing their creativity for color blending and creation, doodling – offering an insight into how they interpret the natural world.
The craft lends itself to a discussion about seasonal change and how color represents transition, as well as simply being super fun to design and arrange.
Whether your children are toddlers, preschoolers or even tweens – the arty aspect of leaf design can be played up or down to suit their ability and stage. Toddlers and preschoolers may even choose to decorate the paper plates with real leaves in their natural form or leaves they’ve painted!
However your children choose to create their Autumn wreaths, they will be sure to look amazing on display either at home or within the classroom.
How to Create Paper Leaf Autumn Doodle Art
Materials
White Card Stock for Printing
Black Card Stock
Favorite Coloring Medium
Black Marker Pens
Brown ECO Paper Plate
Scissors
String
Sticky Tape
Download the Leaf Outlines:
The Leaf Outlines (x3 different designs) are available to members of the Arty Crafty Kids club.
Members will need to log in to access the templates: https://www.artycraftykids.com/product/leaf-outlines-for-autumn-doodle-art/
Not a Member?

Watch the Step by Step Video Tutorial:
Let’s Make an Autumn Wreath!
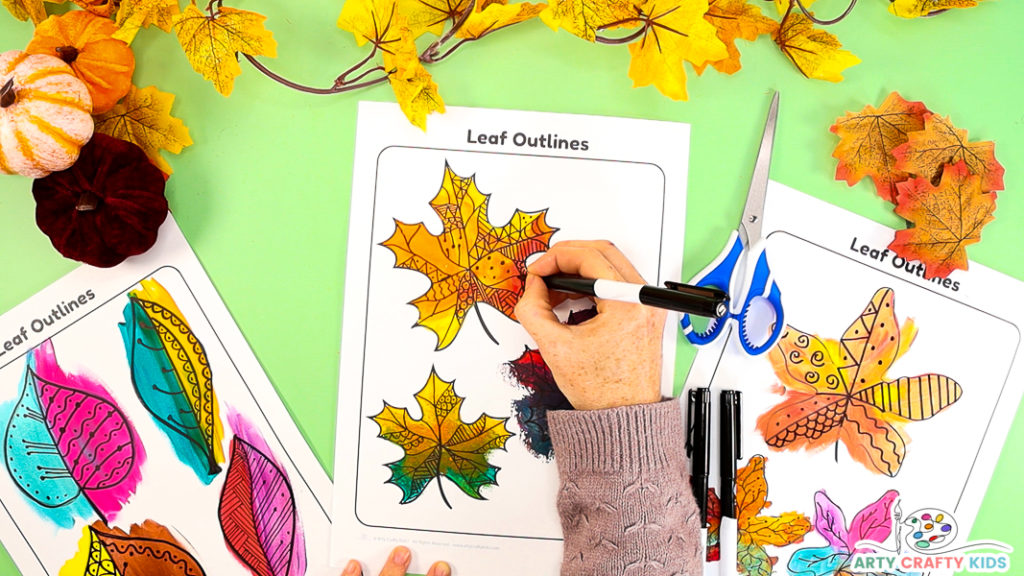
Step 1: Color and Decorate the Paper Leaf Outlines
See the Autumn Doodle Leaf Art for Coloring Ideas!
Once all the leaves are colored in and dry, grab a collection of marker black marker pens!
To begin, younger children may find a thick tipped marker pen (i.e. sharpie) more comfortable than a fine tipped pen.
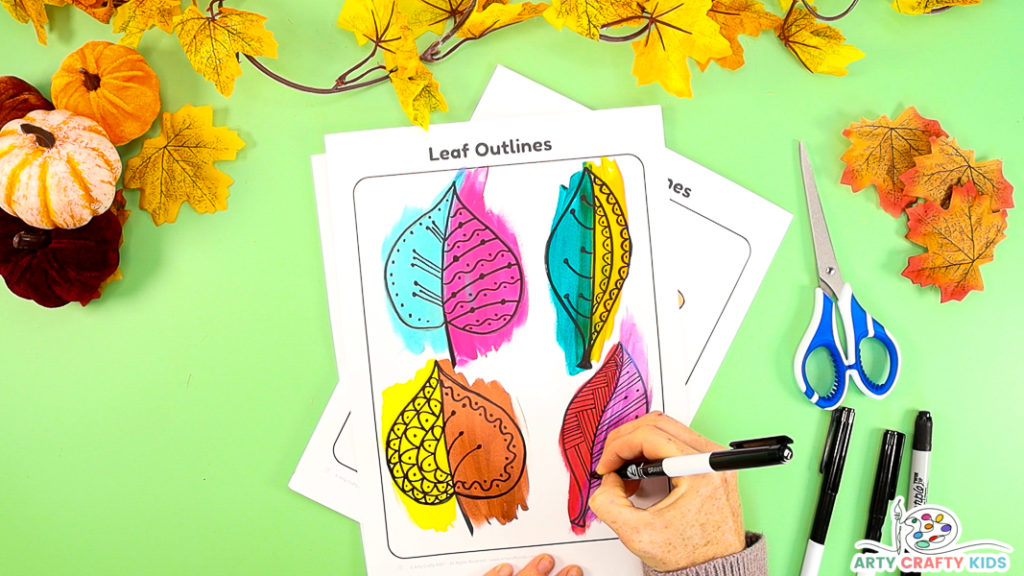
Try dividing the leaves in half with a central stem and doodle unique designs within each half.
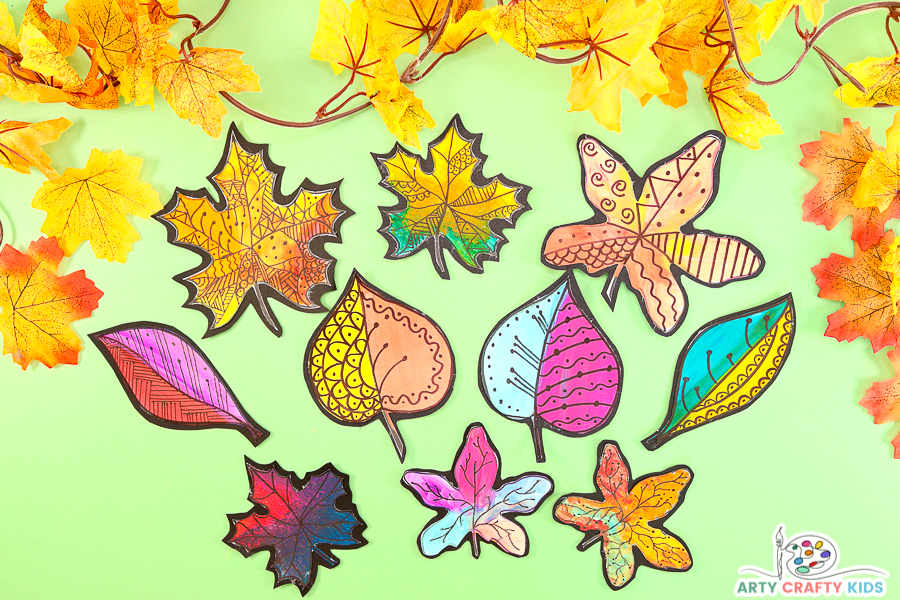
Step 2: Cut Out the Autumn Leaves and Affix to Black Backing Card
Once the leaves are colored and doodled, carefully cut them out and pop them onto some black backing card.
Once affixed to the backing card, loosely cut around the shape of the leaf to create a black border.
The border adds a lovely contrast to the leaf design and reinforces the newly created artwork
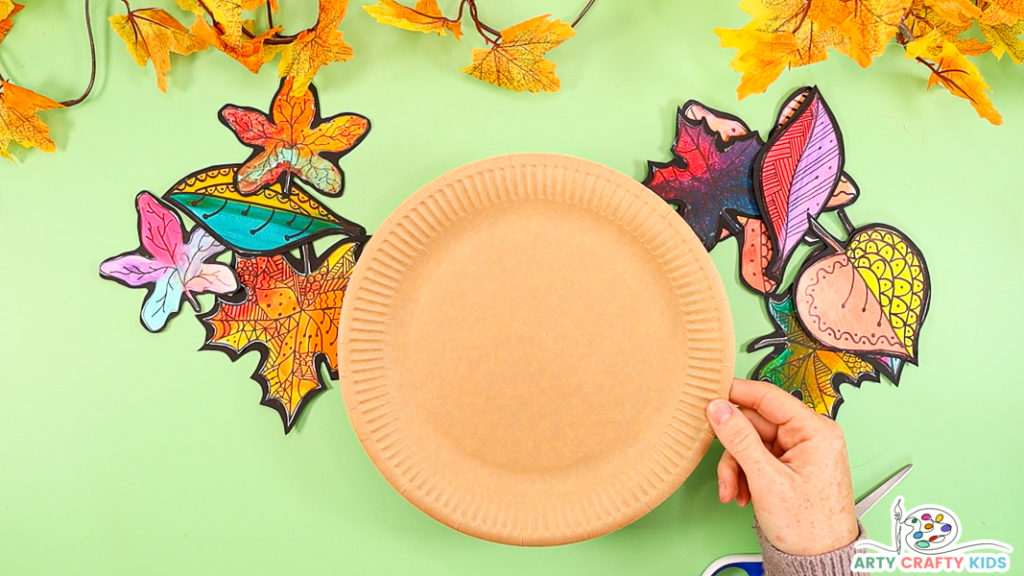
Step 3: Grab a Paper Plate
If possible, try to use an eco brown paper plate. It’s a great color and made with recycled materials!
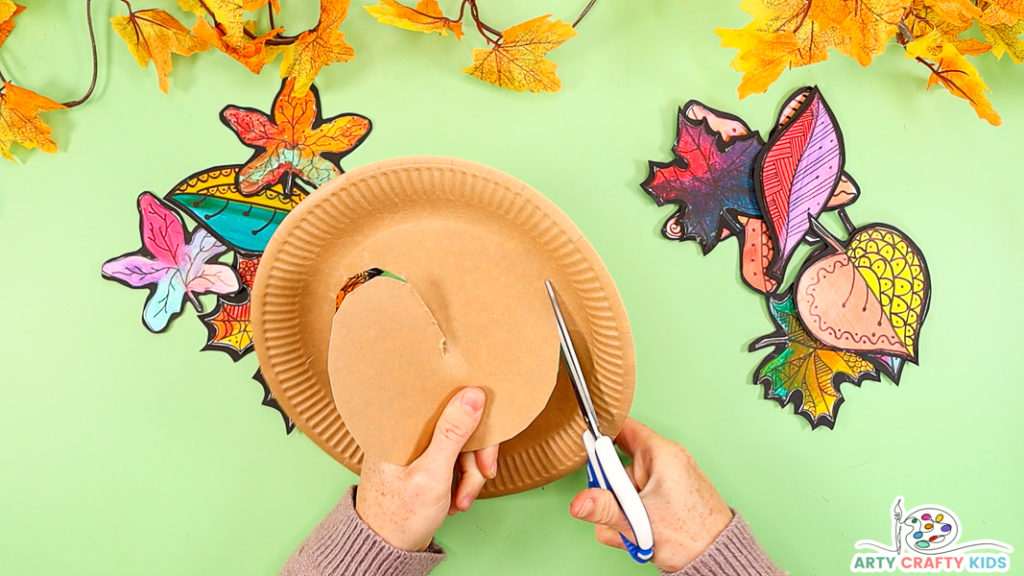
Step 5: Remove the Center of the Paper Plate
Carefully remove the center of the paper plate to create the wreath base.
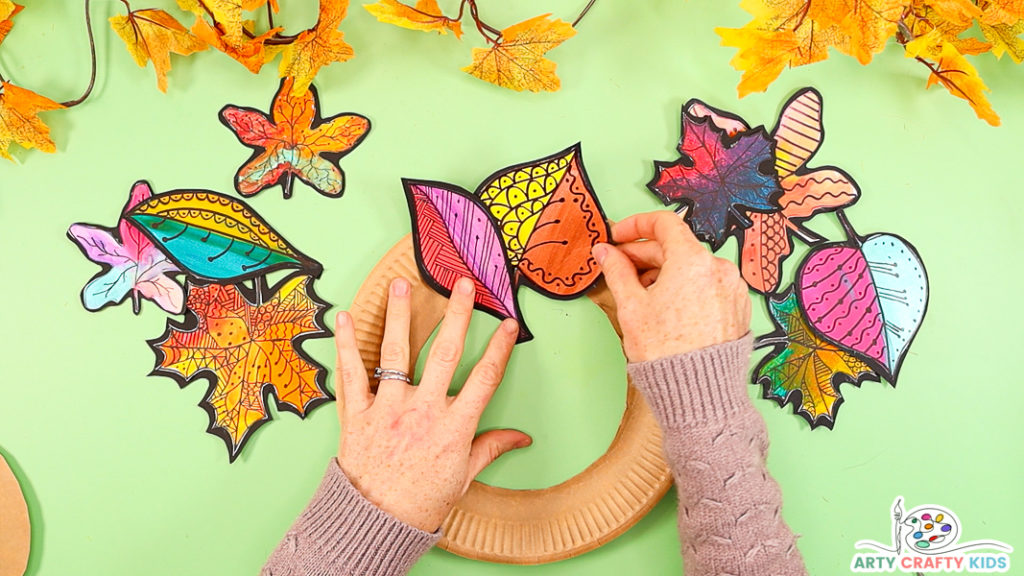
Step 6: Affix the Paper Leaves to Build the Wreath
Before affixing the paper leaves with glue, arrange the leaves around the rim of the paper plate to decide where they’re going to go.
Once arranged, begin affixing the leaves with a generous spread of glue.
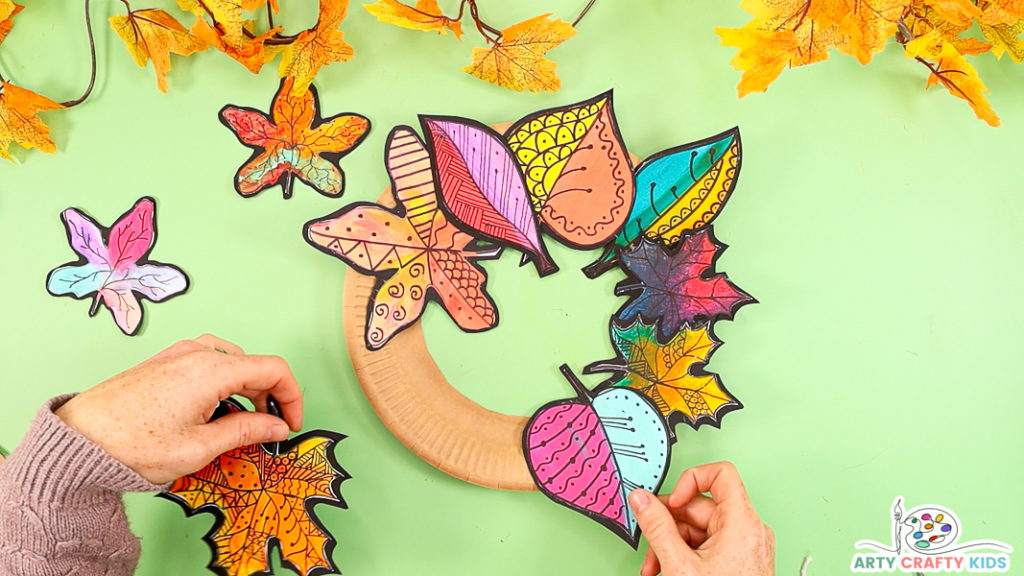
Step 7: Fill the Rim of the Paper Plate with Autumn Leaves
To build the wreath, continue to fill the paper plate with leaves.
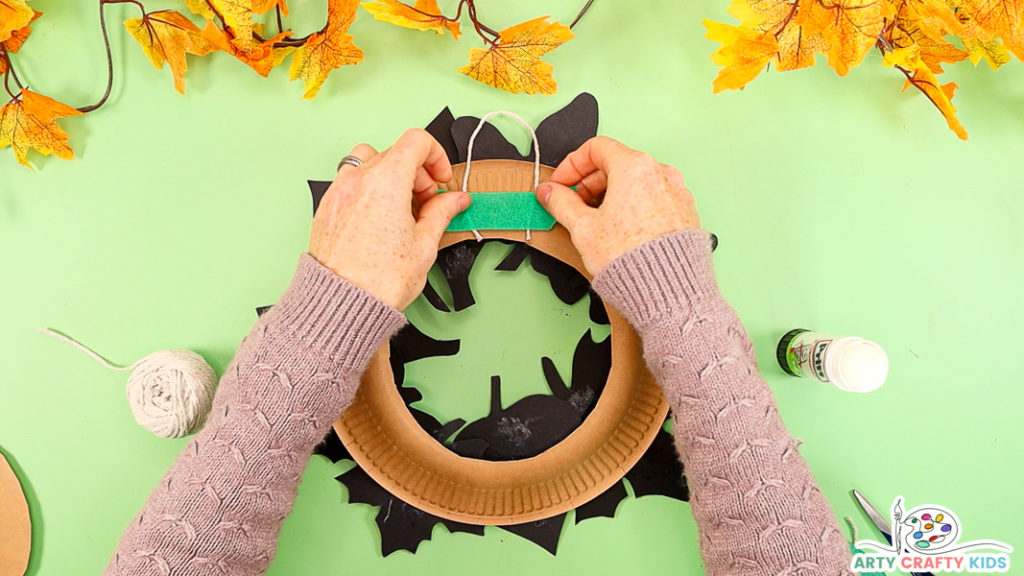
Step 8: Use a Piece of String to Create a Hanging Hook
Once the paper plate is decorated and all the leaves are secure, turn it over and attach a piece of string with strong sticky tape.
The wreath will now be ready for hanging!
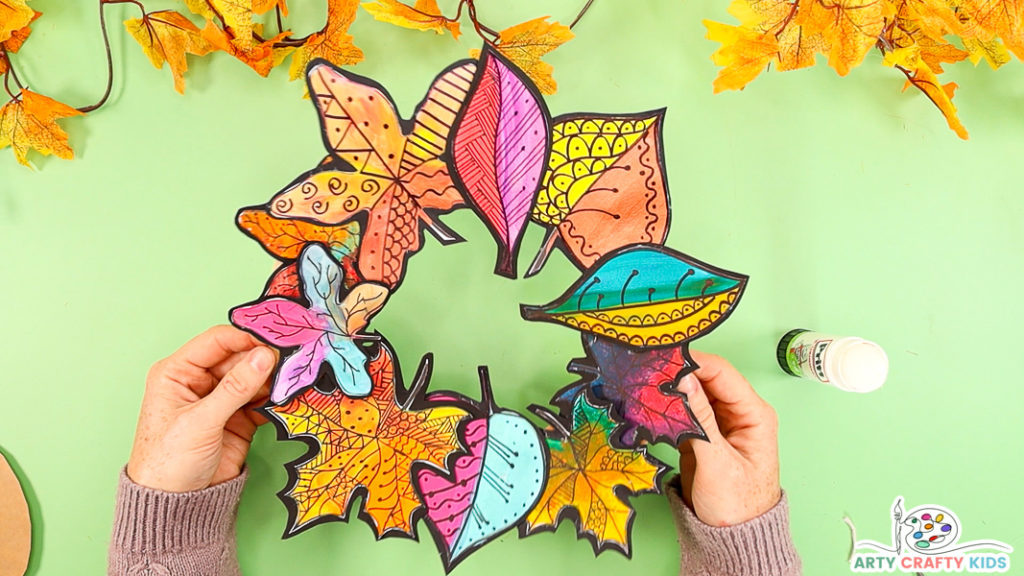
The Autumn Paper Leaf Wreath is Complete!
With the paper plate decorated and the hanging string attached, all that’s left is put the Autumn Wreath on display!
As always, we love to Arty Crafty Kids’ creativity in action and if you happen to share their completed makes on social media, please do give us a tag or/and use the #artycraftykids – happy crafting!
