Sharing is caring!
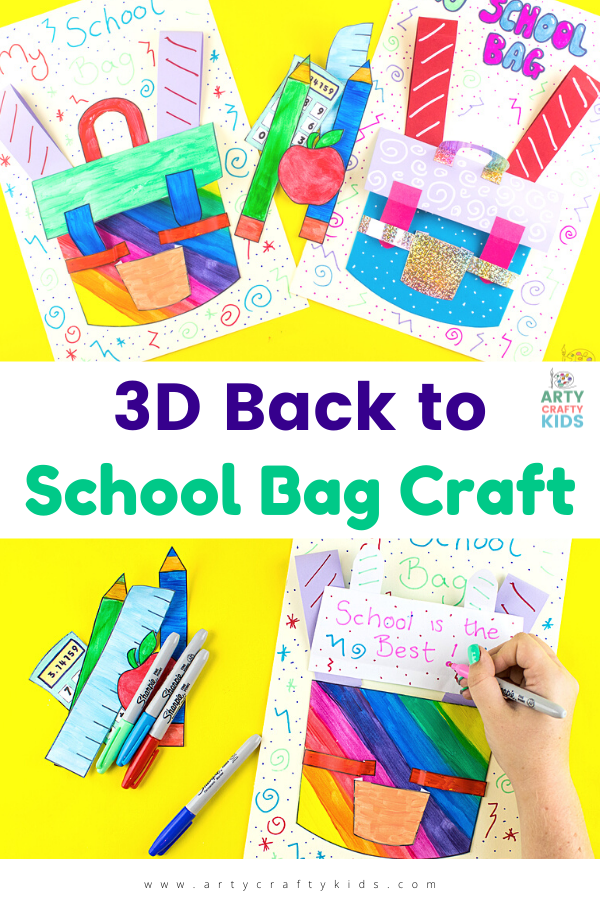
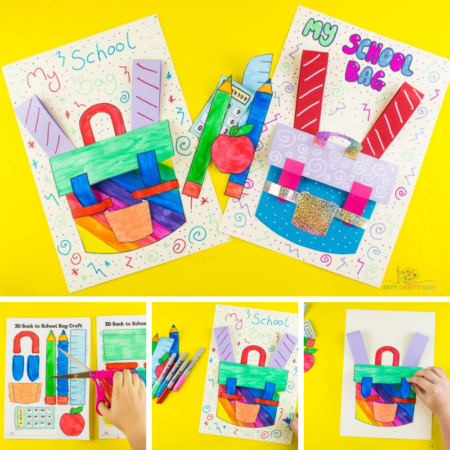
Kickstart the new school term with this super cool 3D Back to School Backpack Craft.
It’s that time again where children will be thinking about packing their school bags and returning to school, preschool, kindergarten or even venturing out for homeschool trips. Why not get them in the mood with our fun “design your own” 3D school bag craft!
Complete with a printable School Backpack Template, all children will need to complete this back to school craft is some brightly colored cardstock, a medium to create and color with, scissors, glue and a sprinkle of creativity!
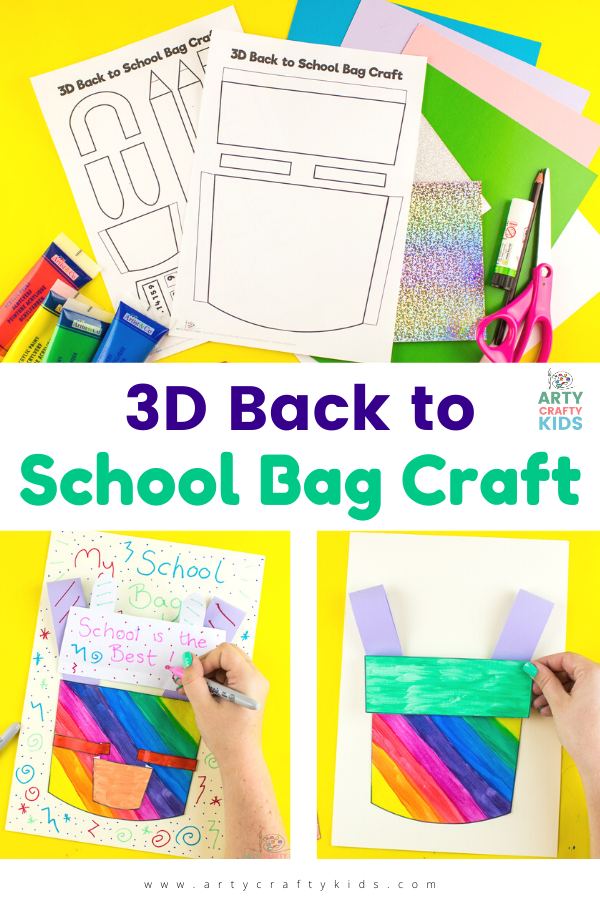
3D Back to School Bag Craft
Our 3D Back to School Bag gives children the opportunity to design their ideal backpack – the backpack of dreams! It can be every color under the sun or not. Sparkle or not. Have patterns, embellishments or reflect a keen interest i.e. conservation, animals etc
The 3D elements of the craft also introduces the concept of perspective and encourages kids’ to play with shapes and simple folds to achieve the added dimension.
Materials
- Printable 3D Back to School Bag Craft template
- Paints or coloring medium of your choice
- Scissors
- Glue stick
- Colored card
- Felt tip pens
Download the 3D Back to Backpack Craft:
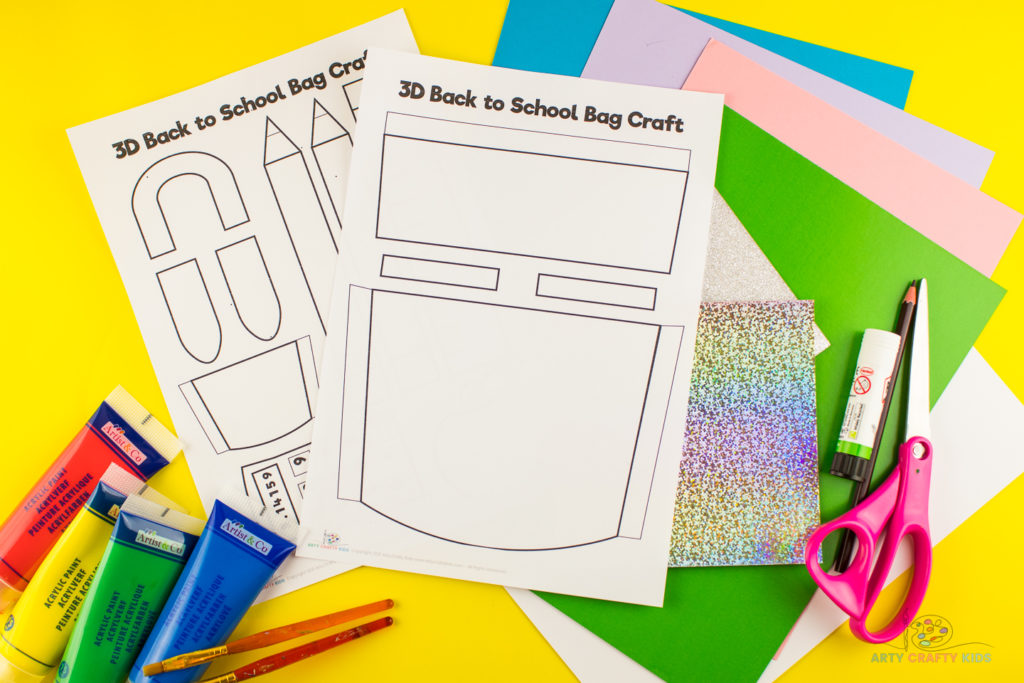
The ‘3D Back to School Bag Craft’ template is available to members of the Arty Crafty Kids club.
Members will need to log in to access the templates: https://www.artycraftykids.com/product/3d-school-bag-craft-template/
Not a Member?
Watch the How to Make a 3D Backpack Video:
Let’s Make a 3D Back to School Bag!
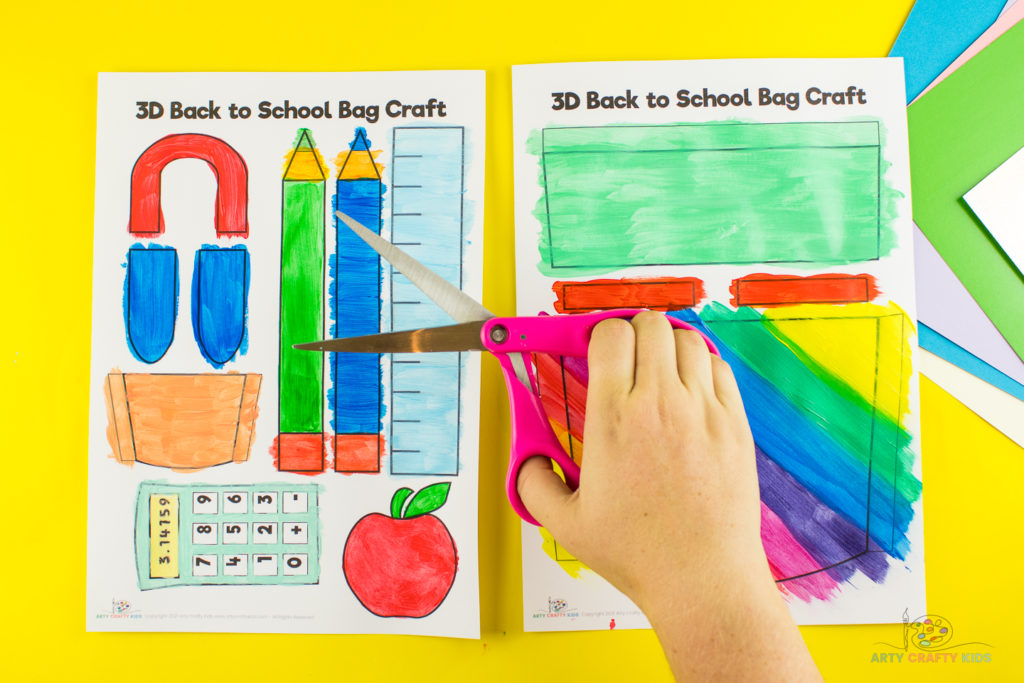
Color Printable Backpack Template
It’s time to grab the pens, pencils, crayon or paint and color in all the template elements!
This is the time for Arty Crafty Kids to get super creative with their design and color schemes.
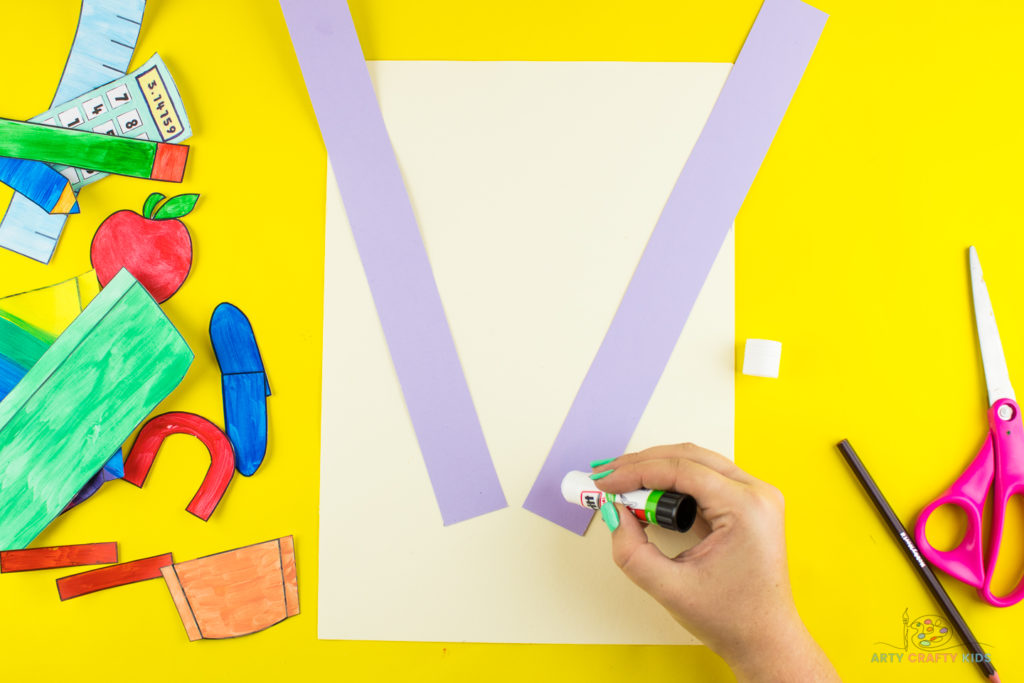
Let’s Make Backpack Straps
Cut two long strips from either colored cardstock or paper.
Glue the paper strips to a piece of backing cardstock with an over-hang of around 5cm.
Fold and Glue the Flaps on the Backpack
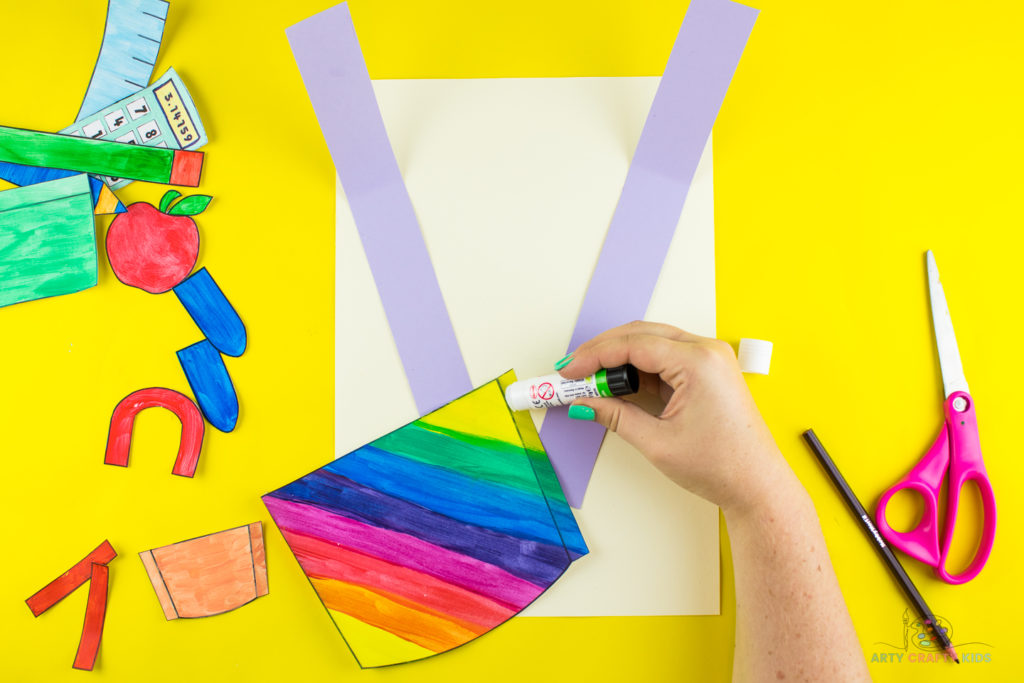
Gently fold the two flaps on the base of the backpack and apply a generous amount of glue.
Glue the base of the backpack to the bottom of the cardstock, covering the backpack strap ends. Play with the position of the the bag until an opening is created and bag has a rounded arch.
Add A Flap and Bag Handle
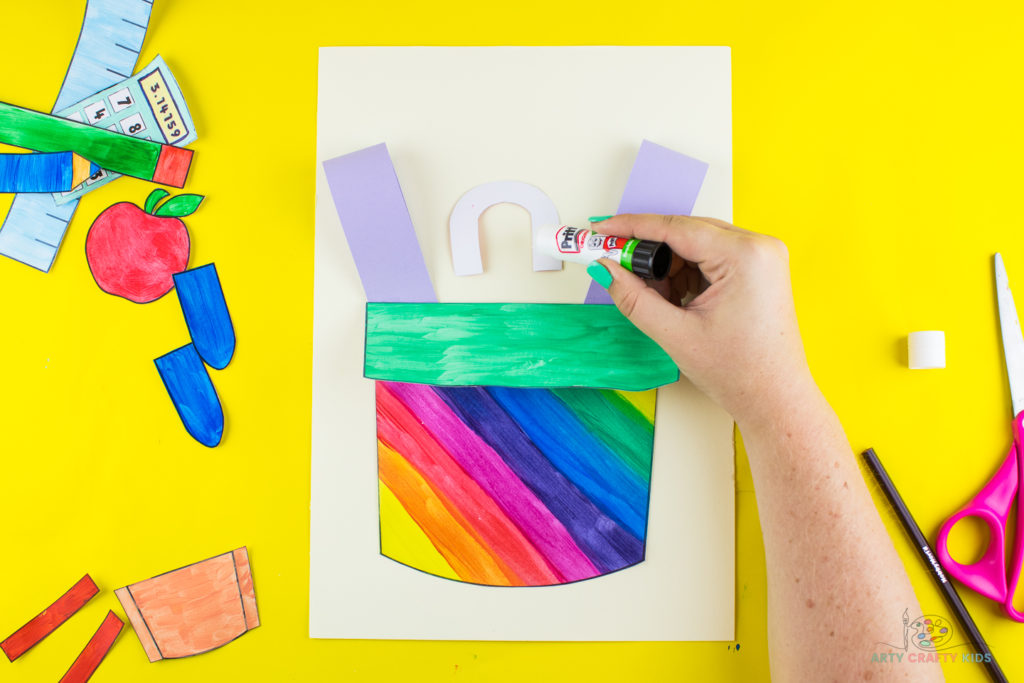
Next, fold the flap on the backpack cover and glue just above the bottom of the bag.
Add a bag handle.
Add a Pocket to the Front of the Backpack
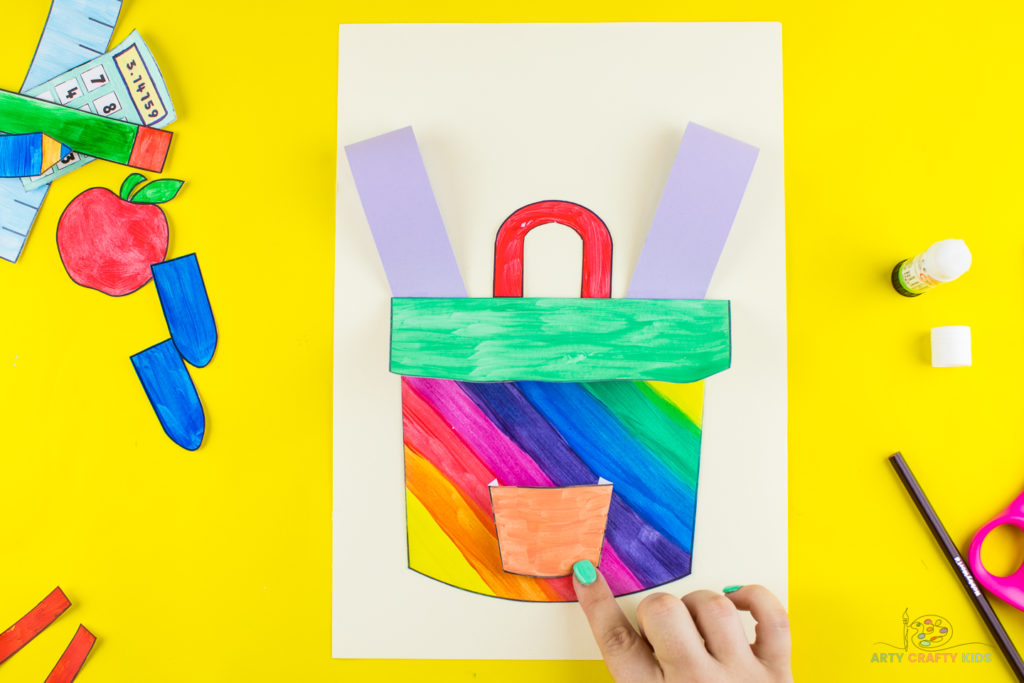
Glue a front pocket to the bag.
Apply lots of glue to the flaps of the pocket and attach to the front of the bag, again, creating a little opening by creating a little arch inside of the pocket.
Let’s Make Two Backpack Fasteners
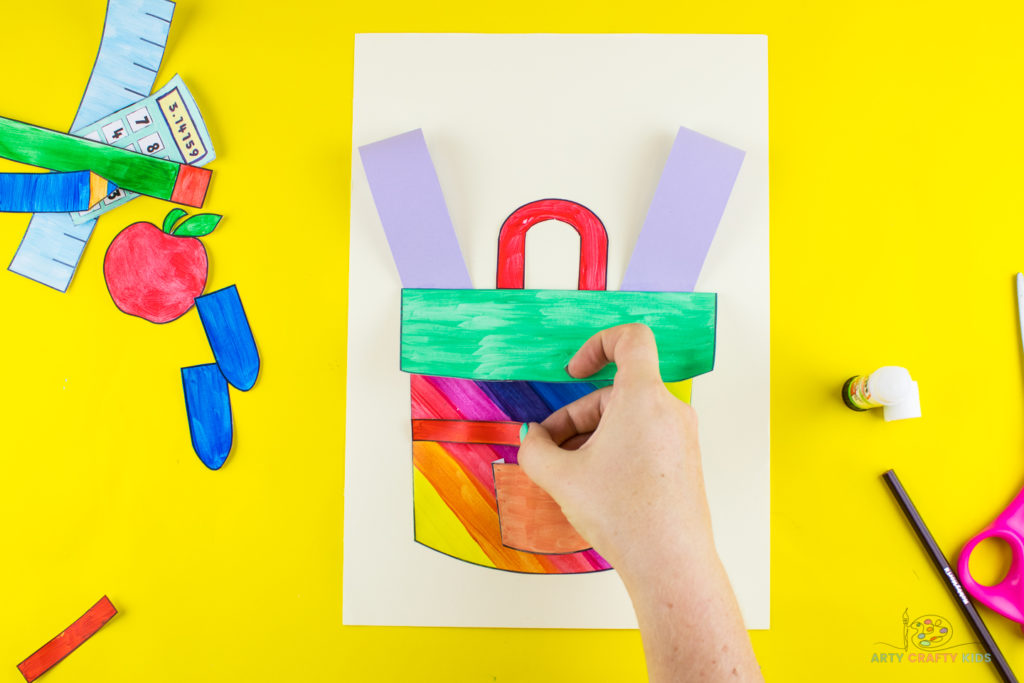
Gather the pair of short strips and apply glue to either end of the strips.
Glue a strip on both sides of the backpack a short distance from the top of the pocket.
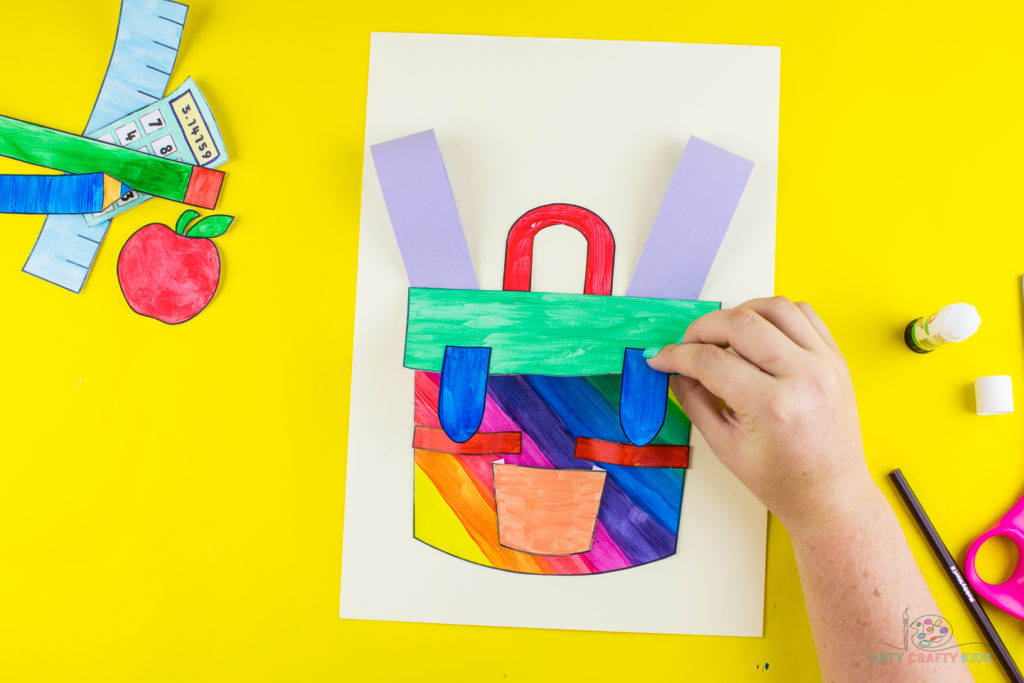
Add a partner to the lid of the backpack, ensuring they’re positioned in such a way that they can be thread through their corresponding strip of paper.
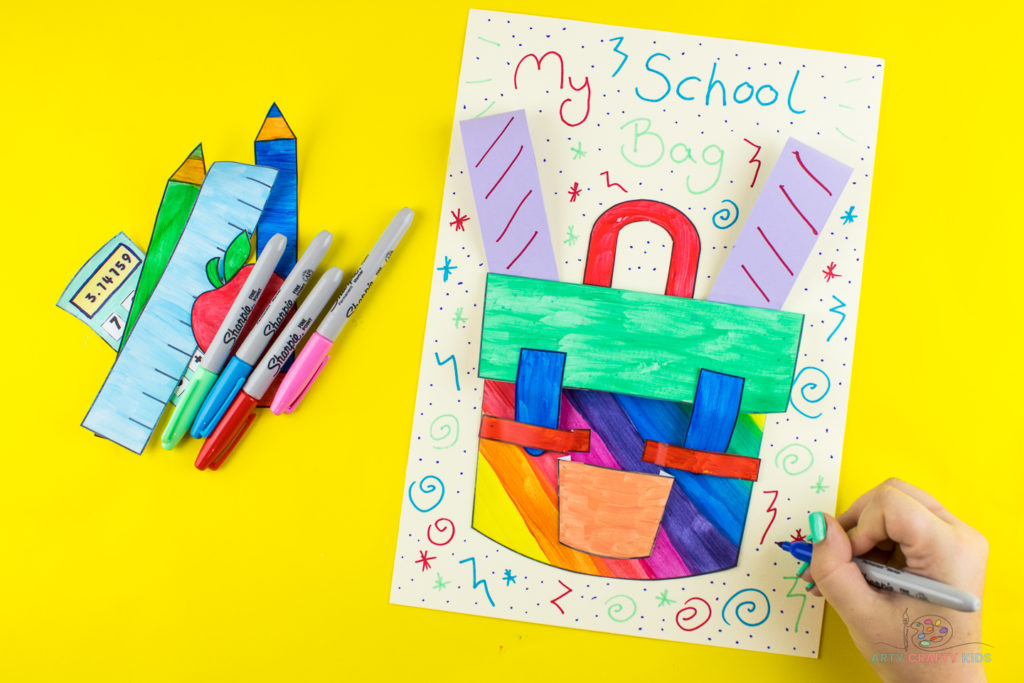
Decorate the Backing Cardstock
Compliment the snazzy bag design with an actually vibrant background!
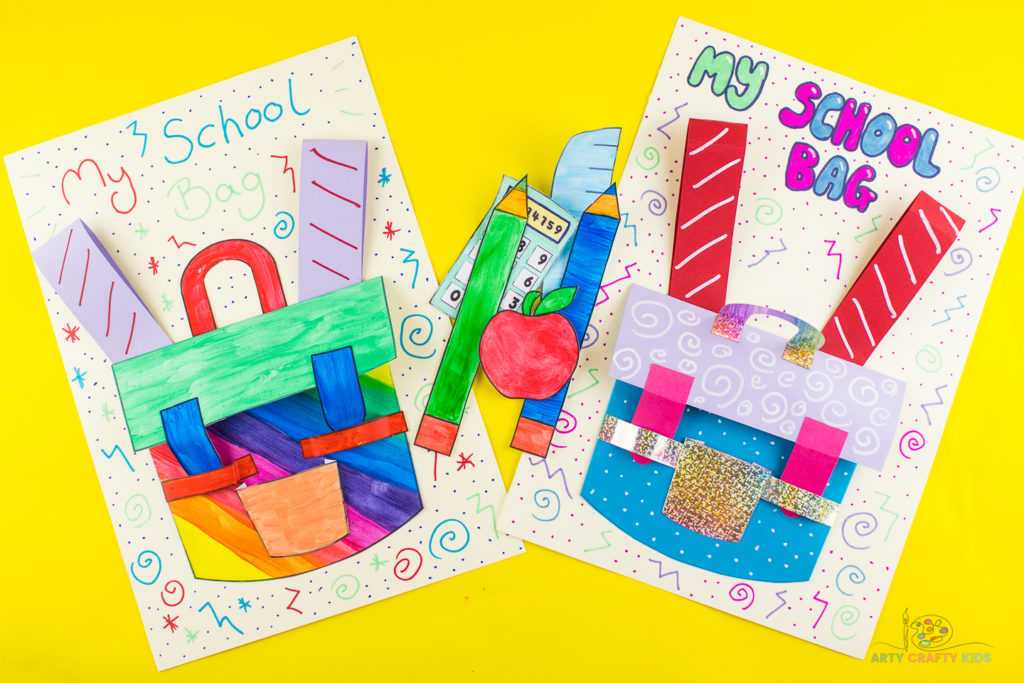
The School Backpack Craft is Complete
Now that the school bag is complete, it’s time to play!
The bag will open and close, hold valuable accessories and a juicy apple at the front!
For more back to school apple crafts take a look at our easy to make 3D Apples and Kandinsky Inspired Apple Craft!
