Sharing is caring!
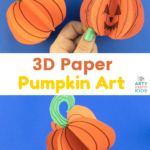
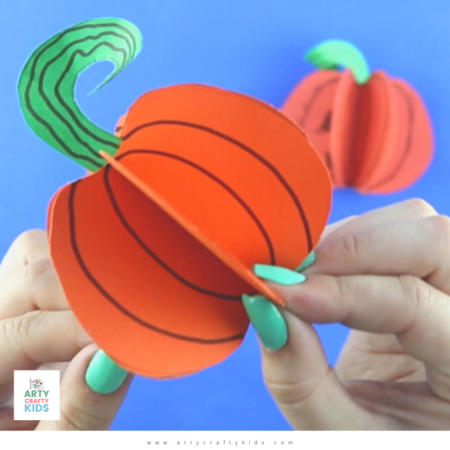
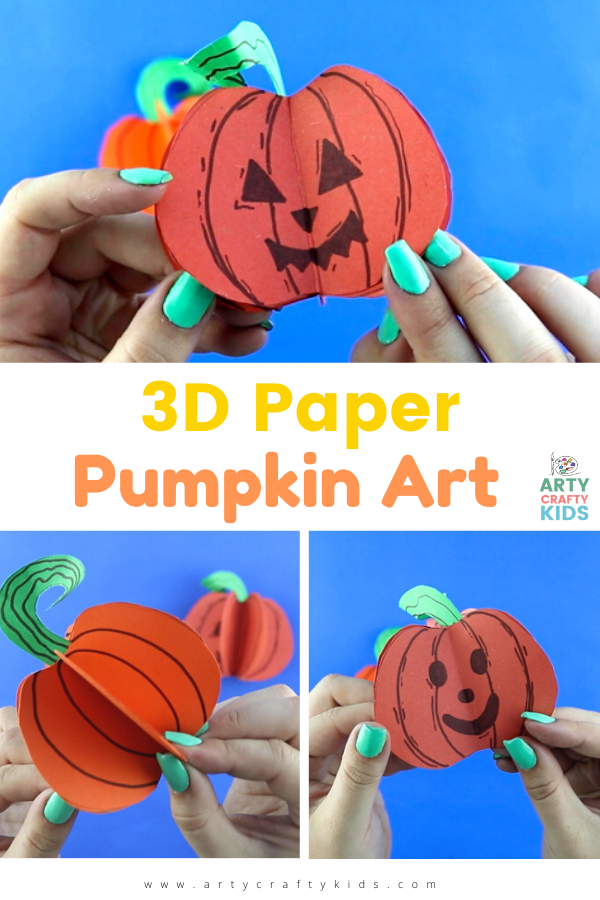
Looking for a quick and easy paper pumpkin craft? These charming paper pumpkins with 3D effects are great for kids of all ages to make.
It’s a lovely Autumn craft for celebrating Halloween, Harvest and Thanksgiving and once the children have mastered the process of making one pumpkin, many more will be sure to follow.
The process of cutting, folding and sticking makes for a fantastic fine motor workout, and a whole collection of pumpkins strung together will create a rather spectacular looking decoration for the home or classroom!
And to make the craft super easy to recreate, we’ve created a simple printable template with pumpkin elements that can be colored in or traced onto brightly colored card stock.
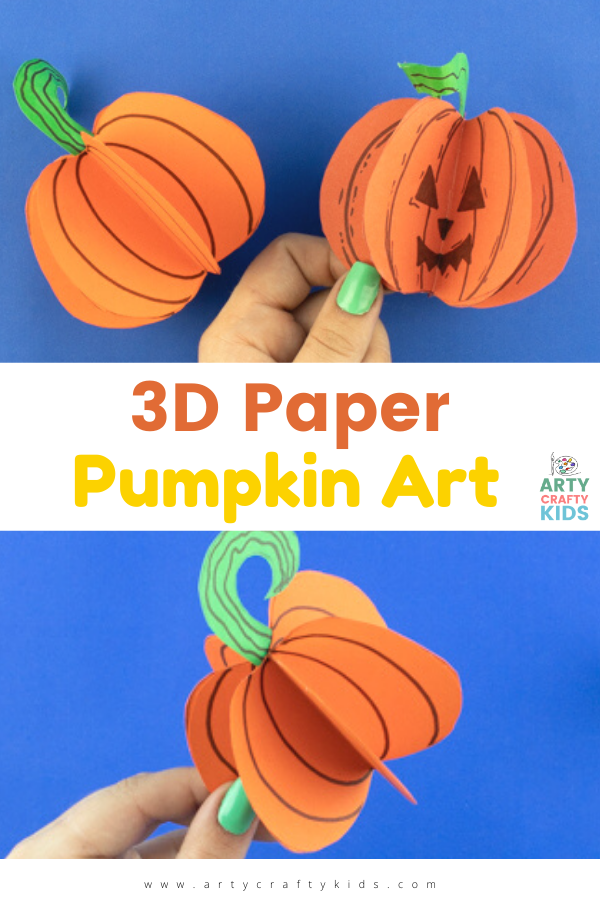
3D Paper Pumpkin Craft
This fun and dynamic paper craft has been designed with little hands on mind. The template features 6 large simple pumpkin shapes to support independent crafting. The large shapes are easy to color in and cut out; helping to foster confidence in creation.
Materials
- Colored card or Paper
- Glue stick
- Pencil
- Marker pen
- Scissors
Download the Pumpkin Template:
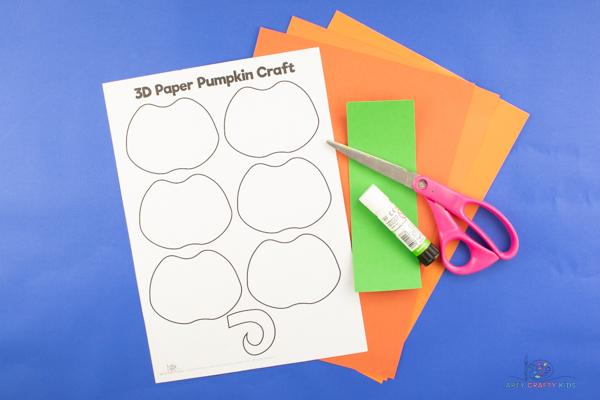
The ‘3D Paper Pumpkin’ template is available to members of the Arty Crafty Kids club.
Members will need to log in to access the templates: https://www.artycraftykids.com/product/3d-pumpkin-template/
Not a Member?
Watch How to Make a Paper Pumpkin Tutorial:
Let’s Make a Pumpkin!
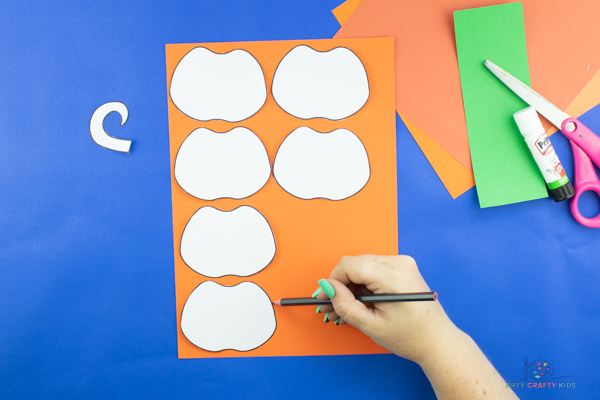
Cut Out and Trace the Pumpkin Elements
Carefully cut out the mini pumpkins from the template and trace them onto colored card stock or paper.
Our pumpkins are made up of 6 paper segments. We recommend using 6 parts as a minimum, but Arty Crafty Kids a free to use more to create fuller pumpkin decorations.
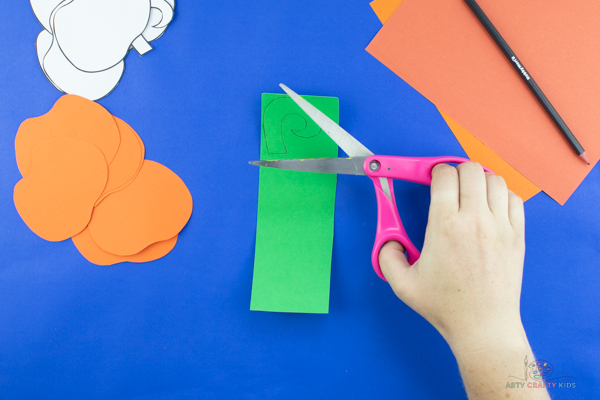
Cut out all of the Elements
Next trace and cut out the curly stork.
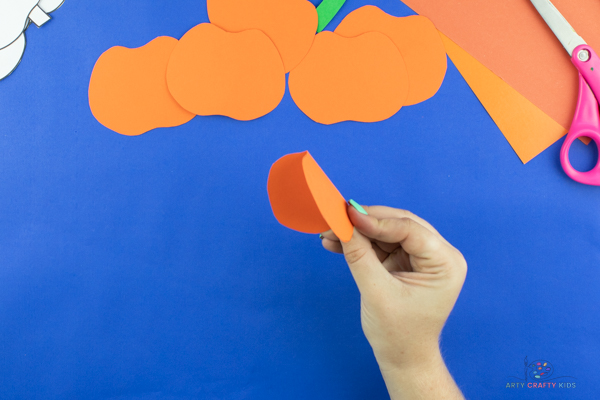
Fold each Paper Pumpkin shape in Half
Now it’s time to gather the pumpkin pieces and carefully fold each in half.
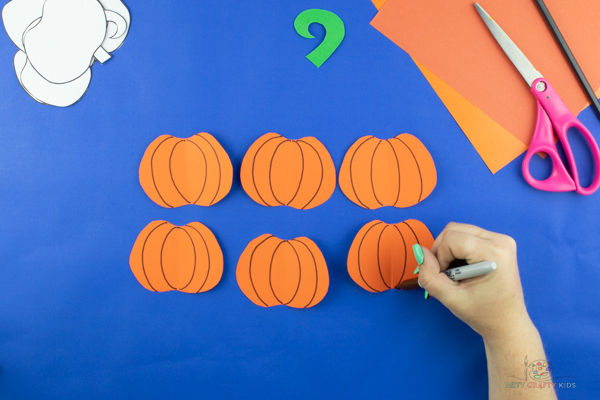
Draw a Pumpkin Design onto Each Segment
With each segment folded, it’s time to get creative!
Using the dividing line as a guide, Arty Crafty Kids may add little symmetrical designs to each pumpkin piece. The designs could be as simple as curved lines, circles or swirly lines. Any of these designs would be perfect for a Harvest or Thanksgiving theme.
To add a Halloween twist to the paper pumpkin craft, Arty Crafty Kids may choose to draw jack-o-lantern faces. Perhaps each segment could represent a different expression; aiding story-telling or a discussion about emotions.
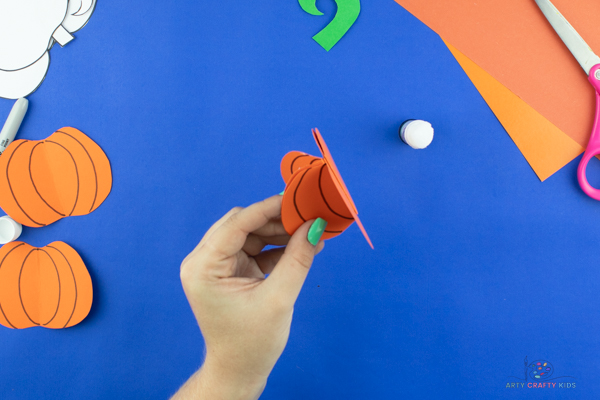
Glue the Pumpkin Shapes Together
Once the designs are complete, it’s time to assemble the paper pumpkin craft!
Apply a generous amount of glue to one half of the pumpkin and layer another half on top. Repeat the process until all the pumpkin segments are used up and Arty Crafty Kids have a stacked half pumpkin.
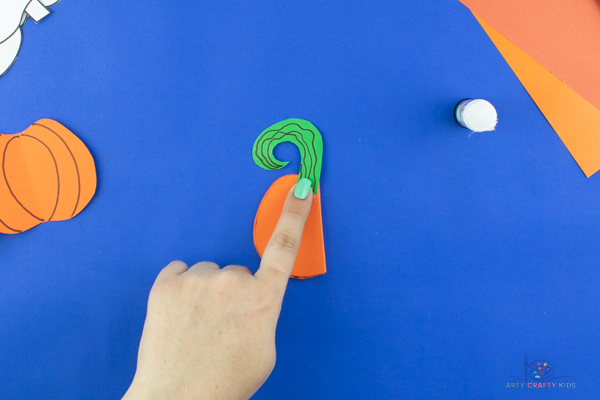
Glue on the Stalk
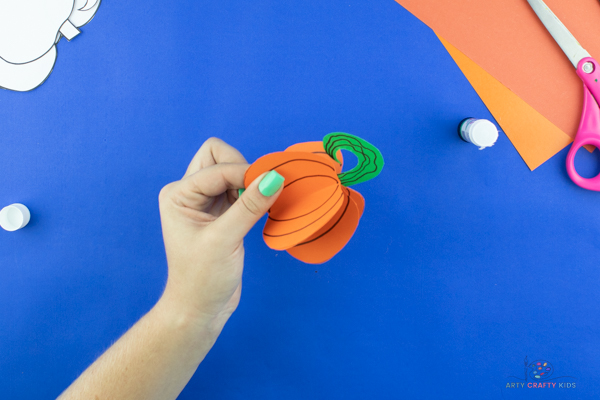
Once all the pumpkin pieces have been used up, glue the stalk to the top of the pumpkin.
Glue the last Pumpkin Shapes Together
Apply glue to the last half of the pumpkin and pull it round to meet the opposite half of the pumpkin. Hold each side together for a few moments to make sure they stick.
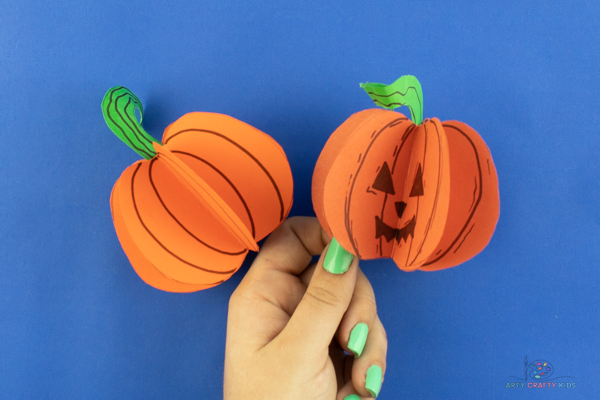
The 3D Paper Pumpkin Craft is Complete!
To expand the paper pumpkin craft, perhaps the children could have a go at designing their own templates as pumpkins grow in all different shapes and sizes.
And if they’re looking for some more pumpkin themed fun, why not have at creating a collage or filling a pumpkin with tissue paper!
We’d love to see the fantastic creations you make so please share them with us on social media.
More Autumn Craft for Kids
We love our paper crafts at Arty Crafty Kids and have a wide selection of Autumn and Halloween crafts for kids to make.
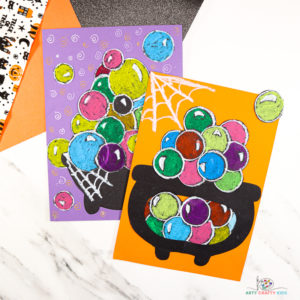
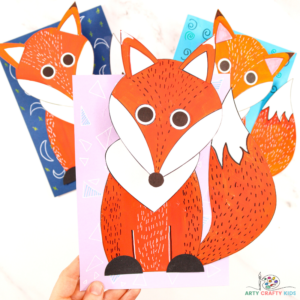
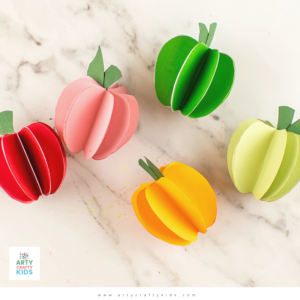
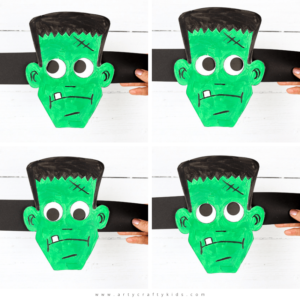
Make 3D Paper Apples with the pumpkins or an adorable fox to support woodland theme. Halloween may include a little hocus pocus with our bubbly witches cauldron or/and a fun a playful Frankenstein craft.

