Sharing is caring!
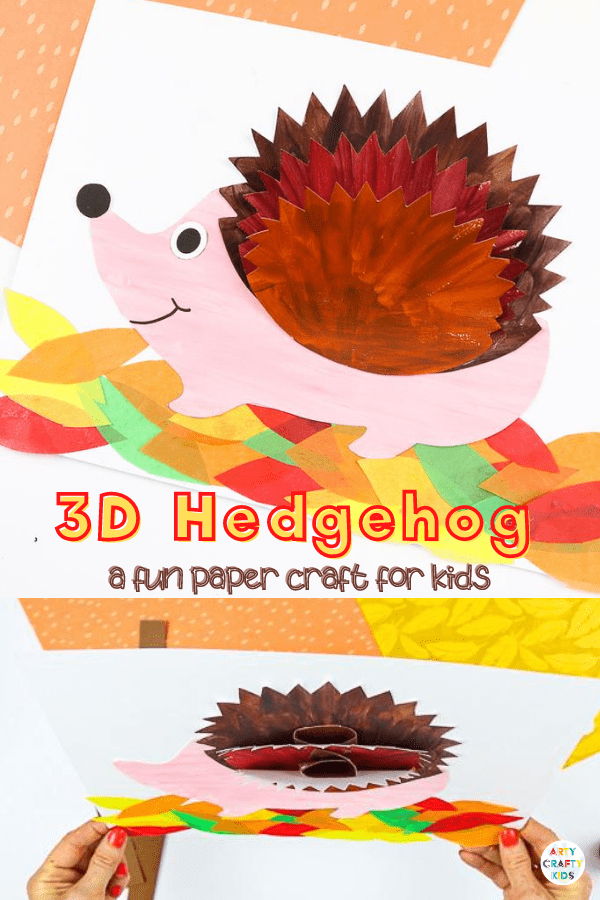
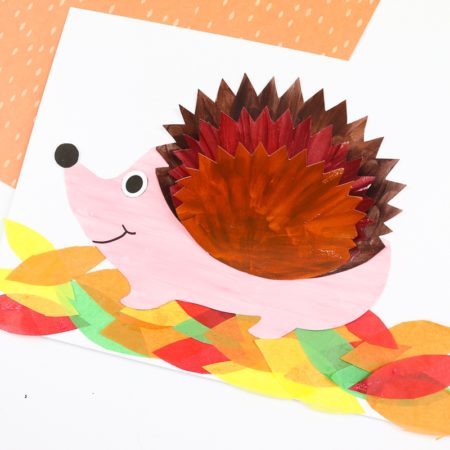
As we move into Autumn and begin to think about the topic of forest animals and the little furry friends that will be preparing for hibernation, why not kickstart learning at home or at school with this adorable 3D Paper Hedgehog Craft.
Our latest hedgehog craft joins a growing collection of 3D paper crafts; all designed to combine the creativity of craft, the interest of perspective and the fun of movement that capture the imaginations of younger and older children alike.
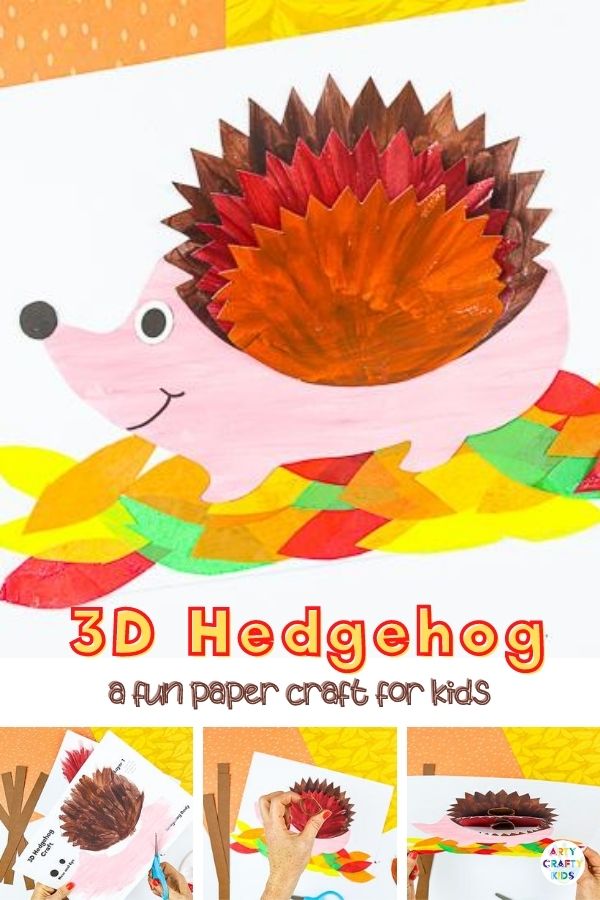
This cute ball of fun is a fantastic craft for developing fine motor skills. The zig-zag spikes, carefully guided by dotted lines, will work , strengthen and challenge children’s cutting skills.
How to Make the 3D Paper Hedgehog Craft:
What you need:
White Card Stock (for printing)
White and Brown Colored Card Stock
Tissue Paper – Autumn Shades
Paint or Coloring Pencils/Crayons
Glue Stick
Scissors
Black Marker Pen
Download the 3D Hedgehog Template:
The 3D Hedgehog Template is available to members of the Arty Crafty Kids Club. Join the members area to access our complete online library of art and craft templates.
Members can access the template here (remember to login!): https://www.artycraftykids.com/product/3d-hedgehog-craft/
Members will need to log in to access the templates!
Not A Member?
Watch the Video Tutorial:
Paint the Hedgehog Template
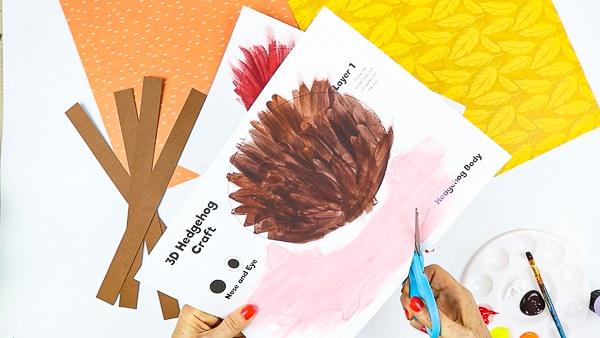
Use your favourite paints or crayons to paint the hedgehog elements. Will you make it look realistic with different shades of Autumn brown colors, or make the hedgehog colorful like a rainbow?
When the hedgehog is dry, carefully cut out all the elements from the template.
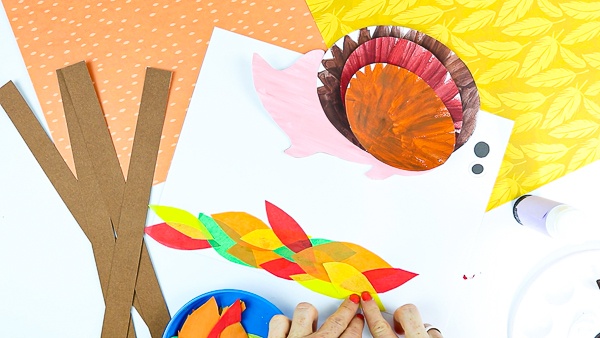
A Bed of Tissue Paper Leaves
Gather some bright and colorful tissue paper and cut out a number of leafy shapes.
Layer the tissue paper along the bottom of the card stock to create a fallen bed of Autumn leaves,
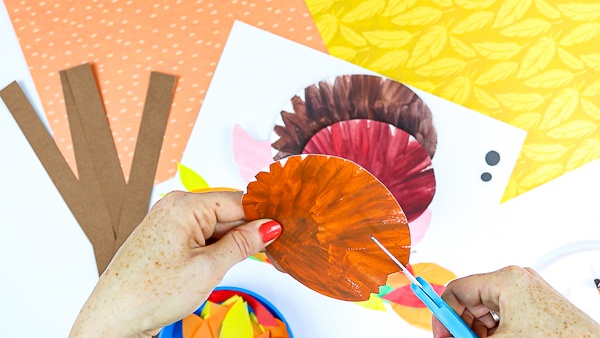
Cut out the Hedgehog Elements
Follow the zig-zag lines within the three oval shapes to create spikes.
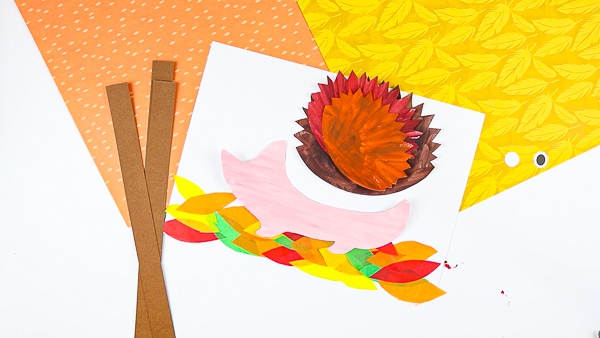
Secure the Hedgehog Body to the Leafy Floor
Glue the body of the hedgehog to the leafy tissue paper bed.
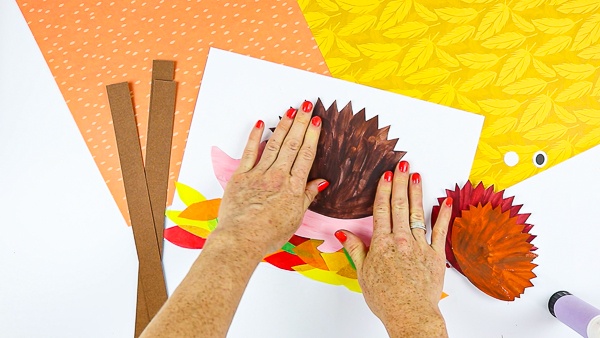
Add the First Layer of Spikes
Next, glue the largest spiky oval to the hedgehogs body. We now have a first layer before we transform our hedgehog into a spiky ball.
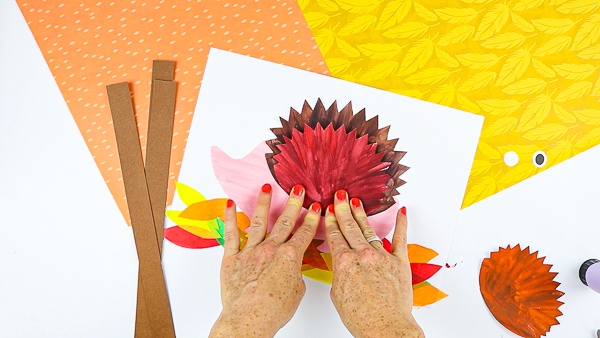
Secure the Bottom of the Second Layer
Apply glue to bottom of the second oval and place this on top of the first spiky layer.
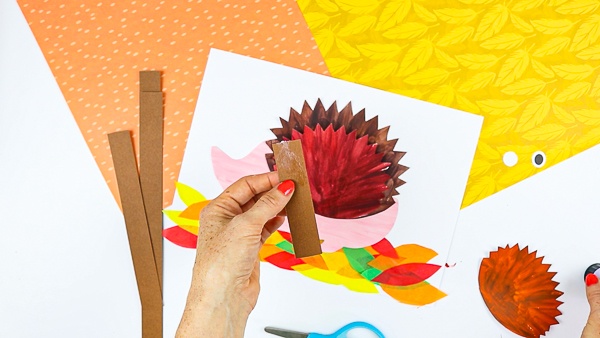
Create Paper Loops
Cut a strip widthwise from a sheet of brown A4 card, and cut it in half. Take the first strip, curl it around to make a ring and secure it with a spot of glue so it doesn’t come undone. Repeat with the second strip.
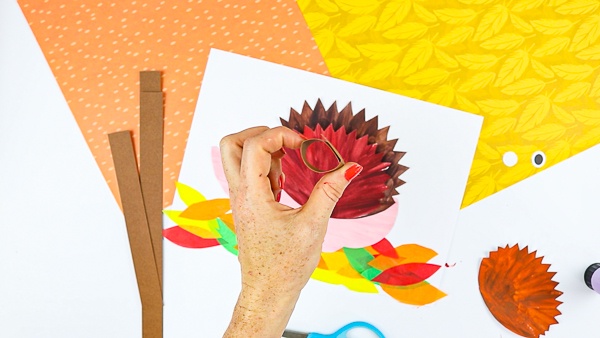
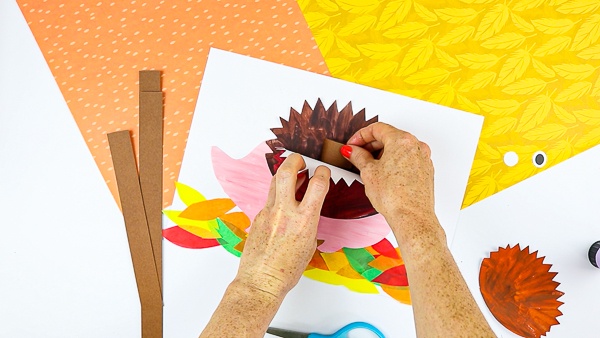
Creating a Lift
Stick the first loop behind the loose area of the second spiky oval.
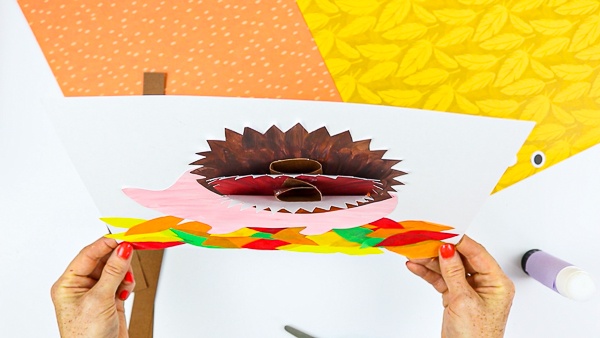
Layering Another Spiky Lift
Repeat the above process with the final spiky oval.
With the two lifts added, the spikes will now be secure and will create a familiar hedgehog ball type shape.
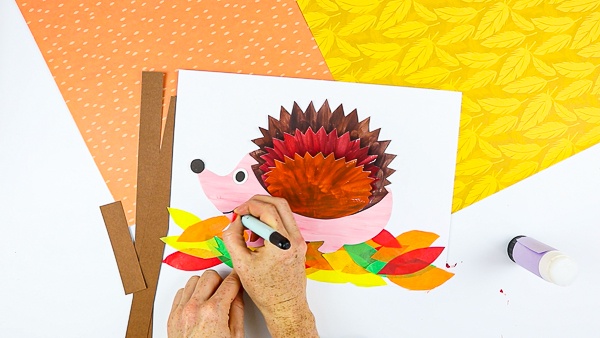
Complete the 3D Paper Hedgehog Craft
Let’s make our hedgehog cute!
Complete the 3D hedgehog with an eye and nose, following by a big smile
More Hedgehog Crafts for Kids:
Fork Painted Hedgehog Craft
Fork Painted Hedgehog Art Project for kids with an Autumnal twist! This easy and fun fall craft is perfect for kids at home or school
https://www.artycraftykids.com/art/fork-painted-hedgehog-art-project/
Paper Plate Hedgehog Craft
Today I have the sweetest, most adorable Paper Plate Hedgehog Craft you will ever see! it even comes with spikes that can be stroked and arranged to form pretty patterns.
https://www.artycraftykids.com/craft/paper-plate-hedgehog-craft/
Nature Hedgehog Craft
Natures changing colors and textures always inspire our creativity. So if you’re looking for a lovely, easy craft to help little ones welcome the changing season, this nature hedgehog craft is for you.
https://www.artycraftykids.com/autumn/nature-hedgehog-craft/
Happy Crafting!
