Sharing is caring!
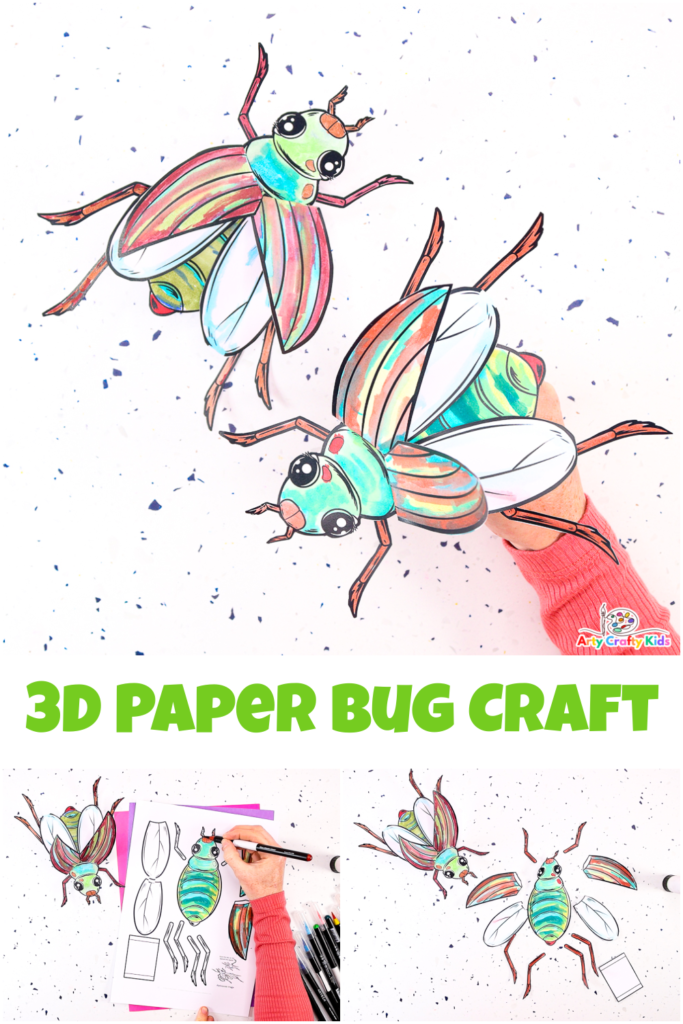
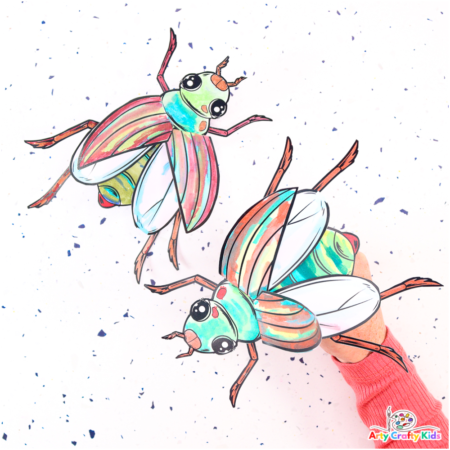
Immerse your kids’ into the wonderful world of insects with our 3D Paper Beetle Bug Craft!
Spring has arrived and so have all the creepy crawlies. This 3D bug Craft is the perfect way to bring the natural world to life in your very own home or classroom.
With its realistic design and intricate details, this bug craft will have Arty Crafty Kids buzzing with excitement.
Not only is it a fun and engaging activity, but it’s also a great way to learn about different beetle species and their habitats.
Whether you’re studying mini-beasts as part of a science topic or just looking for a creative way to pass the time, this craft is sure to inspire curiosity and wonder.
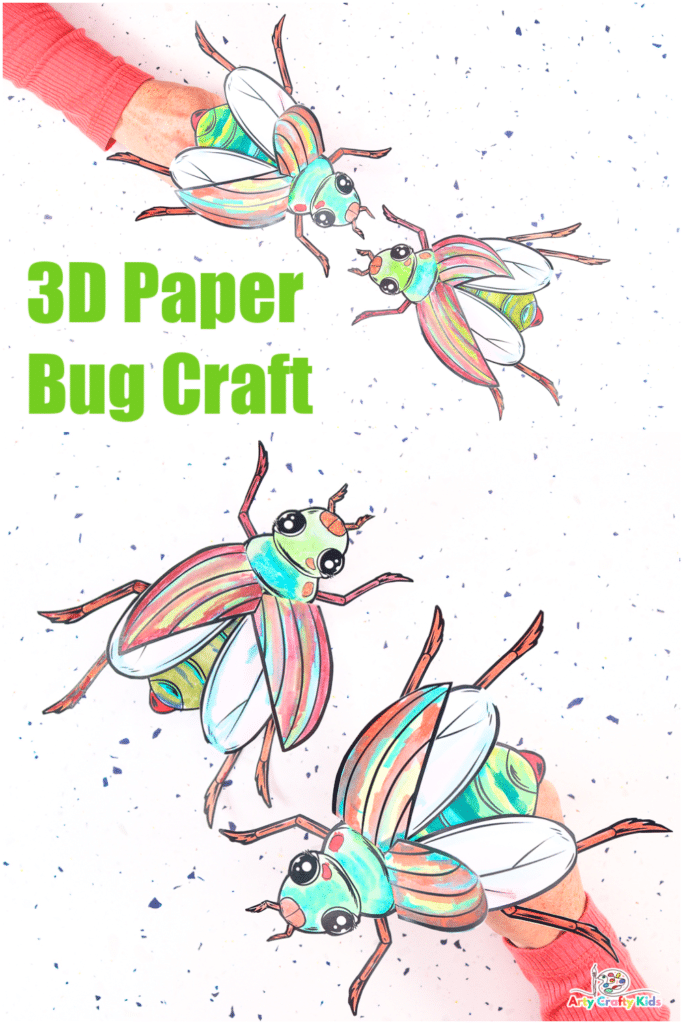
And to make learning about the natural world fun and interactive for our Arty Crafty Kids, the beetle design doubles up as a finger-puppet!
How to Make the 3D Paper Beetle Bug Craft
Materials:
- Card Stock for Printing
- Coloring Medium
- Glue Stick
- Scissors
Download the Beetle Bug Template:
Make sure the printer settings are set to ‘fit to page’ and will accept heavy weighted paper.
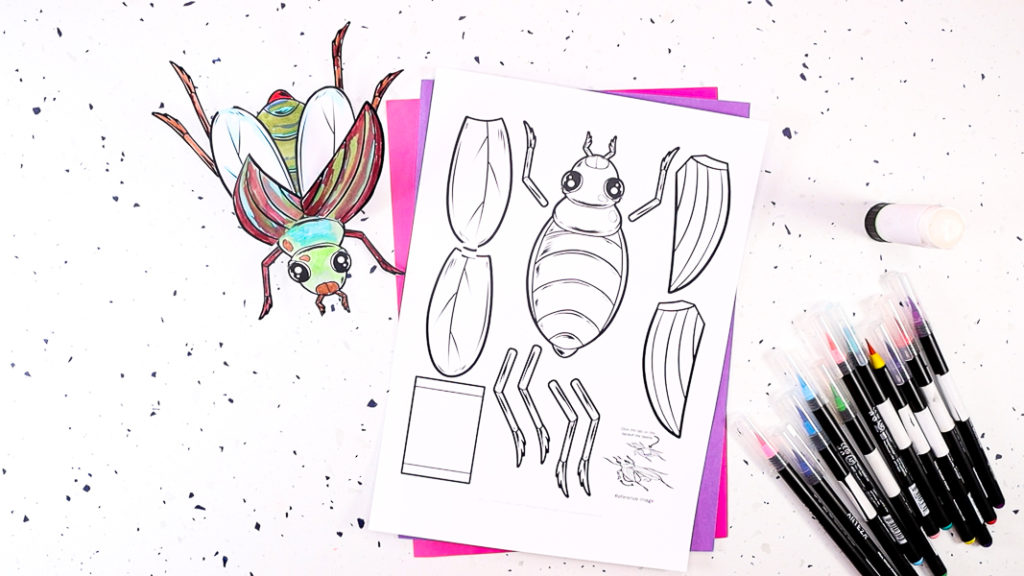
The 3D Paper Beetle Bug template is available to members of the
Arty Crafty Kids club.
Members will need to log in to access the templates: https://www.artycraftykids.com/product/3d-beetle-bug-craft/
Not a Member?

Watch how the 3D Beetle is made!
Now lets make a 3D Bug!
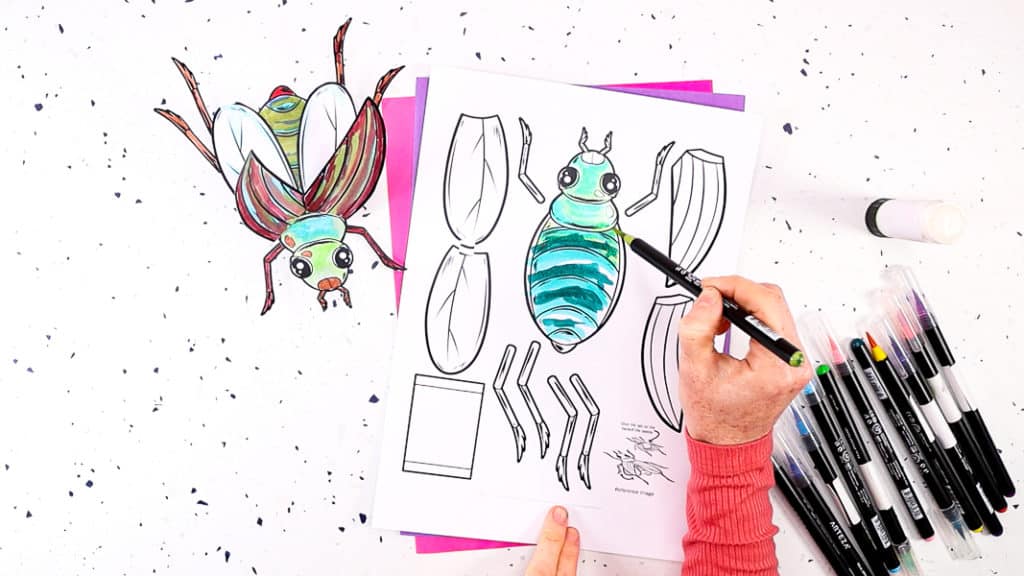
Step 1: Color in the beetle bug template.
The beetle template is an open invitation for children to use their imaginations to creatively color in the pieces that make up the beetle bug.
Our featured beetle has been colored with water color pens, which are a fantastic coloring medium for children – they’re quick and easy to use (with great pigmentation) which doesn’t cause little hands to ache.
Similar effects can be created with crayons, marker pens, pastels and watercolor paint from a palette.
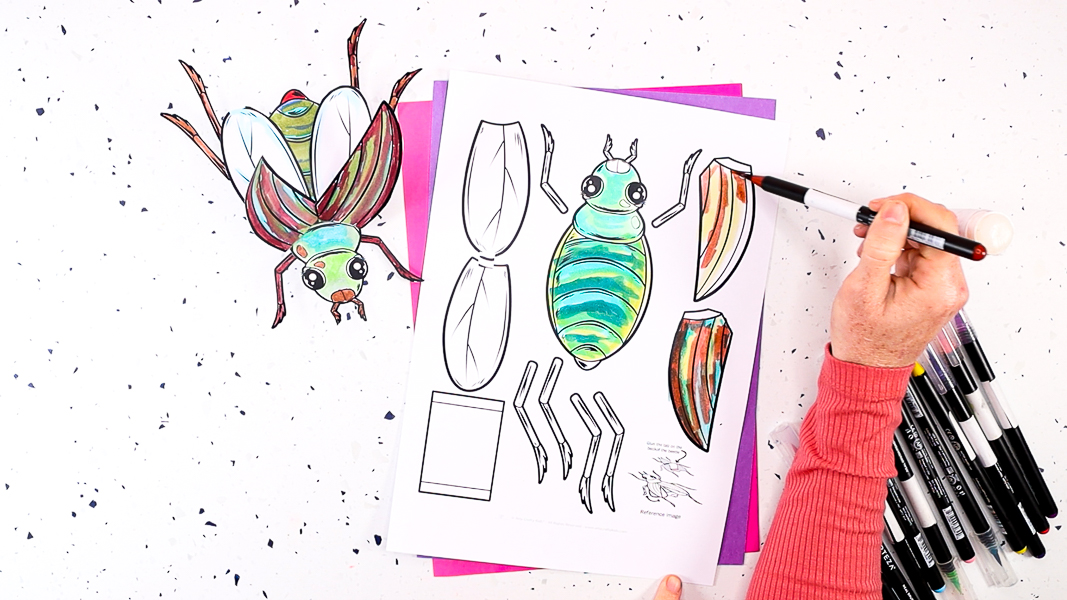
Children may use their creativity to color the beetles in their favorite colors.
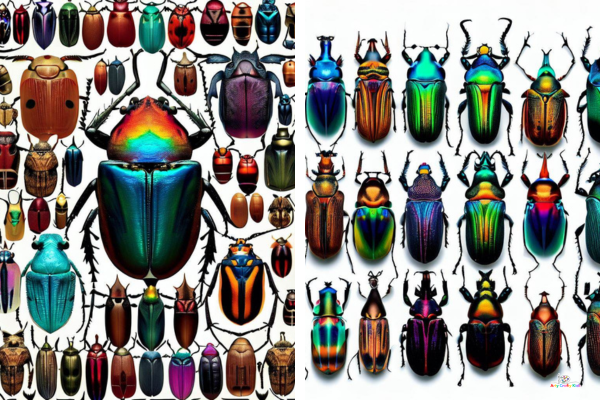
Or for a realistic appearance, Arty Crafty Kids could research beetles (or look for) found within their local habitat or around the world, and attempt to create the colors within the template.
From an artistic perspective, the craft presents a wonderful opportunity for children to practice their blending techniques.
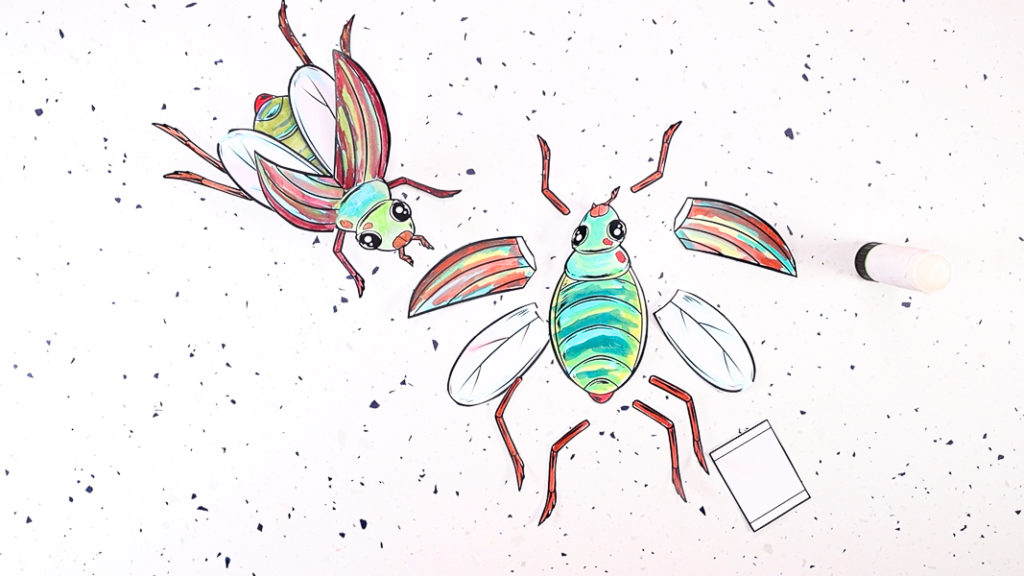
Step 2: Once all the beetle parts are colored, carefully cut them out.
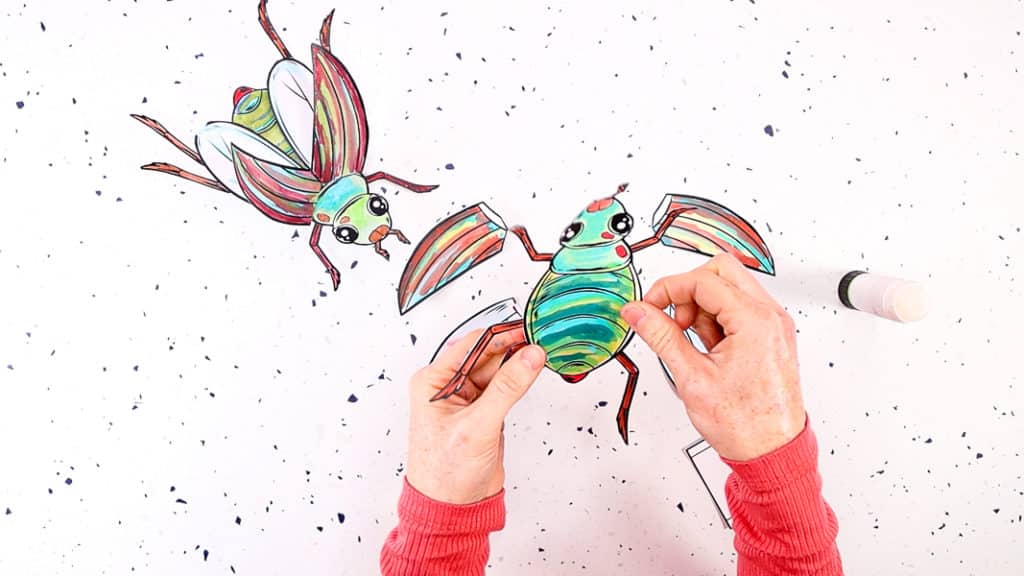
Step 3: Affix the beetles 6 legs.
The two short legs should be glued to the beetles second segment, while the hind legs are affixed to the beetles body.
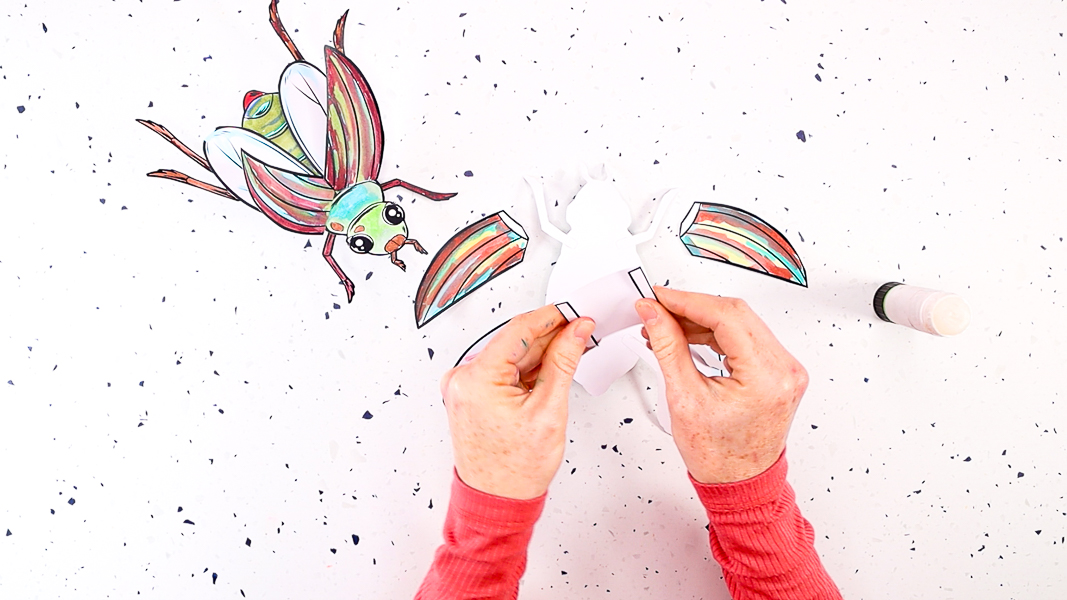
Step 4: Turn the beetle over and fold the two flaps of the finger piece and gently bend.
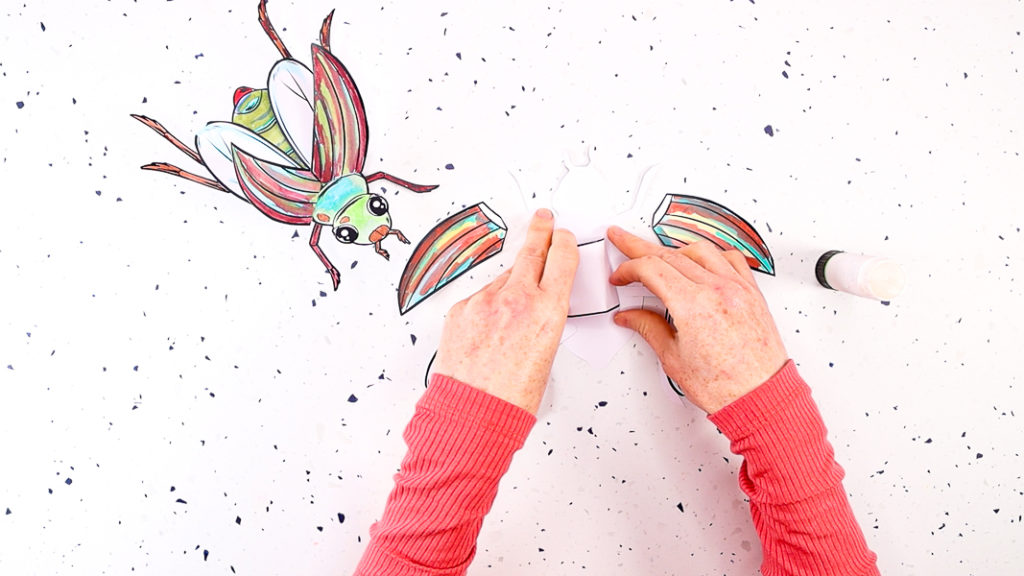
Step 5: Affix the finger piece to the back of the beetle ( White area).
To help secure the finger piece to the beetle, pop a paint brush or pencil inside to apply pressure on the two affixed flaps.
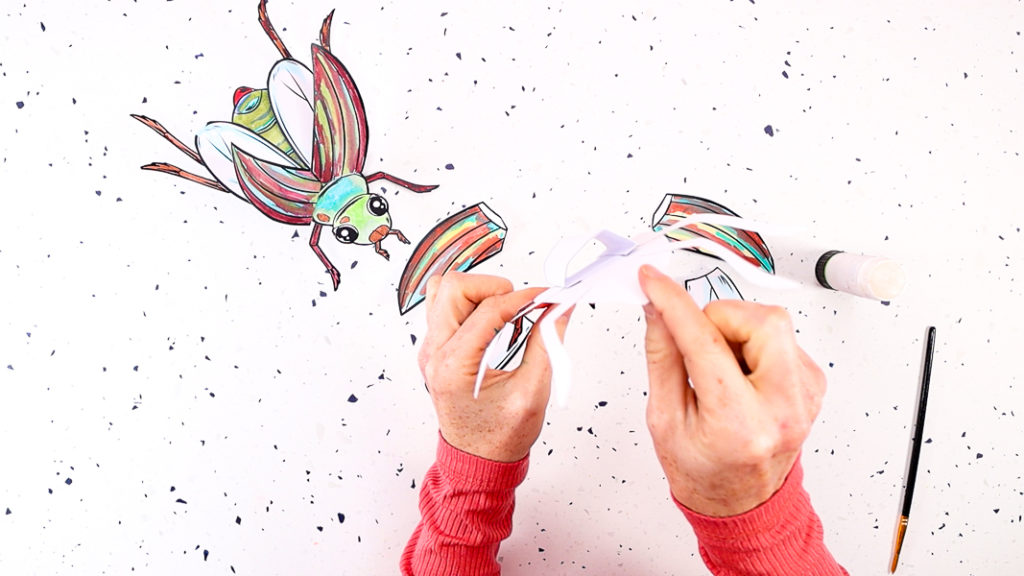
Once secure, the beetle should now have a good sized finger hole.
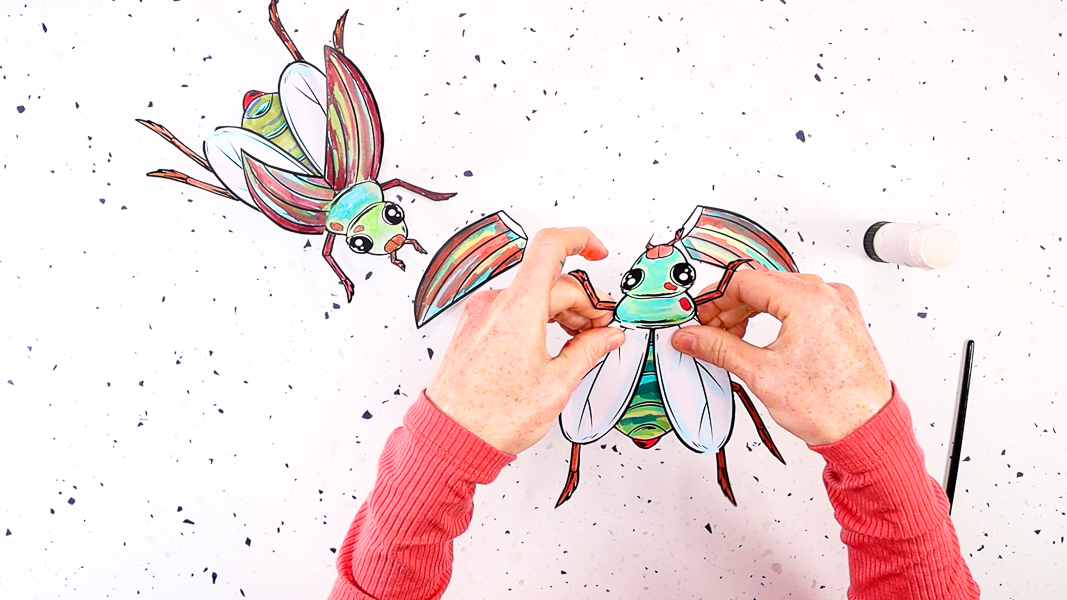
Step 6: Apply glue to the straight edges on the wings and affix just below the beetles second segment (after its head) as shown above.
These wings are the beetles ‘thin wings’ and should be position in such a way that reveals the body underneath. Arty Crafty Kids should also be able to gently lift the wings.
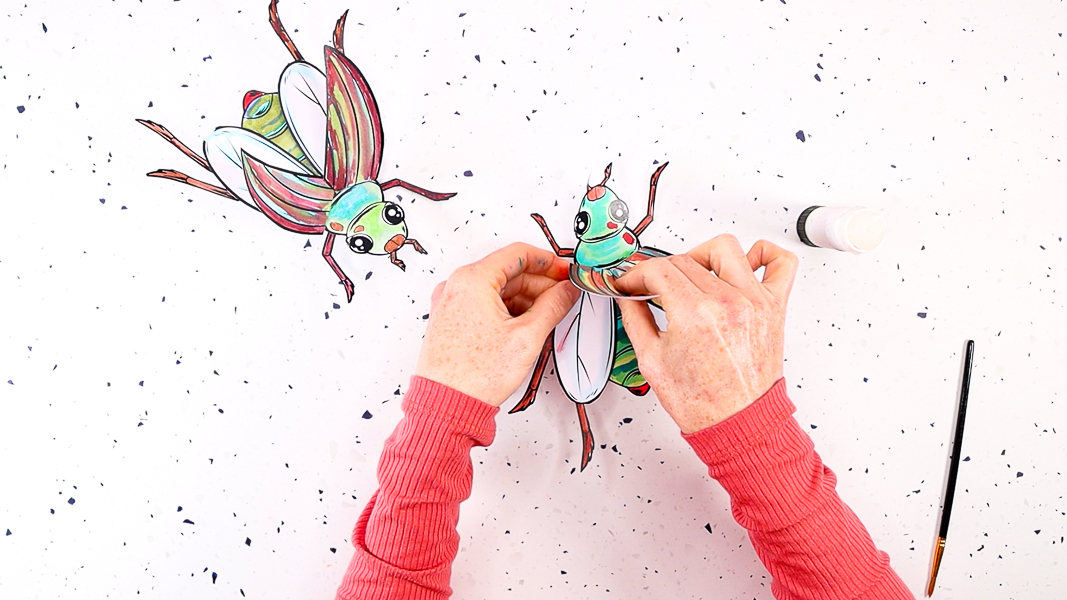
Step 7: Fold the flaps on the shelled wings (elytra). Apply a generous spread of glue and affix to the top of the thin wings underneath.
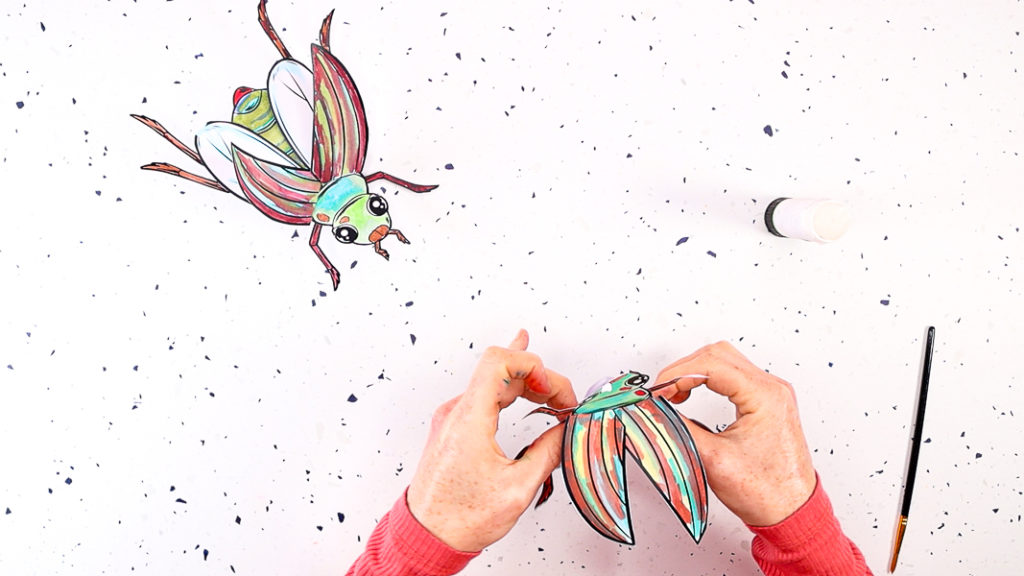
To enhance the 3D effect and create the illusion of flight, gently left the wings away from the body.
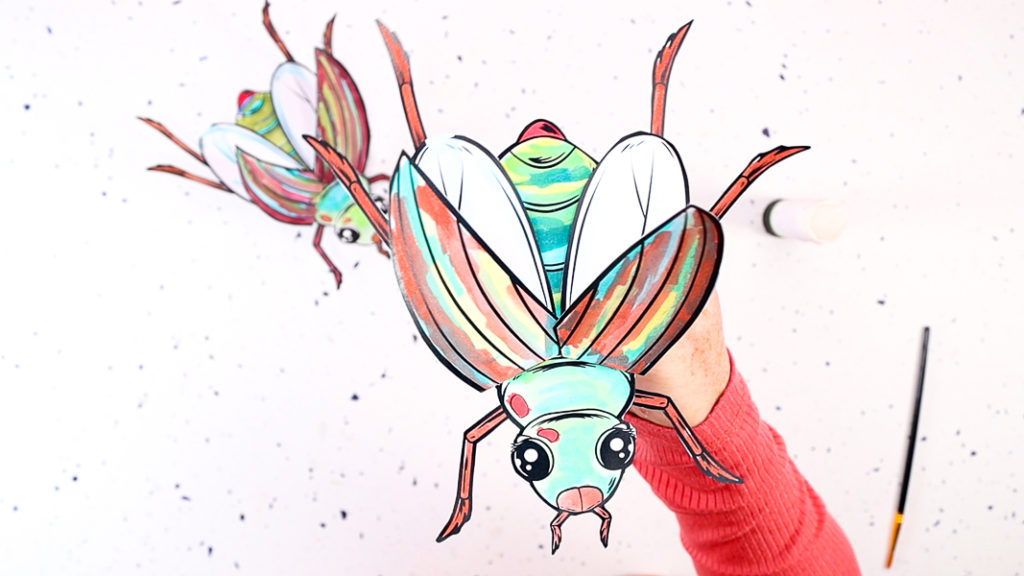
The 3D Paper Beetle Bug craft is ready to soar into the sky for a bug-sized adventure.
For more fun with insects, perhaps your Arty Crafty Kids would like to explore our collections of 3D butterfly and mixed-bug coloring pages!
