Sharing is caring!
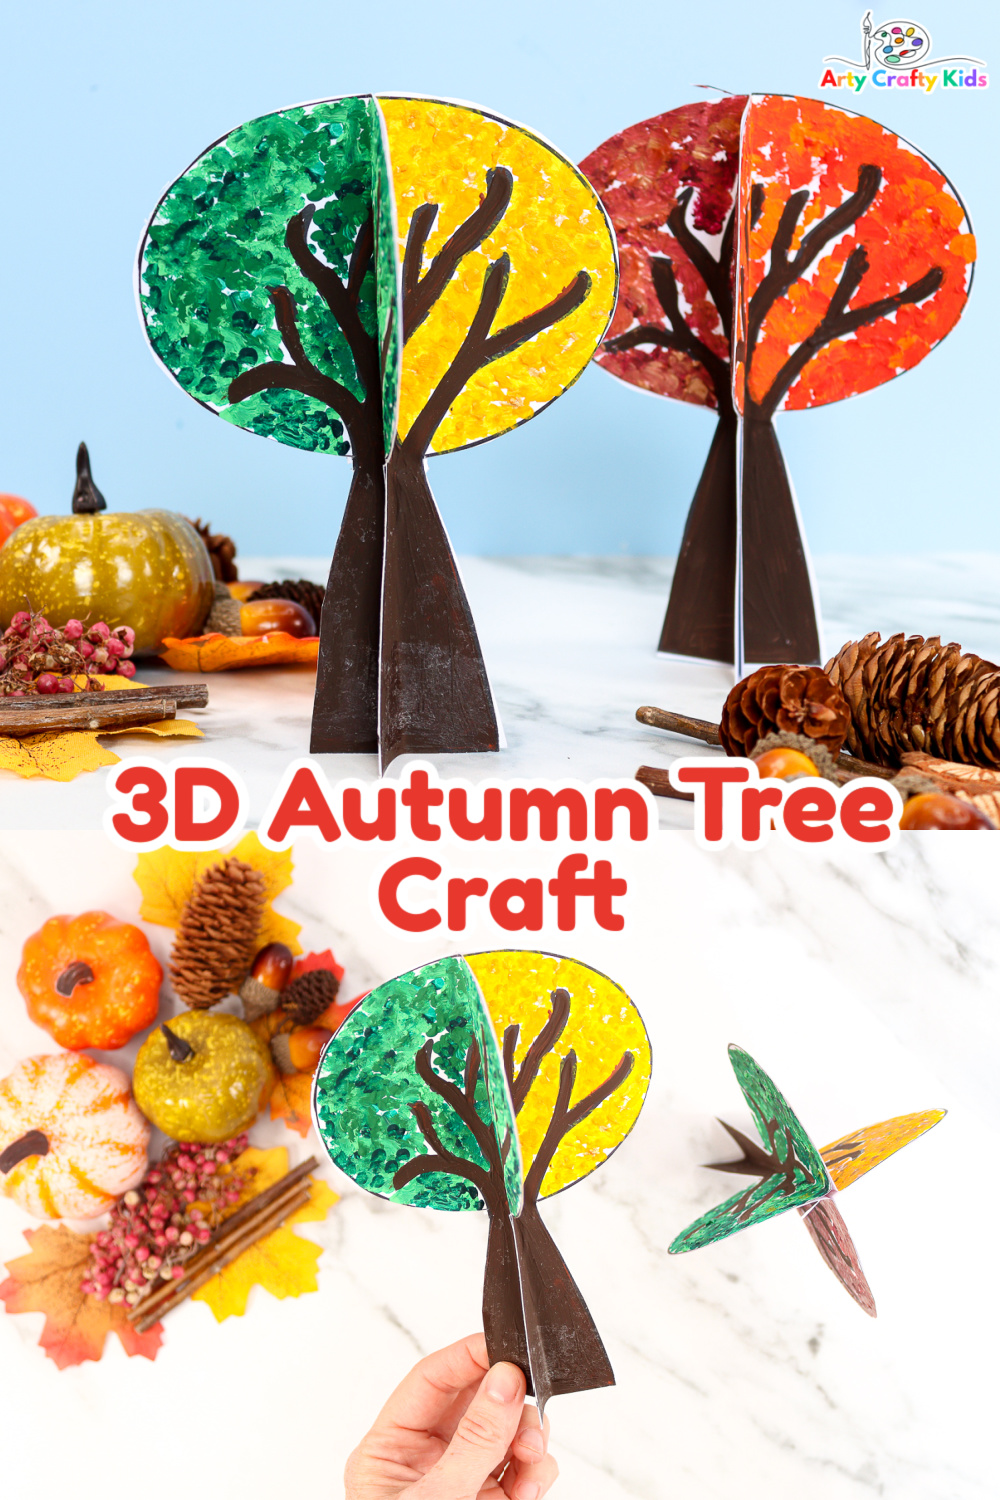
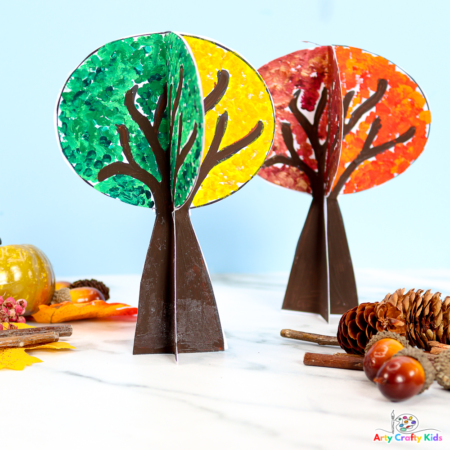
Our 3D Paper Autumn Tree Craft is wonderful craft and tool for learning about the natural process of color change that occurs during fall.
This is a craft that will inspire conversations about why the tree leaves change color during the Autumn season; combining learning with creativity to give children the opportunity to interpret what they see in the natural world within their craft.
The printable template can be colored using a variety of mediums from paint, to chalk, crayons and more – adding an open-ended quality that encourages playful experimentation.
Once completed, the fall trees will look fabulous as part of an display or play scene.
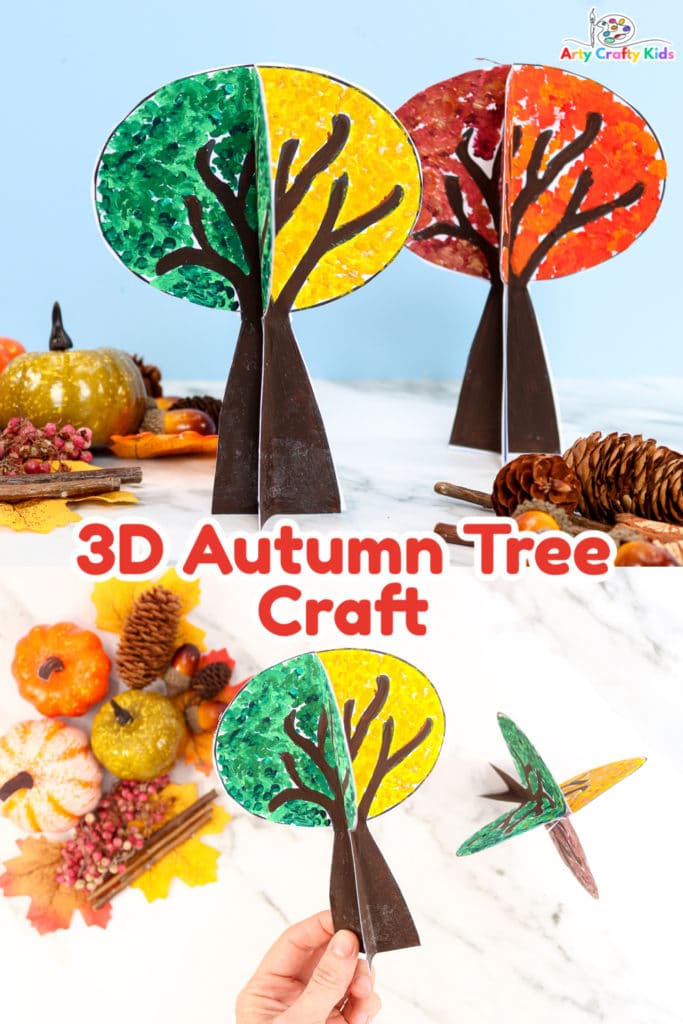
How to Make a 3D Autumn Tree Craft
Materials
White Card Stock for Printing
A Favorite Medium – Paint, Crayons, Pastels
Scissors
Glue Stick
Download the 3D Tree Template:
The 3D Tree Template is available to members of the Arty Crafty Kids club.
Members will need to log in to access the templates: https://www.artycraftykids.com/product/3d-autumn-tree-craft-template/
Not a Member?

Watch the Step-by-Step Video Tutorial
Let’s Make an Autumn Tree!
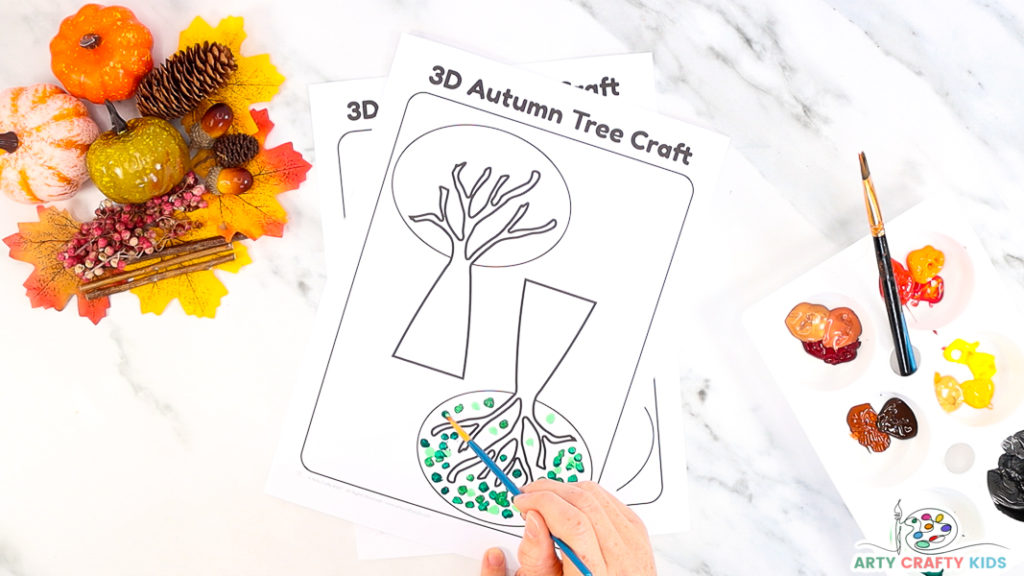
Step 1: Color in the Tree Template
Use a favorite medium to color in the tree template! Inspired by our Four Season Tree Art we’ve used pointillism – the art of painting and layering with dots – to color each tree.
Each tree should focus on a different “Autumn” color, this could be green, yellow, orange, red, brown or purple.
If your Arty Crafty Kids are painting their Autumn trees, they can create different hues of each color by lightening it with white or mixing different amounts of primary colors i.e. blue + yellow = green, adding less or more of each primary color will adjust the color result.
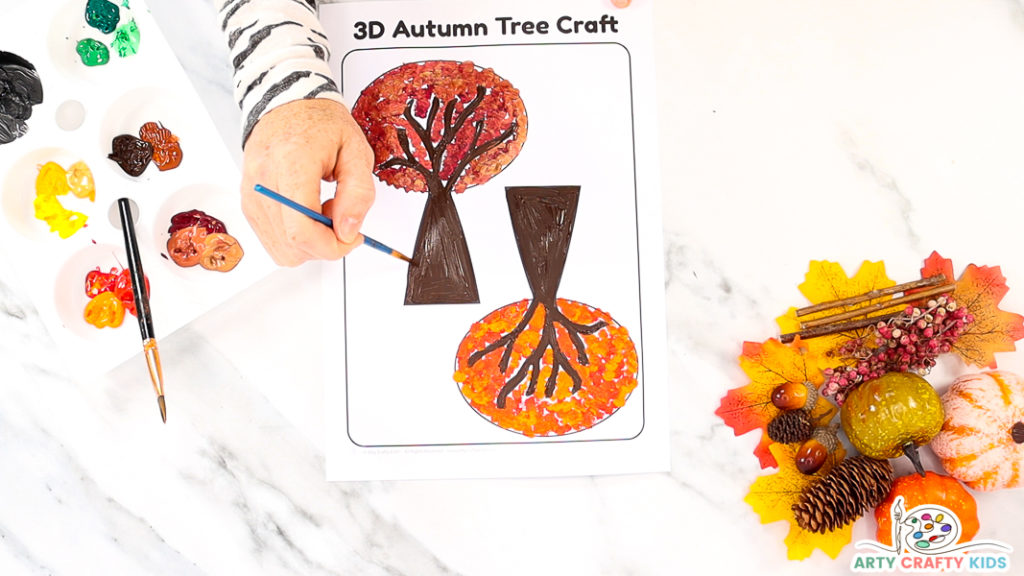
Load the paintbrush with a generous amount of paint and simply dab it around the branches to create spots.
Use three or four different shades of the same color and layer the dots until the foliage is full.
Next, paint the tree branches and trunks a dark brown.
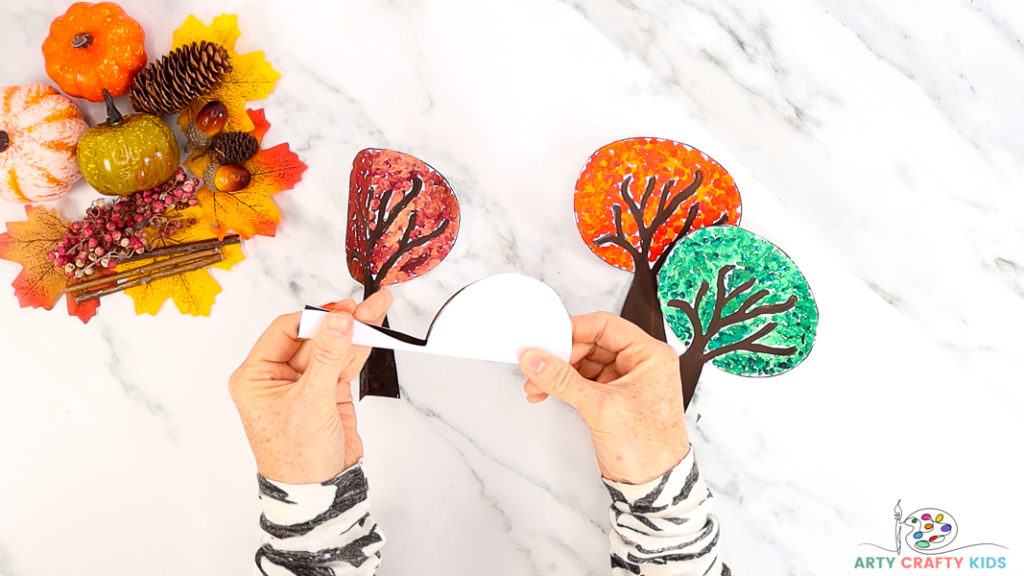
Step 2: Cut Out and Fold the Trees in Half
Once each tree is colored in, carefully cut them out.
Gently fold each tree in half.
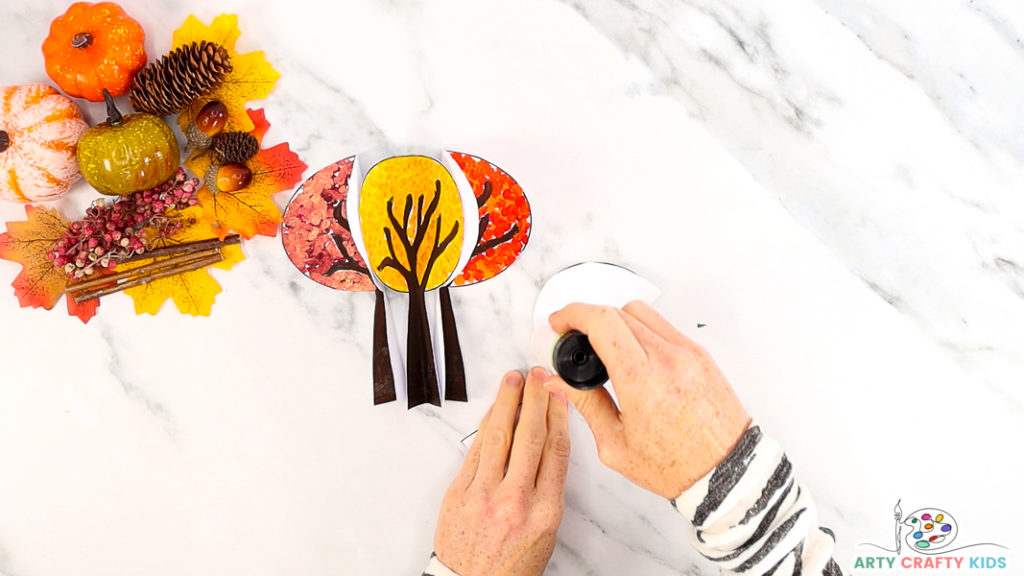
Step 3: Apply Glue to an Unpainted Fold
With all the tree parts folded, place them in an order; this should reflect the process of chlorophyll breaking down in the leaves. The green color disappears, and the yellow to orange colors become visible, followed by red, purple and brown.
Apply a generous spread of glue to one side of the white fold.
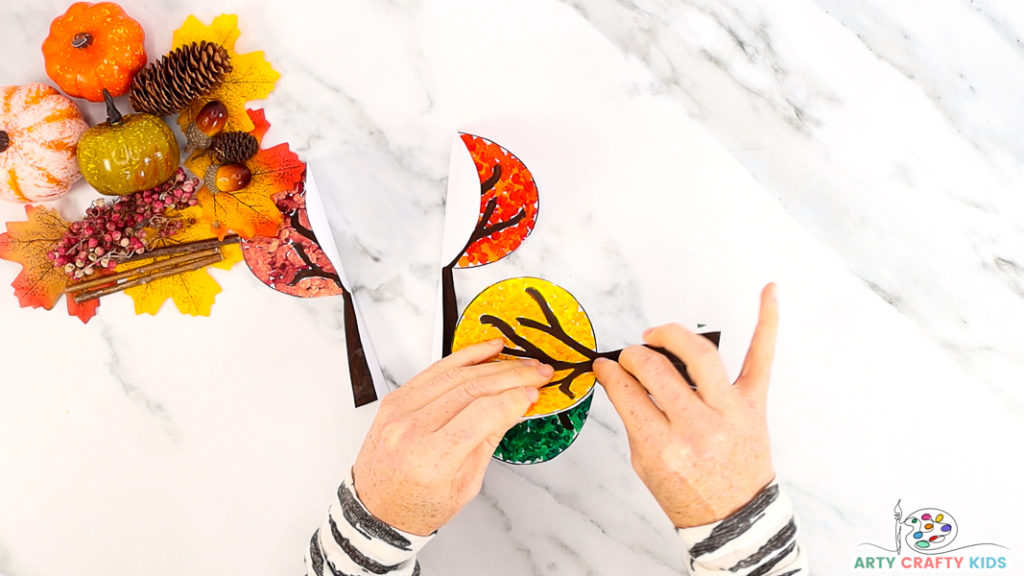
Step 4: Begin Layering the Folded Trees
Affix the white area of another folded tree to the gluey side.
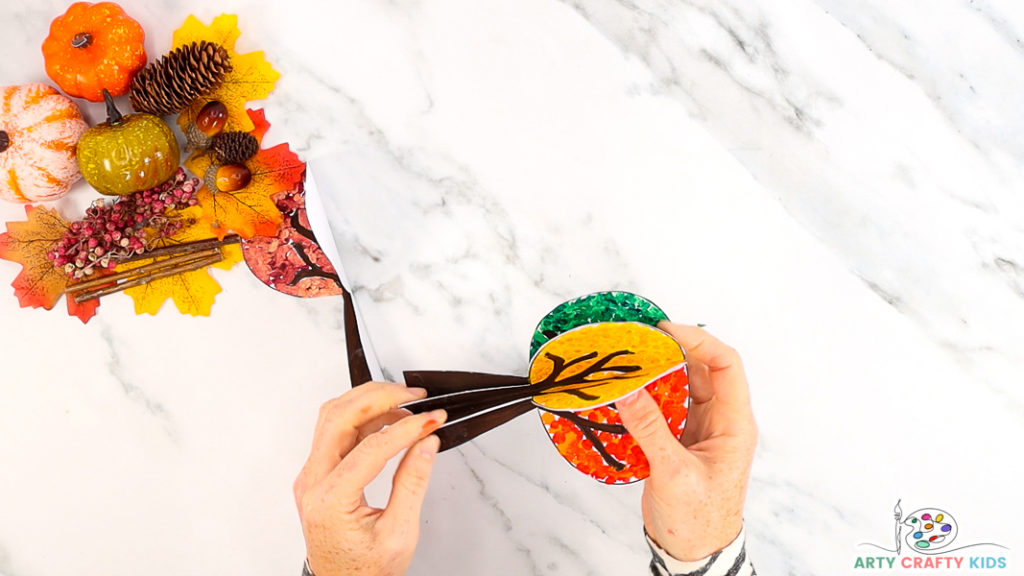
Align in trees and repeat the process to add another tree half.
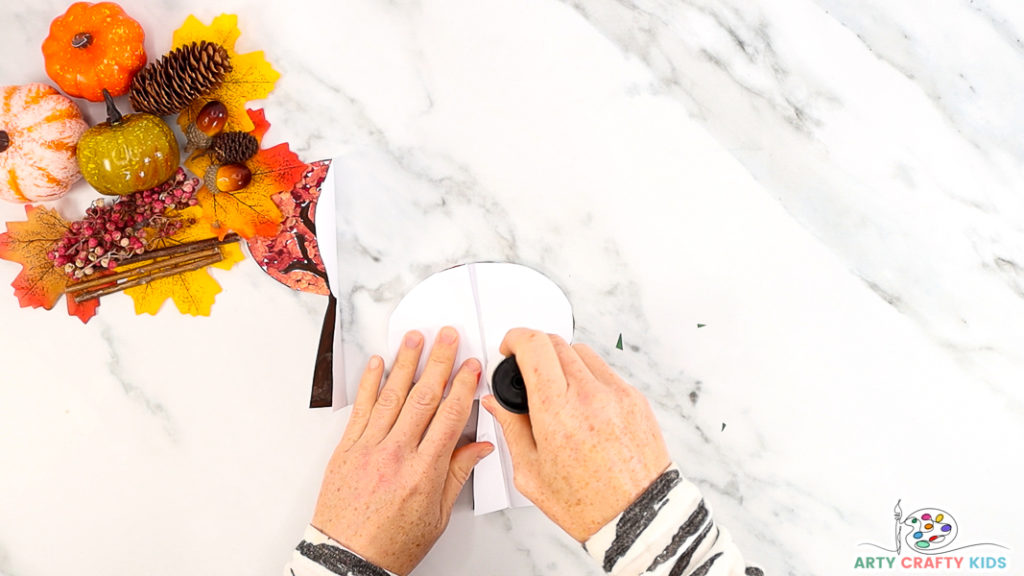
Step 5: Open the Folded Trees and Apply Glue
With three paper Autumn tree parts layered, open the tree to reveal two white sides and apply a generous spread of glue.
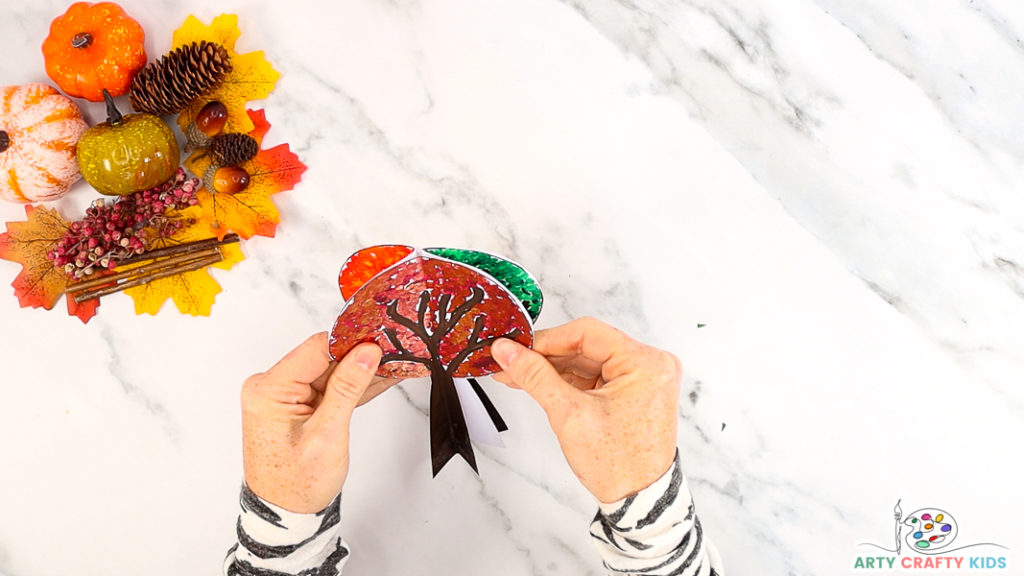
Step 6: Affix the 4th Tree
Gently move the trees to align the edges.
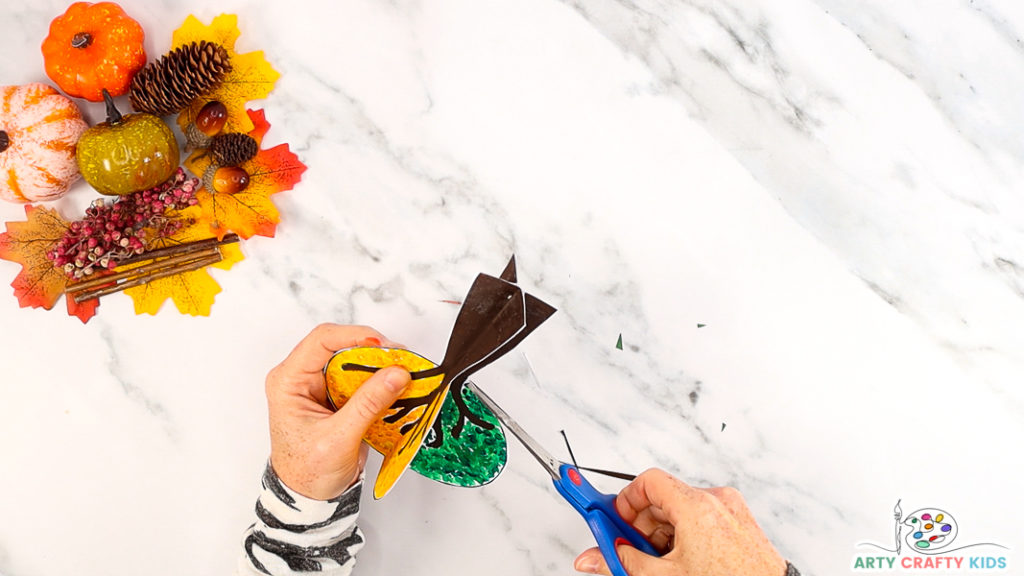
Step 7: Trim the White Edges
With variations in folding and alignment of the trees, there will be some white exposure – don’t worry!
Simply carefully trim the white edges.
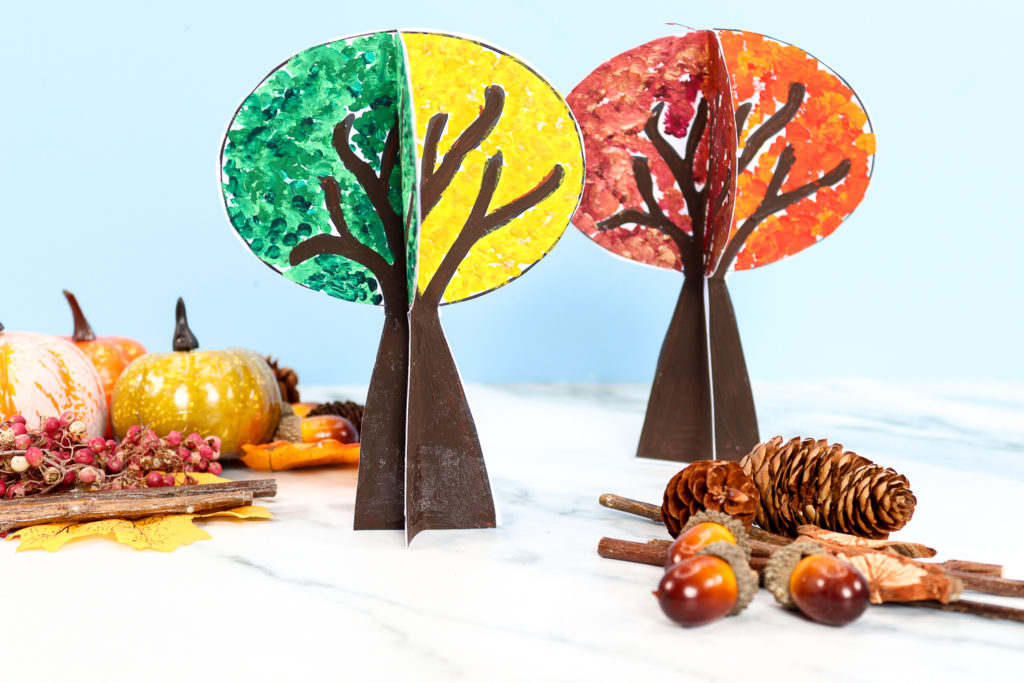
Your Arty Crafty kids should now have a beautiful 3d Paper Autumn Tree to put on display or add to an Autumn/ harvest or Thanksgiving themed play scene.
To add to their play scene, they could make a paper roll fox, owl or a little 3D pumpkin patch.
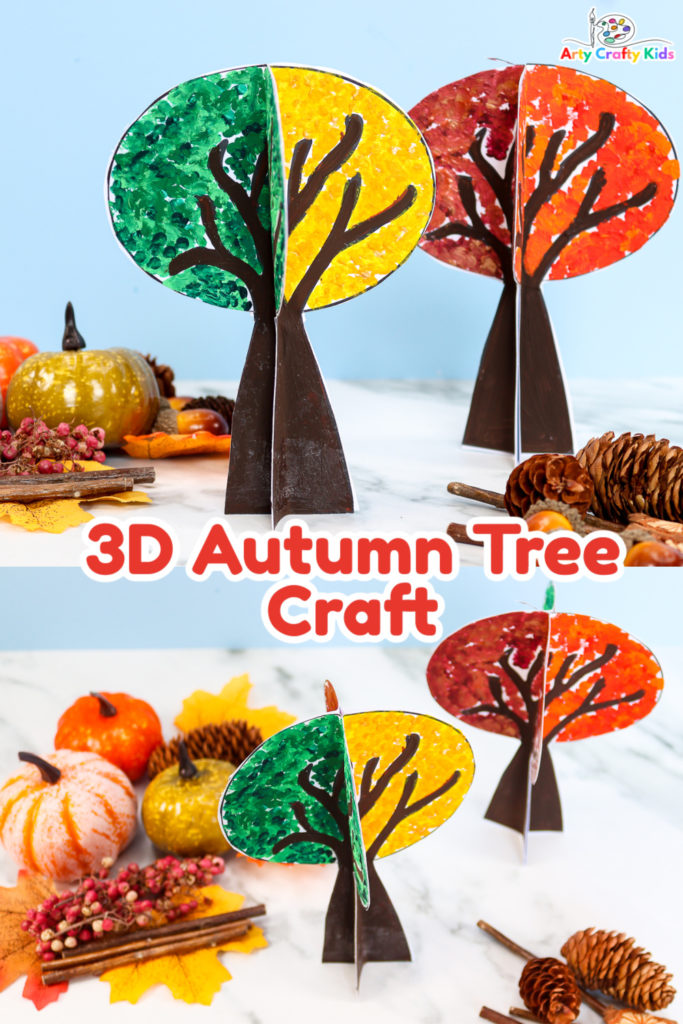
I hope your Arty Crafty Kids have a wonderful creative time making their Autumn tree craft and learning all about the process of Autumn color change!
As always, we love to Arty Crafty Kids’ creativity in action and if you happen to share their completed makes on social media, please do give us a tag or/and use the #artycraftykids – happy crafting!
More Crafts for Kids’ to Enjoy this Autumn
-
3D Fox Template
-
Flow Drawing: How to Draw an Owl
-
Flow Drawing: How to Paint an Autumn Birch Tree Scene
-
Moving Eyes Owl
-
Moving Eye Fox
-
Autumn Bubble Wrap Tree Template
-
Autumn Activity Book
-
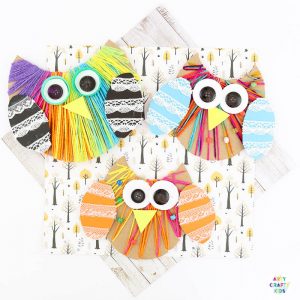
Yarn Wrapped Owl
-
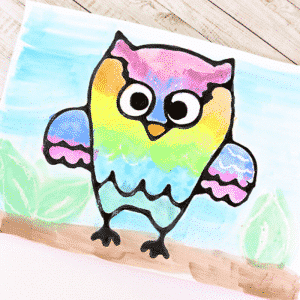
Owl Black Glue Resist Art
-
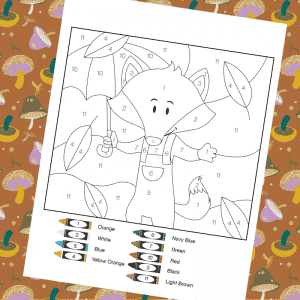
Colour by Number Fox
-
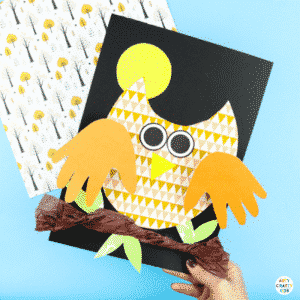
Bobble Handprint Owl
-
Autumn Hedgehogs and Pumpkins
-
Autumn Camping with Forest Friends

