Sharing is caring!
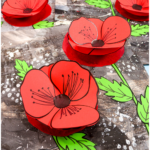

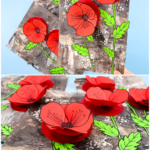
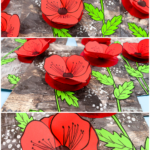
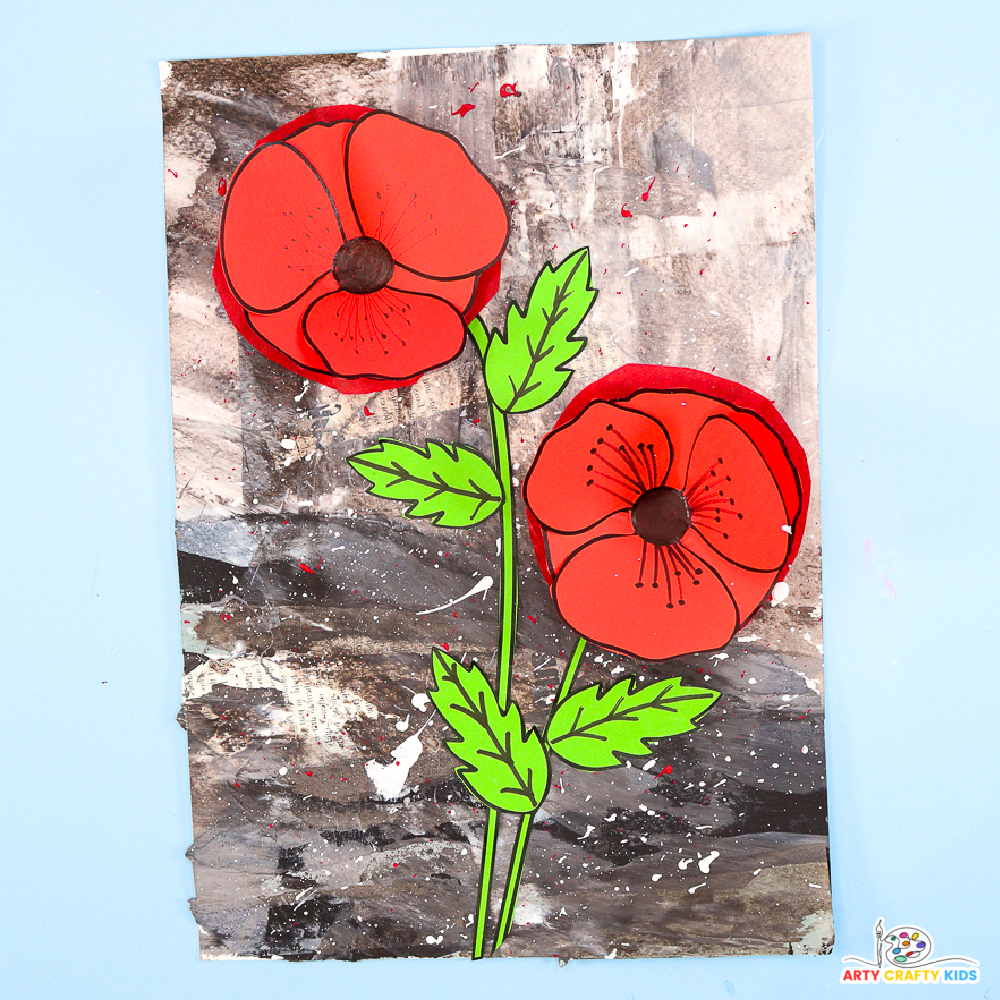
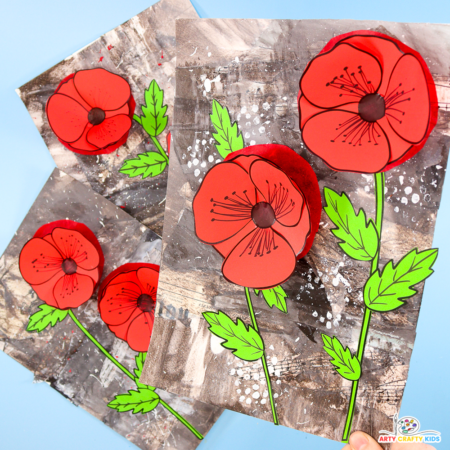
This 3D Mixed Media Poppy Craft for Remembrance Day is a meaningful and easy-to-assemble project for kids, creating layers of symbolism with accessible materials.
Featuring a striking red paper poppy set against a backdrop of muted blacks, greys, and whites, this art piece tells a story of remembrance.
Torn newspaper clippings and vintage music score sheets represent veterans’ lost stories and unheard voices, subtly overlayed with scraped black and white paint to soften the edges and reveal fragments of these memories.
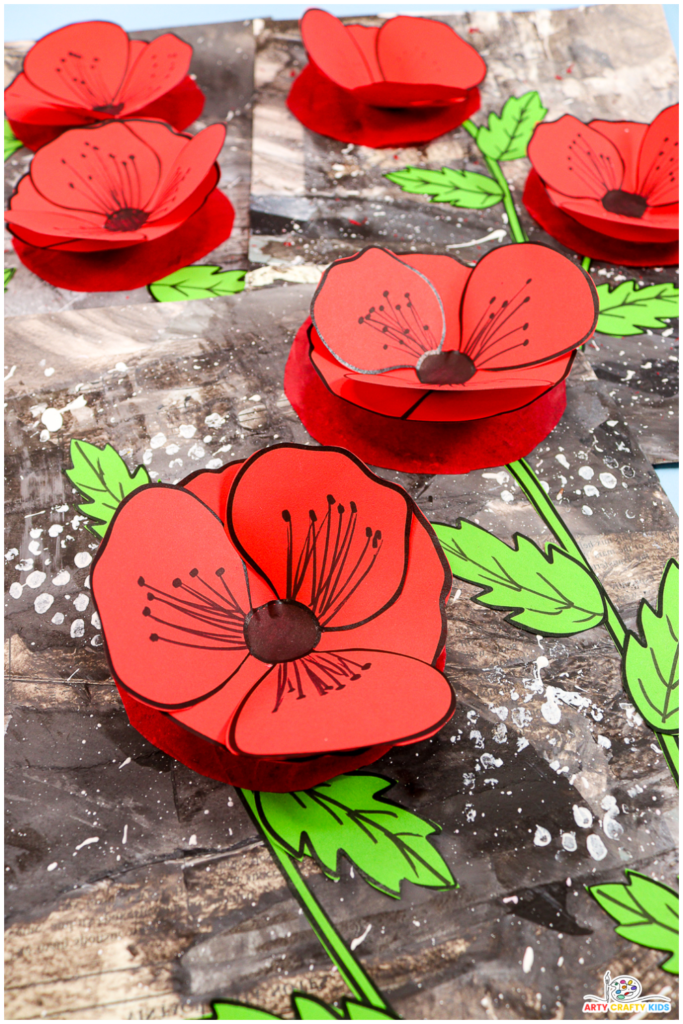
The contrasting colors between the vibrant poppy and the monochromatic background evoke hope amid somber reflections, making this art project a beautiful companion to WWI history lessons or readings of “In Flanders Fields.”
Ideal for classrooms or home learning, this poppy craft provides a creative way for kids to connect with Remembrance Day, honoring the past while expressing themselves through art.
How to Create a Thoughtful 3D Mixed Media Poppy Craft for Remembrance Day
Materials:
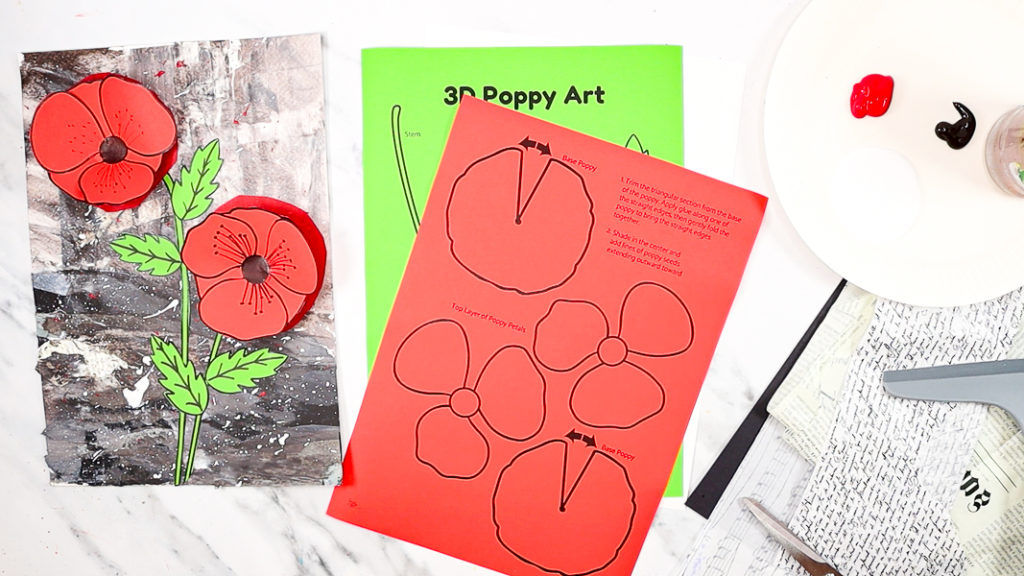
- White Card Stock
- Red and Green Paper for Printing
- Black, Red and White Paint
- Scrap Black and Grey Paper
- Scrap Printer Paper (Book/Newspaper Clippings, Music Sheets)
- Red Tissue Paper
- Printing Materials (Bubble Wrap, Corrugated Card, Straws, etc.)
- Scissors
- Glue Stick
- Squeegee (optional scraping tool)
- Paintbrush
- Popsicle Stick
- Black Marker Pen
- Poppy Template (members will need to login to access the templates).
Not a Member?
Join the Arty Crafty Kids club to access the Poppy Craft Templates and 100s more Art and Craft templates, How to Draw Guides and Coloring Pages.

Step-by-Step: 3D Poppy Art Project
Before you begin, print the poppy templates on red paper for the petals and on green paper for the stems and leaves.
This color-coded approach makes assembly easy and brings vibrant color to your 3D poppy craft.
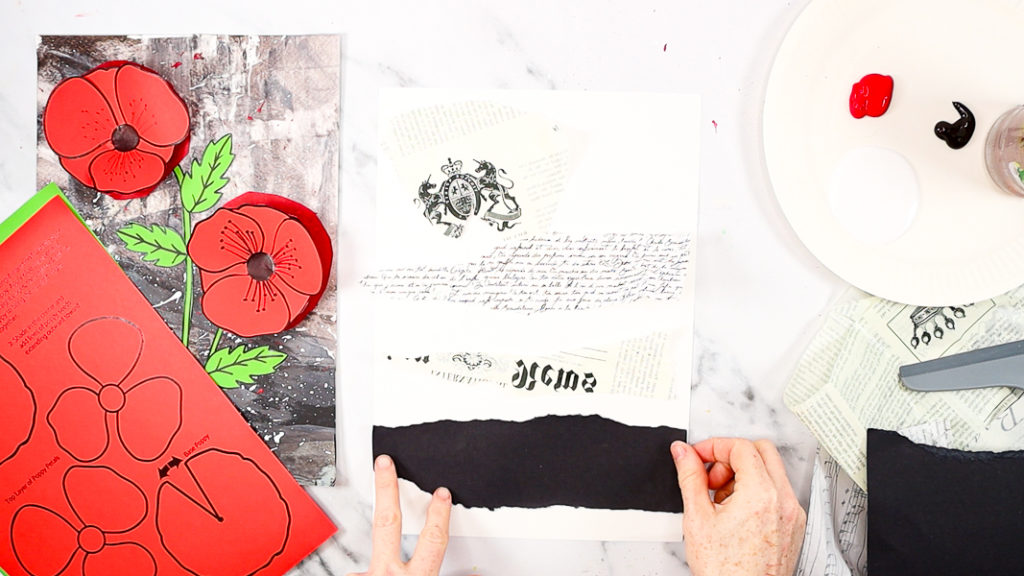
Step 1: Glue strips of paper to the backing card.
Begin by tearing strips of black and grey paper to create a textured, layered backdrop. Glue these strips onto a piece of white cardstock, arranging them to resemble fields.
Next, add torn pieces of recycled printed paper—such as newspaper clippings and music score sheets—to the background.
These pieces add depth and hold symbolic meaning, representing the stories and memories from the past. Allow the edges to overlap for a natural, collage-like effect.

Step 2: Apply dabs of black and white paint in preparation for scraping.
With a paintbrush, apply several dabs of black and white paint across the top of the canvas.
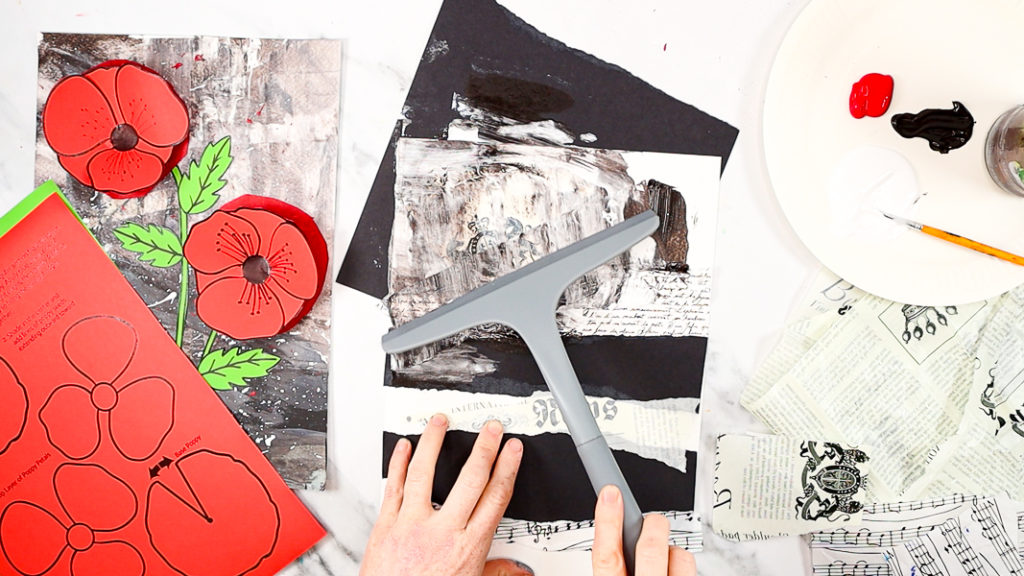
Step 3: Scrape the paint across the entire canvas.
Using a scraper, squeegee, or an old credit card, drag the black and white paint across the entire canvas in smooth, even strokes. As you scrape, the paint blends to create various shades of grey, forming a dynamic, monochrome background.
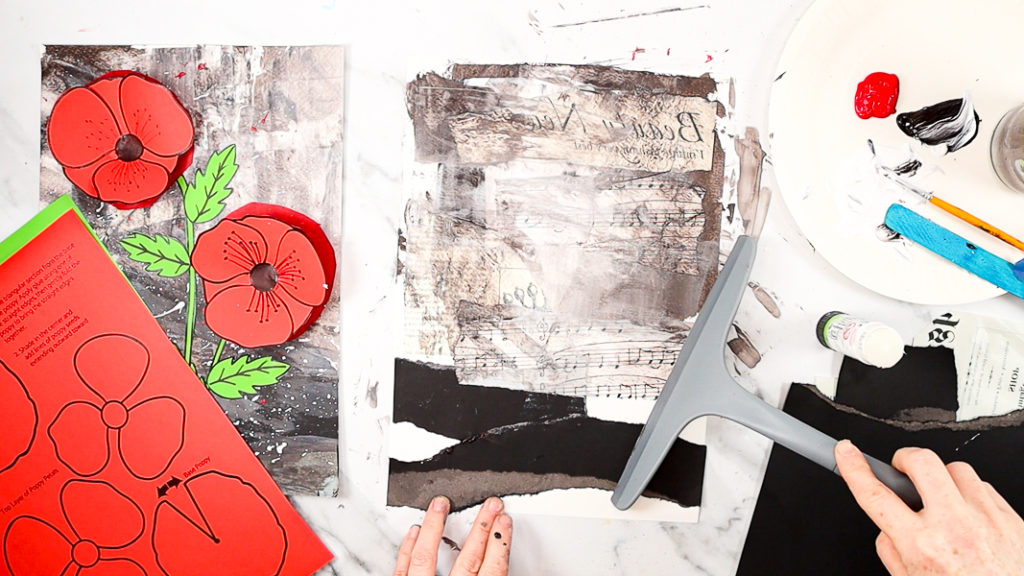
This layered effect softens the edges of the torn paper while revealing fragments of the newspaper clippings and music scores beneath.

The different shades add depth and dimension, enhancing the symbolism and creating a thoughtful, textured backdrop for the vibrant poppy.
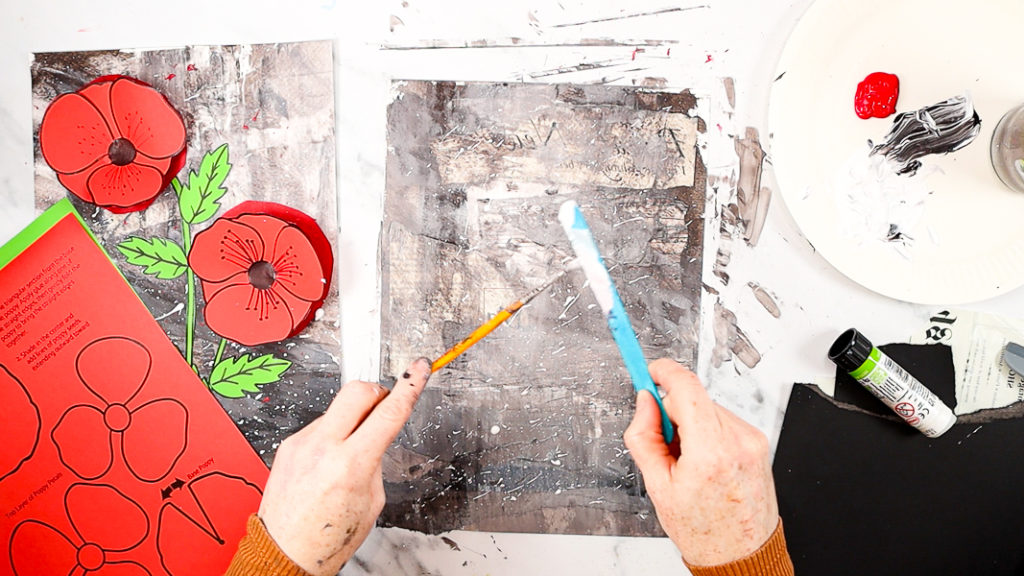
Step 4: Splatter white paint across the canvas.
Dip a paintbrush in white paint and, with a quick flicking motion or a scrape against a popsicle stick, splatter small droplets across the canvas to create additional texture and depth.
For more dynamic effects, try experimenting with different printing techniques—press a piece of bubble wrap dabbed in white paint onto the canvas, or use a sponge to create subtle, layered textures.
These added textures enhance the weathered, layered look.
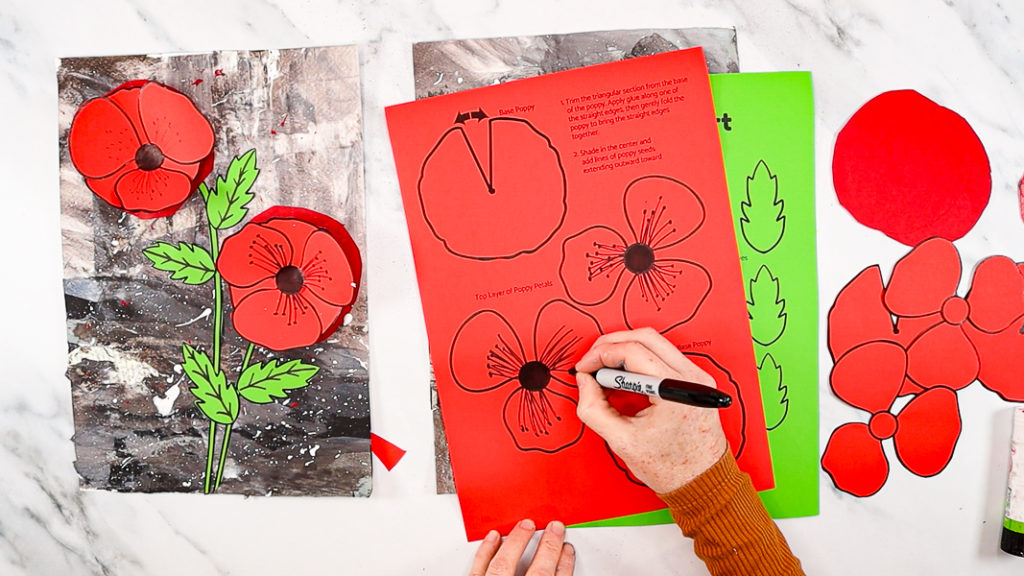
Step 5: Draw the poppy seeds onto printed poppy template.
Use a fine-tipped marker to add poppy seeds to the center of the printed template. This small detail personalizes each piece, adding a unique, handmade touch to your poppy craft.
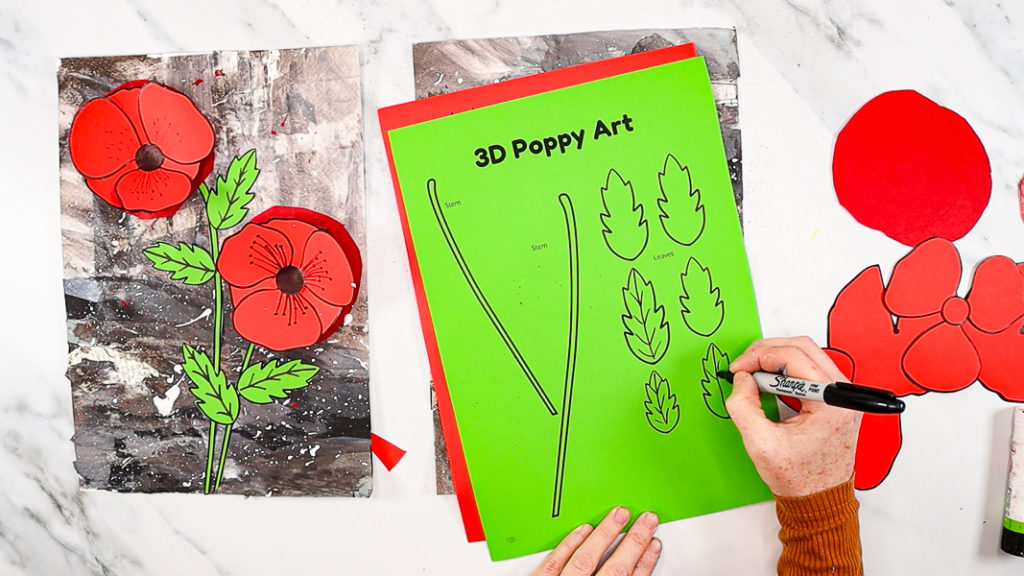
Step 6: Draw the leaves veins.
Using a fine-tipped marker or pencil, draw thin veins onto the poppy leaves.
This detail enhances the natural look of the leaves and adds a personal, realistic touch to the craft, bringing even more depth to your 3D poppy artwork.
Carefully cut out all the poppy flower elements.
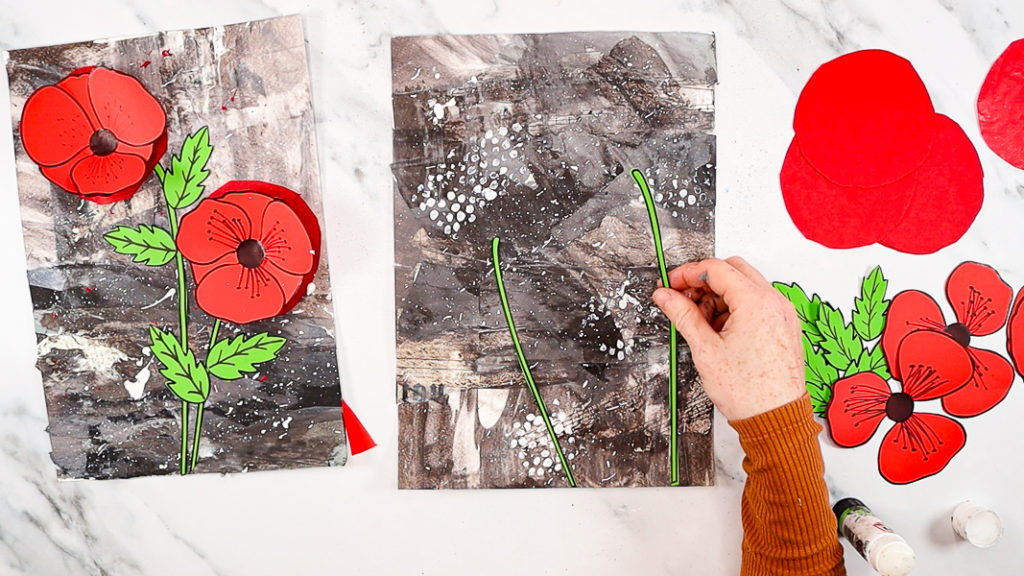
Step 7: Glue the stems onto the monochrome backdrop.
Apply glue to each stem and press them onto the monochrome backdrop, positioning them naturally to enhance the lifelike effect and prepare for layering the poppy elements.
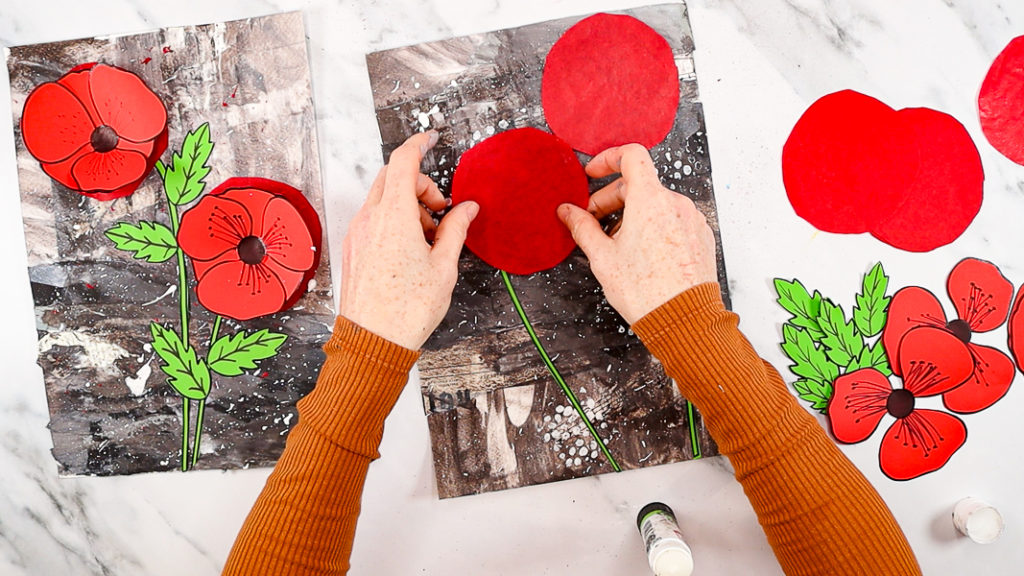
Step 8: Cut out two red tissue paper circles.
Cut out two red tissue paper circles by placing the base poppy template onto the tissue paper and tracing around it. Carefully cut along the outline.
Then, glue a tissue paper circle to the top of each stem as the first layer of your 3D poppy.
The tissue paper adds a beautiful transparency, creating a soft effect that allows hints of the textured background to show through, adding depth and dimension to the artwork.
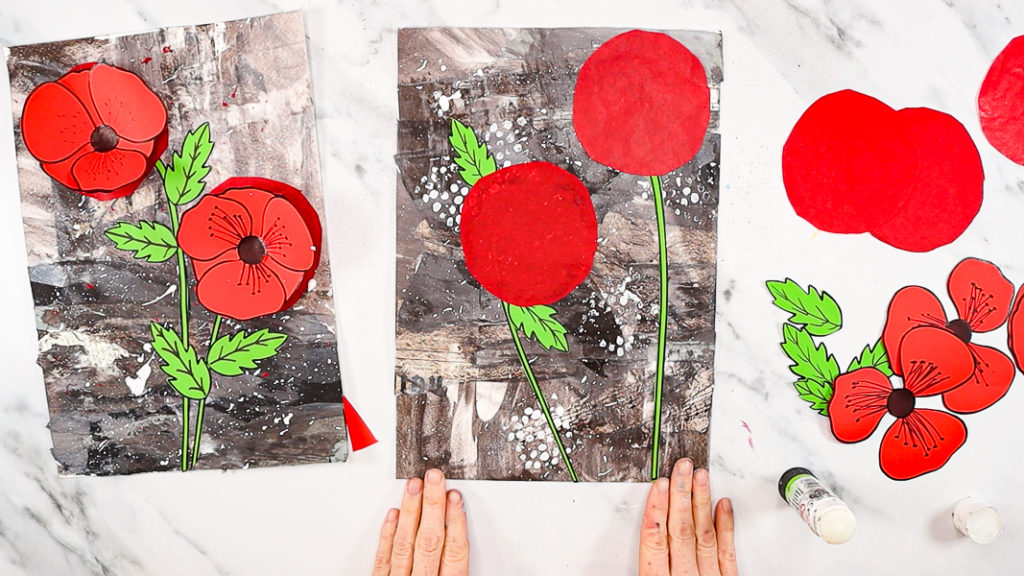
Step 9: Affix some of the leaves around the base poppy flower.
Glue a few leaves around the base of each poppy flower, arranging them to frame the petals naturally.
This step adds fullness to the poppy and brings a realistic, layered effect to the 3D craft.

Step 10: Apply Glue to a Straight Edge of the Poppy Base.
Add a line of glue along one of the straight edges of the paper poppy base, preparing it for a gentle fold in the next step.

Step 11: Join the straight edges to create a flower shape.
Gently bring the glued straight edges of the poppy base together, pressing them to create a cone-like flower shape.
Hold for a moment to allow the glue to set, forming the 3D structure of the poppy.
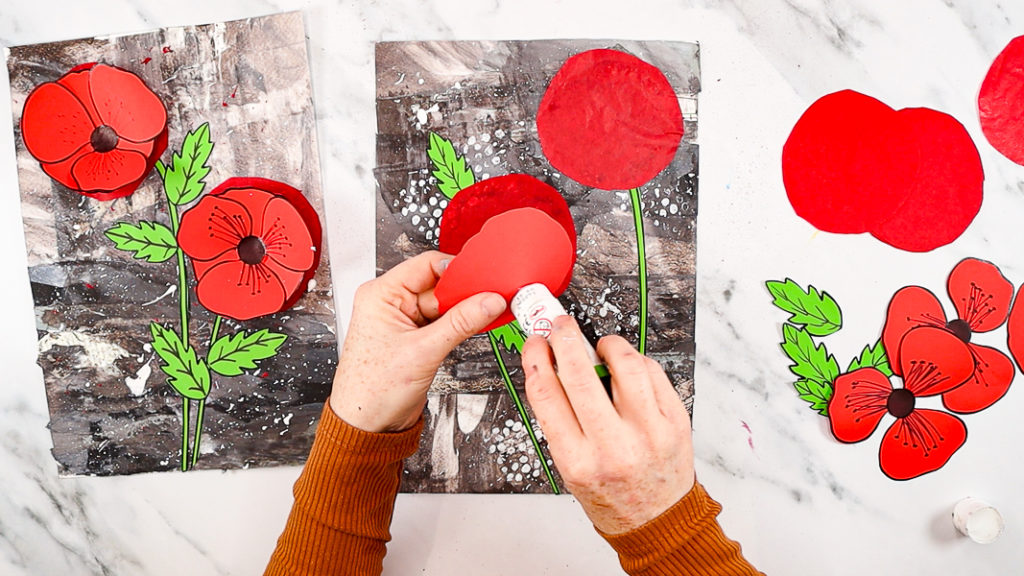
Step 12: Attach the 3D poppy base to the first tissue paper layer.
Turn the poppy base over and apply a generous amount of glue to the tip of the cone. Don’t worry if the tip flattens slightly—it will help secure the poppy in place!

Next, position the poppy base directly onto the center of the tissue paper circle.
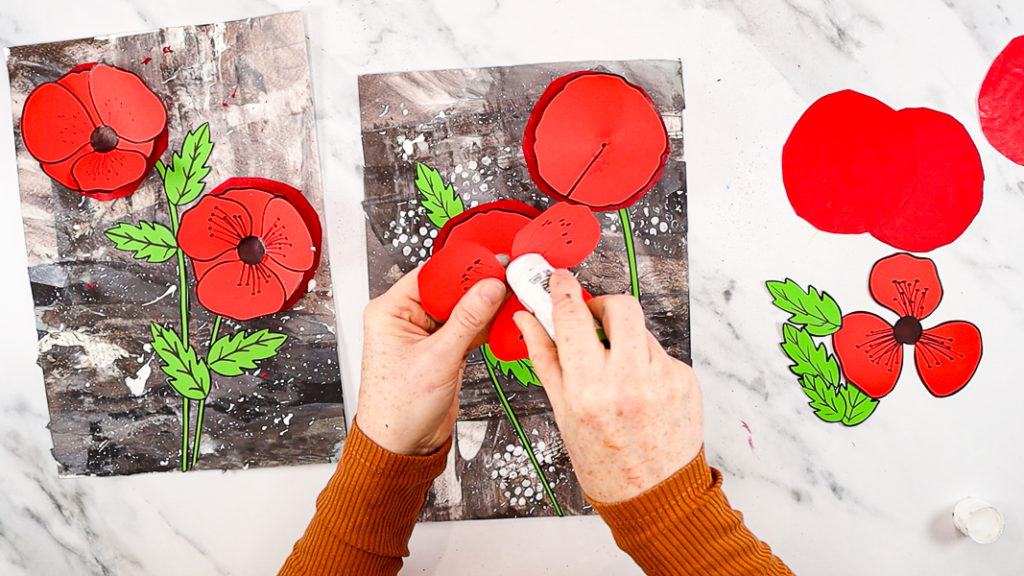
Step 13: Attach the top poppy layer.
Fold the petals of the top layer slightly to give them a natural, flowing movement.
Apply glue to the circular center of this layer, then carefully press it onto the 3D poppy base.

This final layer adds dimension and brings the poppy to life with realistic texture.
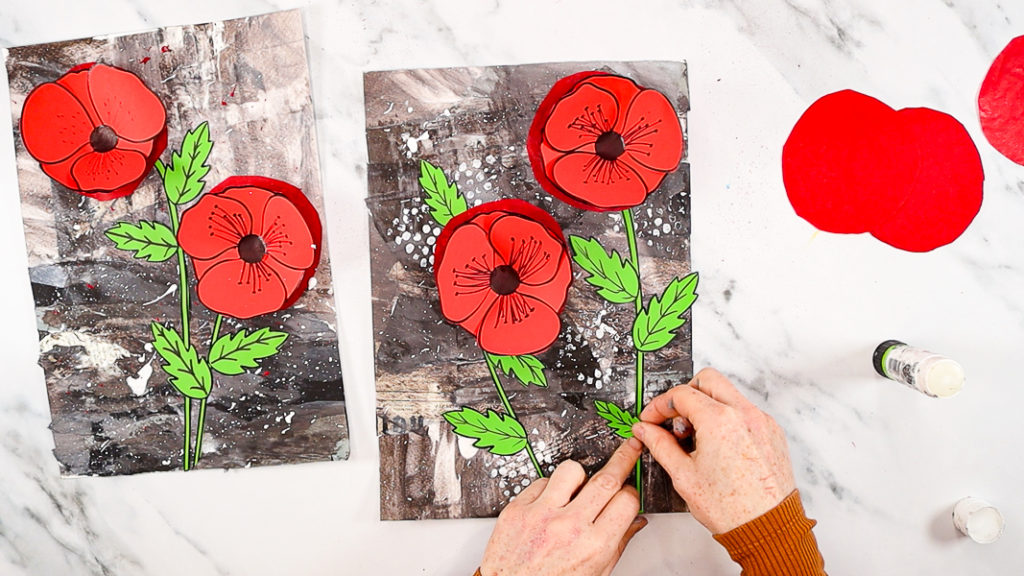
Step 14: Attach the remaining leaves to the poppy stems.
Apply a small amount of glue to the base of each remaining leaf, then press them onto the poppy stems.
Arrange the leaves to fan out naturally, adding fullness and completing the lifelike look of your 3D poppy.
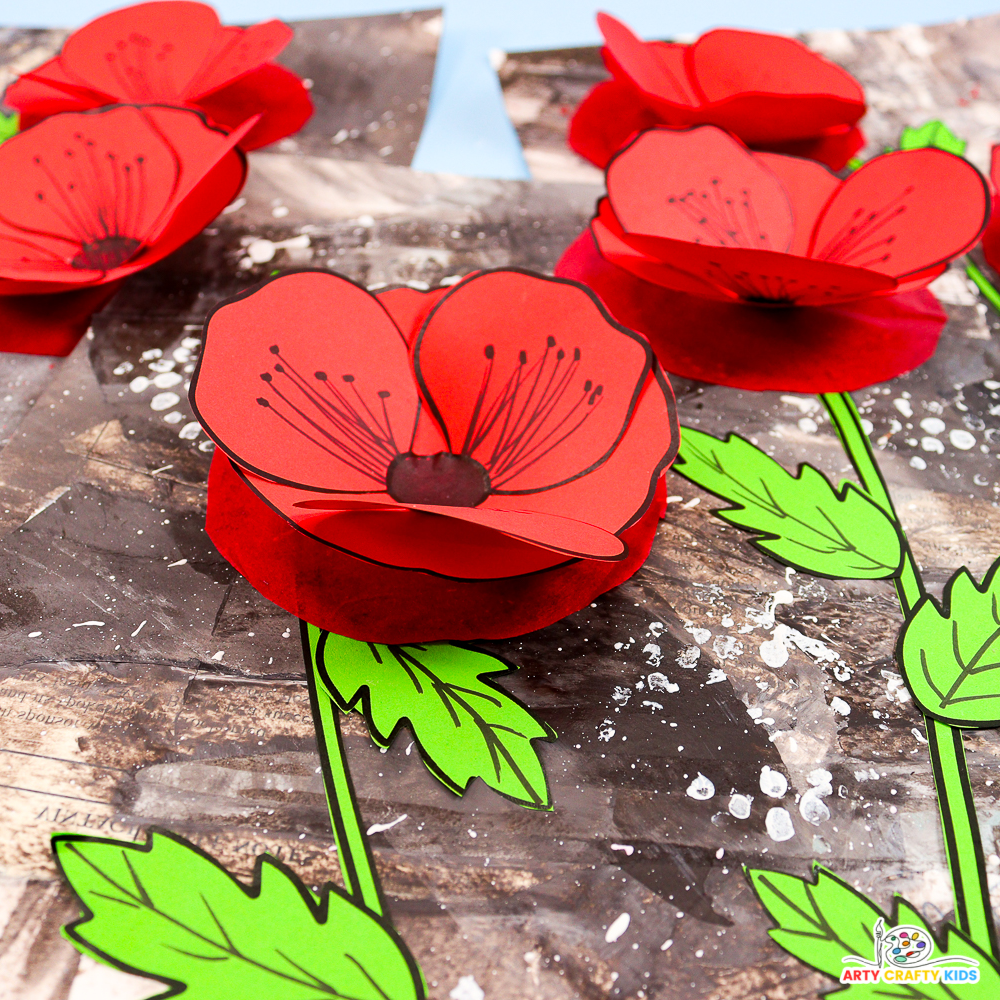
The 3D Poppy Craft for Remembrance Day is Complete!
This layered artwork combines a symbolic monochrome backdrop with a bold red poppy, honoring veterans thoughtfully. With added textures and hand-drawn details, your unique poppy art serves as a beautiful tribute and reminder of hope and remembrance.
For further reading, explore more about Remembrance Day and the symbolism of poppies with these resources:
- Remembrance Day Guide – BBC Bitesize
- In Flanders Fields – British Legion
- How to Draw a Poppy – Arty Crafty Kids
