Sharing is caring!
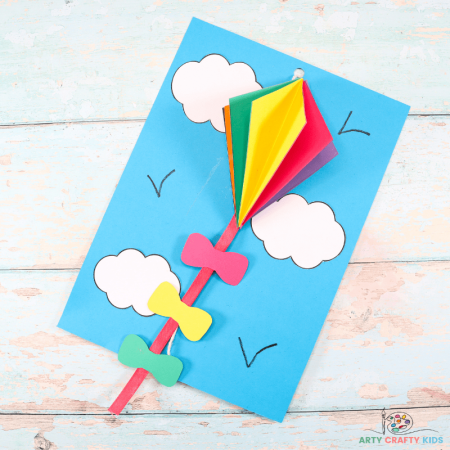
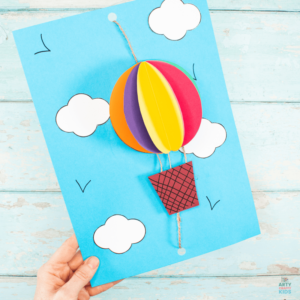
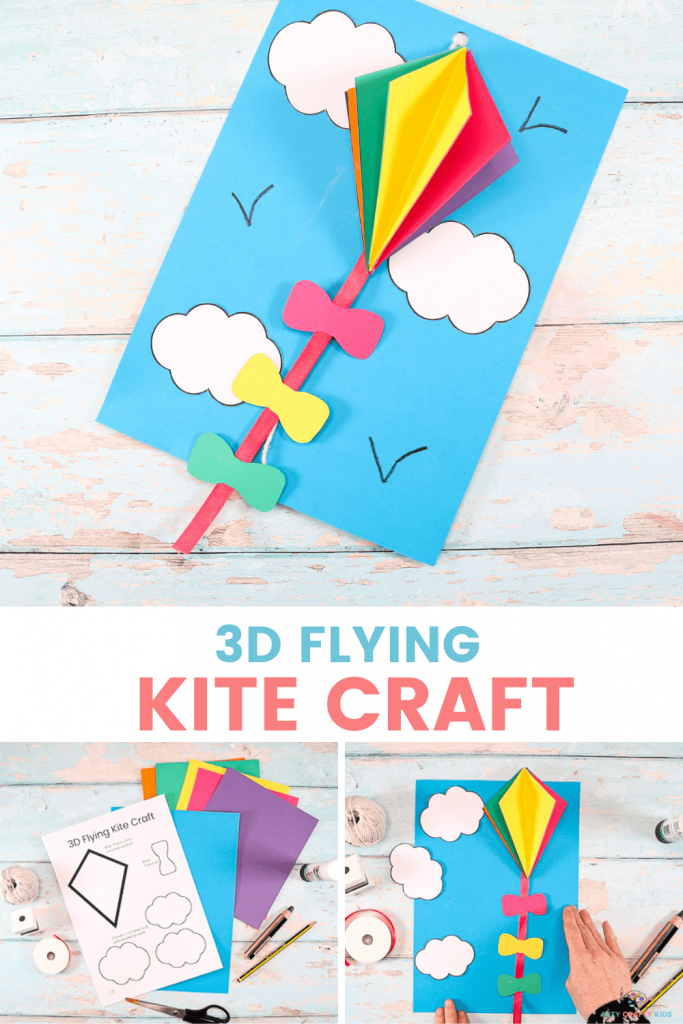
Let’s go fly kite this Summer, with our super fun and easy to make 3D Flying Kite Craft. This Summer craft for kids is a follow up to the popular 3D Flying Hot Air Balloon. Craft and STEM (Science, Technology, Engineering and Mathematics) collide to create a 3D paper kite craft that uses a simple pulley system to create the impression of flight against a glorious Summers blue sky!
The kite template makes this craft especially easy for children, who will engage their fine motor skills in cutting, tracing, folding and sticking throughout the process of the creating their 3D kite and background. The introduction of the pulley system is the “cherry on top” in this craft. It’s an immersive mechanism that enhances creativity and engagement.
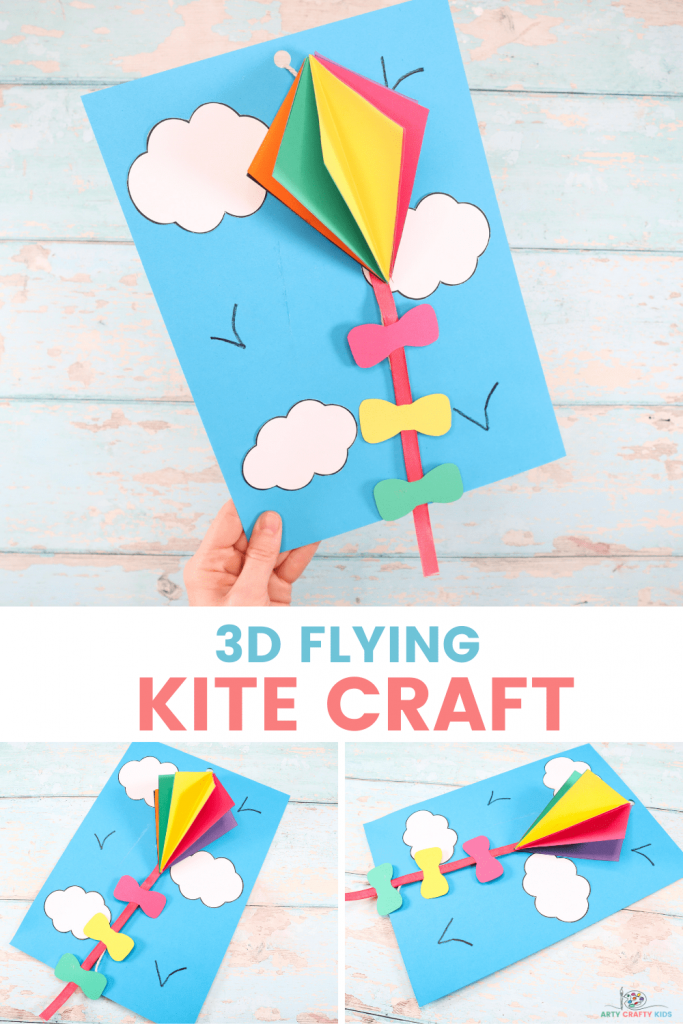
What’s not to love about this 3D Flying Kite Craft? with its pulley system and gorgeous rainbow 3D Kite, children’s creativity will soar, so let’s get started!
How to Make a 3D Flying Kite Craft
Supplies for the 3D Kite Craft:
- Blue Card Stock
- Colored Card Stock
- Tape
- String
- Hole Punch
- Pencil
- Scissors
- Glue Stick
- Black Marker Pen
How to Download the Kite Template
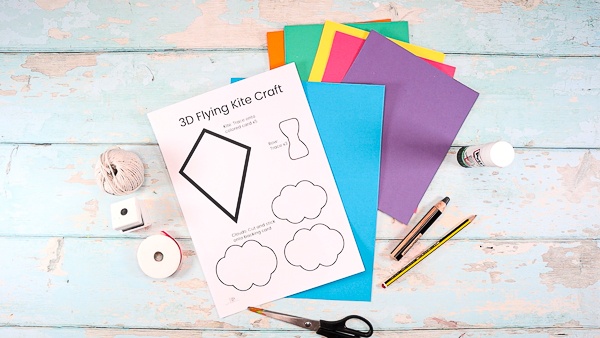
The 3D Kite Template is available to members of the Arty Crafty Kids Club. Members can access the template here (remember to login!): https://www.artycraftykids.com/product/3d-kite-craft/
Members will need to log in to access the templates!
Not a Member?
Watch the 3D Flying Kite Craft Tutorial
Let’s Make a Kite – Step by Step
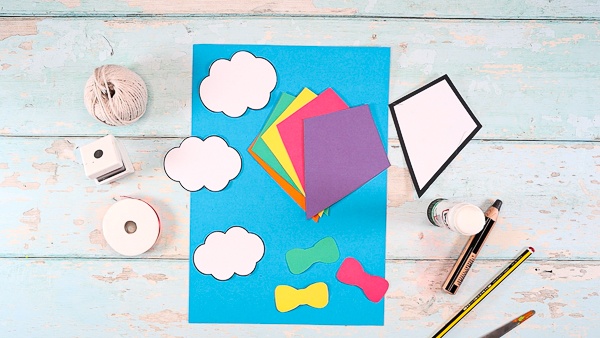
Cut out the Kite Elements and Trace
Start by cutting out the hot air balloon elements from the template and trace onto the colored card.
Our kite is made up of 5 pieces of colored card stock and a further 3 bows.

Fold the Kite Shapes in Half
Once the kites have been traced, cut them out and carefully fold each in half.
Next, select one half of the kite template and begin to layer the colored segments, one on top of the other – aligning each as you go.
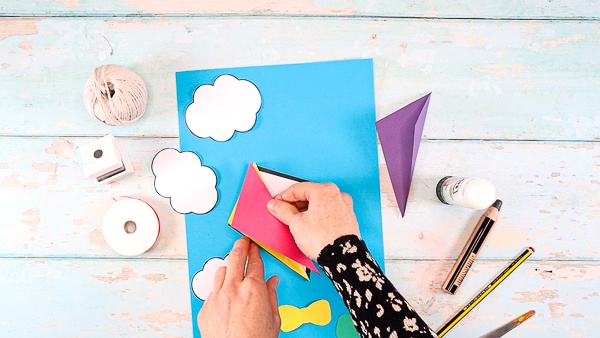
Layer the Folded Kite Segments
Continue layering the kite shapes.

Open the Kite Folds and POP
Once all the kites have been layered, apply lots of glue to the empty white space, unfold the last segment and secure.
The kite will now pop to create a colorful 3D Kite.
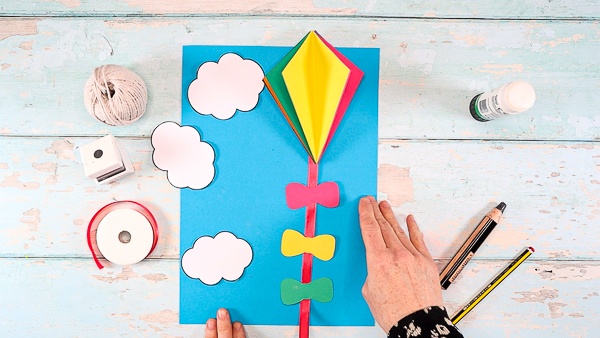
Add a Kite Tail
Attach a piece of ribbon to the back of the kite using sticky tape or glue, and then affix the 3 bows to the ribbon – try to space the bows out evenly.
Let’s Create a Background and Pulley System
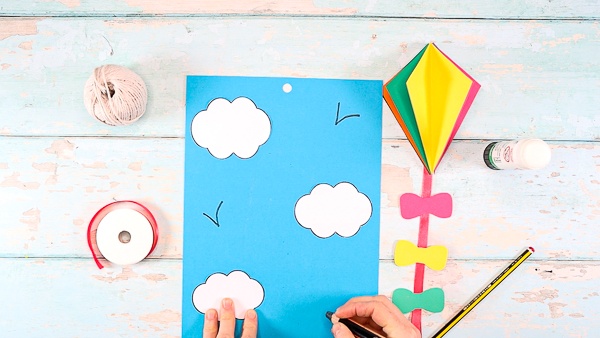
Using a hole punch, create two central and aligned holes at either end of the blue card stock.
Glue the white clouds and draw little ‘V’ shapes with a marker pen to create the impression of birds flying between the the clouds of the Summers Day blue sky.
Now cut a long piece of the string that’s twice as long as the backing card. It should be long enough to join the end at the back and tie.
Secure the String to the Kite
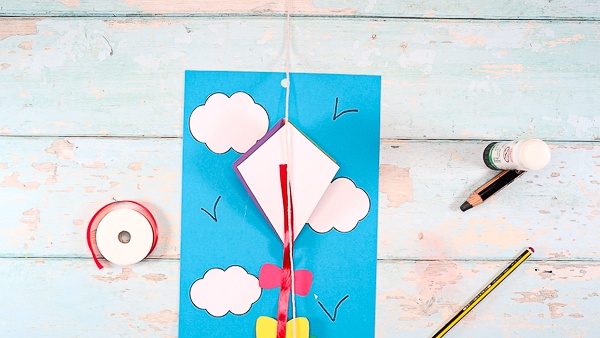
Before threading the string through the holes, secure the middle to the back of the kite using sticky tape.

Thread the String and Secure with a Knot
Place the 3D Kite into the middle of the background and between the holes. Thread the string ends threw their matching hole.
Turn the backing card over, allow a little slack in the string and secure the ends with a simple knot.
The 3D Flying Kite Craft is Complete
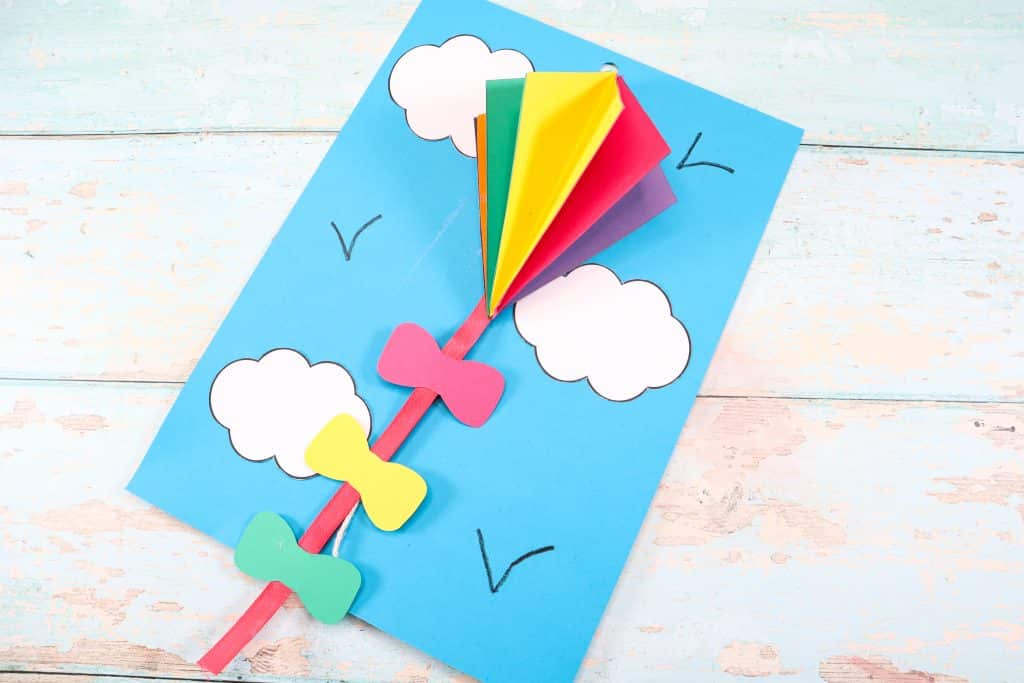
The 3D Flying Kite Craft is ready to soar high up into the clouds! To make the kite fly, pull the string from behind up and down.
If you have loved our easy 3D Kite craft and made the craft with your children, please do share the results with us on social media!
More 3D Paper Crafts for Kids:
At Arty Crafty Kids we have an eclectic collection of 3D Paper Crafts for Kids. Take a look at some of our favorites!

