Sharing is caring!
Summer is the perfect time for a prehistoric crafting adventure, so let’s get crafty with a 3D Brachiosaurus Printable Paper Dinosaur Craft!
This engaging and fun-filled activity is perfect for little dinosaur enthusiasts and crafty kids. Whether you’re looking to enhance your child’s creativity, explore the fascinating world of dinosaurs, or simply enjoy a hands-on project together, our Brachiosaurus craft has it all.
This step-by-step guide will help you transform a simple paper template into a three-dimensional Brachiosaurus, complete with intricate and playful details.
Ideal for rainy days, school projects, or just a fun afternoon at home, this craft is designed to be both educational and entertaining. So, gather your supplies, print out our template, and let your child’s imagination roar to life with their very own 3D paper dinosaur!
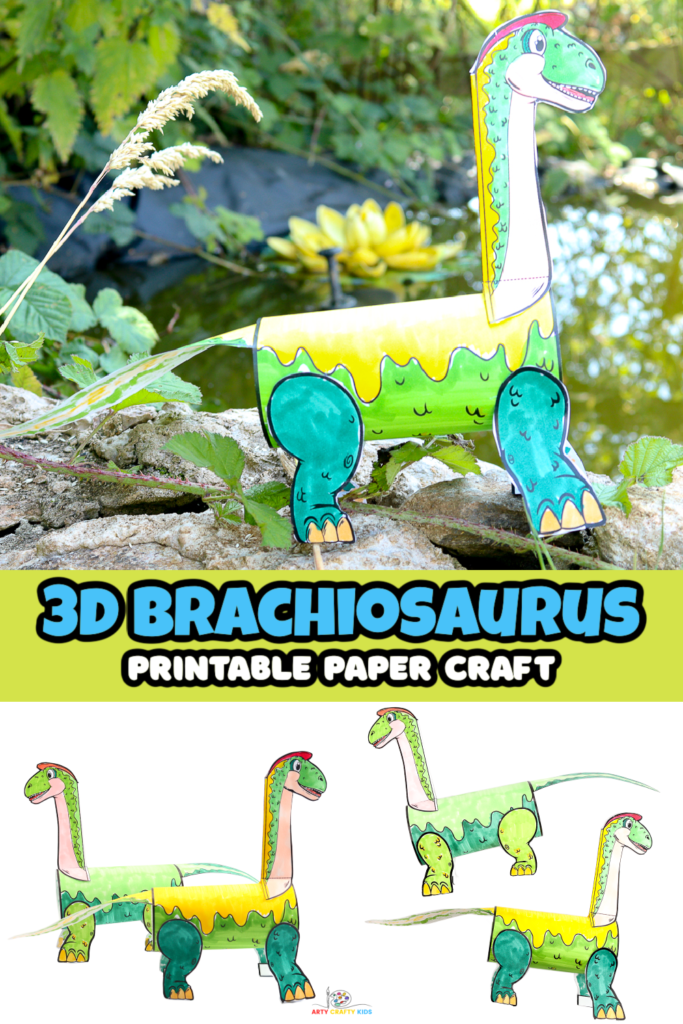
Pair the 3D Brachiosaurus Printable Paper Dinosaur Craft with the Tyrannosaurus Rex for a dynamic dinosaur duo, creating an exciting prehistoric scene that showcases the towering herbivore alongside the fierce predator, perfect for imaginative play and educational displays.
How to Make the 3D Brachiosaurus Paper Dinosaur Craft:
Materials you will need:
- White Card Stock for Printing ( Check printer setting and select ‘Fit to Page’)
- A Coloring Medium
- Glue Stick
- Scissors
- Brachiosaurus Craft Template ( members will need to login to access the template)
Not a Member?

Let’s make the 3D Brachiosaurus Dinosaur Craft
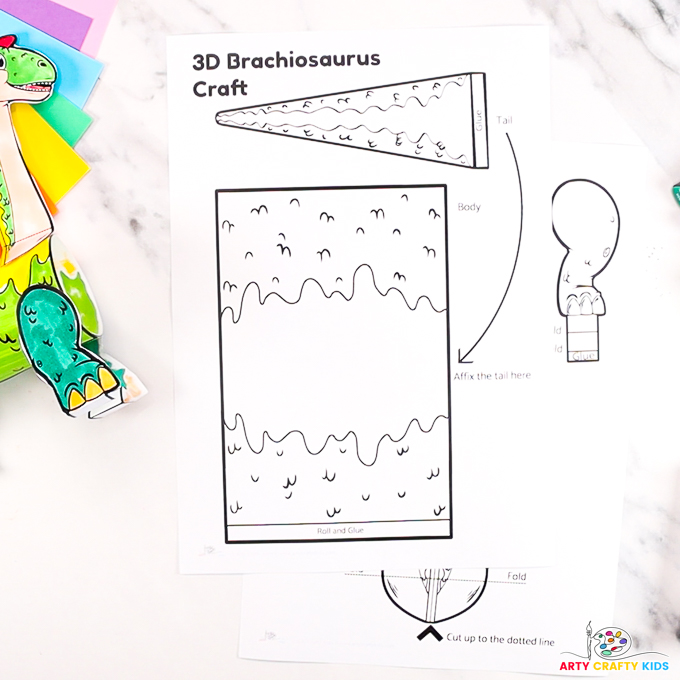
Step 1: Download and print the brachiosaurus craft template.
Log in to the Arty Crafty Kids members area or join the club for access!

Step 2: Color in the template.
Use a favorite medium to color in the brachiosaurus and then carefully cut out all the dinosaur elements.

Step 3: Roll the body piece.
Apply a spread of glue to the long tab on the body piece, then join the two sides together to form a large paper roll, creating the main body of the dinosaur.
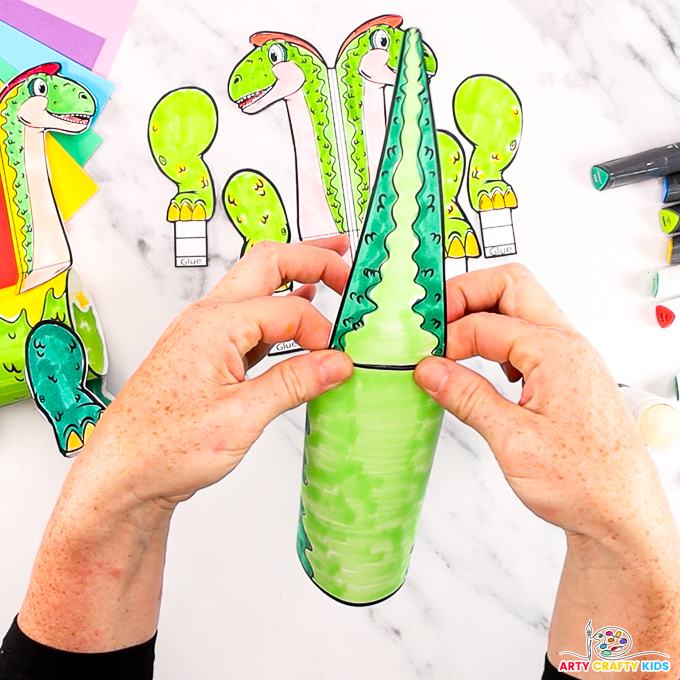
Step 4: Affix the brachiosaurus’ tail.
Apply a spread of glue to the tail tab and attach it to the dinosaur body piece. Once secure, fold the tail downward to create a slight bend.
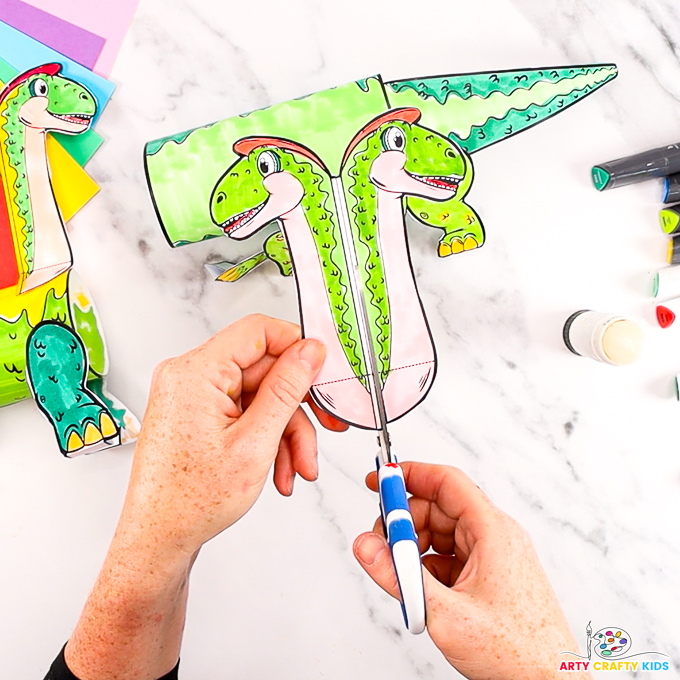
Step 5: Prepare the dinosaur’s head.
Cut a small slit into the bottom of the head piece, stopping at the dotted line.

Next, fold the two newly created tabs upwards, then fold the neck and head in half, securing them with glue while leaving the tabs free.
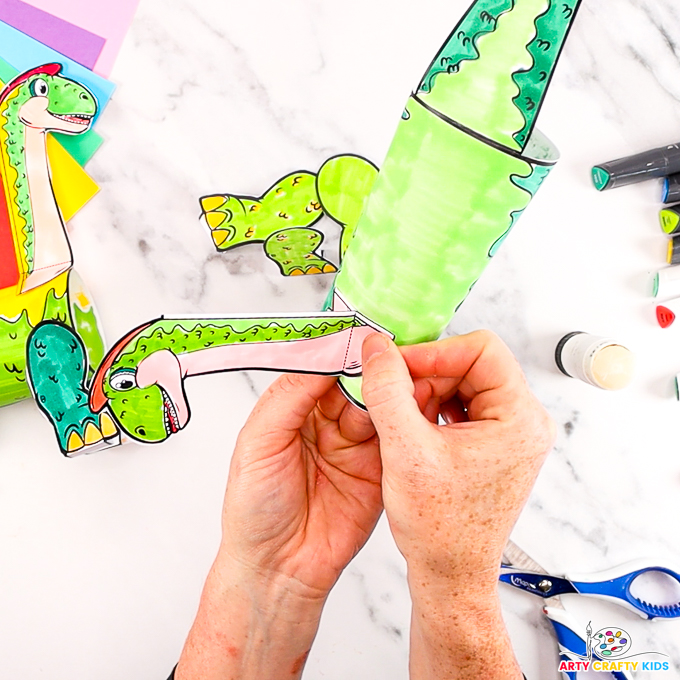
Step 6: Affix the dinosaur’s head.
Apply a spread of glue to the tabs, then attach the dinosaur’s head to the body piece, securing it firmly in place.
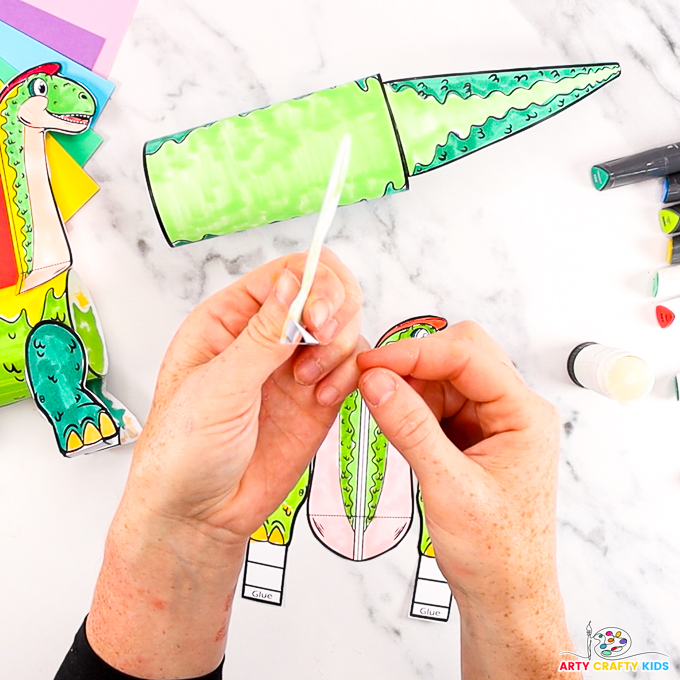
Step 7: Prepare the dinosaur’s legs.
Fold the tabs along the solid lines on each leg, then secure the final tab to the inside of the leg to create a triangular shape, forming a sturdy base that allows the dinosaur to stand.
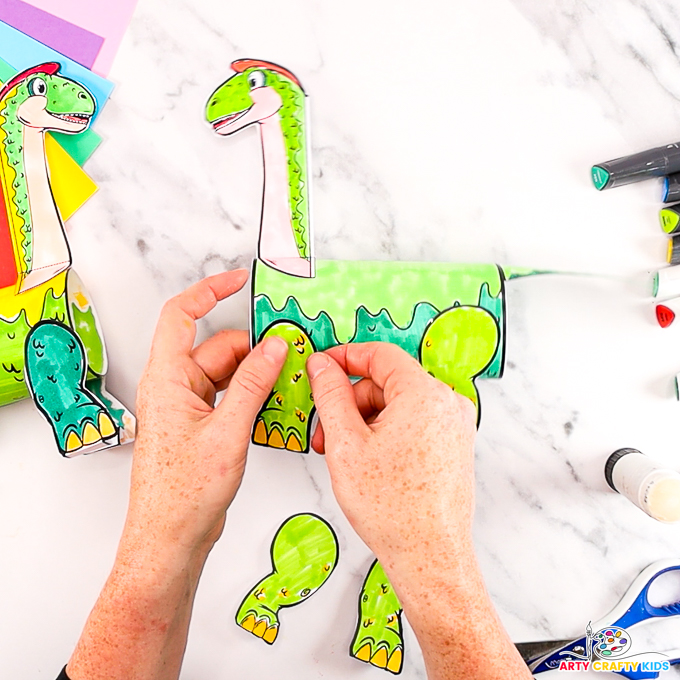
Step 8: Affix the dinosaur’s legs.
Attach the dinosaur’s legs to the body, adjusting their positioning as needed to ensure they are even and allow the dinosaur to stand securely.

The step-by-step tutorial is complete and your Arty Crafty Kids will now have a wonderful 3D brachiosaurus to play with!
Download the 3D Brachiosaurus Craft Template


