Sharing is caring!
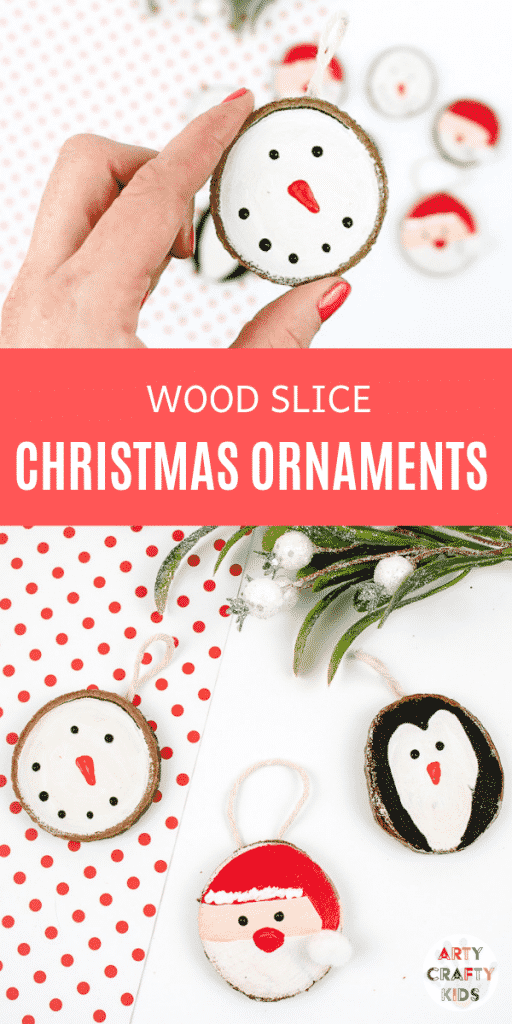
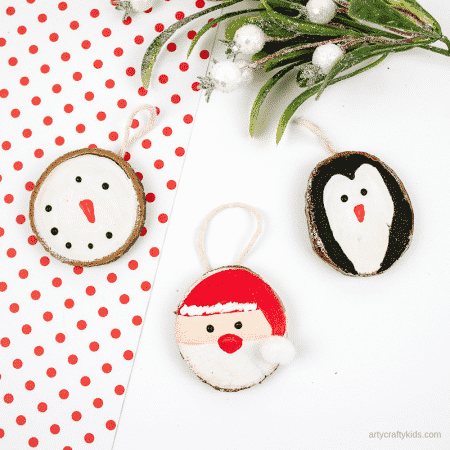
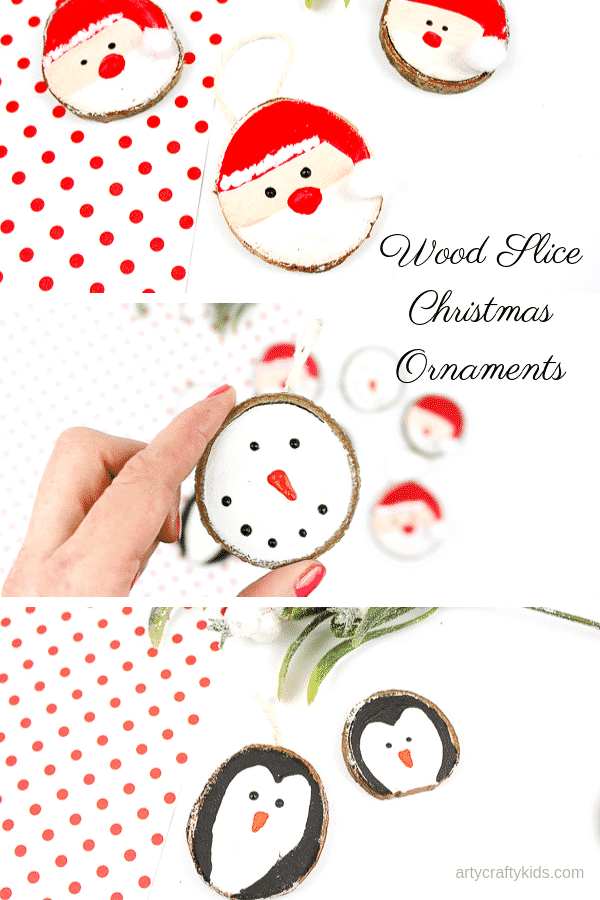
Wood Slice Christmas Ornaments are cute, fun and easy to make – perfect for kids! This post covers a step-by-step tutorial for How to make a Snowman Ornament, How to make a Penguin Ornament and How to make a Santa Claus Wood Slice Ornament!
Wood Slice Christmas Ornaments: Materials
Wood Slices (ideally with drilled holes)
Acrylic Paint
Fine Tipped Paint Brush
White Pom-Pom
String
Towards the end of this post, you can also download a freebie template to create Christmas Ornament Art with your kids!
Wood Slice Christmas Ornaments: Tutorials
Let’s prepare the canvas!
Coat each wood slice with a thick layer of white acrylic paint.
We’re aiming for a white smooth surface. If this hasn’t been achieved with the first layer of paint, add another and if necessary, another until the surface is a solid white.
The quality of the finish will depend entirely on the paint.
How to Make a Snowman Wood Slice Ornament
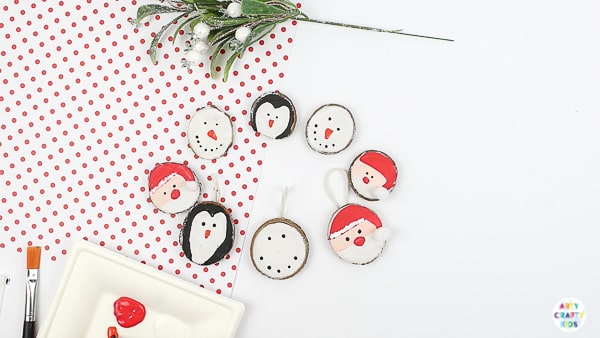
The Snowman wood slice design is the easiest of the three…
Start by dipping the end of the paintbrush into the black paint.
Print two dots for the eyes and a few more for the mouth.
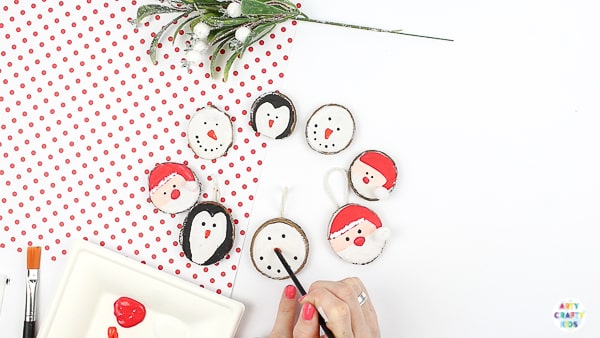
Thoroughly clean the end of your brush and this time, dip it into orange paint.
Use the end of the brush to create a carrot nose shape.
When it comes to painting small features, painting with the end of the brush is a safe option for achieving even and round shapes.
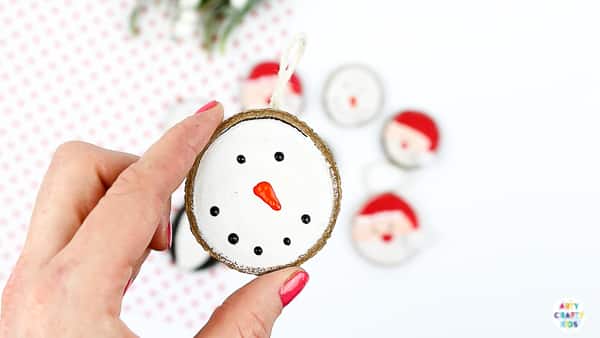
Leave the design to thoroughly dry.
To protect the ornament, seal the surface of the design with inexpensive varnish or with a thin layer of modge podge glue.
How to make a Penguin Wood Slice Ornament
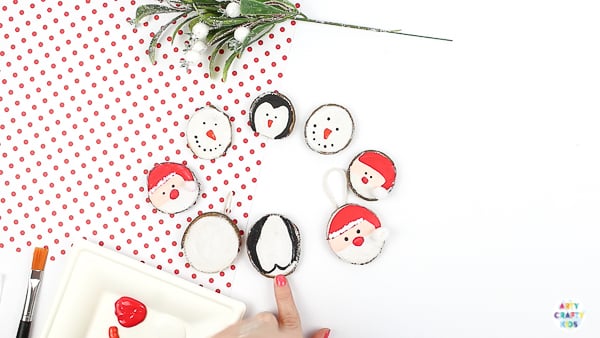
Using black acrylic paint, carefully create an open-ended heart shape (as shown above) and fill in the space around the ‘heart’ with black paint.
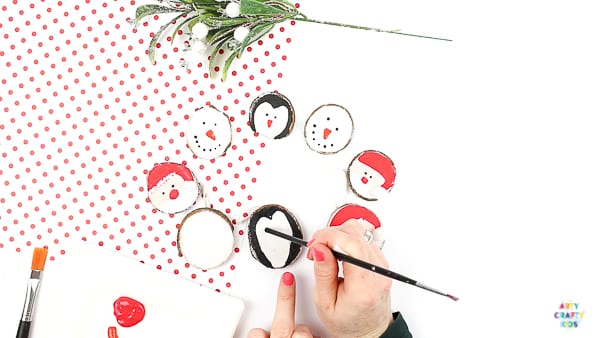
Dip the end of your paint brush into black paint and create a pair of eyes.
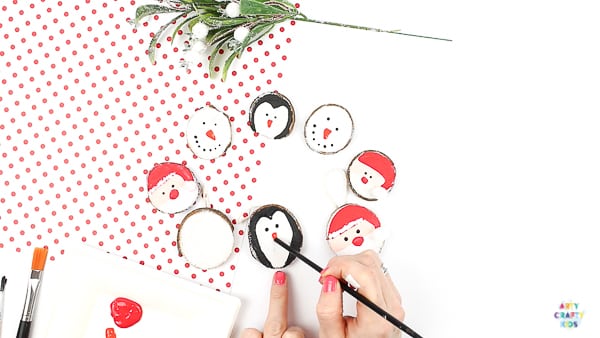
Use the end of your brush to paint an orange beak.
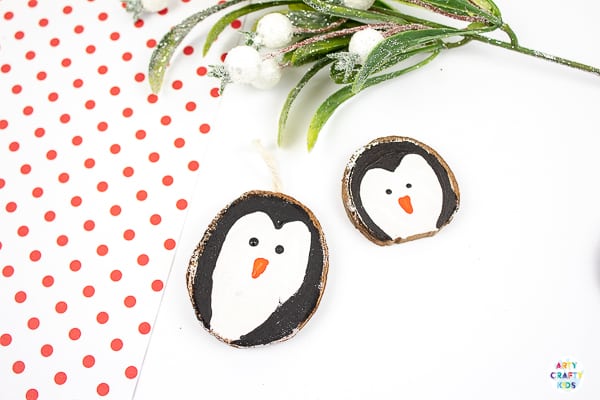
The Penguin ornament is now complete!
To protect the ornament, seal the surface of the design with inexpensive varnish or with a thin layer of modge podge glue.
How to Make a Santa Claus Wood Slice Ornament
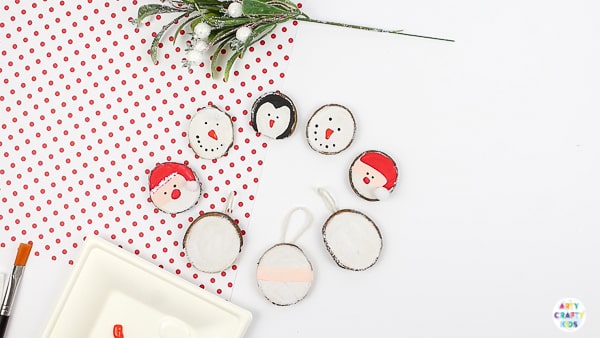
Mix the paint to create a skin tone and divide the white slice in half with a line of skin toned paint.
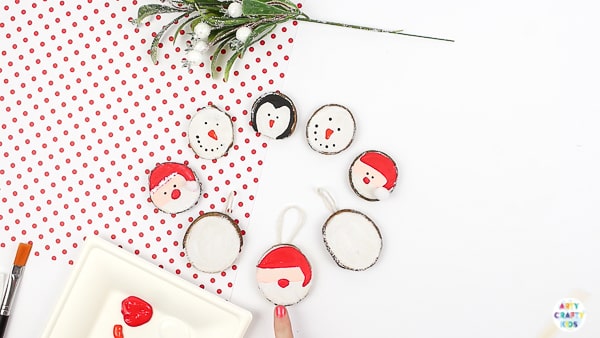
Fill the upper half of the wood slice with red paint, following the curve down to create a hanging Santa hat.
Between the skin tone and white divide, add a big red nose!
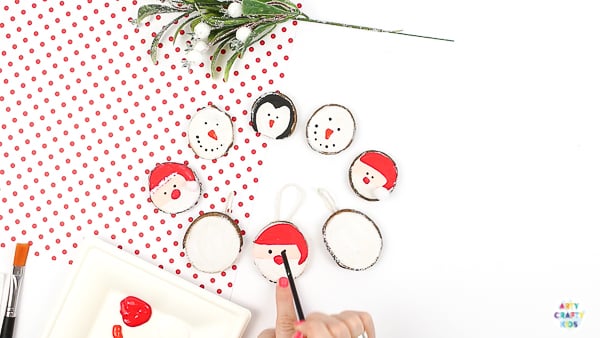
Using the end of your paint brush, complete Santa’s face with two black dots either side of the nose.
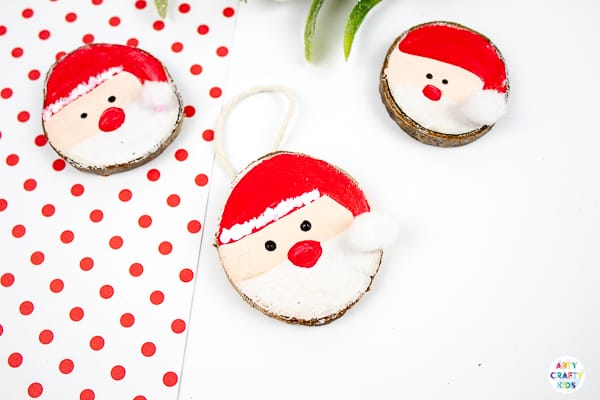
Complete with a light spread of white paint across the top of the hat and a white pom-pom at the end of Santa’s red hat.
To protect the ornament, seal the surface of the design with inexpensive varnish or with a thin layer of modge podge glue.
If you’re wood slices do not have pre-drilled holes for hanging, simply attach a piece of natural string to the back and secure with tape (ideally decorative washi tape).
I hope you’re Arty Crafty Kids enjoy creating their wood slice Christmas ornaments! if they have any left over paint, why not have a go at creating Christmas Ornament Art.
Here’s a FREE template to get the Arty Crafty Kids Started!
To access the template, sign up to our Arty Crafty Kids Club newsletter, and we’ll also keep you posted about other crafts and free templates!
This template, and many others, is also available in our Arty Crafty Kids Club Members Area Sign Up Here
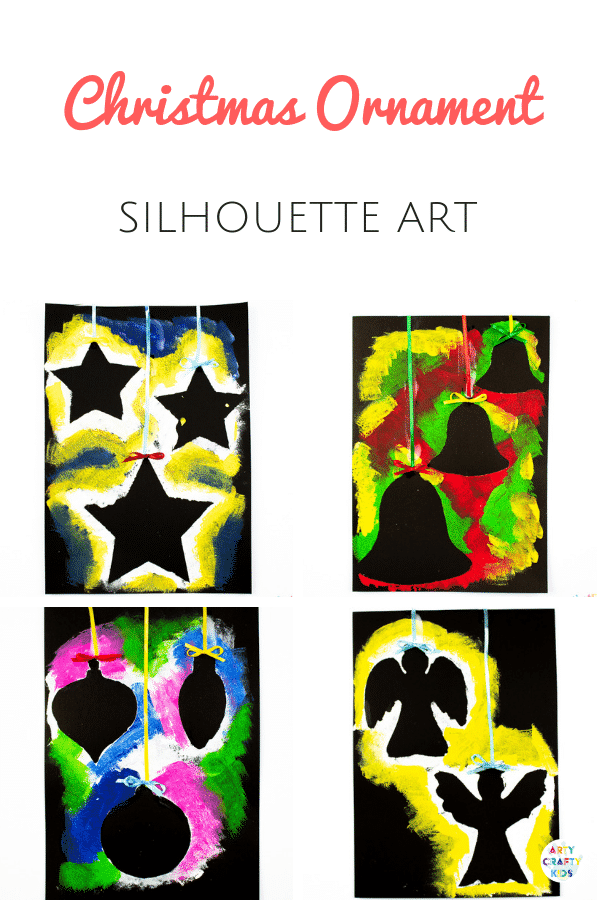
For more Christmas Ornament inspiration, check out our popular posts:
