Sharing is caring!
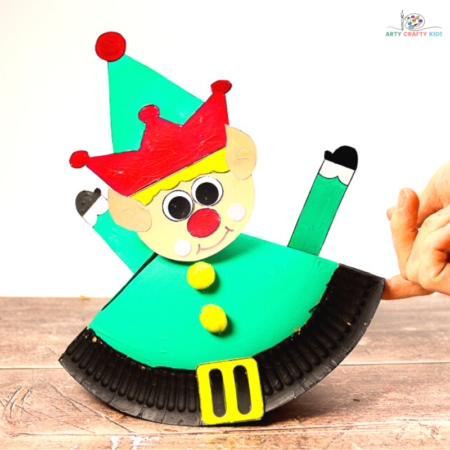
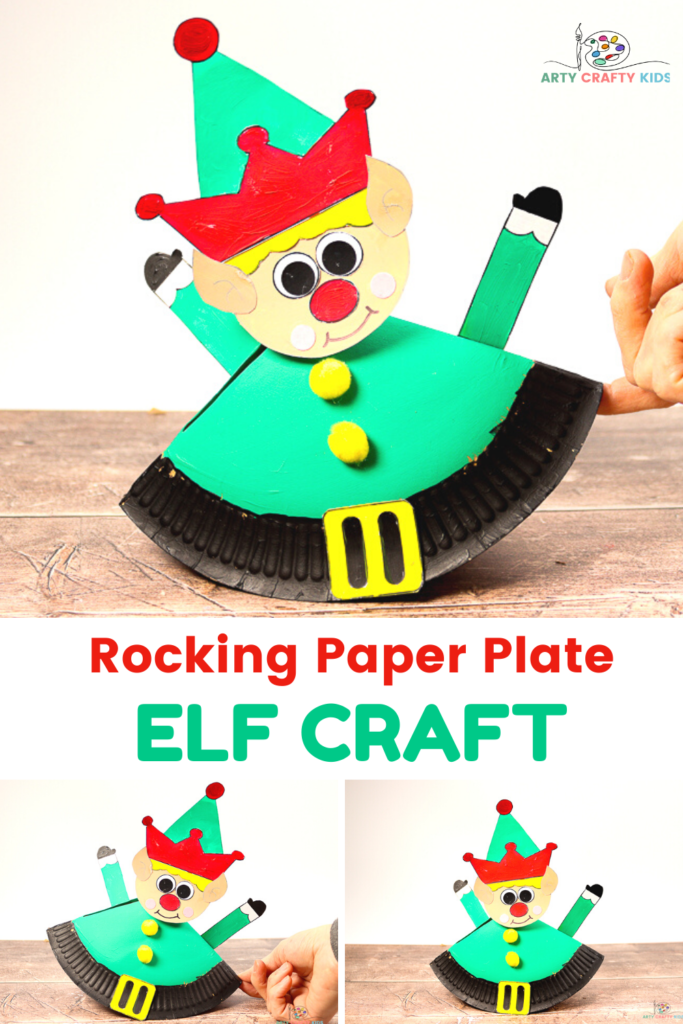
Looking for a fun and easy Christmas Craft to try with the kids? Our Rocking Paper Pate Elf craft for kids is fun and easy to make, and Kids will love how Elf’s body rocks while his head jiggles!
We love our interactive crafts at Arty Crafty Kids and we’ve created a brand new rocking paper plate craft with a twist; we’ve added a wiggly jiggly wobbly head!
So this Elf not only rocks in the literal sense; he also “rocks out” to all your kids’ favorite Christmas songs – especially around the Christmas tree!.
This is a great Christmas craft for kids of all ages. The rocking Elf not just a craft, but also a paper toy or/and a Christmas decoration and can be paired with our Rocking Paper Plate Santa Craft!
How to Make a Rocking Paper Plate Elf Craft
Materials
- Eco Paper Plate
- Acrylic Paint
- Pom-Poms
- Pipe Cleaners x2
- Black Marker Pen
- Glue Stick
- Scissors
- Sticky Tape
- Stapler
Download the Santa Template:
The Rocking Elf Template is available to
members of the Arty Crafty Kids club.
Members will need to log in to access the templates:
https://www.artycraftykids.com/product/rocking-elf-template/
Not a Member?

Watch the Step-by-Step Rocking Paper Plate Elf Tutorial:
Let’s Make a Rocking Elf!
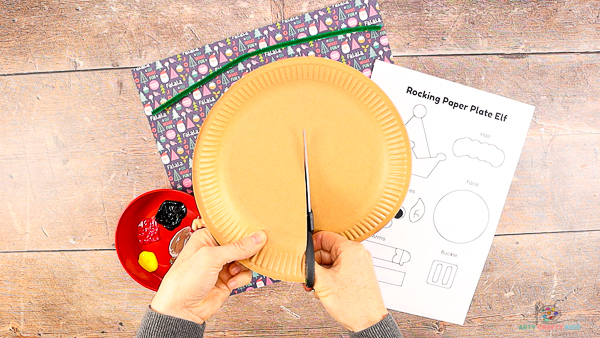
Cut a Line into the Center of the Paper Plate
Turn the paper plate over and cut a straight line just beyond the center point of the paper plate.
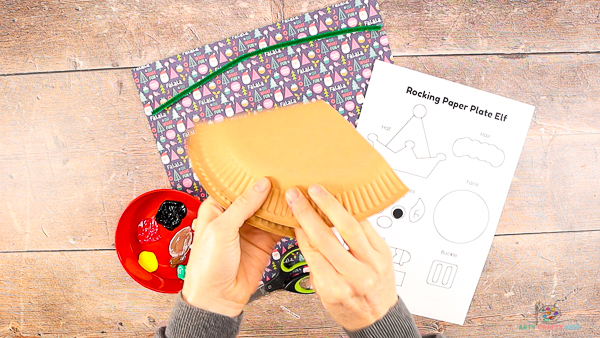
Gently Fold the Paper Plate Round to Create a Center Point
Next, gently fold the paper plate round to create an overlap and center point.
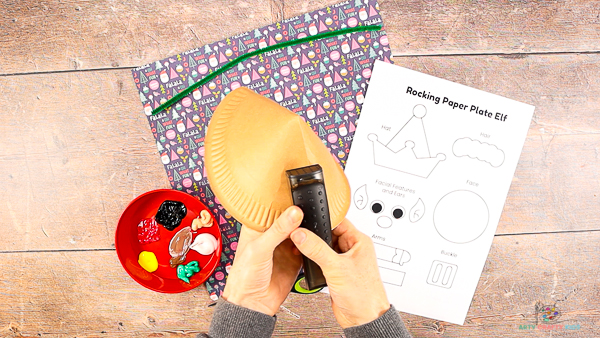
Secure the Fold with Staples
Once a triangular shape has been formed, flatten the paper plate between the hands and then secure the overlaps with a few staples.
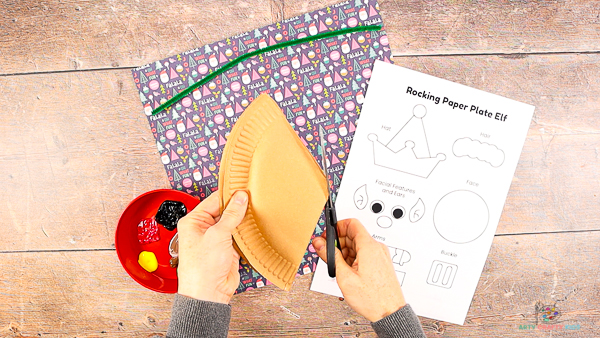
Next, cut the pointy tip off the paper plate to create a small opening.
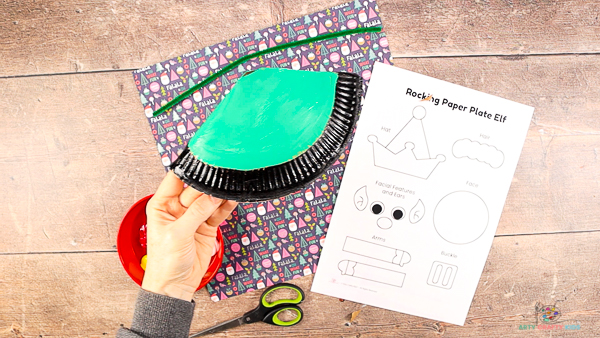
Paint the Paper Plate Elf’s Colors – Green and Black!
Using the indentations of the paper plate as a guide, paint one part red and the lower bumpy rim section black.
Notice how this craft uses a brown paper plate? These recycled paper plates work just as well as their non-recycled alternatives and with acrylic paint, only need one coat of paint!
Color in the Elf Template and Cut
While the paper plate dries, color in and cut out the Elf elements from the template.
To color match Elf’s paper plate body, we’ve painted the template elements. Your Arty Crafty Kids may find pencils or crayons easier.
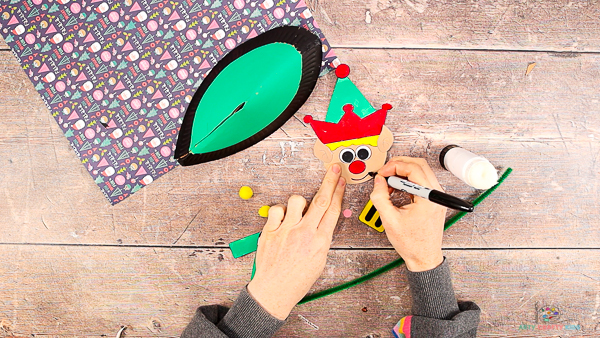
Assemble Santa’s Head
Once colored, assemble Elf’s head.
First we glued Elf’s hair, hat and ears, and then placed his big red nose immediately below the eyes – completing Elf with a little hand-drawn smile.
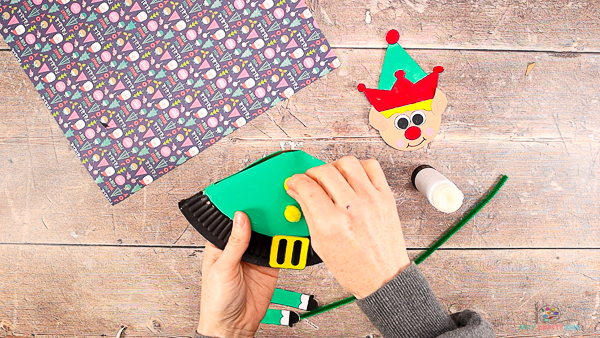
Glue Pom-Poms and a Buckle to Elf’s Body
With Elf’s head assembled, the rocking paper plate body should be dry.
Glue the buckle onto the black rim to form his belt and two evenly spaced pom-poms just above.
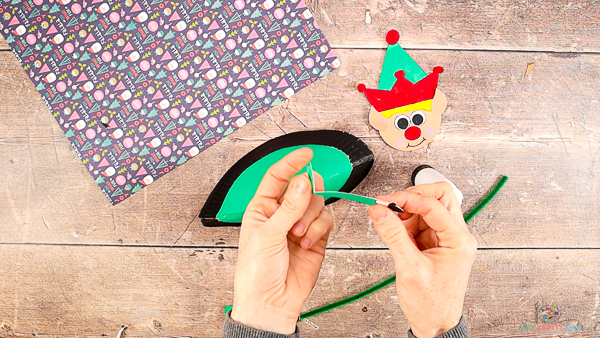
Secure Elf’s Arms to the Paper Plate
Fold a small area of the Elf’s arm back on itself to create a flap.
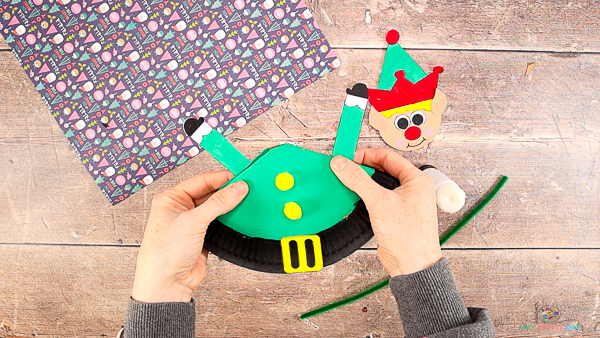
Apply glue to the flap and affix to the back of the paper plate.
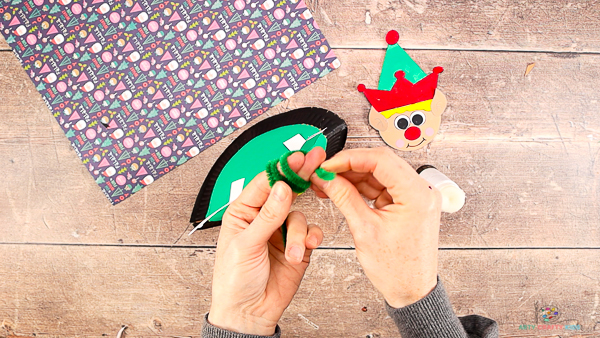
Twist the Pipe Cleaner to Create a Coil – Optional
Take two pipe cleaners and twist them around each other to form one.
Next, coil the pipe cleaners around two fingers to create a spring.
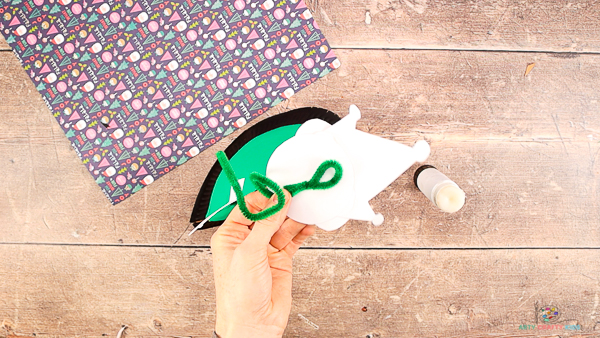
Secure Elf’s Head to the Top of the Pipe Cleaner
Secure Elf’s head to the top of pipe cleaner and secure with sticky tape.
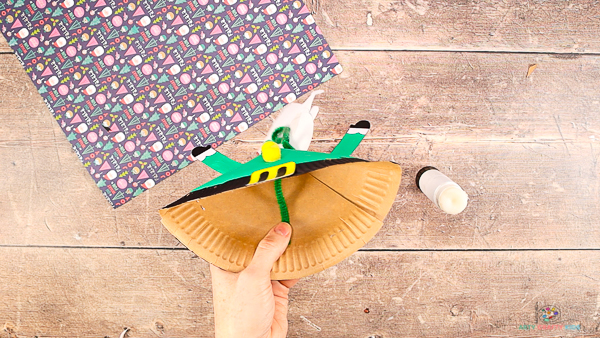
Insert the Pipe Cleaner into the Opening
Insert part of the pipe cleaner into the paper plate opening we created earlier.
Secure the pipe cleaner with stick tape.
Once the pipe cleaner is secure, it may need a little adjustment to create a jiggly effect and for the Elf’s head to face the correct direction.
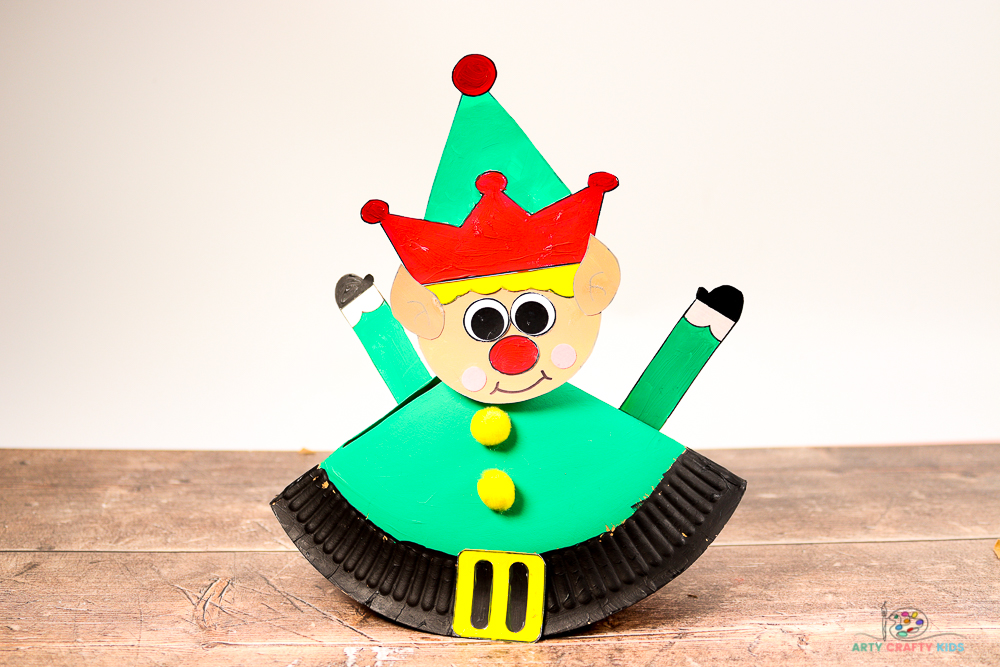
The Rocking Paper Plate Elf Craft is Complete!
With the craft now fully assembled, Elf will rock and his head will jiggle!
I hope your Arty Crafty Kids enjoy creating their very own rocking Elf. If you happen to make this craft at home, please do share your Children’s makes with us on social media – we do love to see how they’ve turned out!
Happy Crafting!


