Sharing is caring!
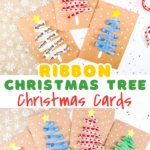
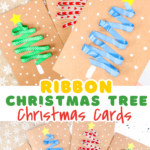
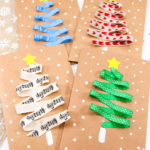
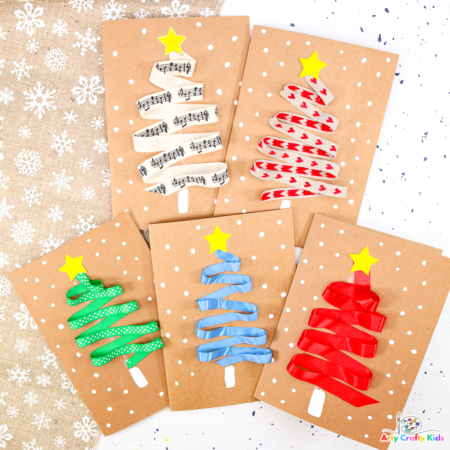
This easy ribbon Christmas tree design isn’t just a homemade Christmas card; it’s a creative joy for both kids and adults alike. .
Crafting your own Christmas cards adds a personal touch to the festive season.
With just a few materials and straightforward steps, this DIY card-making activity becomes an enjoyable experience that everyone can take part in, regardless of age or skill level.
Whether you’re a craft enthusiast or a beginner, this easy-to-make Christmas card design brings festive cheer and is an ideal opportunity for families, friends, or individuals to come together and create something special to share the holiday spirit.
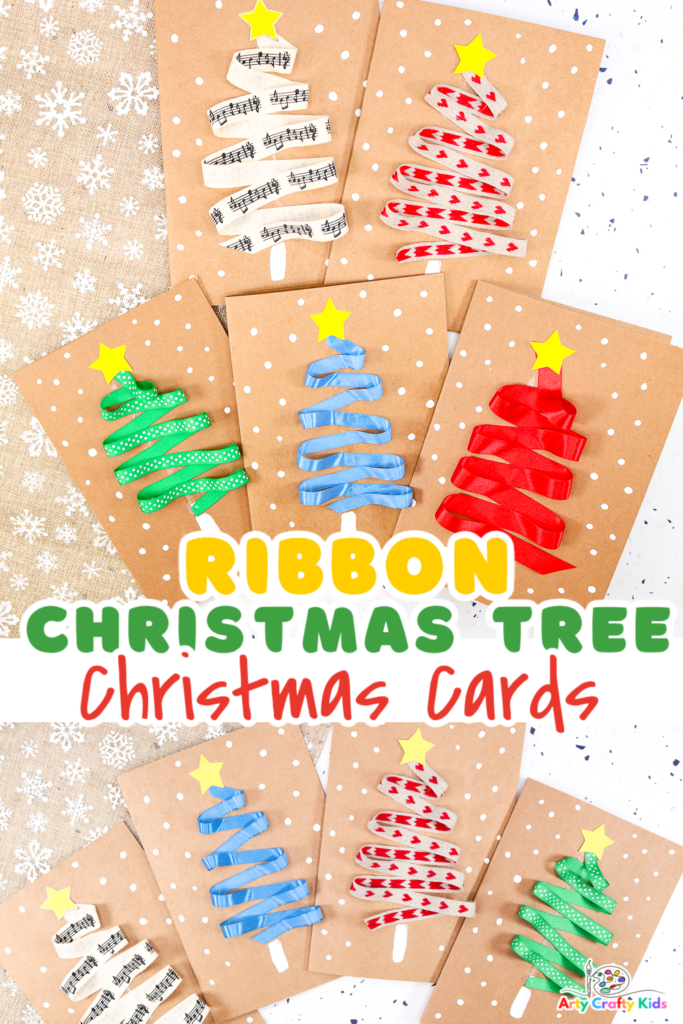
How to Make a Ribbon Christmas Tree & Homemade Christmas Card
Materials you will need to make the DIY Christmas Card:
- Ribbon (approx 1m)
- Brown Recycled Card Stock (or colored)
- Scrap Yellow Paper
- White Paint
- Glue Stick
- Pencil
- Paintbrush
- Scissors
Watch the simple Step-by-Step Process for how to Make a Ribbon Christmas Tree
Or follow the written instructions:
Before you begin, fold a piece of A4 card stock in half. The card can be brightly colored or brown, which creates a simple rustic effect.
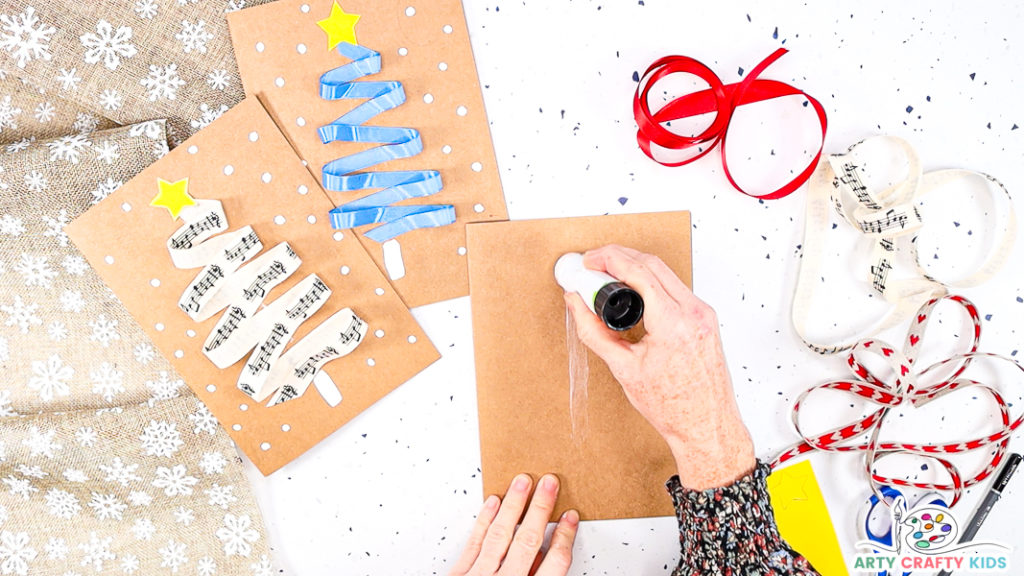
Step1: Apply a generous spread of glue to the front of the Christmas Card.
Position the glue stick into the middle of the Christmas card and layer the glue up and down in a straight line.
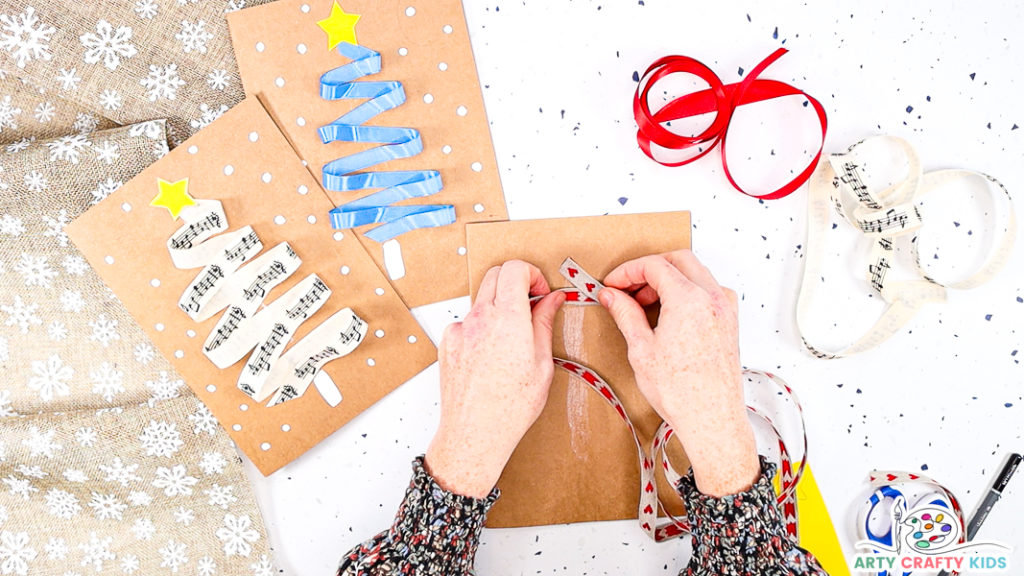
Step 2: Affix one end of the ribbon.
Position one end of the ribbon to the top of the gluey line – this will become the tip of the Ribbon Christmas Tree.
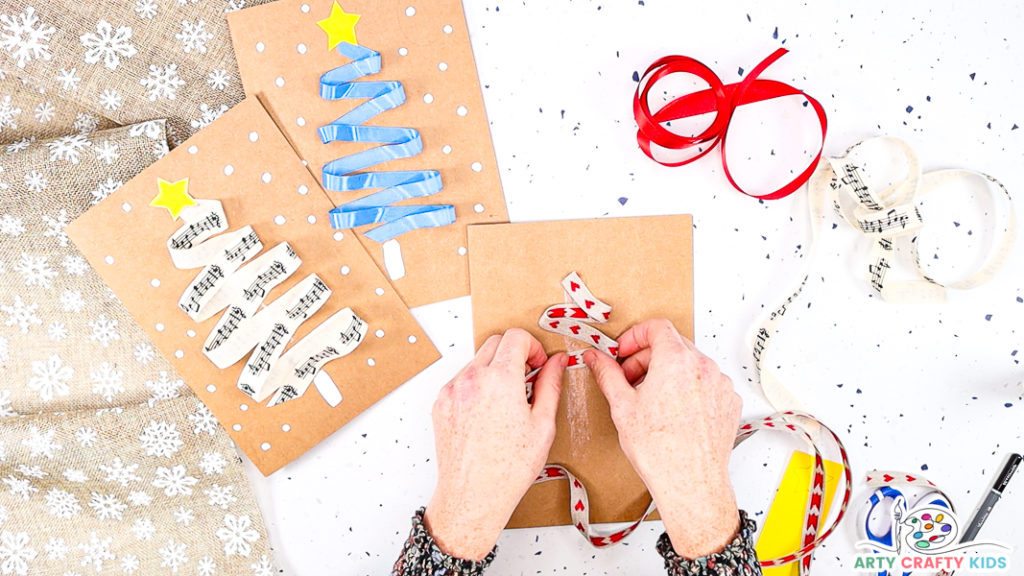
Step 3: Begin to create the shape of a Christmas Tree.
Zig-zag the ribbon across the glue line, looping it on either side to form the shape of a Christmas tree.
Start with smaller loops at the top and gradually increase loop size towards the bottom.
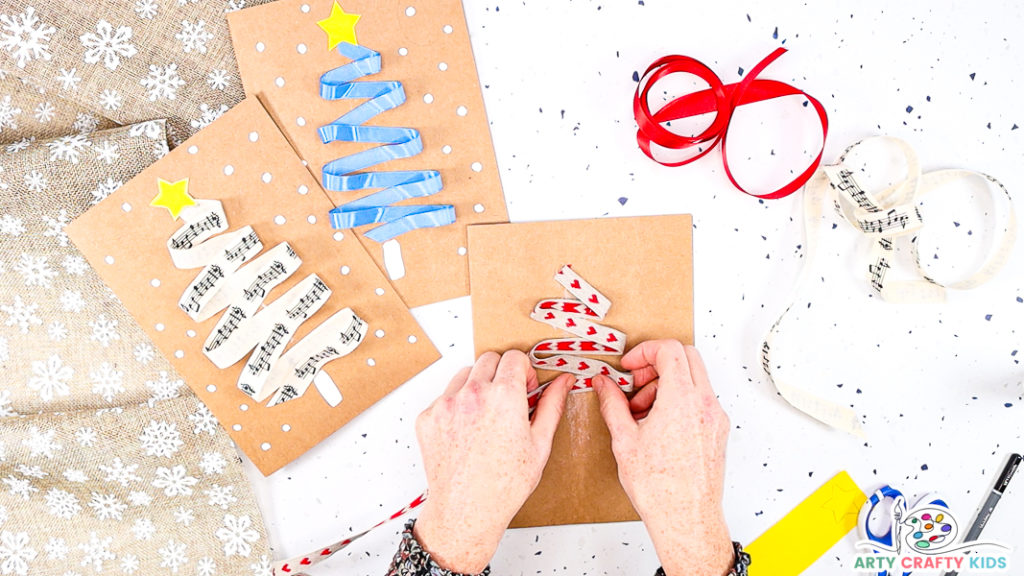
Ensure the ribbon is firmly affixed to the center while allowing the loops to have a 3D effect.
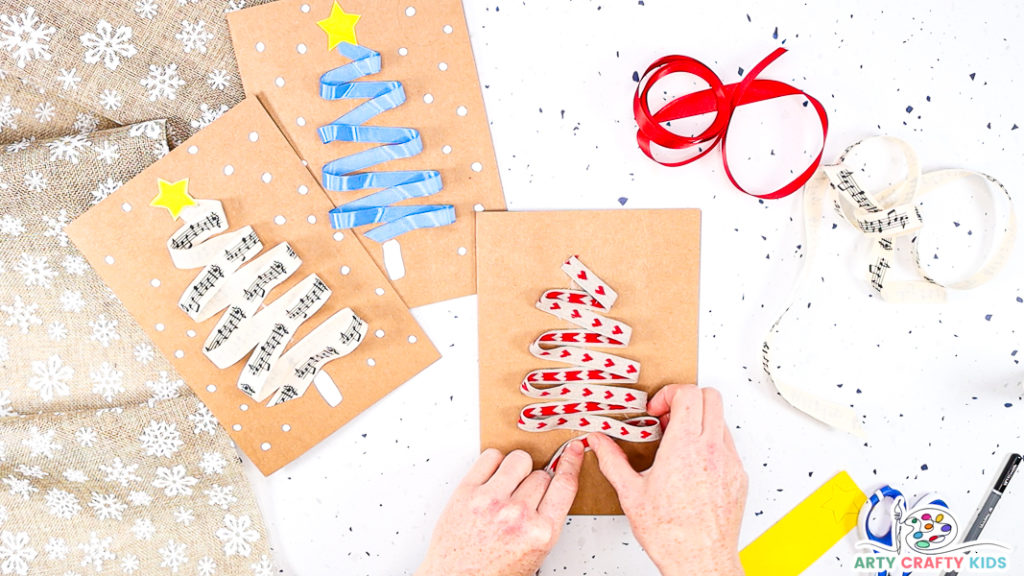
Keep going until you reach the bottom of the gluey line and simply snip the excess ribbon off with a pair of scissors.
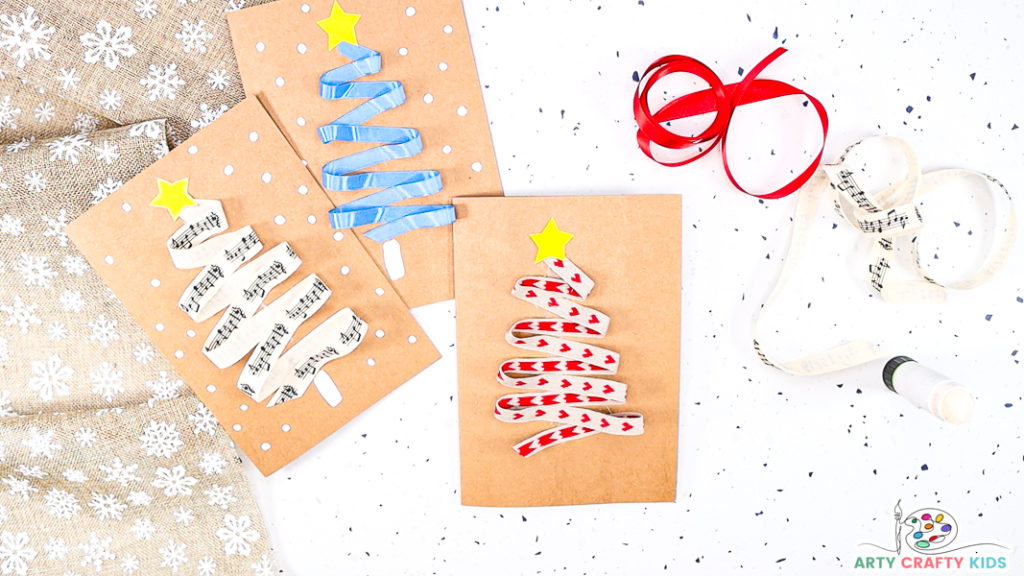
Step 4: Affix a paper yellow paper star.
Attach a paper yellow star either by drawing it on scrap paper or using a star embellishment.
Place it at the top of the ribbon Christmas Tree.
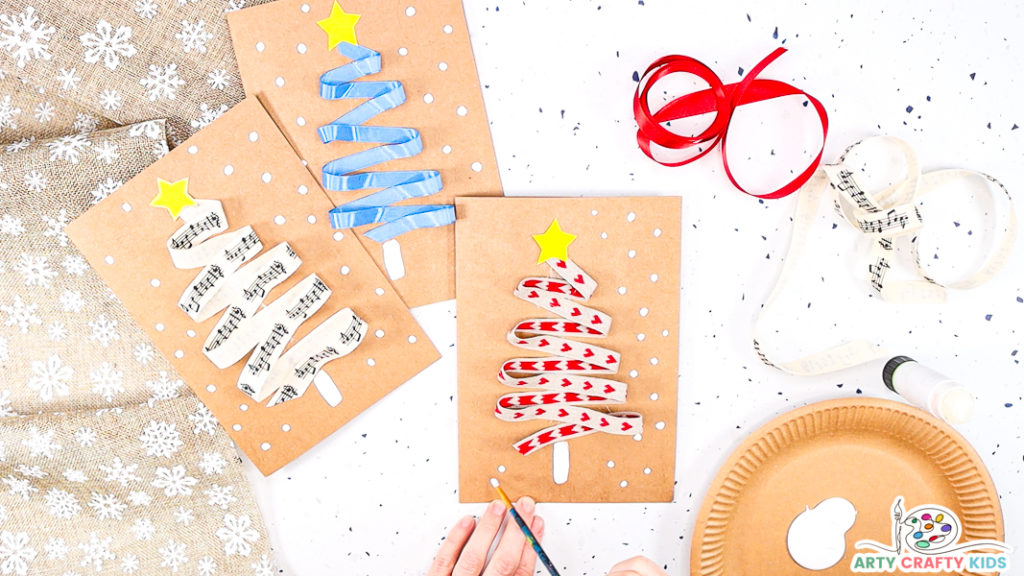
Step 5: Paint a simple tree trunk and snowy dots.
Paint a simple white tree trunk beneath the ribbon tree.
Add white dots around the tree to represent snowfall.
Optional: Use metallic or acrylic pens to draw snowflakes or patterns, or keep it simple with just the tree.
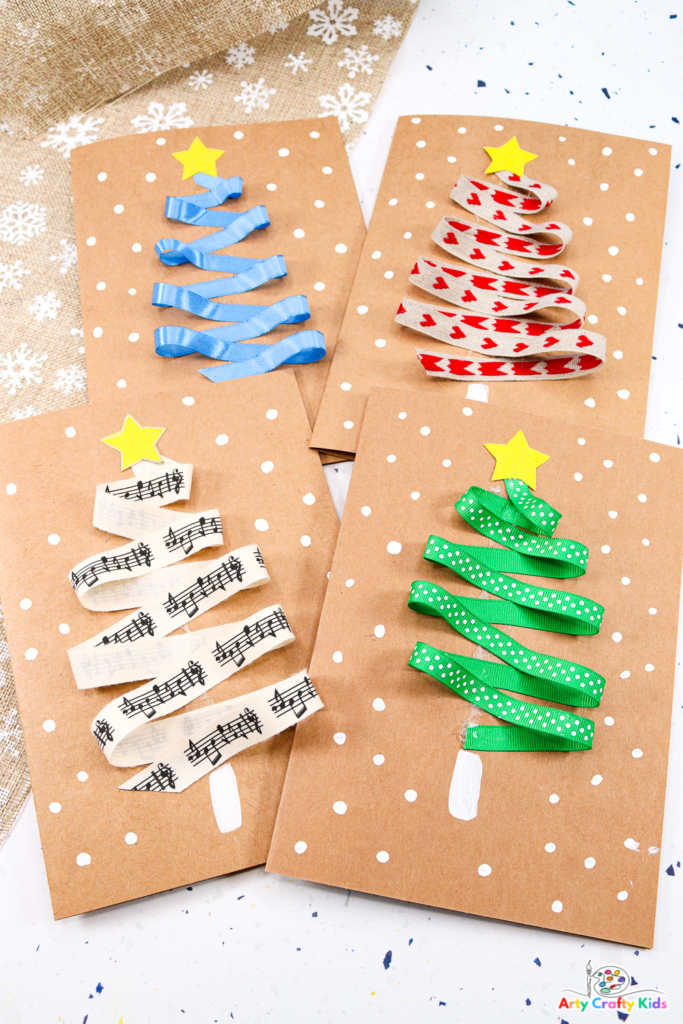
I hope your Arty Crafty Kids enjoy creating this pretty ribbon Christmas tree Christmas card.
For more DIY Christmas card ideas, take a look at our paper circle Christmas Tree and our fun loving snowman design.

