Sharing is caring!
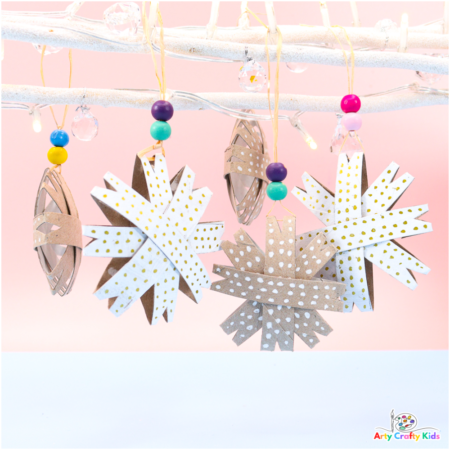
As Christmas draws near, why not try this easy to make Christmas Craft with your Arty Crafty Kids: How to Make Paper Roll Snowflake Ornaments!
With just a paper roll, marker pens, a little cutting, and sticking, kids of all ages (even preschoolers) can easily make these adorable snowflakes.
And once they’ve mastered the simple step-by-step process, kids can freely use their creativity to decorate the paper roll snowflakes.
They could opt for glitter and sparkly embellishments, vibrant color combinations, or simple patterns for a more rustic ornamental touch.
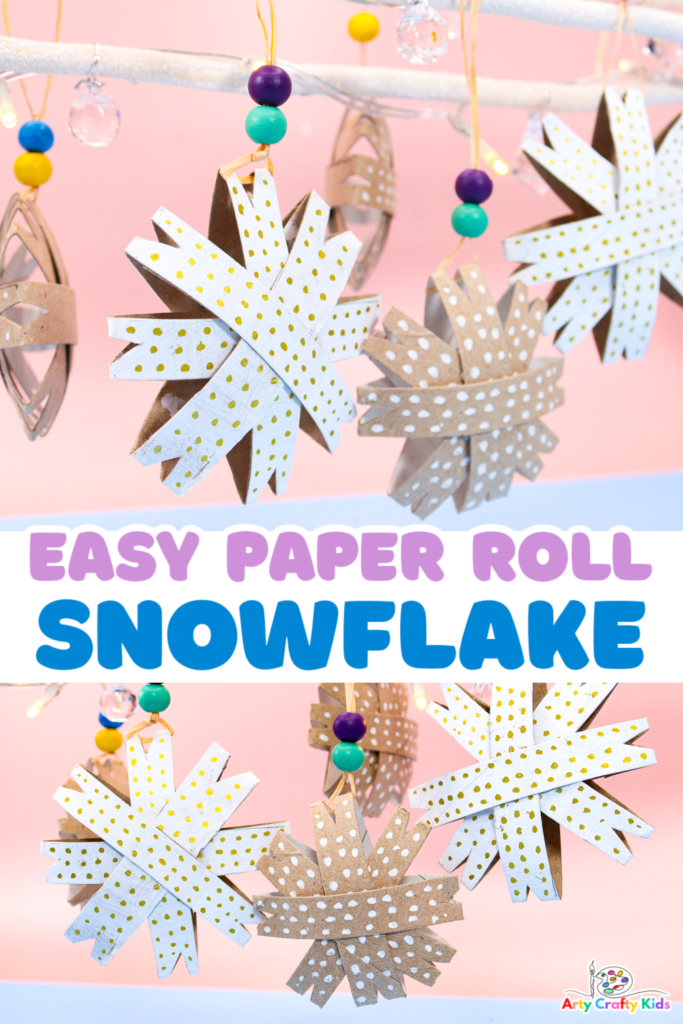
How to Make a Paper Roll Snowflake Ornament
Materials you will need for the snowflakes:
- Paper Rolls (Toilet Paper Rolls or Kitchen Rolls)
- Acrylic Paint
- Acrylic Pens, Marker Pens or Crayons
- Optional: Metallic Marker Pens
- String or Straw Strands
- Wooden Beads
- Scissors
- Glue Stick
- Pencil
- Ruler
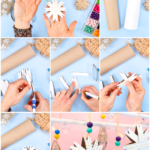
Watch the Snowflake Step-by-Step Process
Or follow the written instructions below:
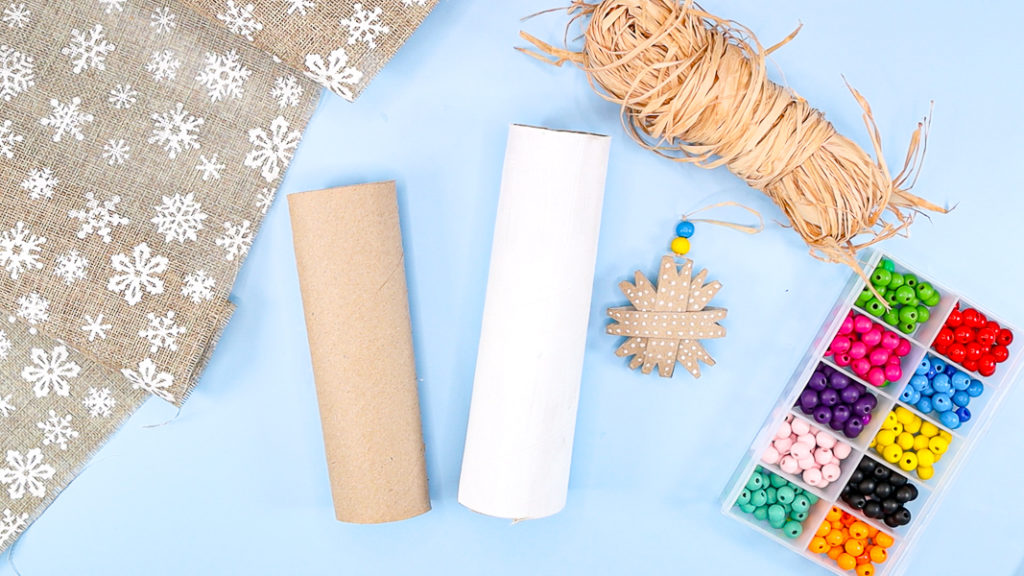
Step 1: Paint a Paper Roll
Use acrylic paint to color the paper roll or leave it plain for a rustic feel.
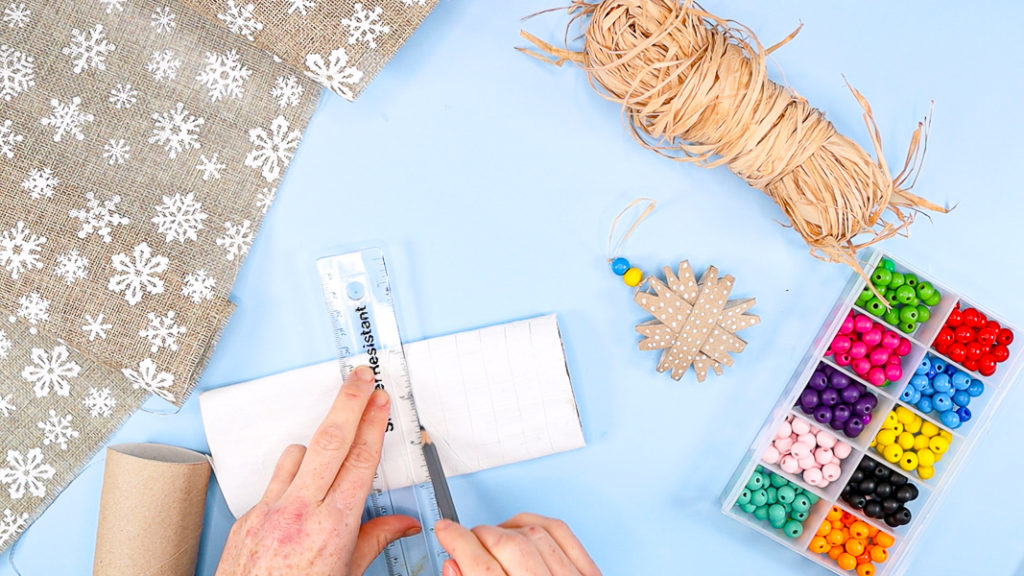
Step 2: Flatten the paper roll & draw a few lines.
Use a ruler and pencil to draw a collection of cutting lines about 1cm apart.
Next cut along the newly drawn lines to create pieces for the snowflake ornament.
For crafting each snowflake, you’ll require four sections of paper roll.
A single kitchen roll, when divided, could create 2-3 snowflakes!
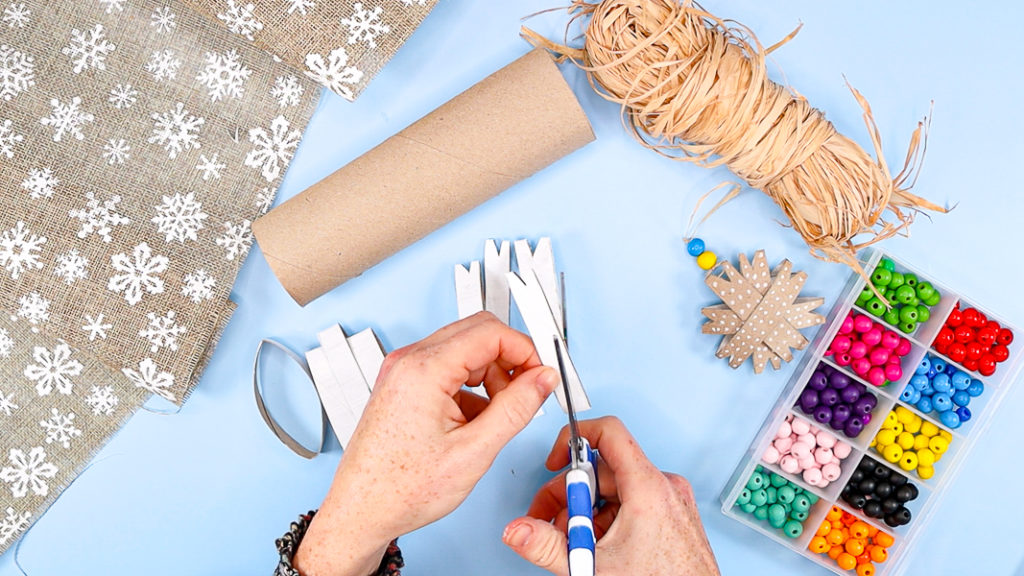
Step 3: Cut little triangles out of the ends of each piece.
Make sure the triangles are cut out of the middle of each piece of paper roll.
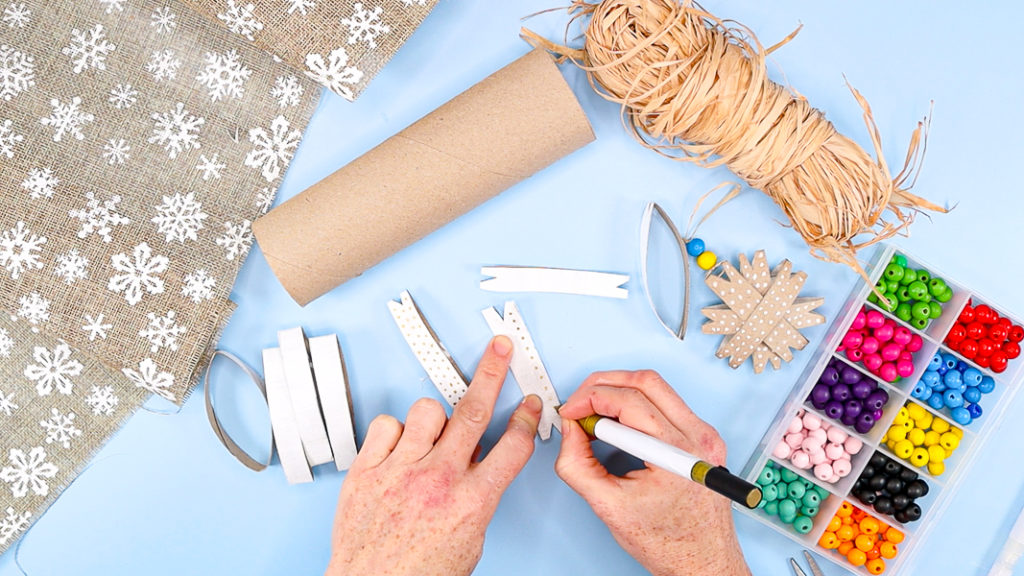
Step 4: Decorate the snowflake pieces.
Using a metallic gold acrylic pen, we’ve decorated our snowflakes with lines of dots.
Your Arty Crafty Kids can let their imaginations run wild and decorate their snowflakes in all sorts of fun and colorful ways.
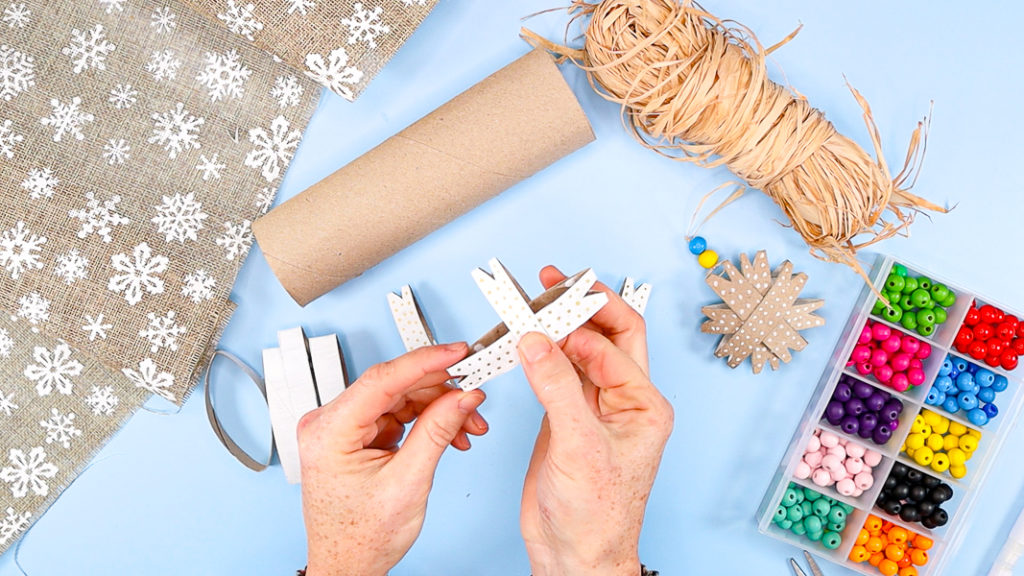
Step 5: Glue two paper roll pieces to create a cross.
Once the snowflakes are decorated, apply a dab of glue into the middle of one of the pieces and insert into another piece to create a cross.
Press down firmly on the gluey area to securely affix the pieces.
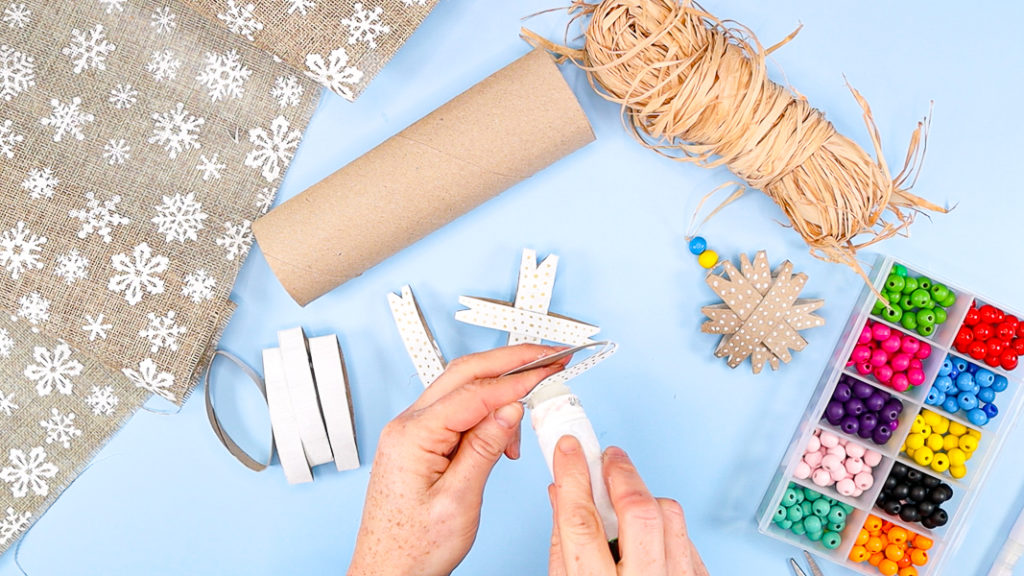
Step 6: Add a third paper roll piece.
As before, apply a dab of glue to the middle of a piece of paper roll.
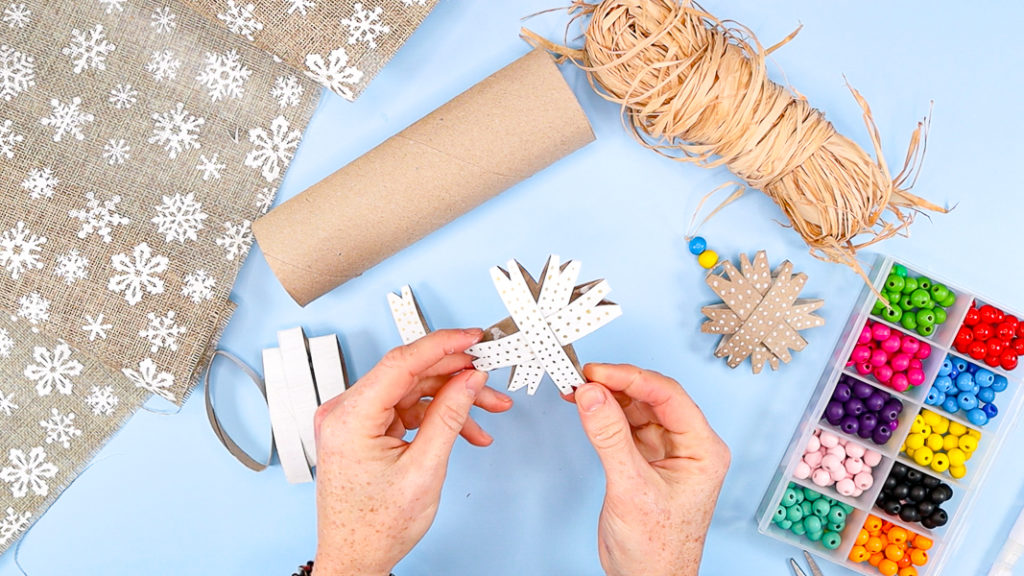
And insert it between one of the gaps within the cross shape.
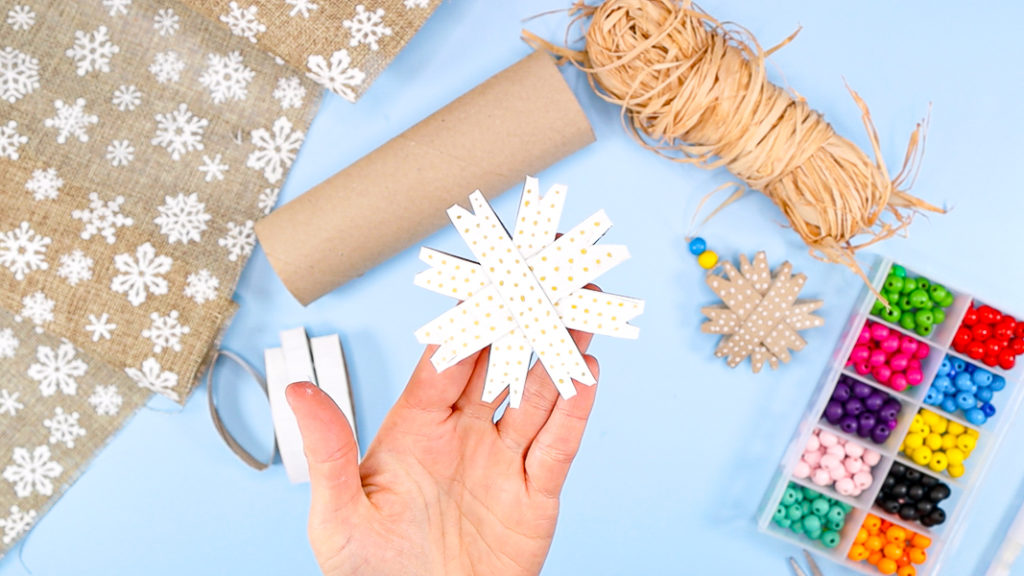
Step 7: Add the final paper roll piece to make complete the snowflake!
Insert the final piece of paper roll into the remaining large gap to complete to the snowflake.
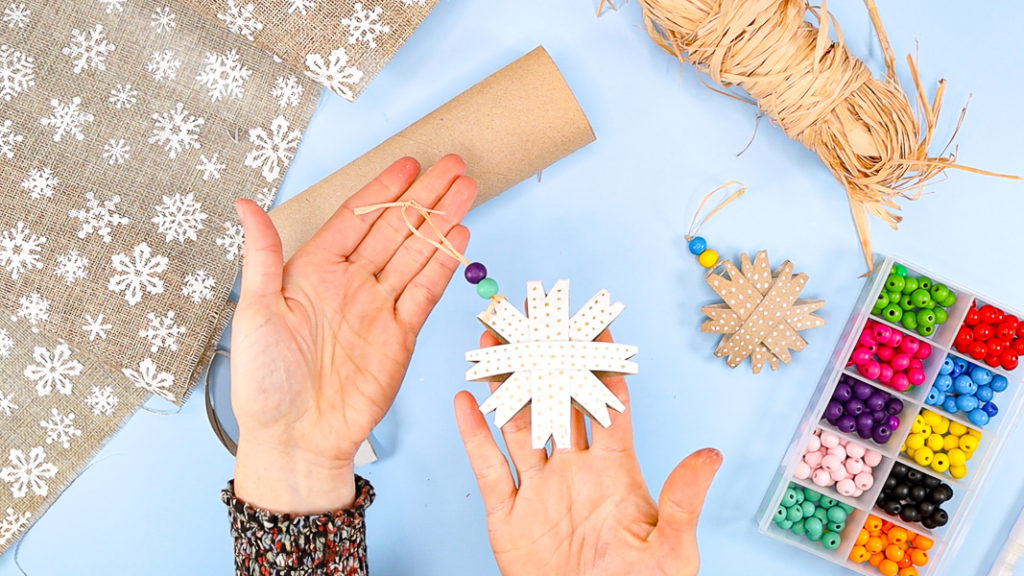
Step 8: Tie and a hanging thread.
Use a piece of string, twine or even straw (for a rustic look) to create a hanging loop.
For decoration (and to cover a knot), thread a couple of wooden beads onto the string.
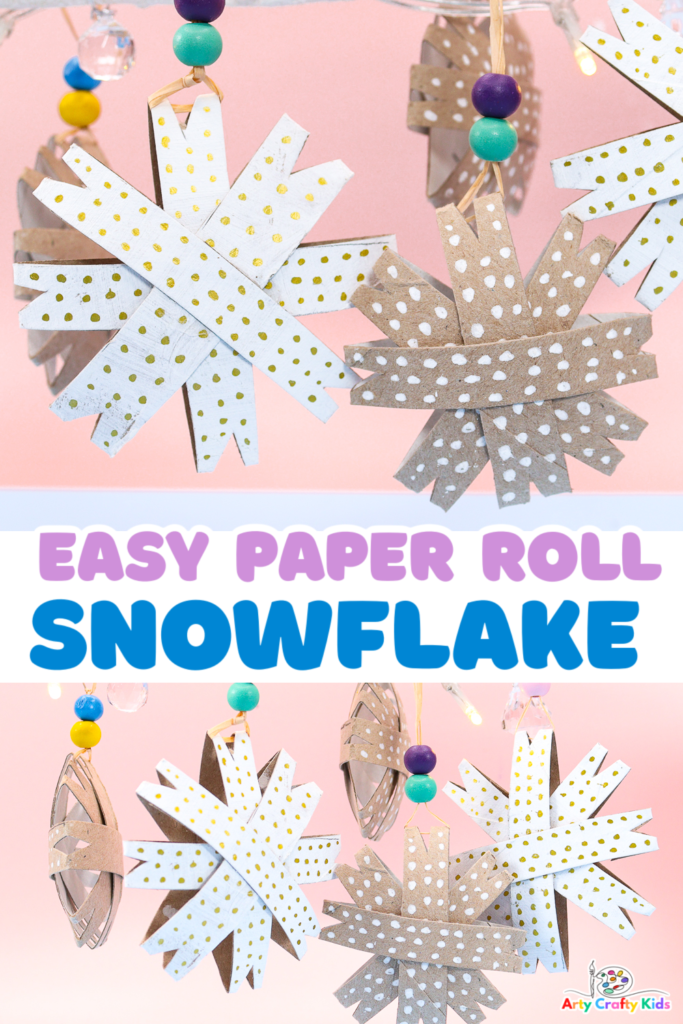
I hope your Arty Crafty Kids love making these simple snow flake ornaments. For more snowflake inspired Christmas art and craft, take a look at this quilled snowflake paper roll idea and salt painted snowflakes.

