Sharing is caring!
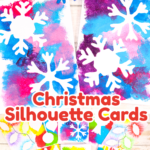
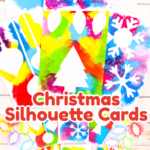
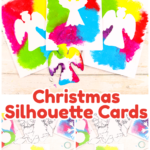
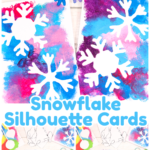
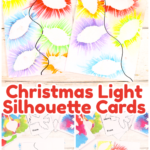
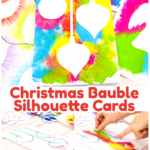
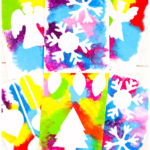
Create gorgeous Christmas silhouette cards with the kids this festive season! This is a super quick and easy Christmas card idea, making it a perfect craft for toddlers, preschoolers, elementary kids’ and beyond.
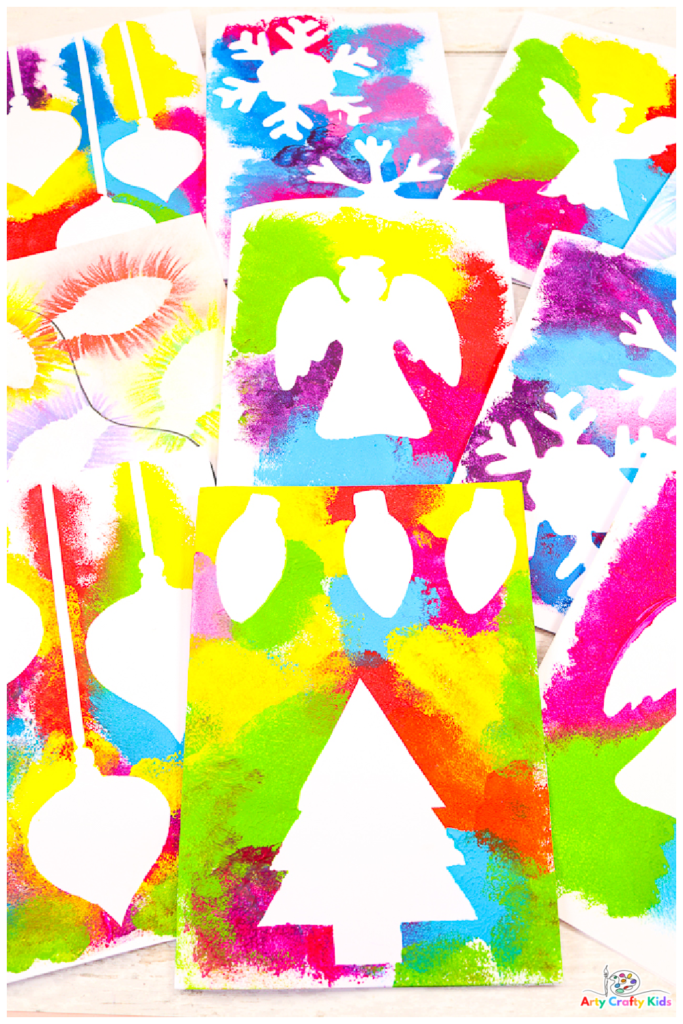
Children can choose from a variety of different silhouette shapes from Angels, to Christmas Trees, Snowflakes and Baubles!
They can combine the shapes to make their own festive Christmas design or create themed cards for their loved ones.
And while this project focusses on the sponge painting technique to create the silhouettes, children are free to use their favorite medium and can explore, watercolors, chalk pastels or simply crayons.
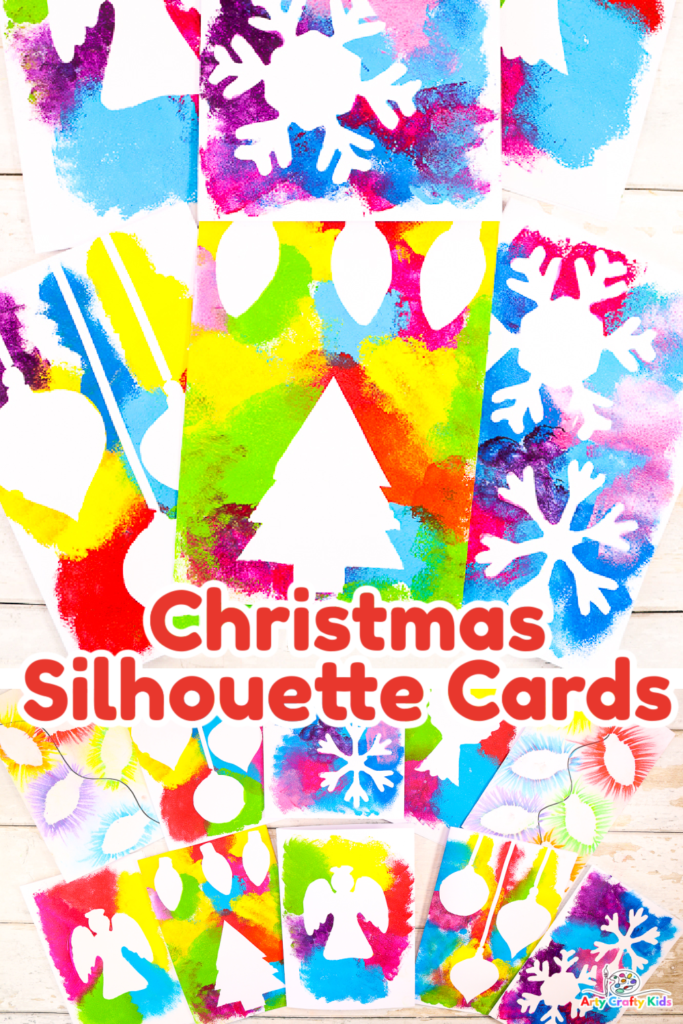
How to Make Christmas Silhouette Cards with the Kids!
Materials
- White Card Stock for Printing
- Card Stock for the Cards (ideally white)
- Preferred Paint Medium
- Sponge
- Optional: Chalk Pastels, Watercolors, Crayons etc
- Scissors
- Artist Tape (slim)
- Black Marker Pen
Download the Christmas Silhouettes:
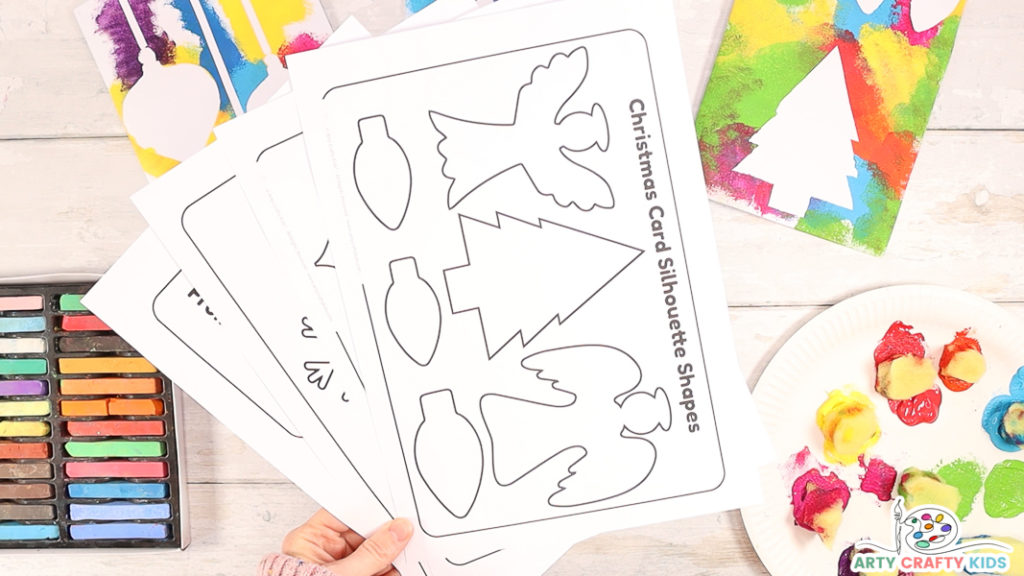
The printable download includes 3 sheets of Christmas Silhouette Shapes and a
“Merry Christmas” card insert.
The templates are available to members of the Arty Crafty Kids club.
Members will need to log in to access the template: https://www.artycraftykids.com/product/christmas-silhouette-card-templates/
Not a Member?

Watch our Video to Learn How to Make this Easy Christmas Card Idea:
Let’s Make Some Christmas Cards!
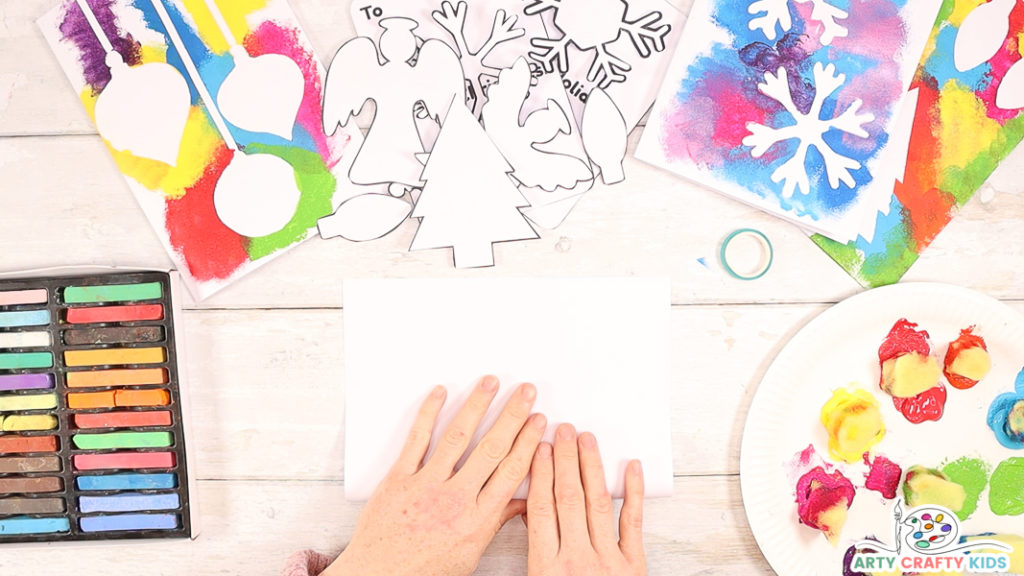
Step 1: Fold a Sheet of Card Stock in Half to Create the Christmas Card Base
For best results, use a sheet of white card stock and fold it in half.
Other colors may be used but the vibrancy of the results may differ.
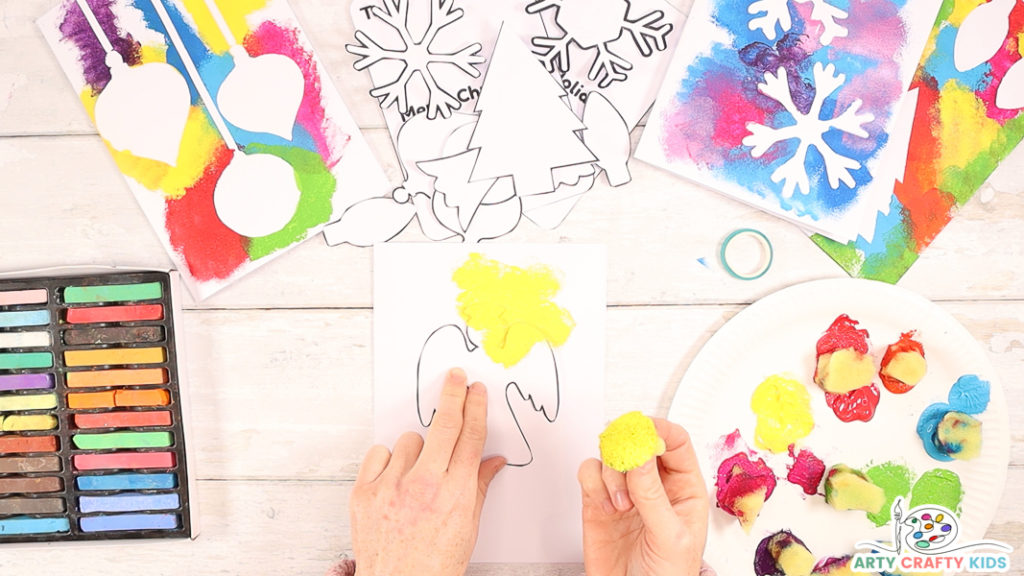
Step 2: Select a Christmas Silhouette Shape
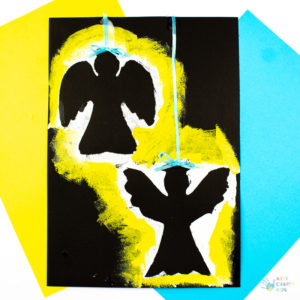
Gently cover the sponge in paint and dab it around the shape.
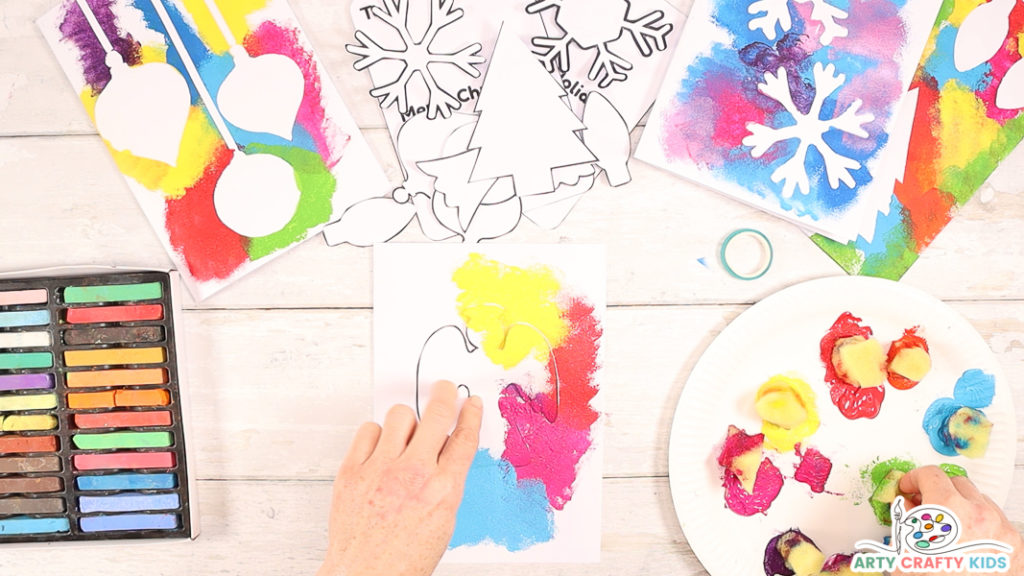
Step 3: Use a Sponge to Dab Paint Around the Christmas Silhouette Shape
Use lots of different colors to surround the shape in paint.
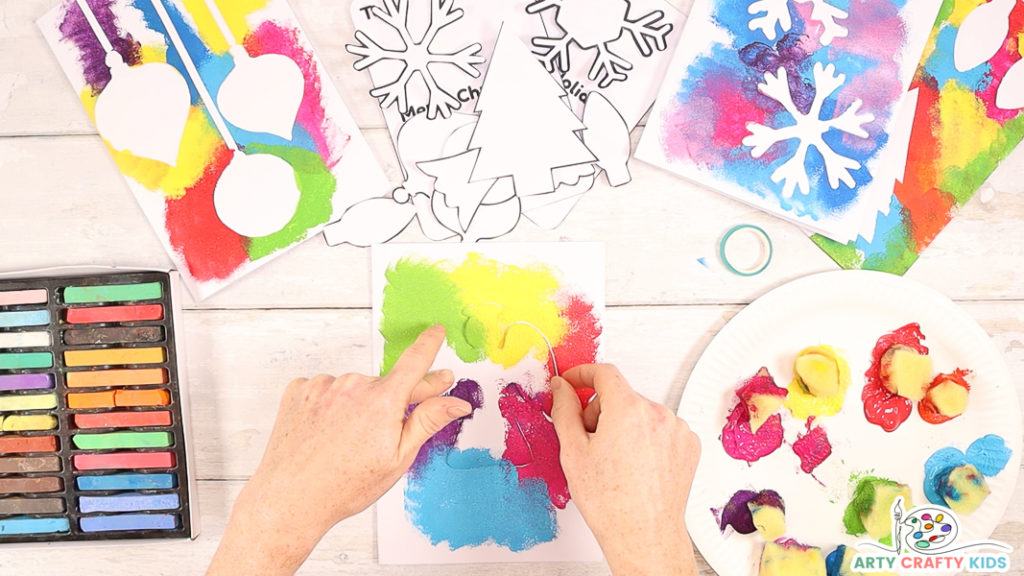
Step 4: Carefully Lift the Shape to reveal the Silhouette
Once the surrounding white space is painted, gently peel the shape away to reveal the Christmas silhouette.
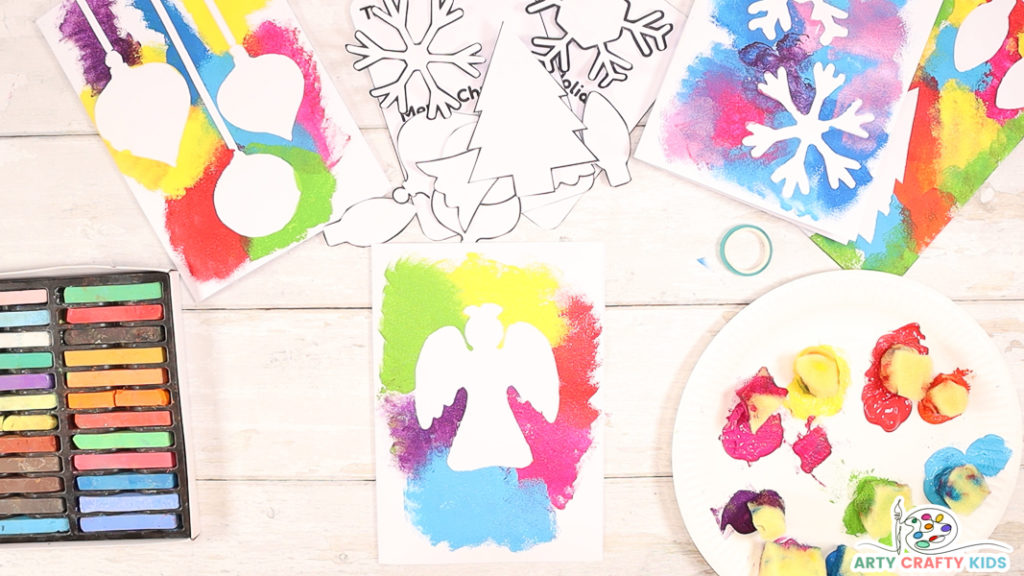
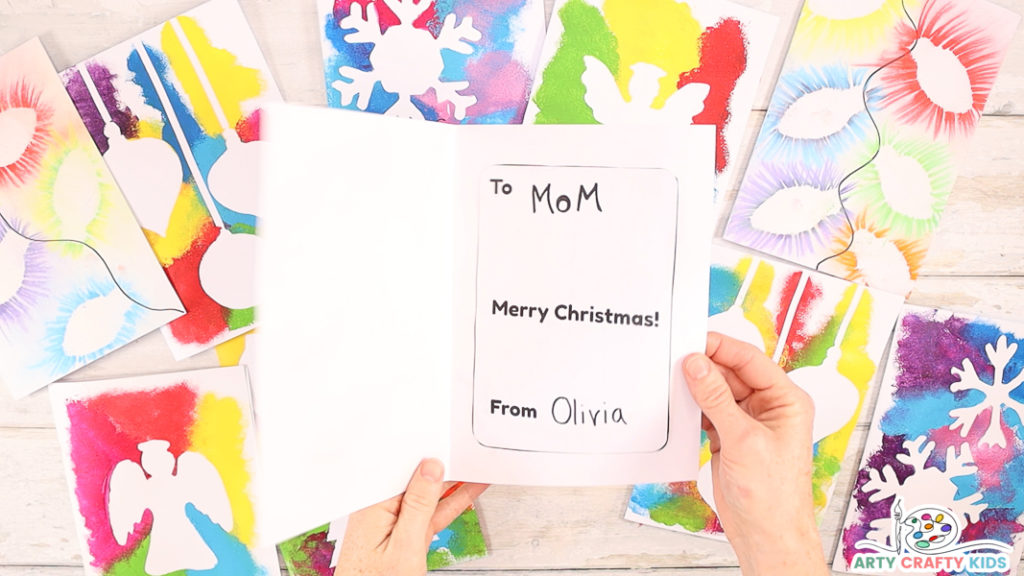
Step 5: Open the card and affix the Christmas card insert.
How to Make a Christmas Bauble Card
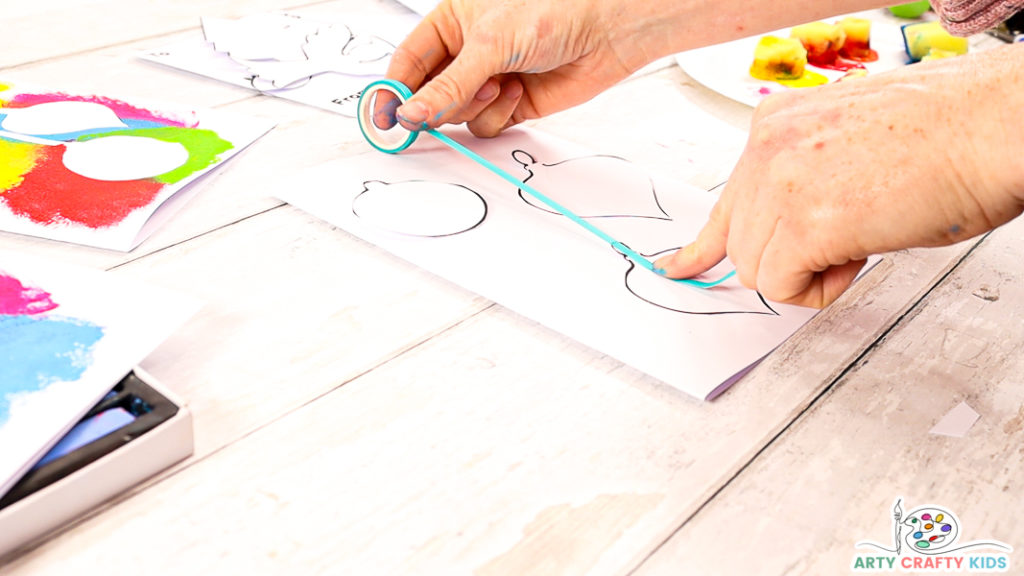
Step 1: Use a Slim Piece of Masking Tape to Secure the Bauble Shapes
Use a slim piece of masking tape to create a line from the bauble to the top of the card.
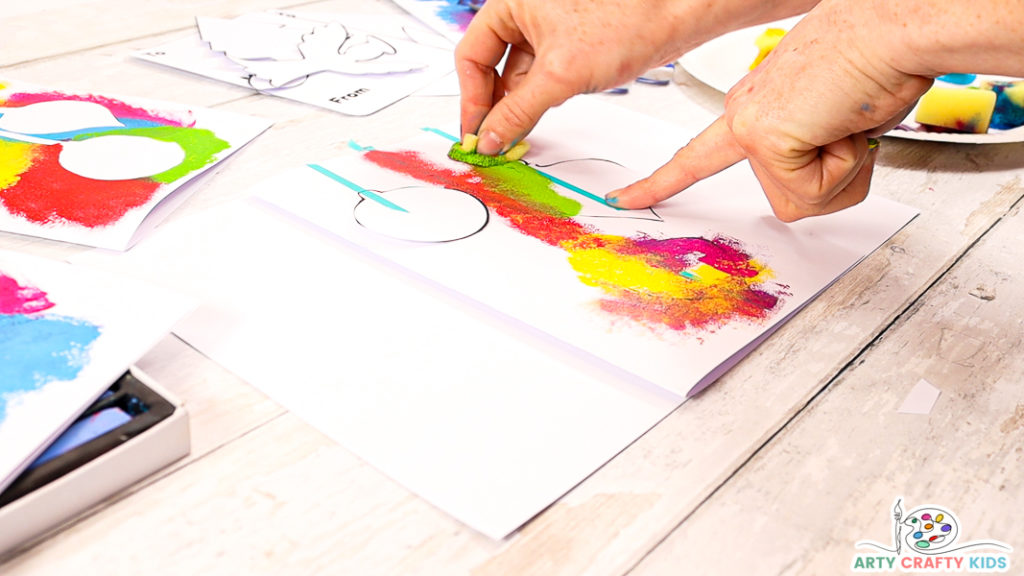
Step 2: Sponge Paint Around the Bauble and Over the Tape
Cover the tape and bauble edges in paint.
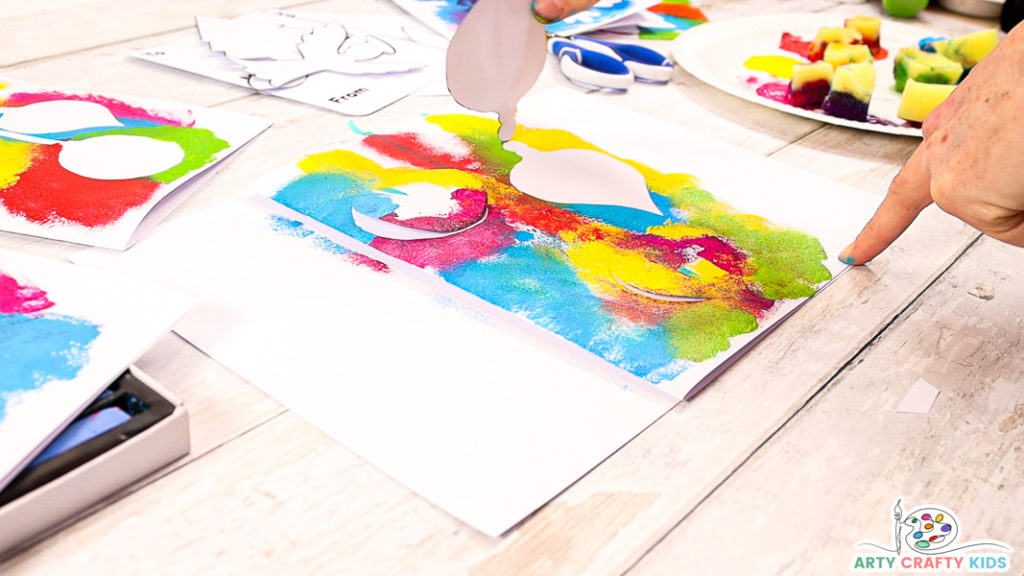
Step 3: Carefully Peel Off the Bauble and Tape to Reveal the Silhouette
How to Create Chalk Pastel Silhouettes
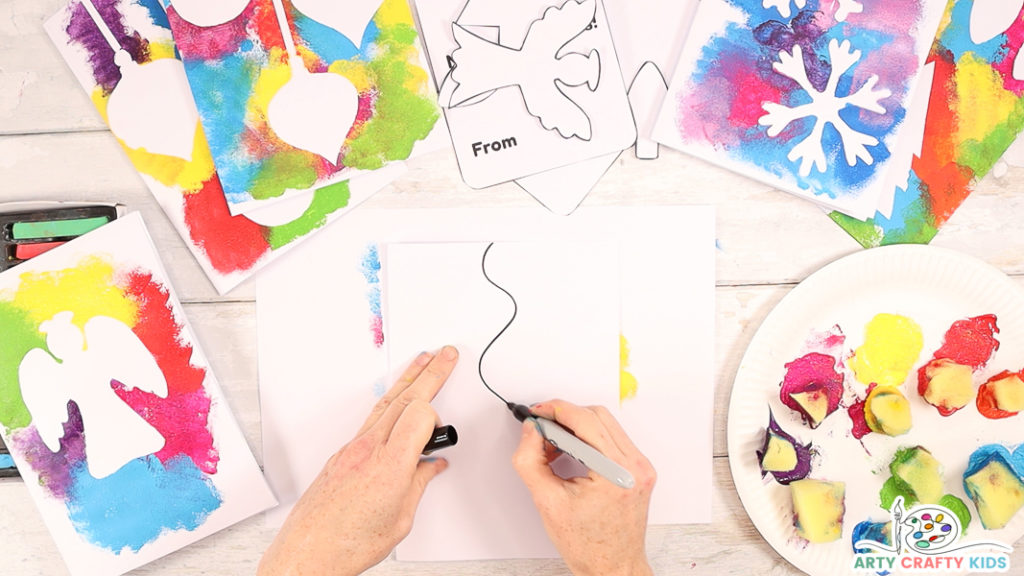
Step 1: Draw a Wiggly Line Across the Card
Use a black marker pen to draw a wiggly line from the top to the bottom of the card.
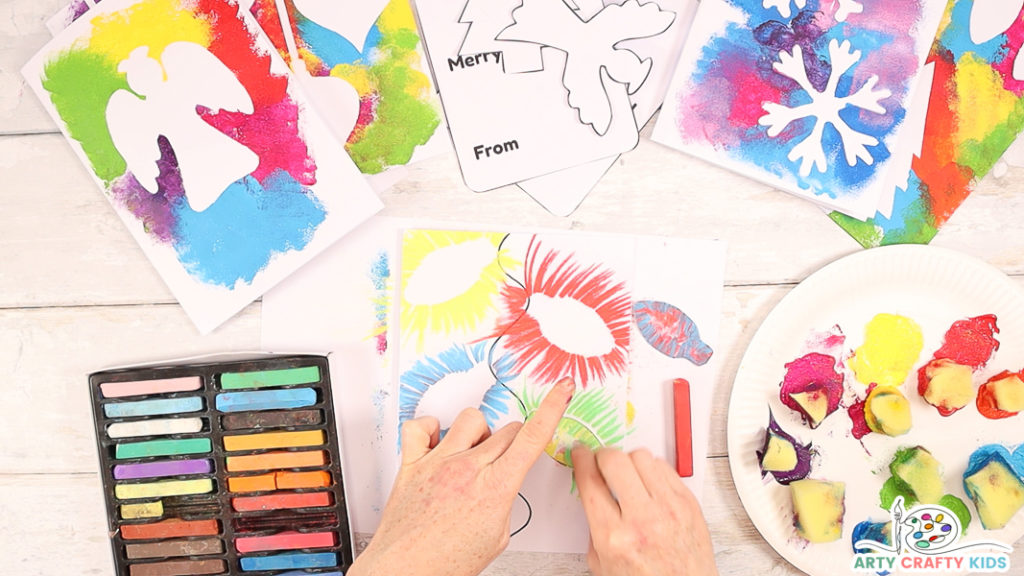
Step 2: Draw Across the Christmas Light Bulb with a Chalk Pastel
Position the Christmas light shape onto the wiggly line and draw lines across the shapes edge and away from the bulb.
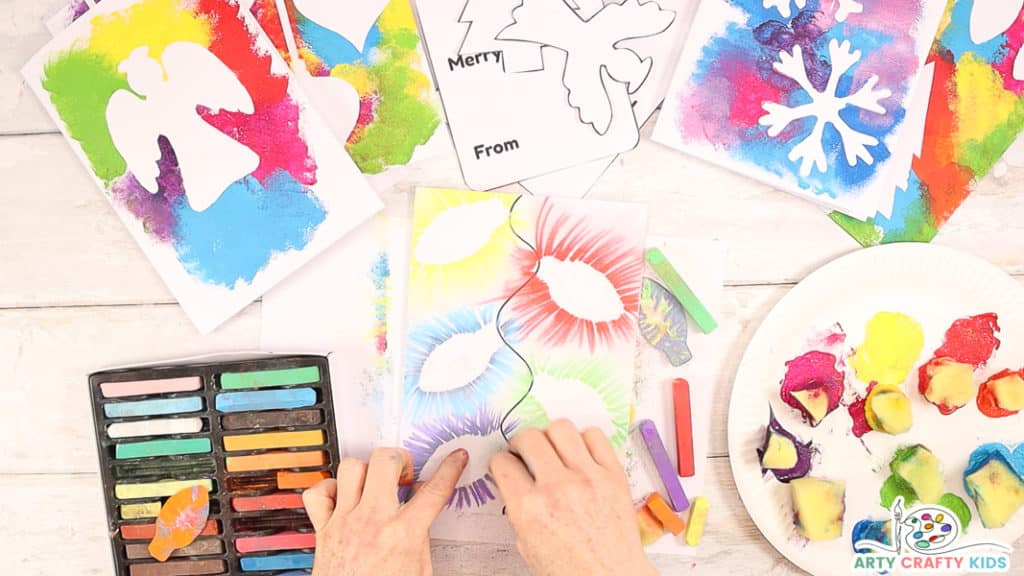
Step 3: Rub the Chalk Drawn Lines with a Finger or Sponge
Once all the chalky lines are drawn, gently smudge the lines with a finger or sponge. This will help to remove the excess chalk.
As always, we love to see Arty Crafty Kids’ creativity in action and if you happen to share their completed makes on social media, please do give us a tag or/and use the hashtag #artycraftykids.
More Christmas Art and Craft Ideas for Kids:
-
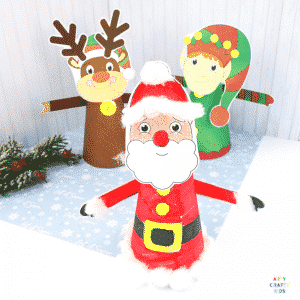
3D Christmas Characters
-
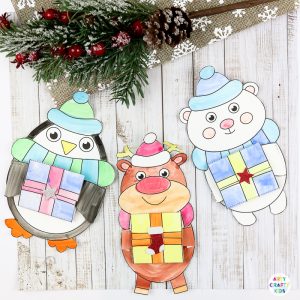
Winter Animal Christmas Cards
-
Christmas Angel Ornament
-
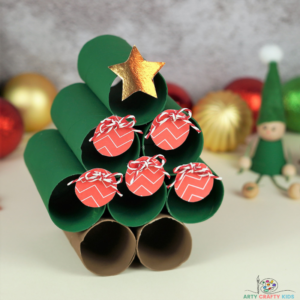
Mix and Match Paper Roll Christmas Tree Baubles
-
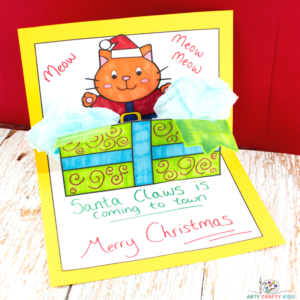
Santa Claws Pop-Up Christmas Card Template
-
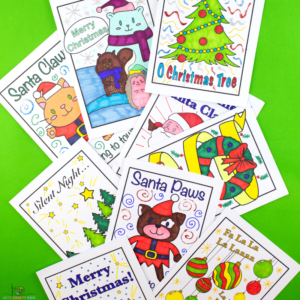
Christmas Coloring Cards
-
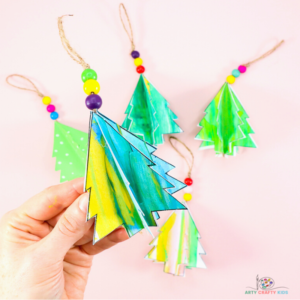
3D Christmas Tree Bauble Template
-
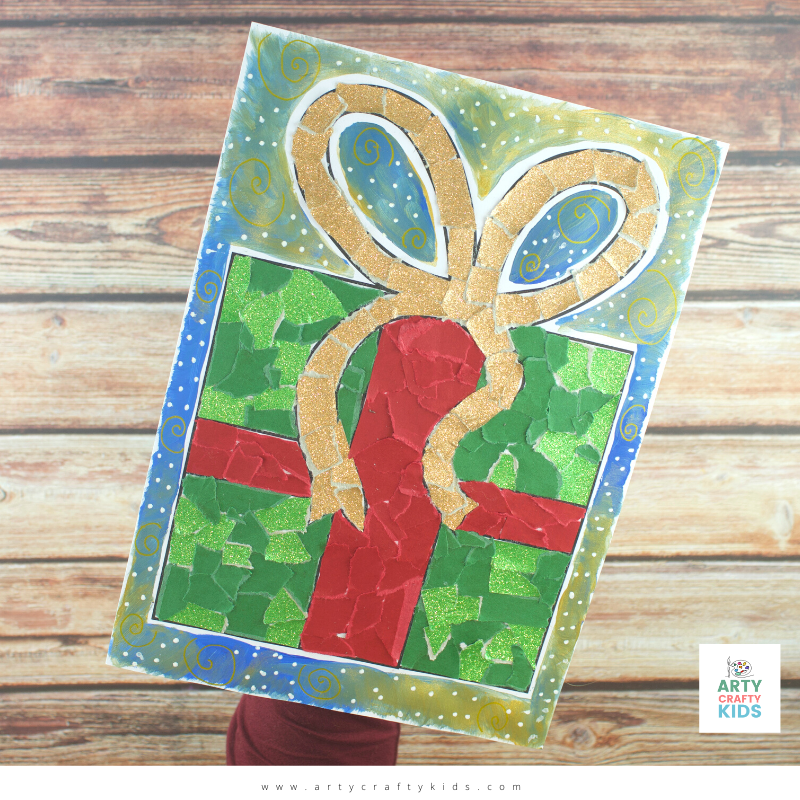
Paper Collage Christmas Present Template
-
Paper Collage Christmas Stocking Templates
-
Easy Christmas Stocking Card
-
Poinsettia Christmas Card
-
Dot to Dot Christmas Colouring Pages
-
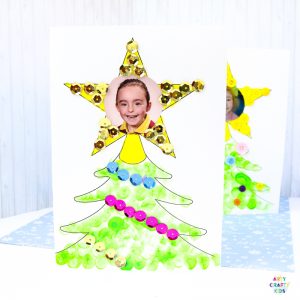
Photo Christmas Tree Card
-
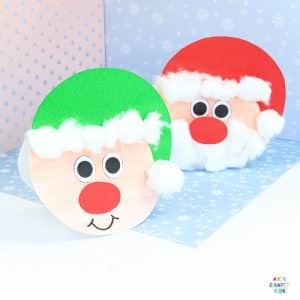
Santa and Elf Christmas Card
-
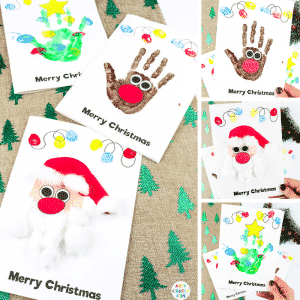
Handprint Christmas Cards
-
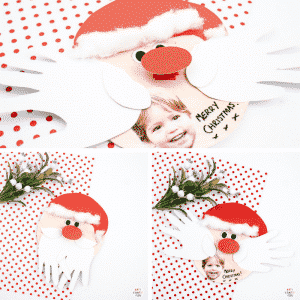
Santa Handprint Christmas Card
-
Unicorn in Christmas Pyjamas Puppet
-
Christmas Unicorn
-
3D Christmas Tree
-
Fingerprint Christmas Tree Card
-
Fingerprint Christmas Tree Art


