Sharing is caring!
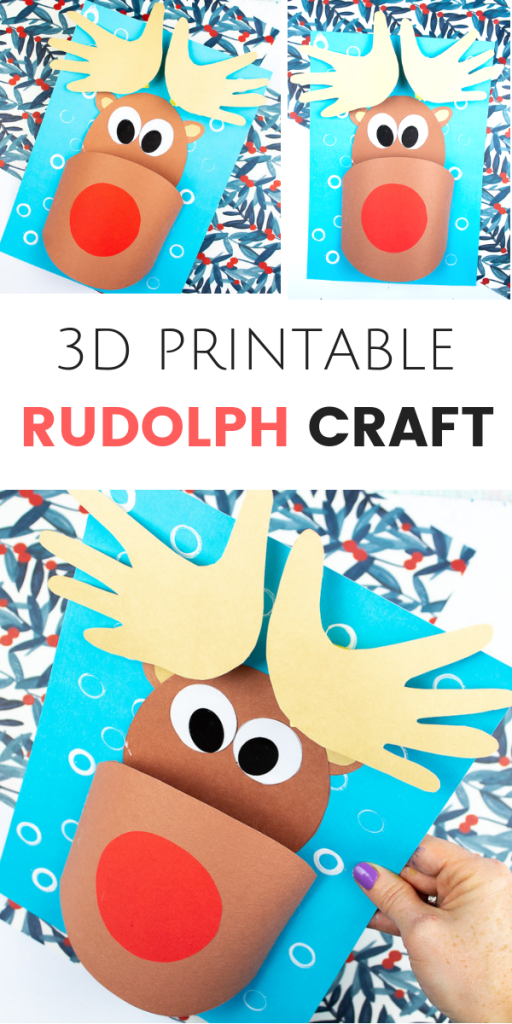
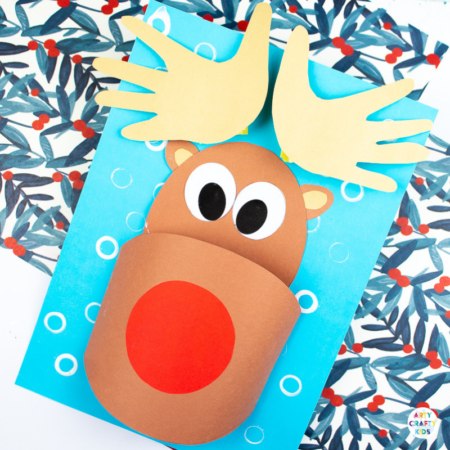
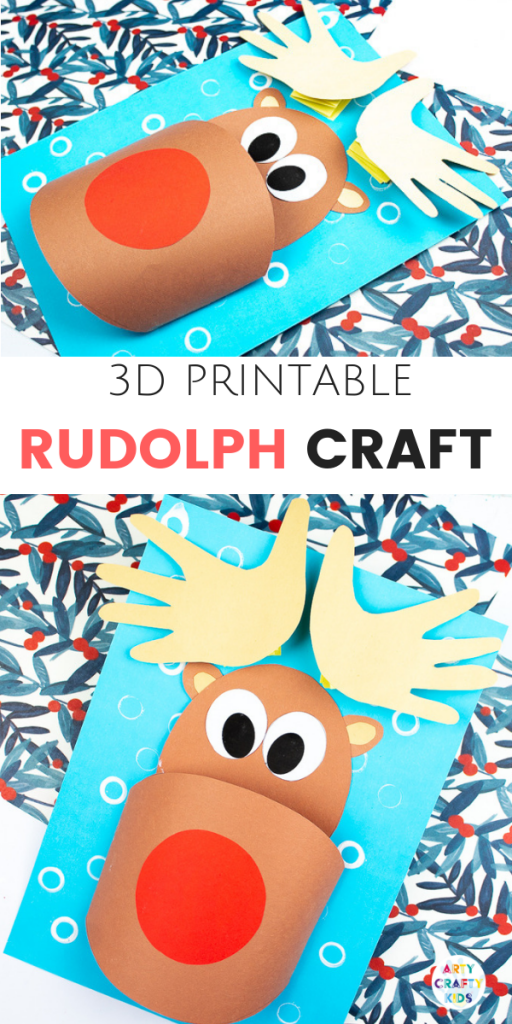
Play and explore shapes with this adorable 3D Printable Rudolph Craft.
With bouncy handprint antlers and a big bold red nose, Arty Crafty Kids will love seeing their Christmasy creations literally pop out from the page!
This is a fun and engaging craft for kids, that adds to a growing collection of interactive Rudolph Crafts, including Musical Rudolph Puppets, Reindeer Finger Puppets and Paper Rudolph with a big bouncy red nose and jingly antlers.
3D Printable Rudolph Craft: Materials
Rudolph Template
Blue Card Stock
Brown, Beige, Yellow and Red Paper
Glue Stick
Paint (optional)
Scissors
The Rudolph Template can be accessed via the Arty Crafty Kids Club!
Already a member? login here!
3D Printable Rudolph Craft: Tutorial
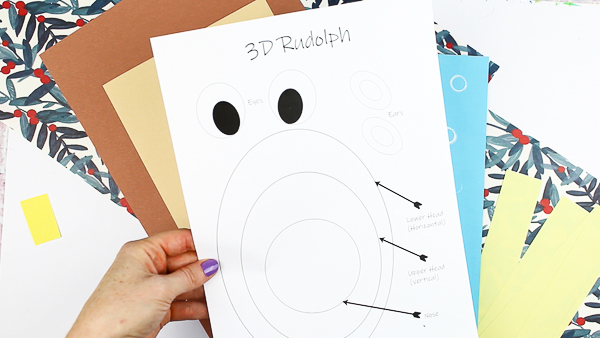
Step 1: Download and print the template via the Arty Crafty Kids Club!
Already a member? login here!
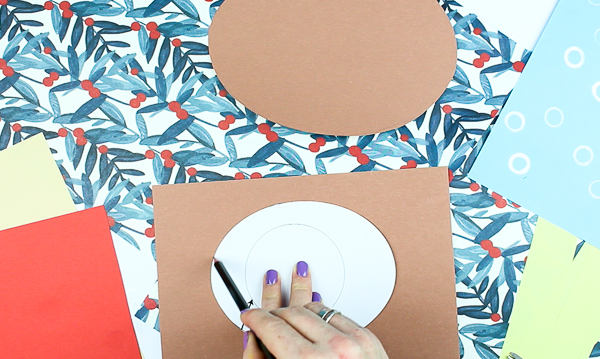
Step 2: Cut out the large oval and trace this shape onto brown construction paper.
Cut out the second oval within the first and again, trace onto brown paper.
Cut out the circular nose and trace this shape onto red paper.
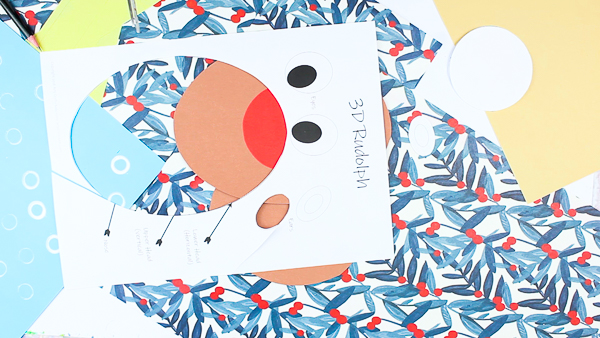
Step 3: Cut out the remaining ear and eye elements.
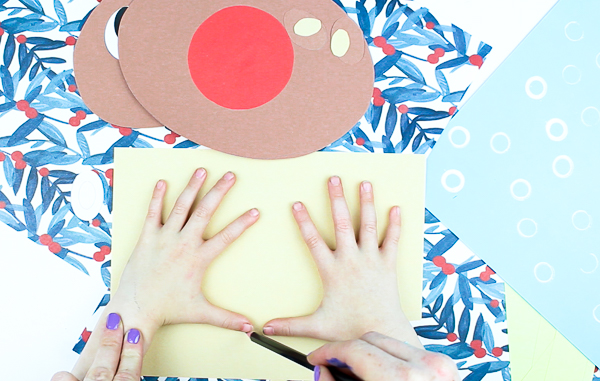
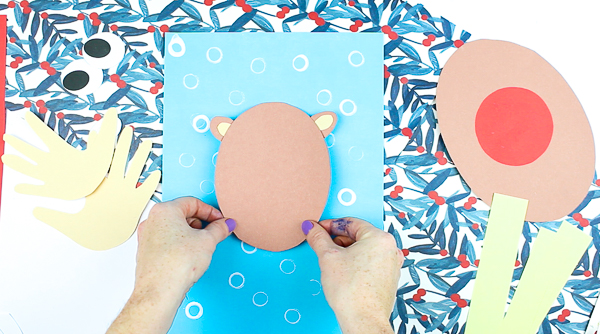
As you can see from the image, we’ve added some snow prints to our blue backdrop.
To create these prints, we simply placed a pen lid into white acrylic paint and printed in a random formation across the card. A similar effect can be achieved with bubble wrap and fingertips!
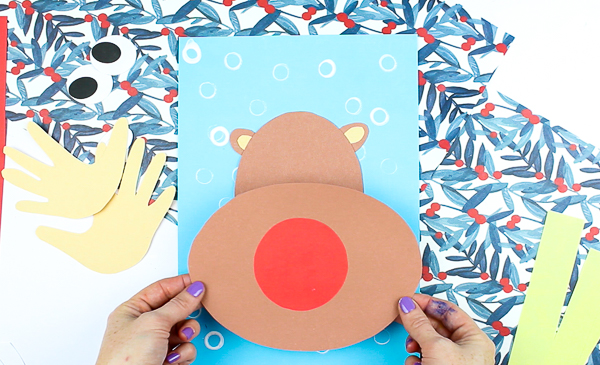
Step 6: Glue the big red nose to the centre of the large oval.
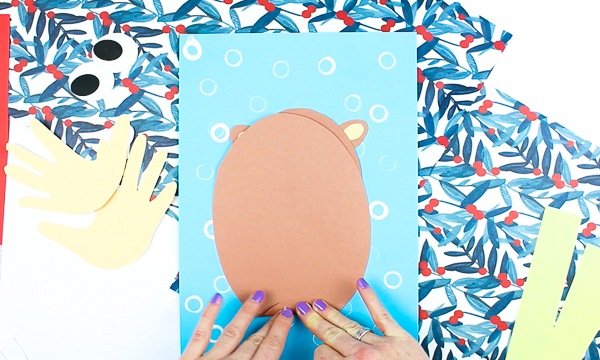
Step 7: Take the large oval and create a small fold at both ends, adding some glue along the fold.
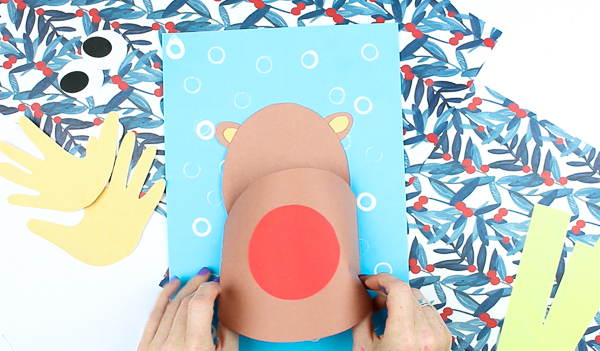
Step 8: Position the oval in a horizontal position and gently bend the paper by pulling in the two folds to create an arch. Once your Arty Crafty Kids are happy with its position, stick the folds down to the paper.
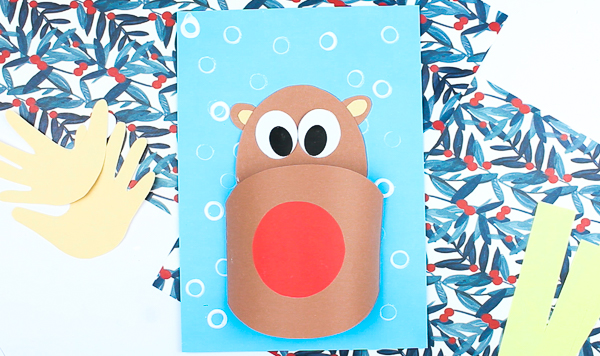
Step 9: Add a pair of eyes!
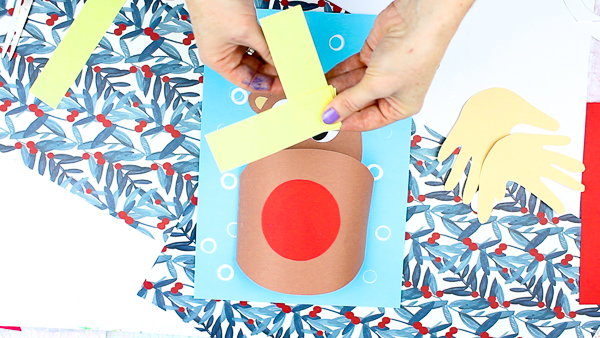
Step 10: The Accordion Folds!
Using scissors or a paper cutter, cut out four even strips of yellow paper – ideally, the strips will be fairly wide and for length, I would recommend cutting the paper from the shortest side of an A4 piece of paper.
Take two strips and position them in a 90° angle as shown above. Glue the connecting papers together.
Step 11: Simply fold the bottom strip over the top and crease the fold along the edge. This will make the accordion fold tight!
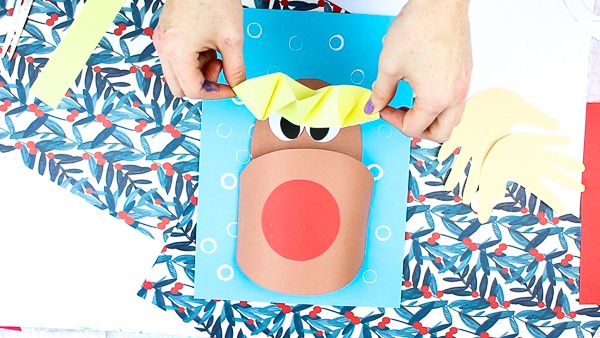
Step 12: Keep alternating the strip folds until you run out of paper and seal the ends with glue.
Take another two strips of paper and repeat the process to create a second paper accordion.
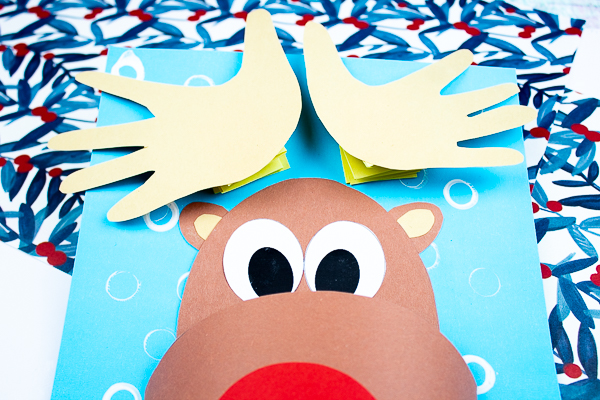
Step 13: Glue the bottoms of both accordion folds to the top of the reindeer’s head and attach the handprints to the top of each.
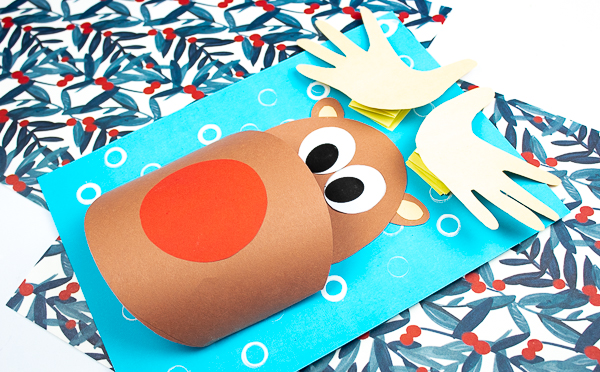
The 3D Printable Rudolph Craft is now complete!
This craft is a fabulous way to explore and play with dimensions and shape, creating body and depth to the final creation.
[fruitful_sep]
The Arty Crafty Kids Club
Makes crafting with kids easy!
Filled with art and craft templates, colouring pages and how-to-draw guides – members get unlimited downloads and can find everything they need to get creative in one convenient place.
[fruitful_btn link=”https://www.artycraftykids.com/arty-crafty-kids-club/” size=”large”]JOIN HERE[/fruitful_btn]
[fruitful_sep]
Pin for Later!
