Sharing is caring!
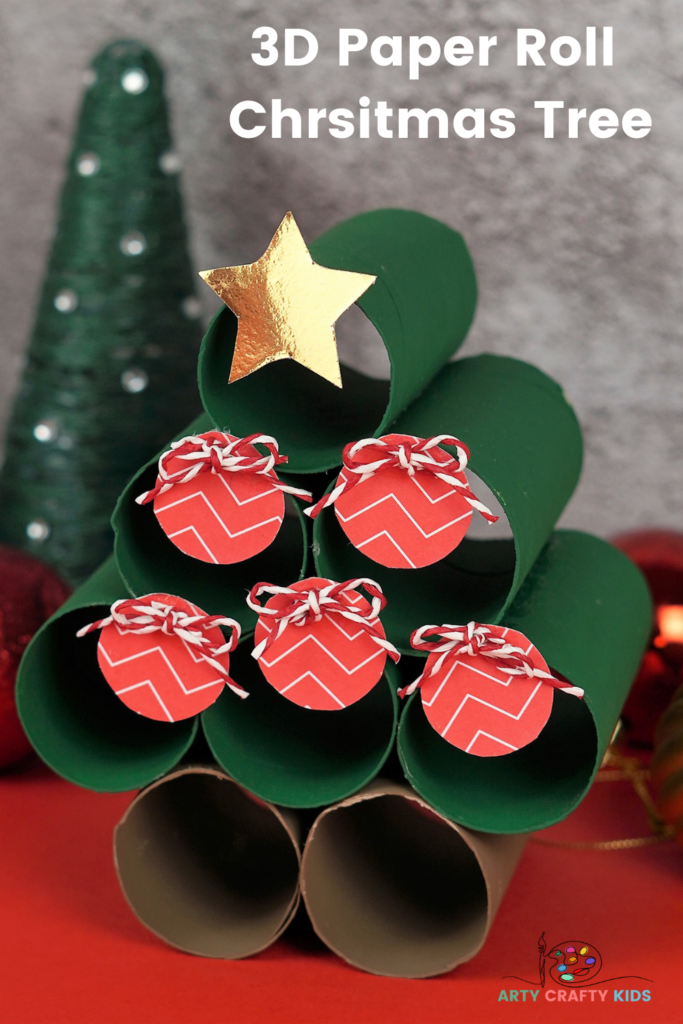
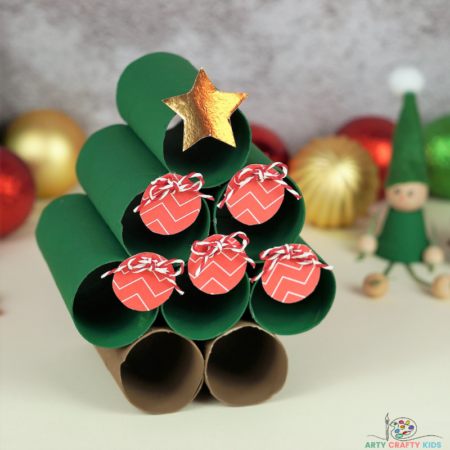
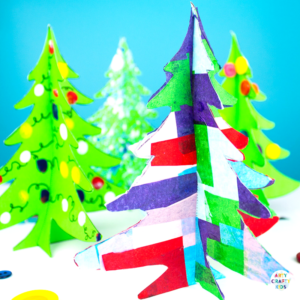
This 3D Paper Roll Christmas Tree craft for kids is fun and easy to make, and would make a great decoration for the Christmas dining table or within a Christmas nativity play scene.
It’s time to raid the recycling bin and pull out all those discarded kitchen paper rolls! This Christmas craft is super easy to make and engages children in the art of balance to create a 3D Christmas tree.
Using recyclable objects in craft is a fantastic way to demonstrate how almost everything, with a little creativity, can be reused to create something new. It’s the best way to inspire children’s imaginations and once they get started with this fun Christmas Tree craft, I’m sure they’ll find all sorts of fun uses for the empty areas of the tree.
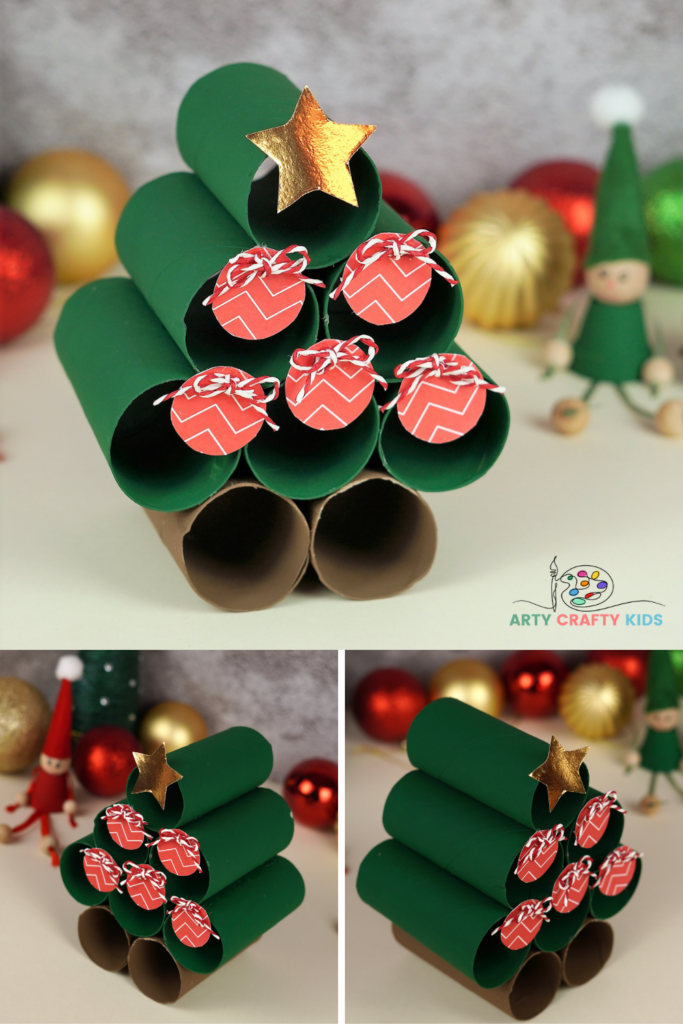
How to Make a 3D Paper Roll Christmas Tree
Materials:
- x8 Paper Rolls
- Acrylic Paint
- Colored or Patterned Paper / Cardstock
- Ribbon or String
- Scissors
- Glue Stick
Optional Mix and Match Bauble and Star Template:
The Mix and Match Christmas Tree Baubles are available to
members of the Arty Crafty Kids club.
Members will need to log in to access the template
: https://www.artycraftykids.com/product/mix-and-match-paper-roll-christmas-tree-baubles/
Not a Member?
Watch the Step-by-Step How to Make a Paper Roll Christmas Tree Tutorial:
Let’s Make a 3D Christmas Tree!
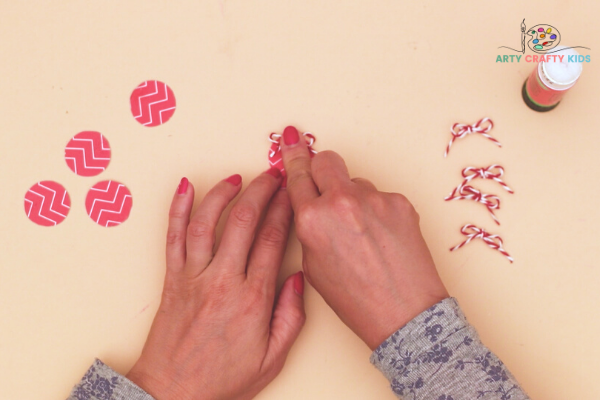
Prepare the Baubles and Star for the Christmas Tree
To begin, create 5 baubles for the Christmas tree and a Christmas star.
Arty Crafty Kids could draw and design their baubles free hand or use our Mix and Match Bauble Template.
The baubles will be bring color and sparkle to the Christmas tree and can be made from colored or patterned paper, with added ribbon, sequins, pom-poms etc
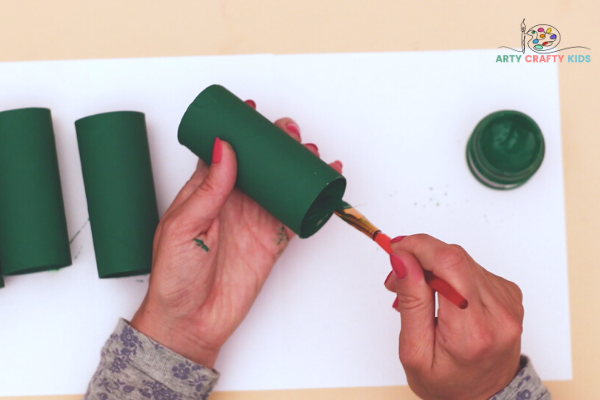
Paint the Outside and Inside of the Paper Rolls
Next, use acrylic paint to cover 5 paper rolls – paint the inside of the rolls too!
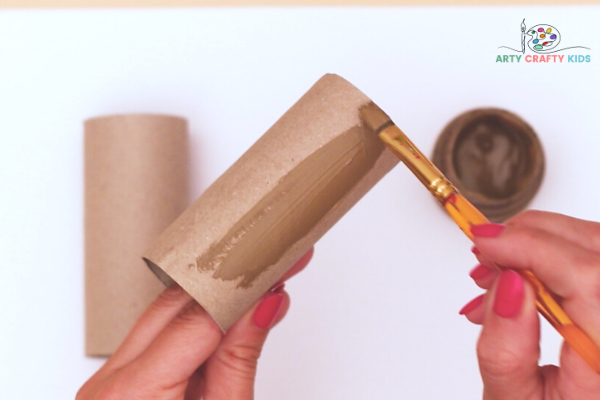
Paint Another Two Paper Rolls Bronze/Brown
Paint another two paper rolls a bronze/brown color.
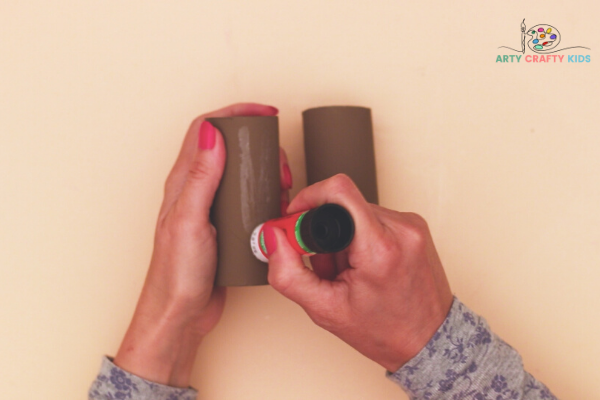
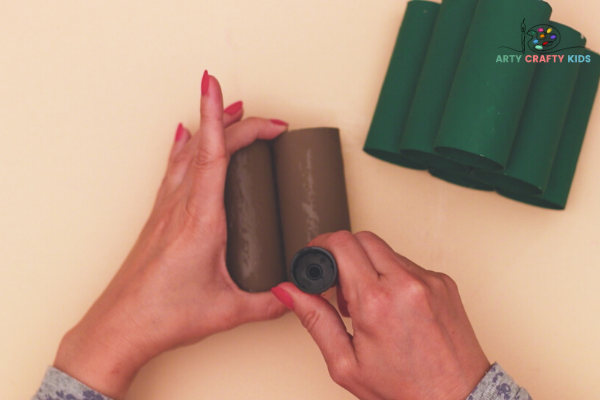
Apply Glue to the Brown Paper Rolls
Once the paper rolls have thoroughly dried, take one brown paper roll and apply a generous amount of glue along the full length of the roll.
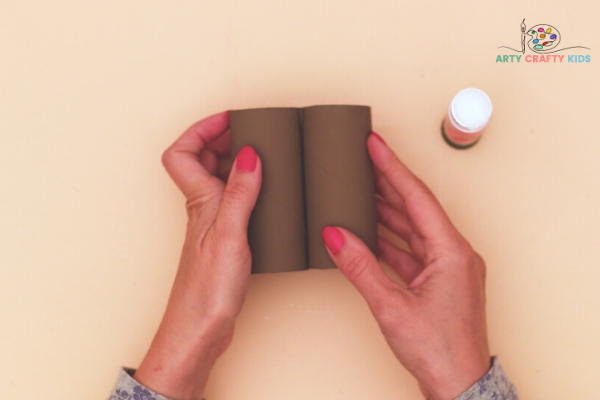
Next, Glue the Two Brown Paper Rolls Together
Now secure it to the second brown paper roll.
Gently push them together to encourage the rolls to stick.
Once secure, put the newly formed tree stump to one side!
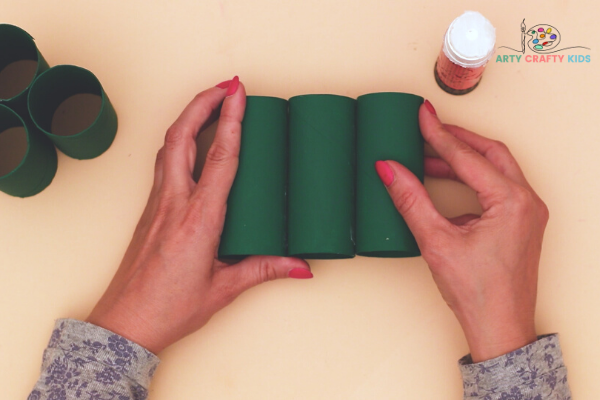
Create a Base of Three Green Paper Rolls
Let’s move onto the Christmas tree.
Using the same method as before, secure three green paper rolls together.
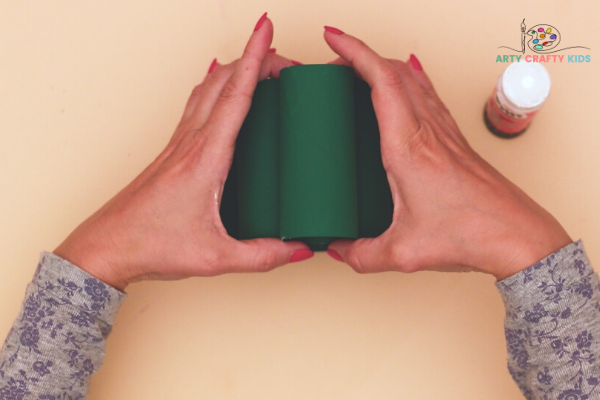
Layer the Remaining Paper Rolls to Form a Pyramid
Once the base is secure and firmly stuck together, make a paper roll pyramid by layering the rolls in a 3,2 and 1 formation.
Apply Glue to the Christmas Tree Stump
Place the Pyramid Christmas Tree on Top of the Stump
Once the pyramid is secure, apply lots of glue to the tops of the tree stump and position the pyramid on top.
Gently push down to secure the pieces.
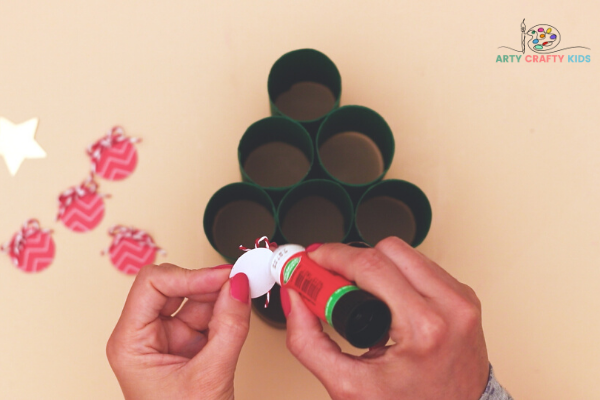
Add the Baubles to the Christmas Tree
Next, apply lots of glue to the backs of the baubles and affix to the Christmas Tree.
Aim to glue to the baubles onto the joins of the layered paper rolls.
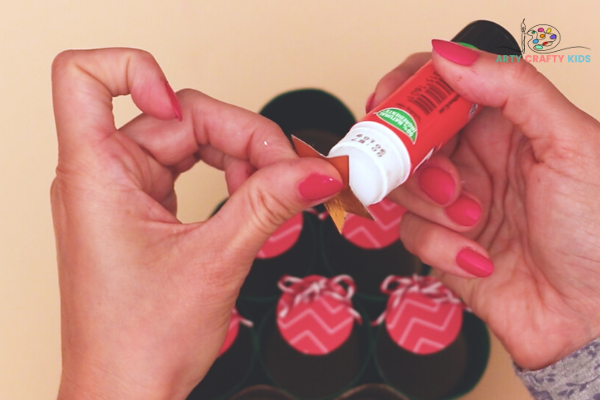
Add a Christmas Star to the Top
Once the baubles are secure, complete the Christmas Tree with a Christmas star.
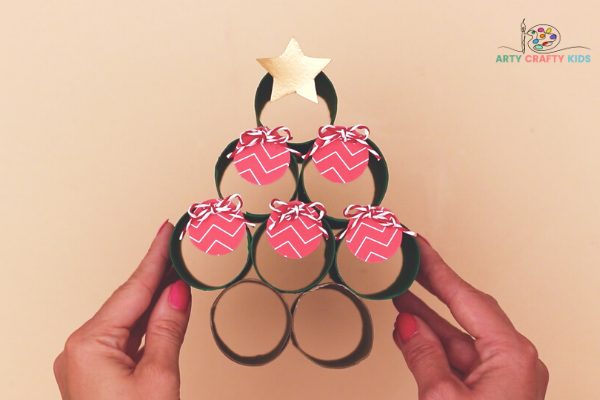
The 3D Paper Roll Christmas Tree is Complete
I hope your Arty Crafty Kids enjoy creating their very own 3D Paper Roll Christmas Trees. As an extension, the paper rolls could be stuff with tissue paper or filled with a little tree. Perhaps it could be made bigger and transformed into an Advent Christmas Tree…
However your Arty Crafty Kids complete the craft, we would love to see it! If you happen to share their creativity online, please do take us on social media.
