Sharing is caring!
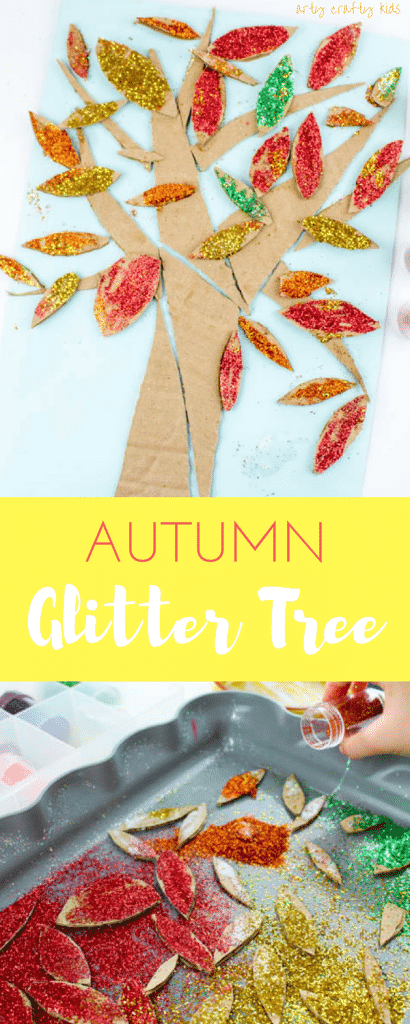
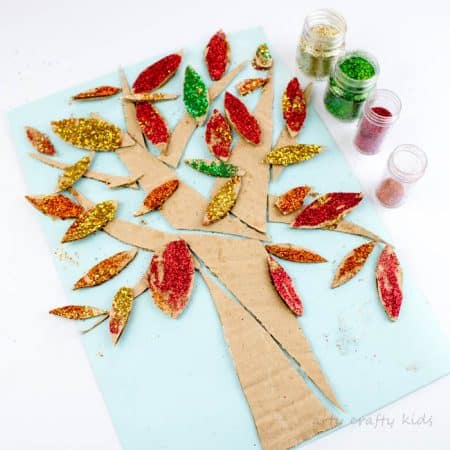
When it comes to kids crafts, recycling and reusing is the way forward. It encourages creativity and kids love the process of transformation, for a box or bottle top can become anything the imagination desires. Today, I have a simple and rather sweet Autumn Cardboard Glitter Tree to show you, that reuses an old cardboard box to create a shapely geometric tree that requires a little thought to assemble… I suppose it could be considered a puzzle.
And while we have chosen to use glitter to decorate our cardboard leaves, if glitter is not for you (as not everyone loves it or the potential mess), it could easily be replaced with paint, tissue paper or better yet, perhaps an old piece of art work could be cut up into leaf shapes.
Maybe you could try all of the above with the kids!
For our glitter tree, here’s what you need!
Autumn Cardboard Glitter Tree: Materials and Supplies
This post contains affiliate links to recommended products.
Cardboard
Glitter
PVA Glue
Stock Card
Scissors
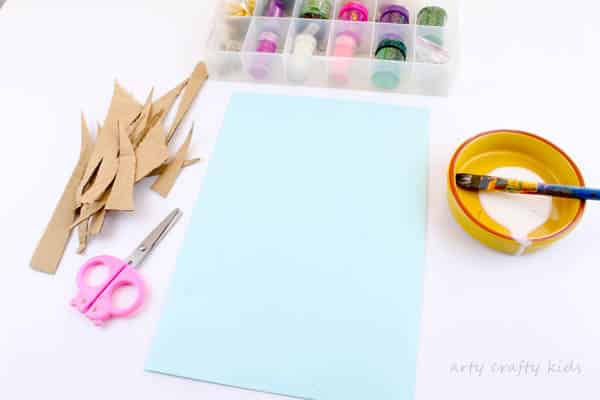
Step 1. Cut up an old cardboard box into smaller segments and create several long triangular shapes or varying lengths and widths.
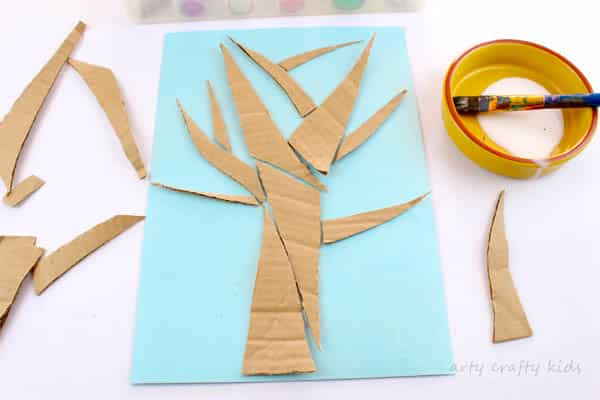
Step 2. Assemble into a ‘tree’ shape and secure with glue.
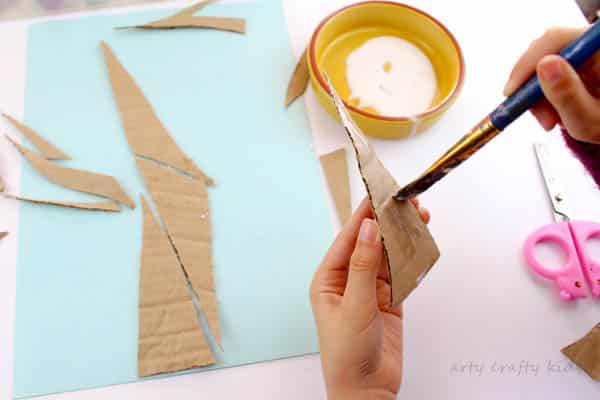
Your Arty Crafty Kids may wish to play around with the cardboard pieces before committing to a final shape.
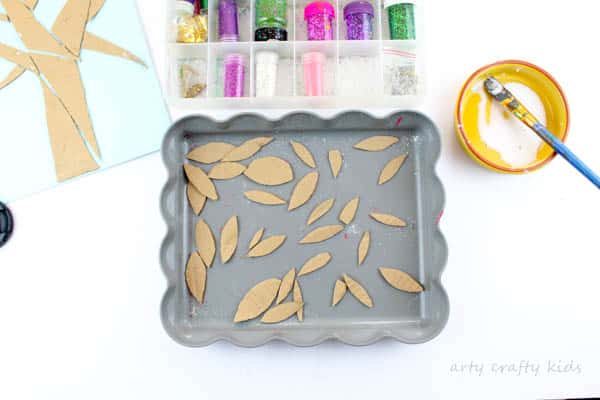
Step 3. Next, cut out a number of ‘leaf’ shapes of varying shapes and sizes.
This will be great scissor practice for little hands!
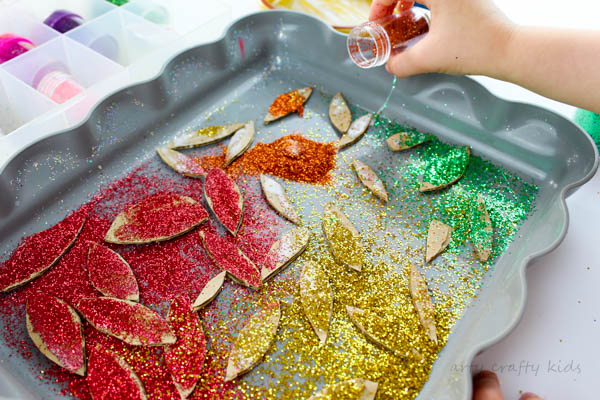
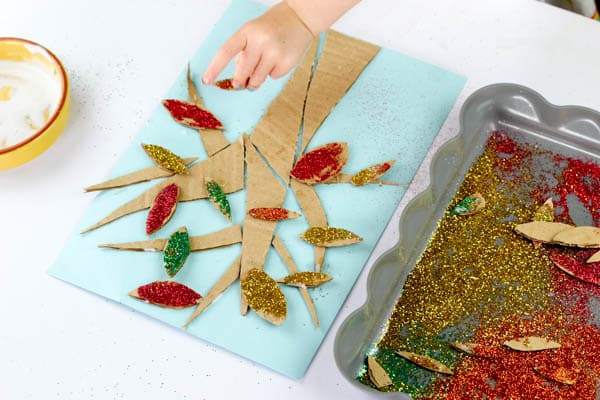
Step 5. Once the leaves are dry, shake off the excess glitter and then add the cardboard leaves to the tree, securing with more PVA glue.
My kids attached a few leaves directly on onto the backing card and others on the tree.
The Autumn Cardboard Glitter Tree is now complete!
For more fabulous Autumn crafts, check out:
Autumn Leaf Art
24 Creative Autumn Crafts for Kids
Pin for Later!
