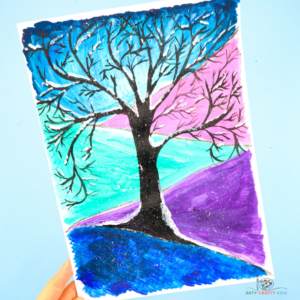


Learn how to recreate this stunning Winter Tree Art Project with your Arty Crafty Kids!
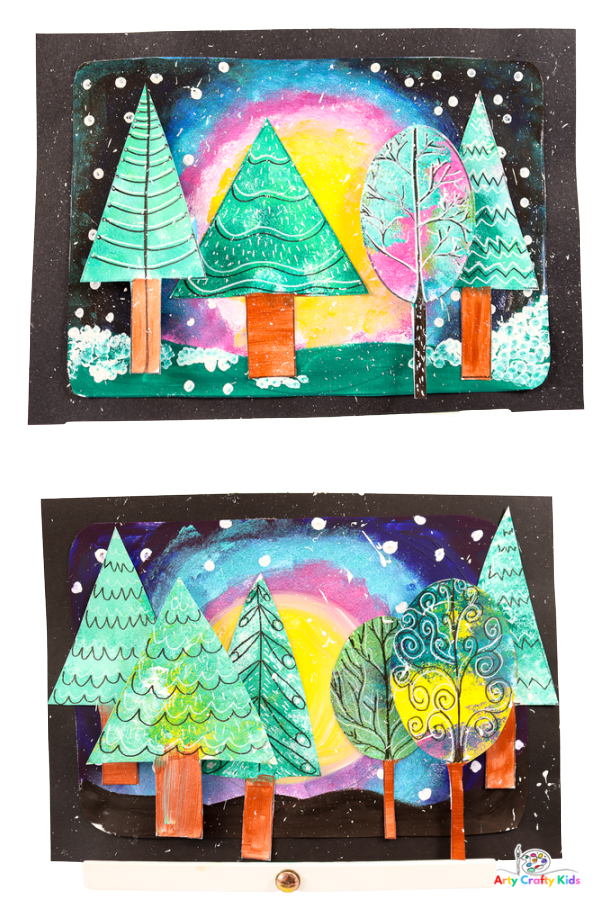
Sponge painting, doodling, cutting, sticking and 3D effects to create a gorgeous winter landscape – this art project has it all and can be adapted to suit children of all ages, from preschool to elementary and beyond!
Children will learn how to create interesting painting effects with a sponge, which is contrasted with brush painting, splatters and printed spots.
They can be creative with color and experiment with blending and color creation.
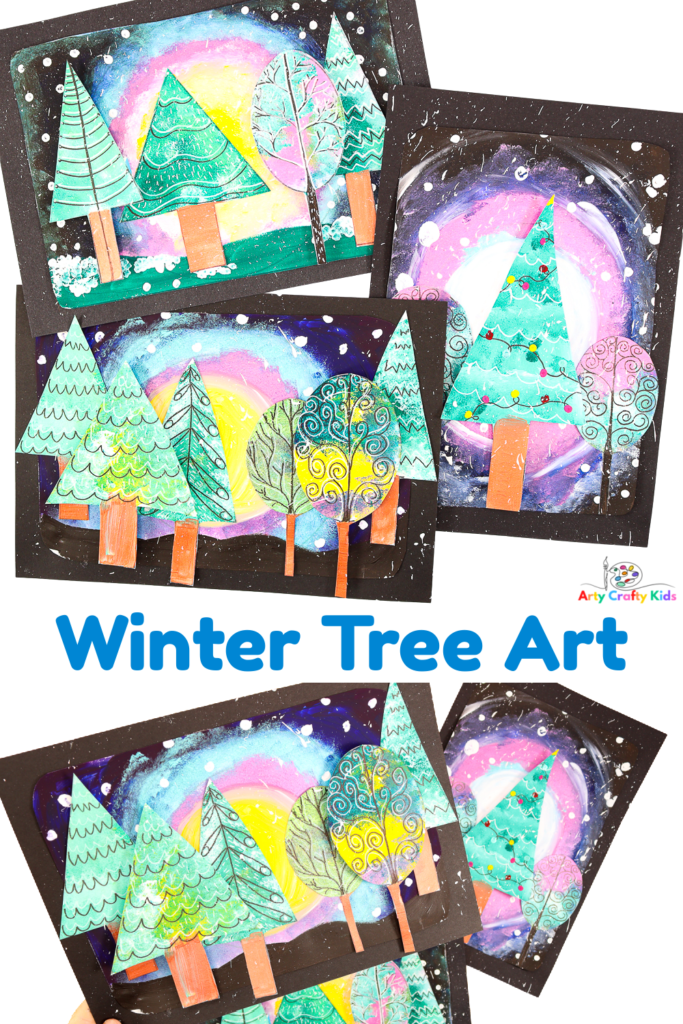
So if you’re looking for a complete art and craft experience with a seasonal twist to enjoy with your children either at home or within the classroom, this project is for you.
Related Posts:
How to Start the Winter Tree Art Project
Materials
- Card Stock for Printing
- Black Backing Card Stock
- Sponge ( Cut into Small Pieces)
- Acrylic Paint
- Paint Brush
- Black Fine Tipped Marker Pen
- White Marker Pen
- Paper Straw (optional)
- Eco Q-Tip
- Glue Stick
- Scissors
- Popsicle Stick
Download the Winter Tree Templates:
The printable download includes 3 tree template designs to paint and a Winter backdrop.
The templates are available to members of the Arty Crafty Kids club.
Members will need to log in to access the template: https://www.artycraftykids.com/product/winter-tree-art-templates/
Watch our Video to Learn How to Create Winter Tree Art with Sponge Painting
Let’s Make Tree Art!

Step 1: Frame the Central Circles with Black
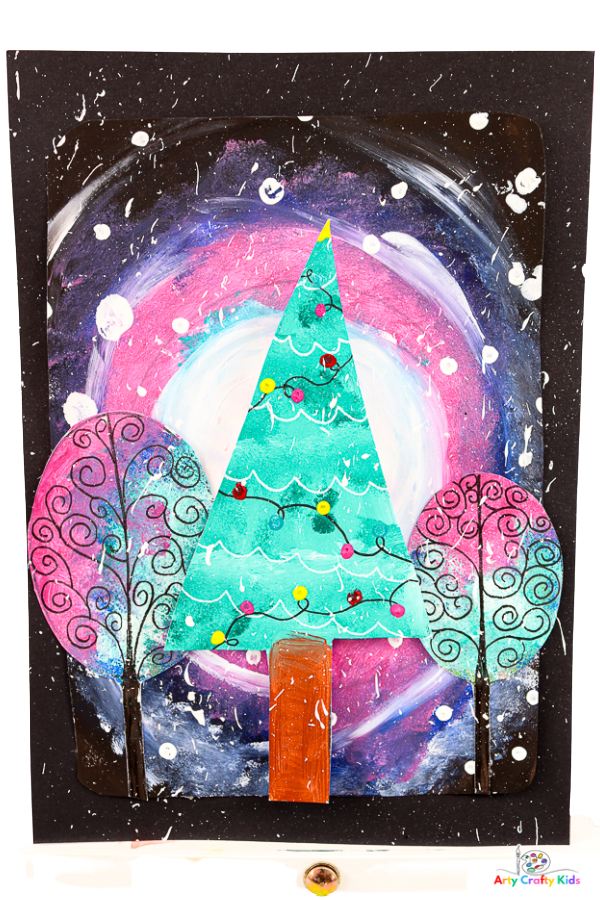
Start with creating the night sky.
Use a paint brush to paint a layer of black around the template frame.

Step 2: Use a Sponge to Blend Blue into the Black Paint
Use a piece of sponge to to gently dab and blend a dark shade of blue with the black.
Surround the largest circle with a blend of blue and black paint.

Step 3: Use a Sponge to Add Color to the First Circle
Next, add a lighter color within the largest circle.
Ideally, the color will compliment the blue and if like us, your Arty Crafty Kids are aiming for a twilight, Wintery effect, encourage them to sponge paint varying shades of blue, teal, pink and purple.

Step 4: Use a Sponge to Paint the Inner Circles with Lighter Colors
Continue filling withe inner circles with paint.
This is a lovely and simple way for children to explore dark/light color effects.

Step 5: Sponge Paint a Layer of White around the Central Circle and Fill with Yellow
Once your Arty Crafty Kids reach the central circle, sponge paint a layer of white paint around the outline and then use a paintbrush to fill the center with a bright yellow.
The white will help to frame the moon and make it pop from the winter backdrop.

Step 6: Sponge Paint the Winter Tree Templates
Use various shades of green mixed with white, green and even pink to color in the trees.

Step 7: Paint the Tree Trunks
Use a paintbrush to paint the tree trunks brown or black.
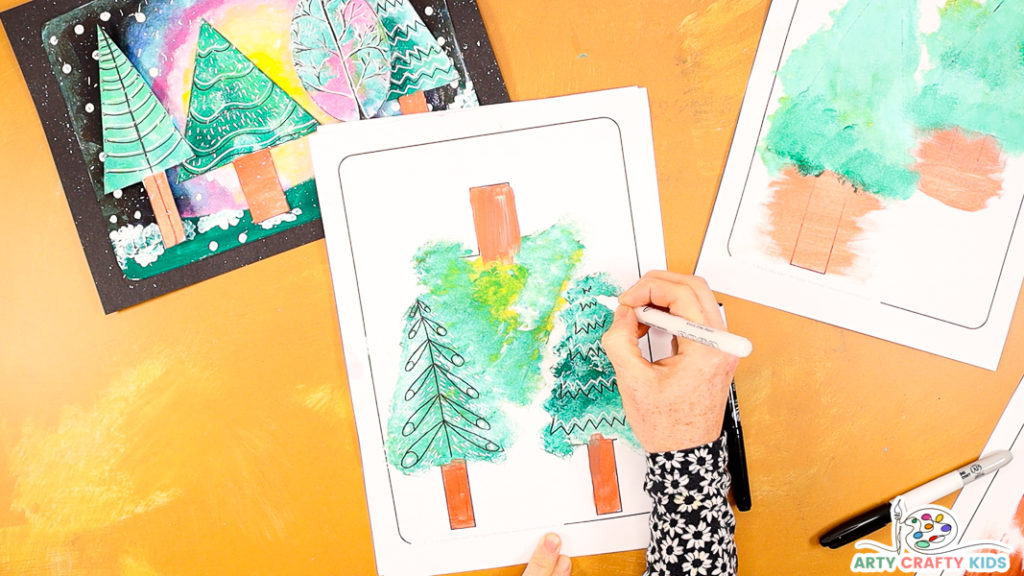
Step 8: Use Black and White Markers to Draw Doodles within the Winter Trees
Use black and white marker pens to decorate the trees.
Simple lines may include zig-zags, swirls or waves.
Arty Crafty Kids could draw branches within their trees for a realistic effect or have a go at designing simple folk inspired doodles.

Alternatively, they can be transformed into Christmas trees!
Draw a swirly line of string and simple add colorful spots to create lights.
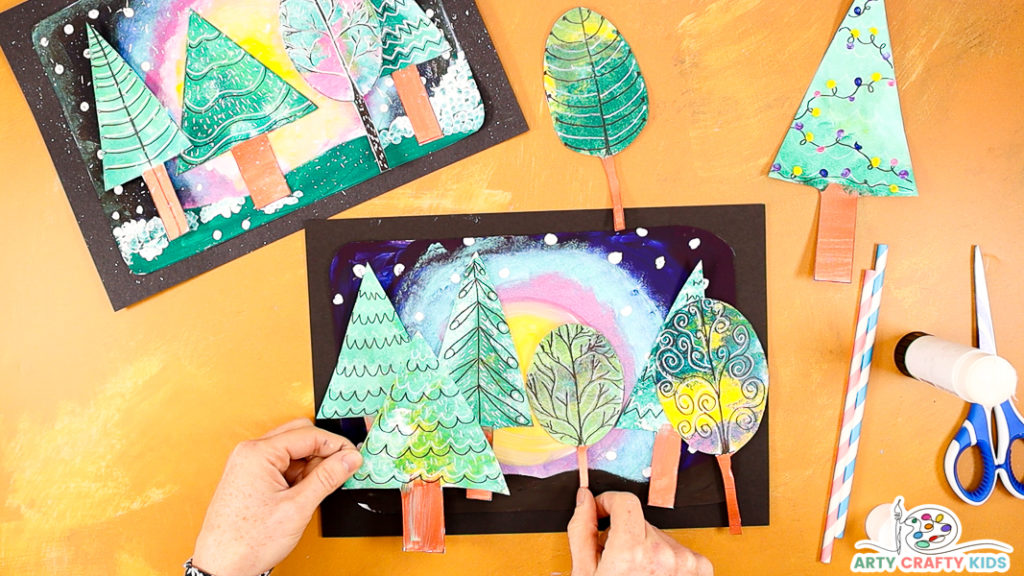
Step 9: Prepare the Backdrop, Cut out the Trees and Arrange to Form a Winter Scene
Cut out all the elements, including the Winter scene.
Glue the winter painting onto black backing card.
Next, arrange the trees to create a small forest and decide which trees will form the first row.
The first row should allow gaps for the second row with added 3D effects.

Step 10: Affix the Trees to the Winter Backdrop and Add 3D Effects
Affix the first row of trees to the backdrop.
Next, cut up a paper straw into smaller pieces and glue a few to the back of a tree.

Apply a generous spread of glue to the newly affixed straws. Turn the tree over and secure to the Winter backdrop.
The straw will add a simple lift to some of the trees and add a sense of dimension to the finished art project. Layering the trees will also allow for more of the designs to be used within scene.

Step 11: Splatter White Paint to Create a Snowy Wintery Effect
To complete, add a layer of “snow” with paint splats!
Simply apply a dab of white paint to a paintbrush and scrape the tip against a popsicle to splatter the paint.
Create Christmas Tree Art!
As always, we love to Arty Crafty Kids’ creativity in action and if you happen to share their completed makes on social media, please do give us a tag or/and use the #artycraftykids
More Winter Tree and Christmas Art Projects Kids will Love!
For more creative tree themed art and craft projects for your Arty Crafty Kids, take a look at some of our popular resources!
-
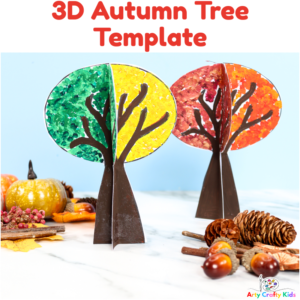
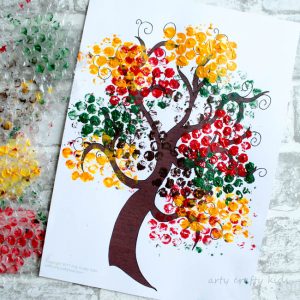
 3D Autumn Tree Craft Template
 -
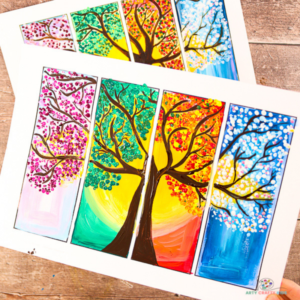
Four Seasons Tree Painting Templates
-
Flow Painting Snowy Winter Tree
-
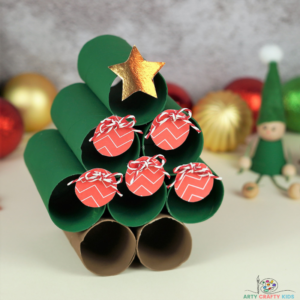
Mix and Match Paper Roll Christmas Tree Baubles
-
3D Christmas Tree Bauble Template
-
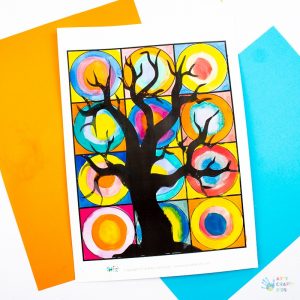
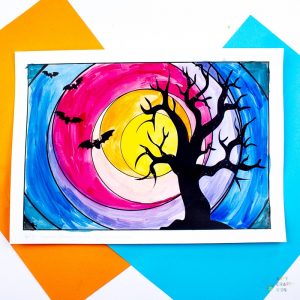
Spooky Tree Kandinksy Inspired Circle Art
-
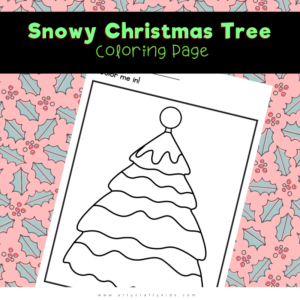
Snowy Christmas Tree Coloring Page
-
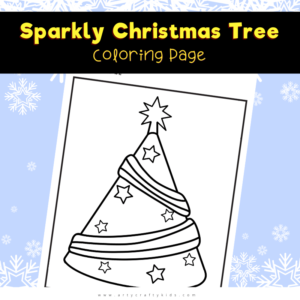
Sparkly Christmas Tree Coloring Page
-
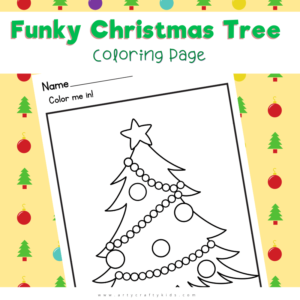
Funky Christmas Tree Coloring Page
-
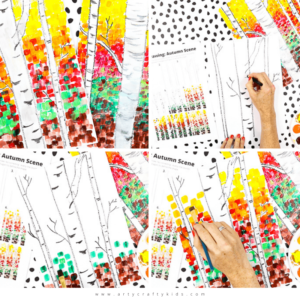
Flow Drawing: How to Paint an Autumn Birch Tree Scene
-
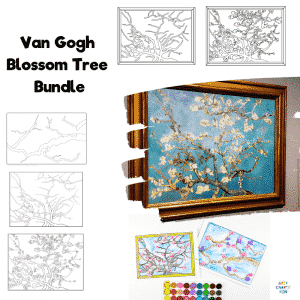
Van Gogh Blossom Tree Bundle
-
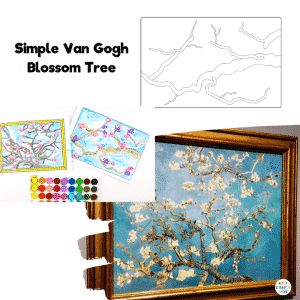
Simple Van Gogh Blossom Tree
-
Dot to Dot Christmas Tree Colouring Page
-
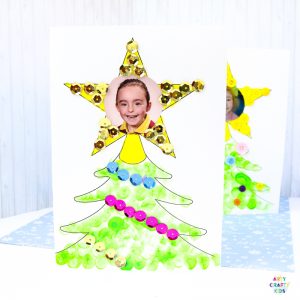
Photo Christmas Tree Card
-
Autumn Bubble Wrap Tree Template
-
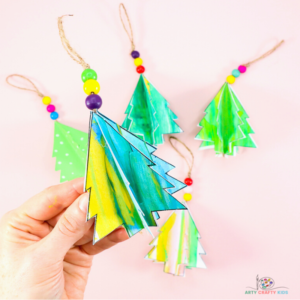
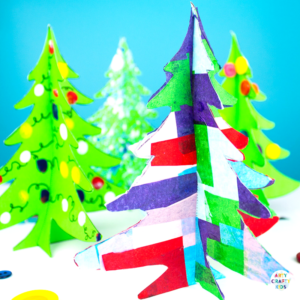
3D Christmas Tree
-
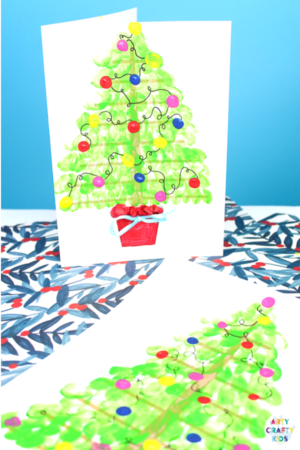
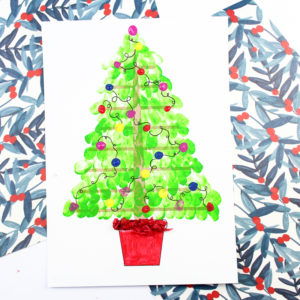
 Fingerprint Christmas Tree Card
 -
Fingerprint Christmas Tree Art
-
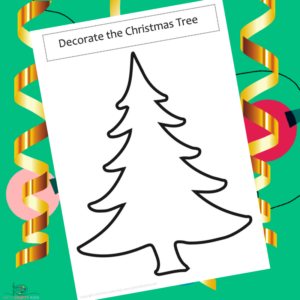
Decorate the Christmas Tree
-
Spooky Tree Circle Art
-
Fingerprint Heart Tree
-
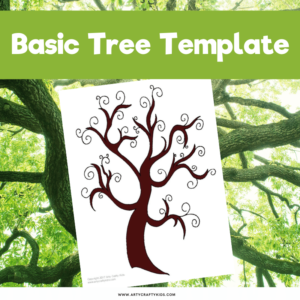
Basic Tree Template$0