Sharing is caring!
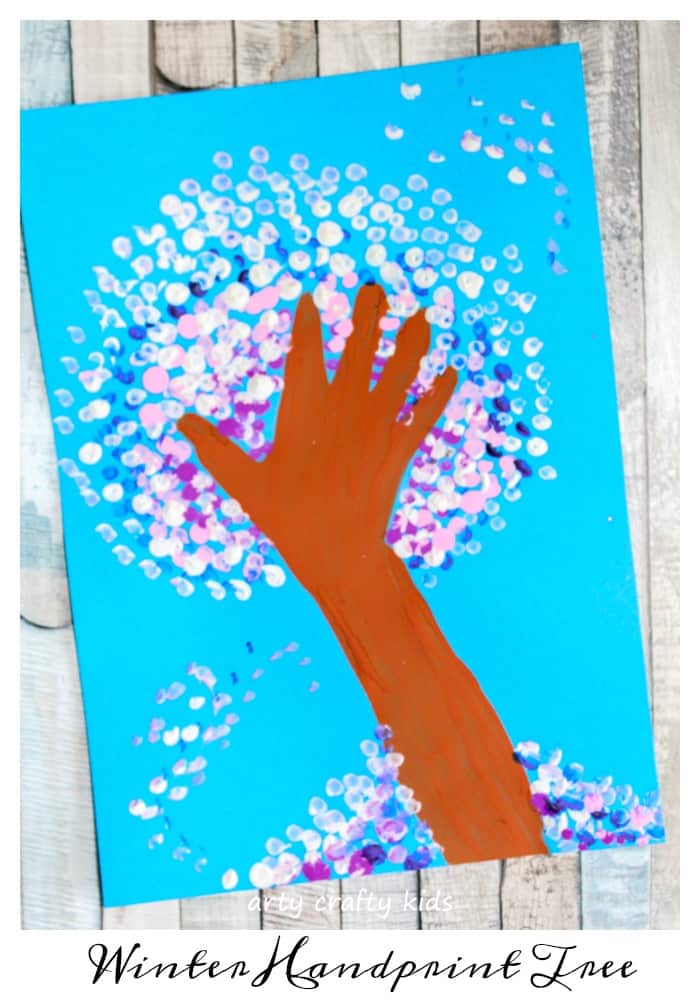
Winter is on its way and as a follow-up to our hugely popular Autumn version, we now have a Winter Handprint Tree to show you!
I adore how this turned out.
And my girls enjoyed this art project just as much as the first!
Well, probably a little more as they explored ‘Frozen’ colours and swirls…
Swirls that eventually turned into a full-blown blizzards and eventually swallowed up their handprint trees!
Luckily, I was able to capture a few shots of my preschoolers tree before the weather turned.
Shall we check it out?
MATERIALS: Winter Handprint Tree
A sheet of blue stock card
Paints
Q-tips
Pencil
Let’s Make It!
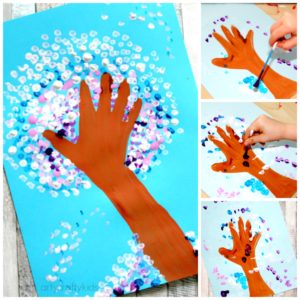
Draw around your child’s hand and then fill it in with some brown paint…
The colour brown seems to come naturally to younger kids, so let them dabble with the colour mixing and encourage them to colour in their own prints!
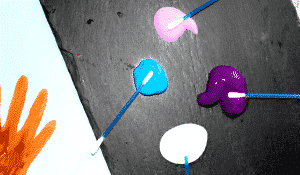
Set up a selection of colours and offer a q-tip for each.
As you can see, our winter colours consist of white, blue, pink and purple.
Begin dabbing the Q-tips around the handprint.
Use a variety of colours and build the tree up until it’s nice and full.
And that’s it!
Your crafty kiddies should now have a gorgeous Winter Handprint Tree to display on the wall.
Based on the feedback I’ve received, our Autumn tree worked superbly well within a classroom setting and preschoolers enjoyed the process, with many substituting the Q-tips with their fingers!


