Sharing is caring!

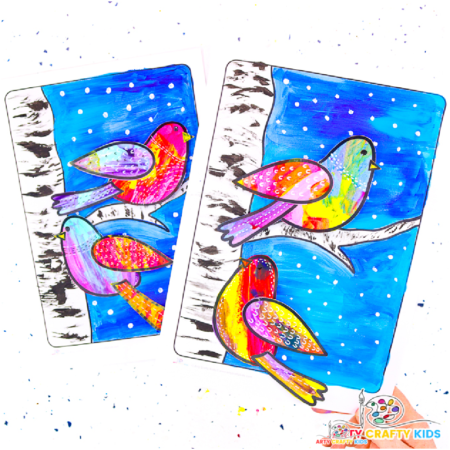
This Winter Bird and Birch Tree Painting is a perfect blend of art and craft for Arty Crafty Kids!
In this art project, kids will learn how to use simple painting techniques to create colorful birds and realistic birch trees.
Complete with bird and birch tree templates, the simplicity of this Wintry art idea makes it suitable for kids of all ages, which is great if you’re looking for an afternoon project to do with your kids at home or are looking for a do-able art lesson within the classroom.
Older kids go a step further and learn how to draw their own birds and birch trees.

- The Scrape Painting Technique
- How to Make the Winter Bird and Birch Tree Painting
- Not a Member?
- Written Step-by-Step for the Winter Bird and Birch Tree Painting Tutorial
- Step 1: Prepare the work space.
- Step 2: Paint the birds.
- Step 3: Paint the Winter sky.
- Step 4: Painting the Winter Birch Tree
- Step 5: Paint some snowfall.
- Step 6: Draw feathery detailing onto the birds.
- Step 7: Assemble the birds.
- Step 8: Create a small 3D effect.
- Step 9: Glue the birds to the birch tree painting.
The Scrape Painting Technique
Our birds are painted using the scrape painting technique, which is a fun and creative art process that involved spreading vibrant colors across paper using a scraping tool.
To begin, children can apply different shades of paint onto a canvas or paper using brushes or squeeze bottles.
Once the surface is covered, they can use tools like old credit cards, plastic combs, or even their fingers to gently scrape and reveal the layers of colors underneath.
This hands-on process not only allows for playful exploration but also results in unique and visually interesting artworks that celebrate each child’s individual style and imagination.
How to Make the Winter Bird and Birch Tree Painting
Materials
- White Card Stock for Printing
- Acrylic Paint (non-toxic)
- Flat Tipped Paintbrush
- Scrap Card Stock for Scrape Painting
- Acrylic White Marker Pen or Black Sharpie
- Paper Straw
- Scissors
- Glue Stick
- Bird and Birch Tree Templates (members will need to login to access the templates)
Not a Member?
Join the Arty Crafty Kids club to access the Bird and Birch Tree Templates and 1000’s more Art and Craft templates, How to Draw Guides and Coloring Pages.

Written Step-by-Step for the Winter Bird and Birch Tree Painting Tutorial
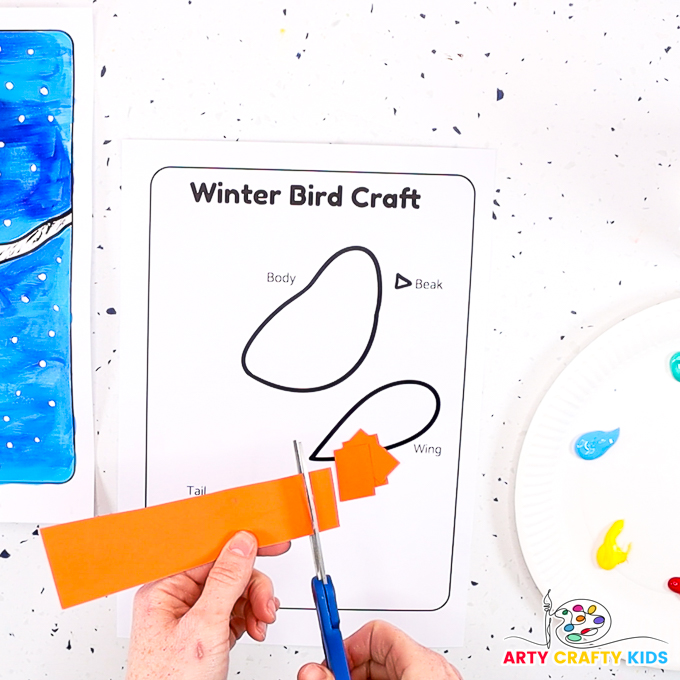
Step 1: Prepare the work space.
Find an old piece of scrap card stock and cut it into lots of smaller pieces – enough for one or two pieces of card per color.
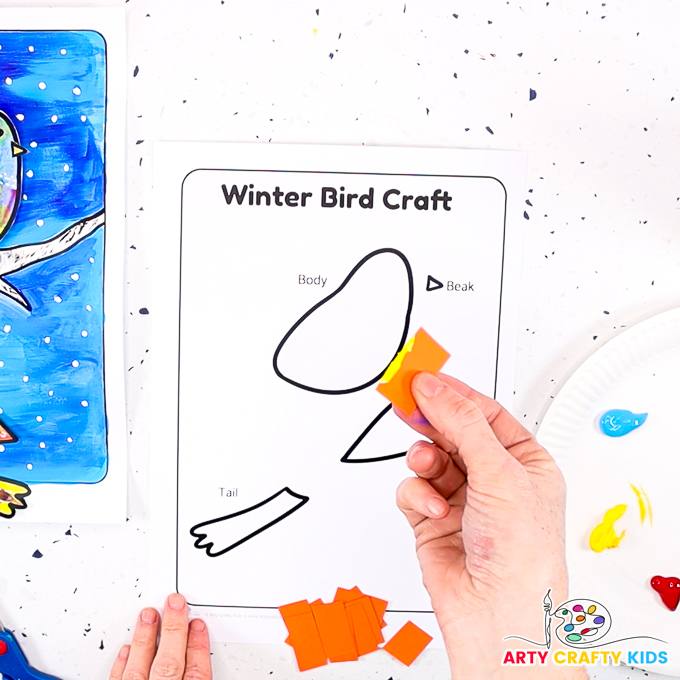
Step 2: Paint the birds.
Dip a piece of card into some paint.
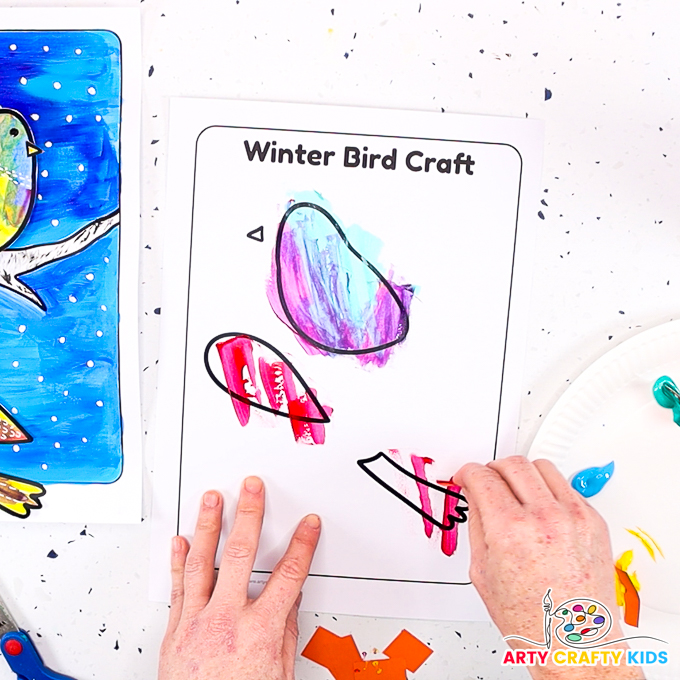
Next, scrape the paint across the bird elements.
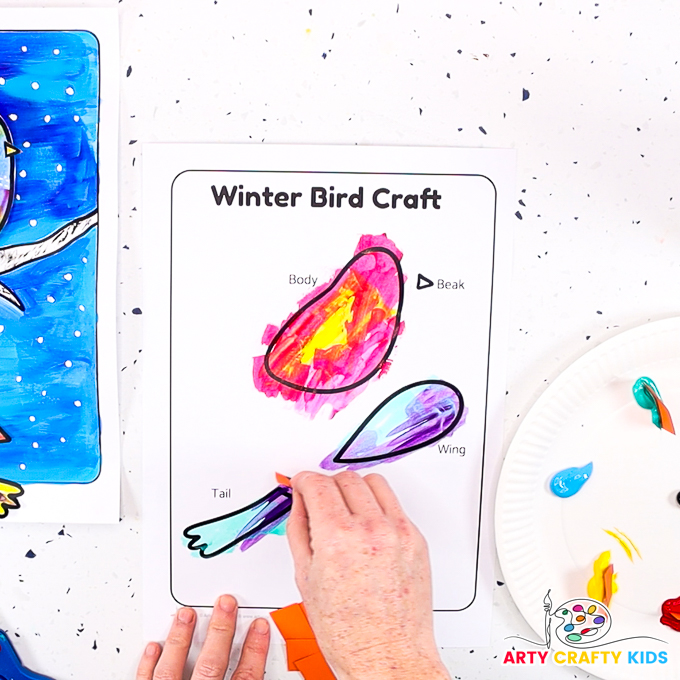
The scraping process thins the spread of paint to create a translucent effect, which is great for layering!
Fill all the parts of the bird with paint, using different colors and layering to create a fun, abstract appearance.
Once all the birds are painted , leave the birds to dry and move onto painting the birch tree.
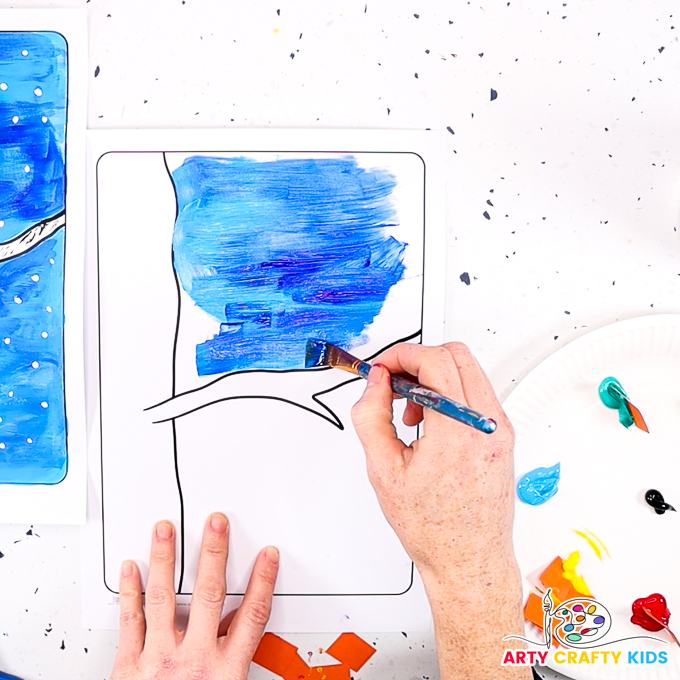
Step 3: Paint the Winter sky.
Using a paintbrush, blend two shades of blue to create a beautiful Wintry sky around the white space of (what will become) the birch tree.
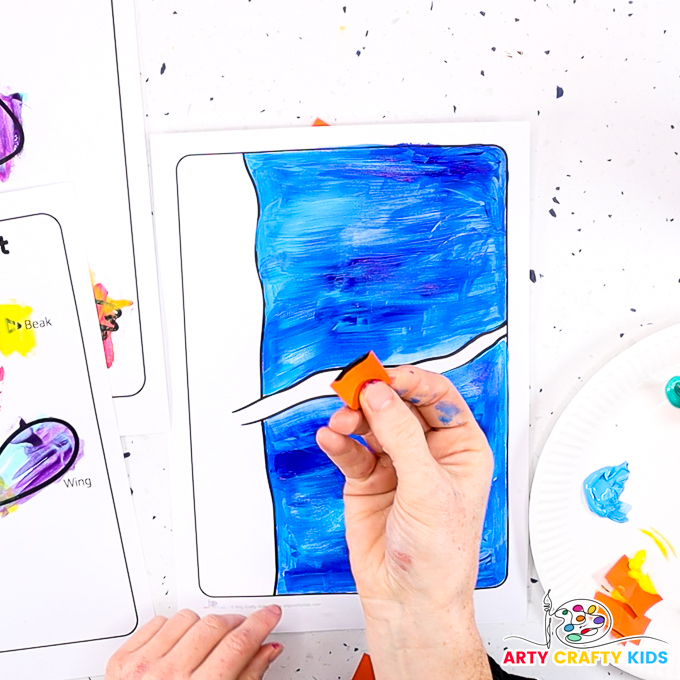
Step 4: Painting the Winter Birch Tree
Dip the straight edge of a piece of card stock into some black paint.
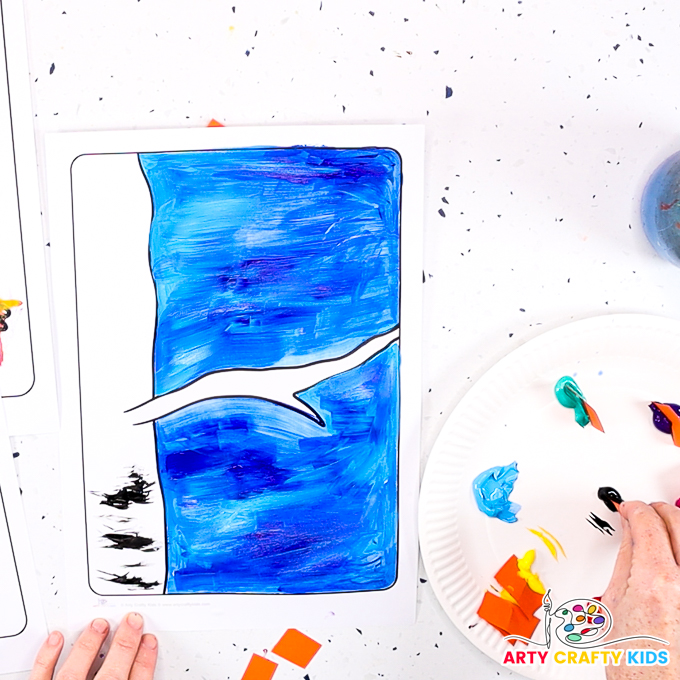
Next, position the painted black edge of the card directly onto the birch tree and move it back and forth in a straight line.
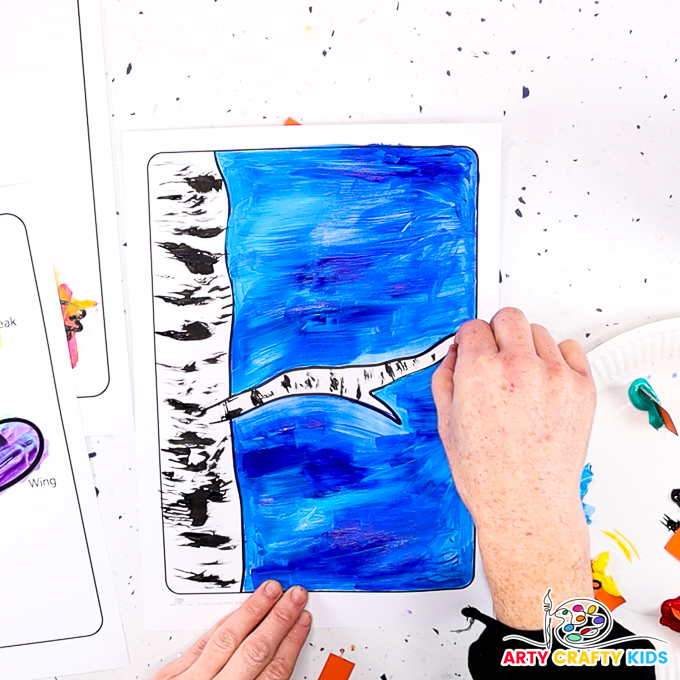
Add a little scrape to extend the black area and to enhance the effect of the birch tree.
Fold a piece of card stock in half and repeat the process to paint little black lines onto the birch tree branch.
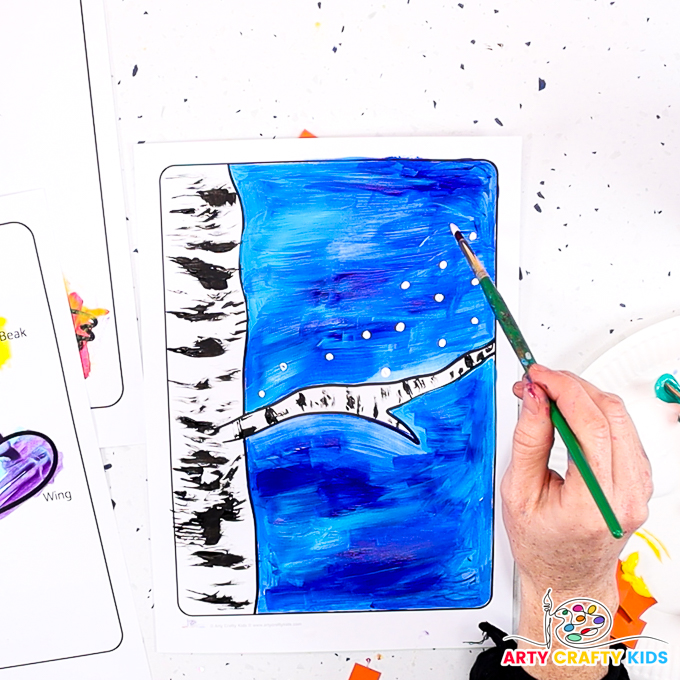
Step 5: Paint some snowfall.
Dip a paintbrush into some white paint and fill the blue space surrounding the painted birch tree with white dots.
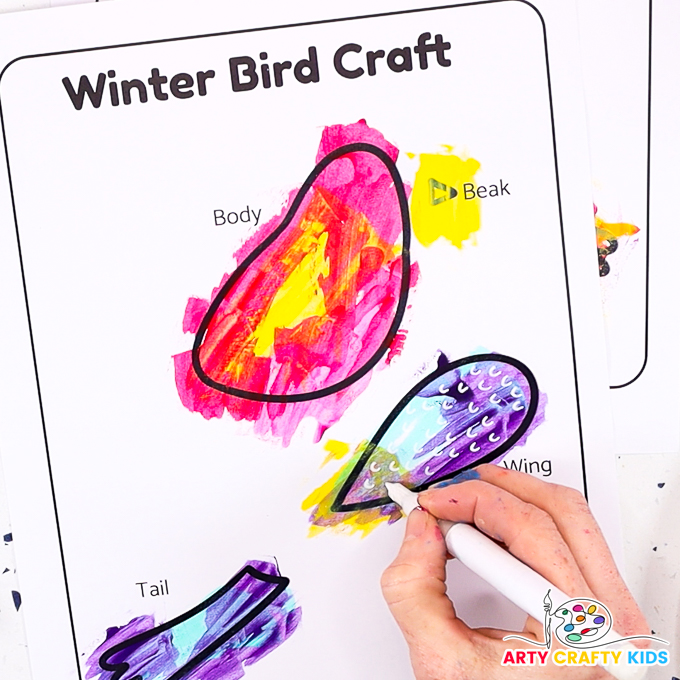
Step 6: Draw feathery detailing onto the birds.
Use a white acrylic marker pen or a black sharpie to add some feathery detailing to the wings and body of the bird.
This can be little rainbow arches or simple white dotted lines. This detailing adds a folk art quality to the artwork.
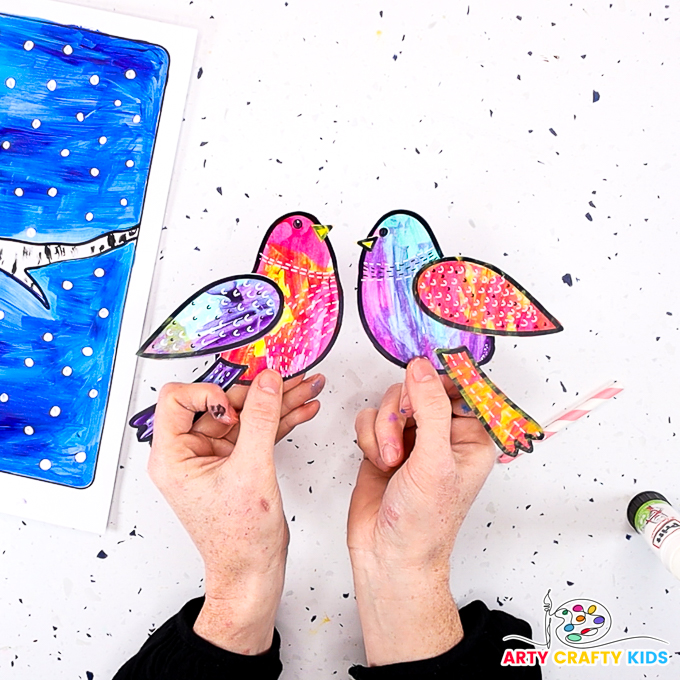
Step 7: Assemble the birds.
Once the bird pieces are decorated, carefully cut out them out and assemble with glue.
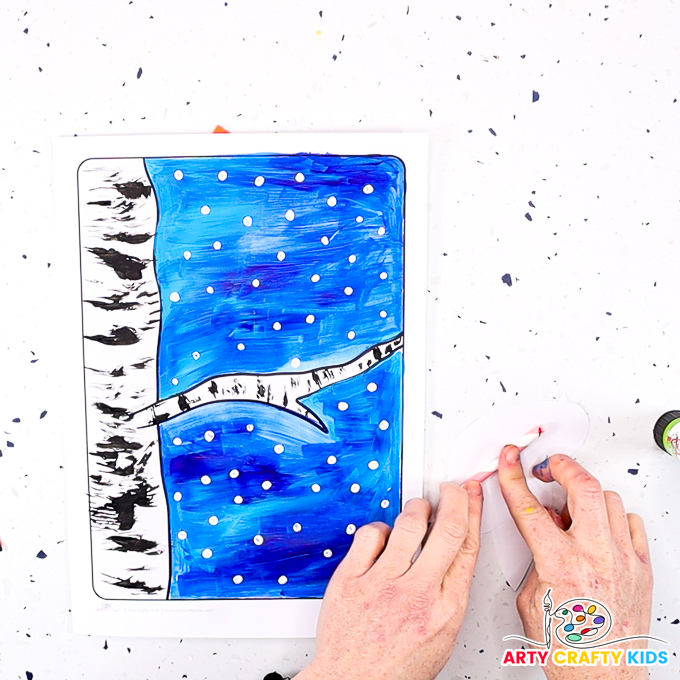
Step 8: Create a small 3D effect.
To add a sense of dimension to the Winter Bird and Birch Tree Painting, cut off a piece of paper straw and affix it with glue to the back of one of the birds.
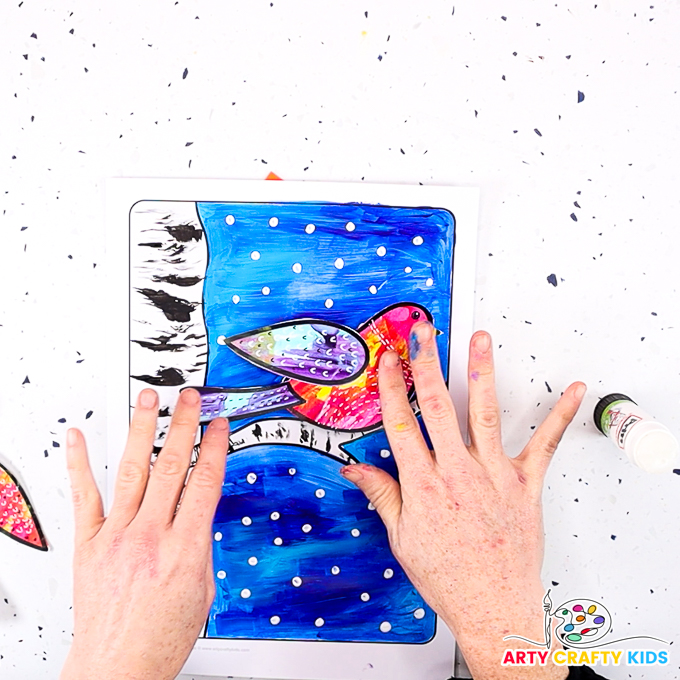
Step 9: Glue the birds to the birch tree painting.
Apply a generous spread of glue onto the straw and then secure the bird onto the birch tree branch.
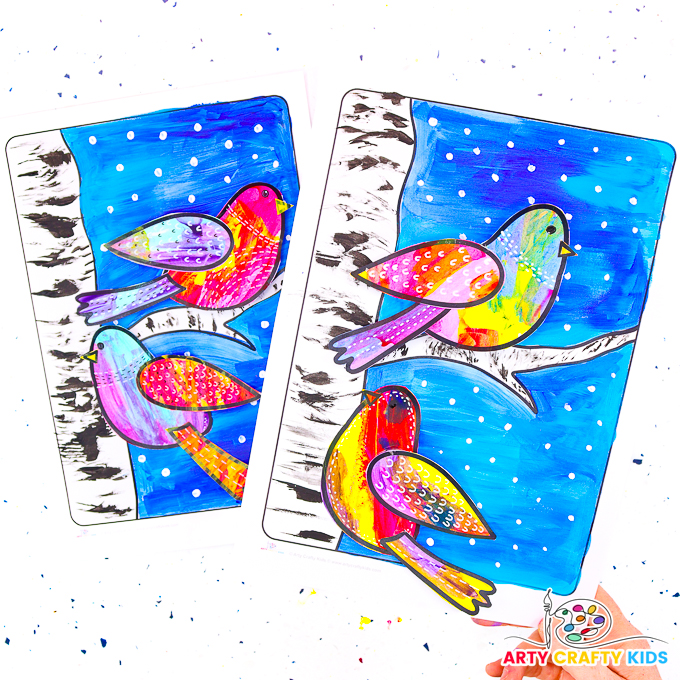
And then glue the second bird directly onto the birch tree to complete the painting!
We love to experiment with different ways to paint. If you love this art project, then you will be sure to enjoy our Winter Tree art idea and our sponge painted Snowy Owl Winter Craft!
Our Bird Silhouette Painting is also a big hit with the kids!

