Sharing is caring!
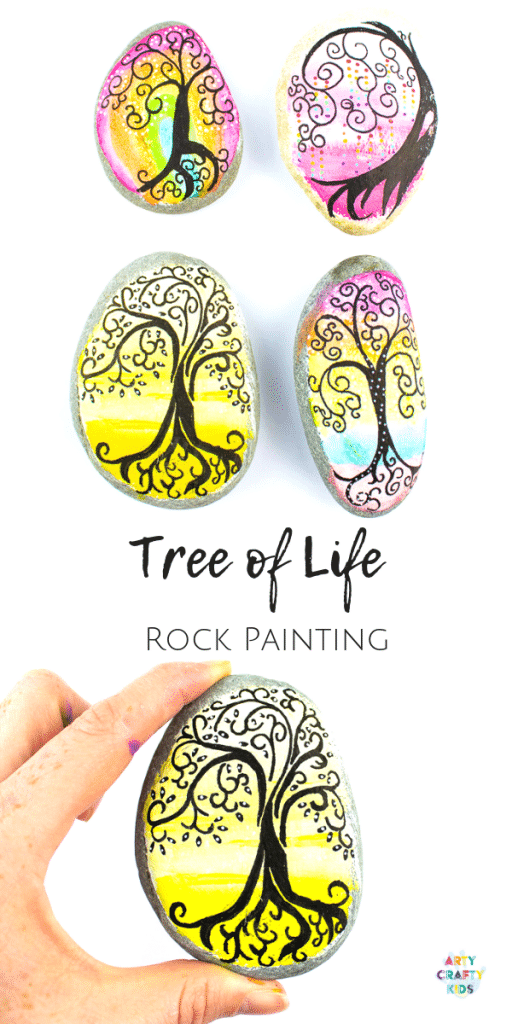
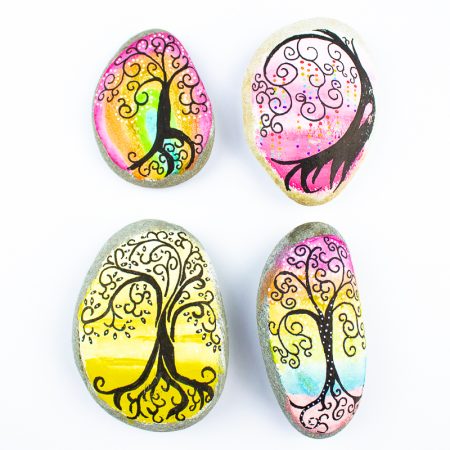
To create our Tree of Life Inspired Rock Art, we followed the tips and tutorials within our good friend’s (Samantha Sarles from Color Made Happy) new book The Rock Art Handbook!
If you and your children love painting rocks, then this book is worth checking out. It’s jam-packed with easy to follow tutorials, inspiring ideas and the end results are beautiful. 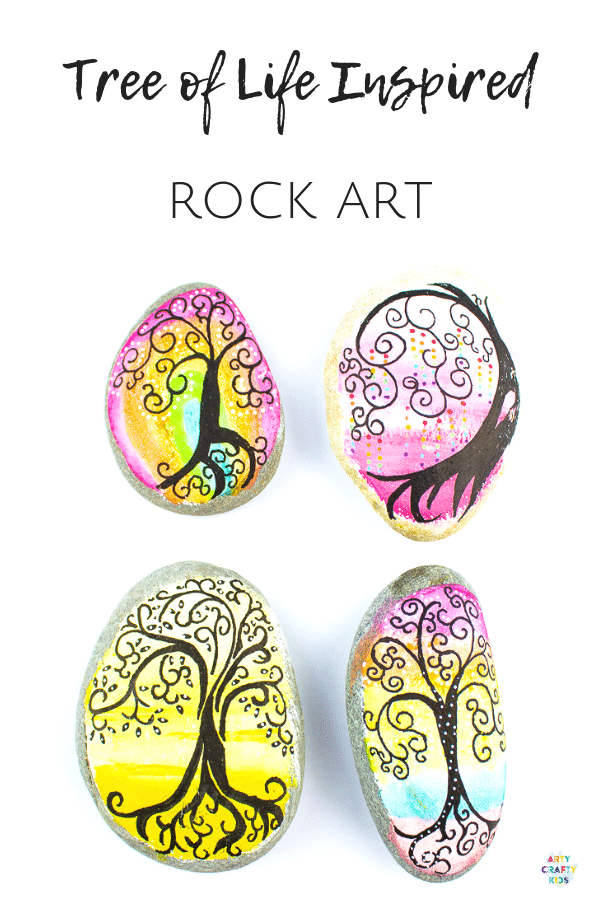
Tree of Life Inspired Rock Art – Materials
A collection of Smooth Rocks
Acrylic Paint
Watercolour Paint
Posca Pens
Tissue Paper
Pencil
The Rock Art Handbook by Samantha Sarles
This post contains affiliate links to recommended products, this means
Arty Crafty Kids receives a small commission for any purchases made.
We only recommend products we trust and use!
Tree of Life Inspired Rock Art – Tutorial
Step 1: Begin by thoroughly washing the rocks.
Allow the rocks to dry before progressing to the next stage.
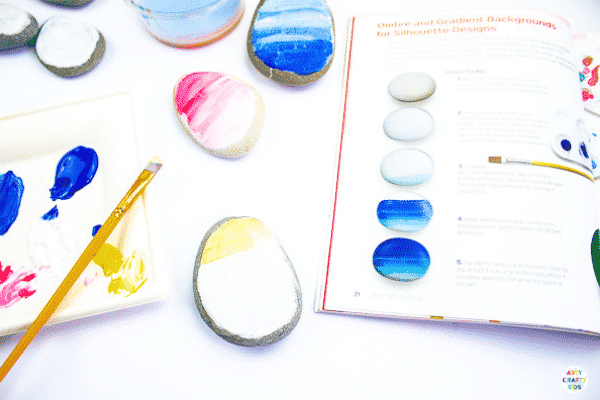
Step 2: Using white acrylic paint, create a smooth base layer.
Leave the paint to dry. Luckily, acrylic paint tends to dry quickly!
With a dry base layer, let’s add colour!
The Rock Art Handbook is full of fun and unique techniques for creating doodle backgrounds.
Here, we decided to experiment with ombre backgrounds.
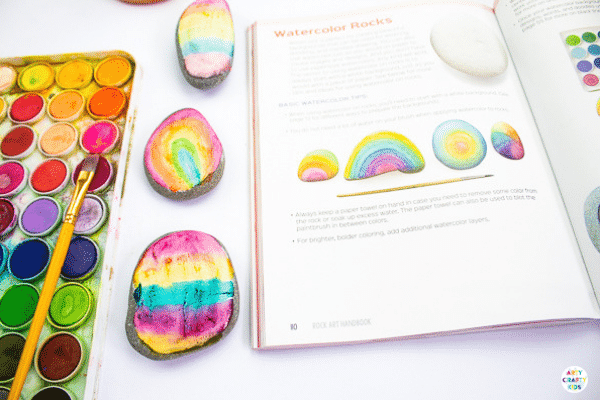
And watercolour paints.
Prior to reading the Rock Art Handbook, watercolour paint is not a medium I would have considered using for decorating rocks.
In this instance, I was pleasantly surprised by the ease of application and the beautiful finish!
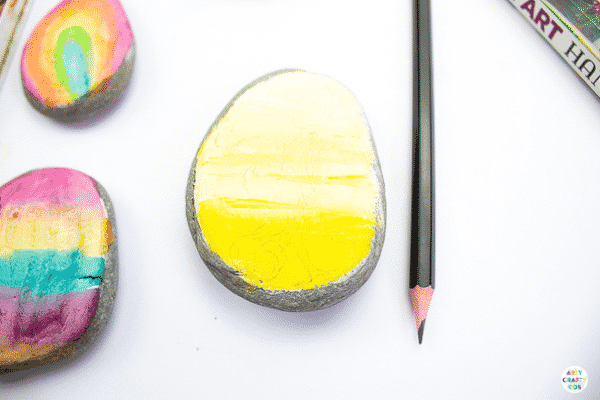
Step 3: It’s time to doodle!
Sketch a rough tree design on your painted rock.
Take care not to press too firmly – the lines should be barely visible and NOT the complete design.
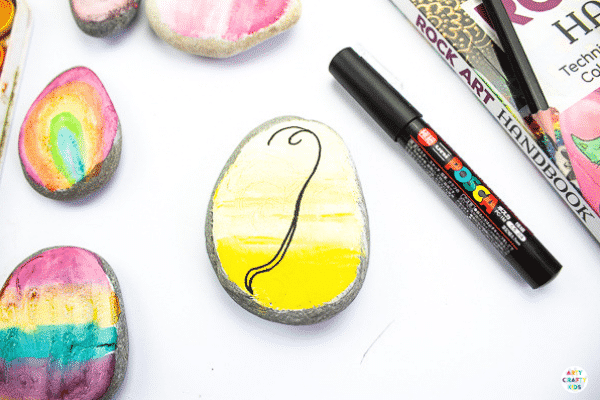
The the first line is always the most difficult.
Don’t worry if the line doesn’t follow your pencil sketch, remember that’s just a guide. It’s important to relax and allow your hand to flow naturally with the grain of the rock.
Every line, intentional or not, has a purpose and will add to the finished piece.
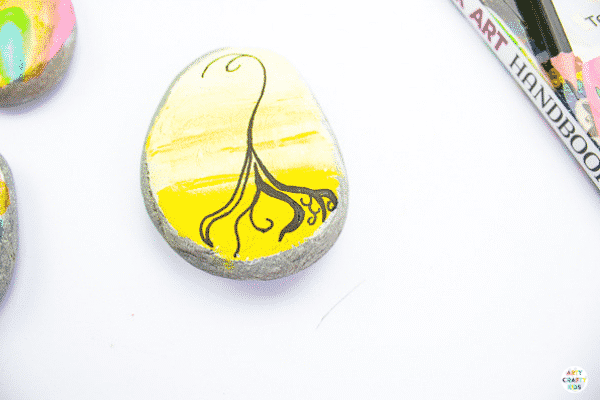
Step 5: From the trunk of your tree design, create some squiggly lines working their way towards the bottom of the rock.
Allow the lines to spread, twist and curl, filling the space at the base of the rock.
Thicken some of the lines and expand with finer lines curling from the prominent dark lines.
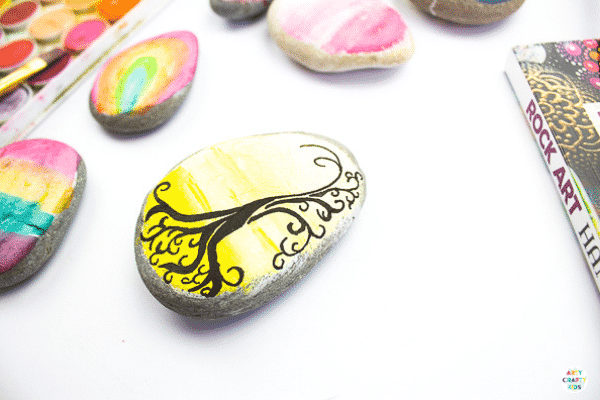
Step 6: Once the roots are complete, repeat the same process to create branches.
By this time, your hand should feel quite relaxed, so try abandoning your pencil sketch and go with the flow, filling the empty space with curling, twisting branches.
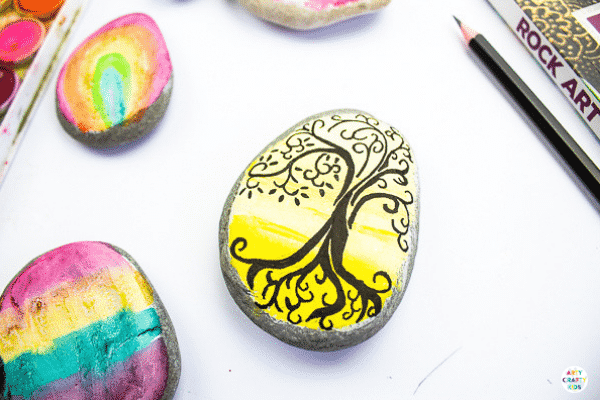
Step 7: Add some detail!
This could take the form of leaves or simple dots in an alternative colour.
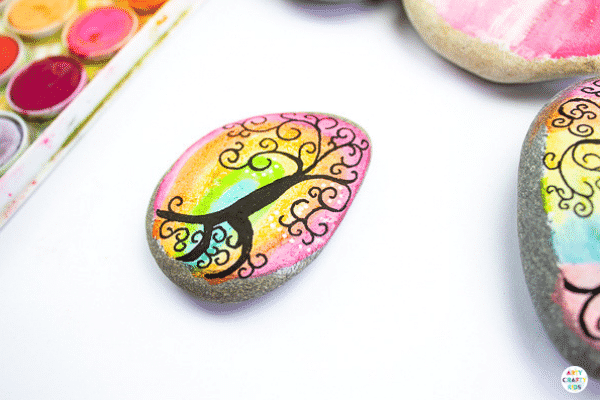
And at this point, you can decide when your Tree of Life Inspired Rock Art is complete!
[fruitful_sep]
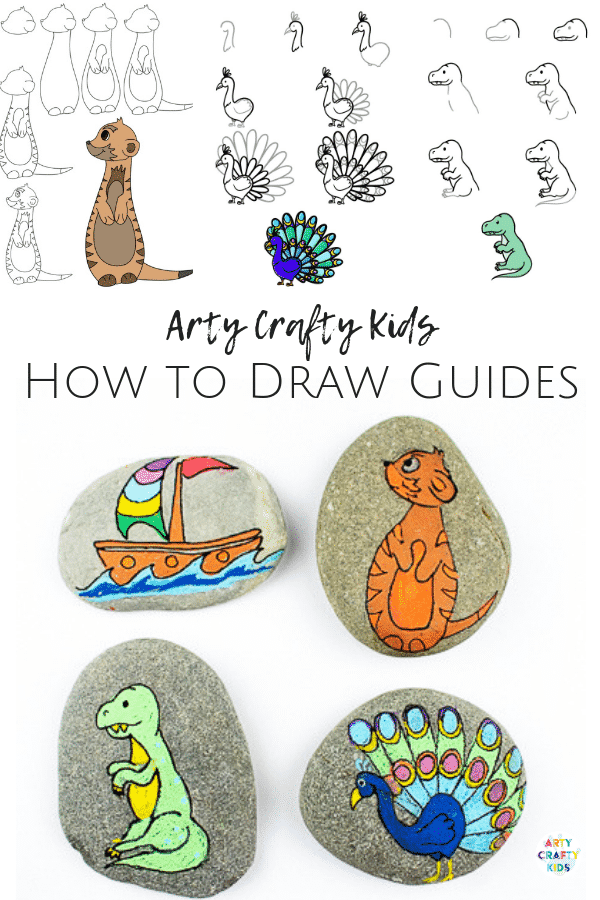
For more Rock Art inspiration, check out our collection
How to Draw Guides within the Arty Crafty Kids online membership area!
#