Sharing is caring!
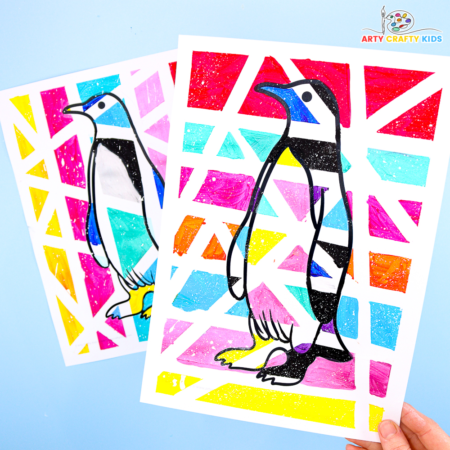
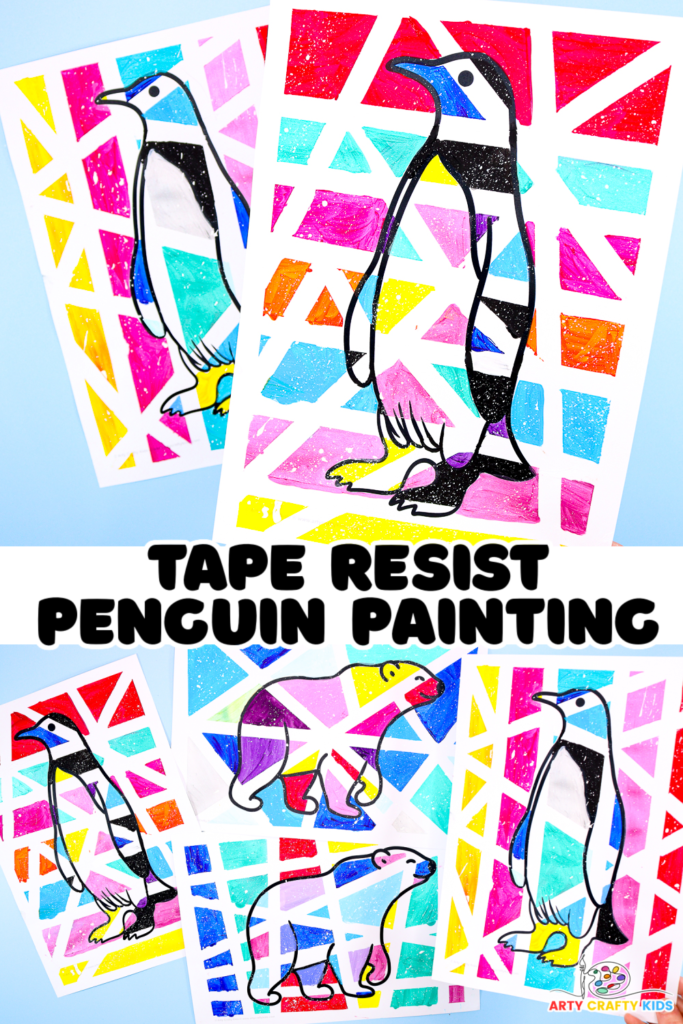
Our tape resist penguin painting adds an exciting spin to the usual tape resist art projects for kids.
It’s a fun and easy painting idea for kids of all ages and the addition of the penguin outline creates a fun focal point, which is perfect for a Winter themed art session.
It also encourages kids’ to think about line work and how they use color to enhance the penguin and help it to stand out in a ‘Pop Art‘ effect.
Kids’ can take this Winter art project a step further by following our How to Draw a Penguin Tutorial to draw their very own penguin!
We also have lots of Penguin Coloring Pages that can used to add greater variety. This would work really well within a classroom setting and for a bulletin board display.
What is Tape Resist Art?
Tape resist art involves using tape to create designs or shapes on a surface, which is then painted over. Once the paint dries, the tape is removed, revealing the unpainted areas or patterns beneath.
It’s a super fun process for kids because it allows them to create crisp, clean designs and experiment with colors.
And revealing the end result adds an exciting sense of magic and wonder to the process!
How to Create the Tape Resist Penguin Painting
Materials:
White Card Stock for Printing
Artist Tape ( Two Different Widths)
Acrylic Paint
Paintbrush
Penguin Template (members will need to login to access the template).
Not a Member?
Join the Arty Crafty Kids club to access the Penguin Template and 1000’s more Art and Craft templates, How to Draw Guides and Coloring Pages.

Written Step-by-Step Penguin Painting Tutorial
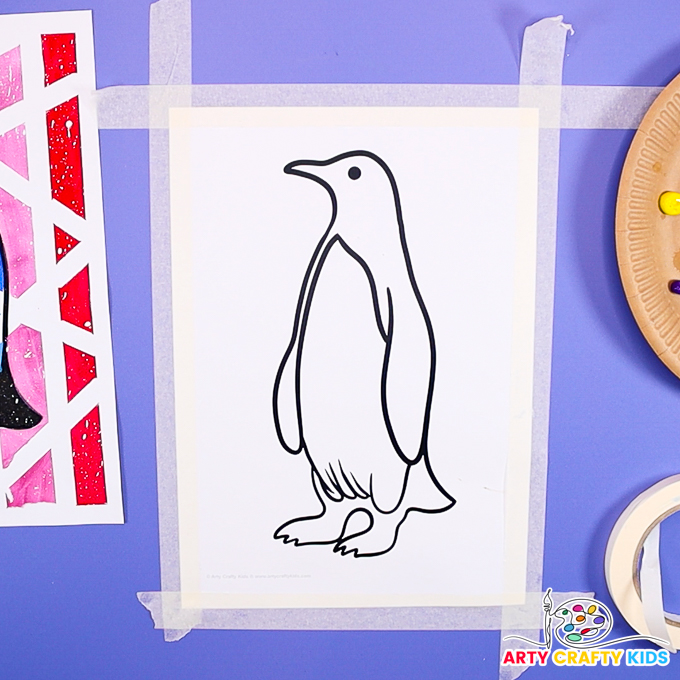
Step 1: Prepare the Penguin Template
Apply tape around all four edges of the printed penguin template, creating 1cm border along each edge.
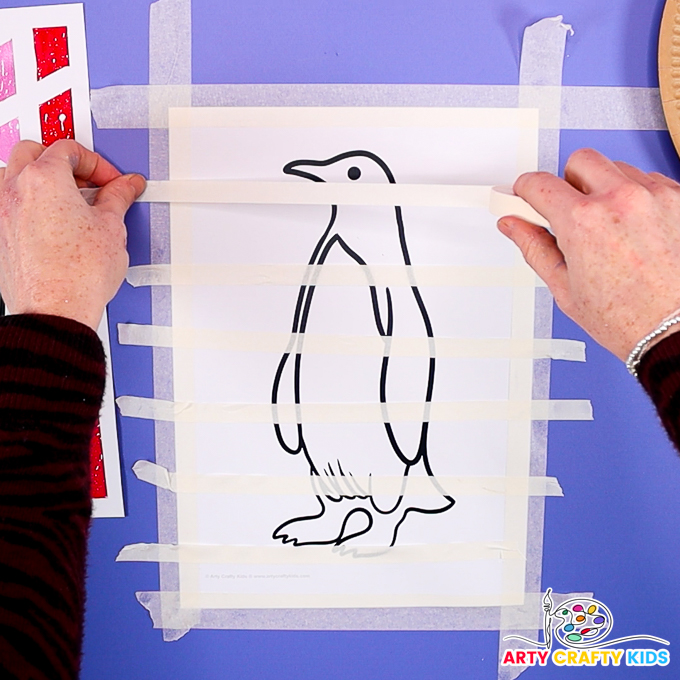
Step 2: Create a Pattern with Tape
Use the thinner tape to create a pattern across the template.
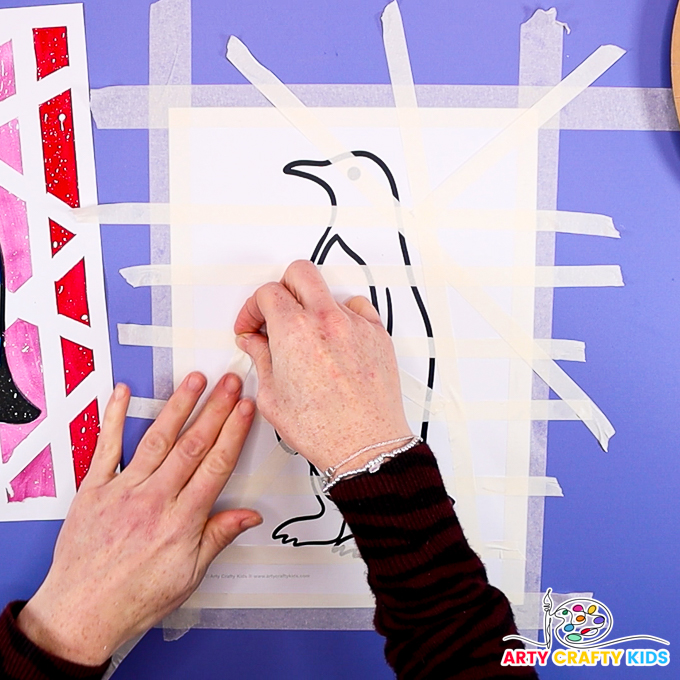
The tape can be stuck vertically and horizontally across the penguin with smaller pieces cut to create various geometric shapes.
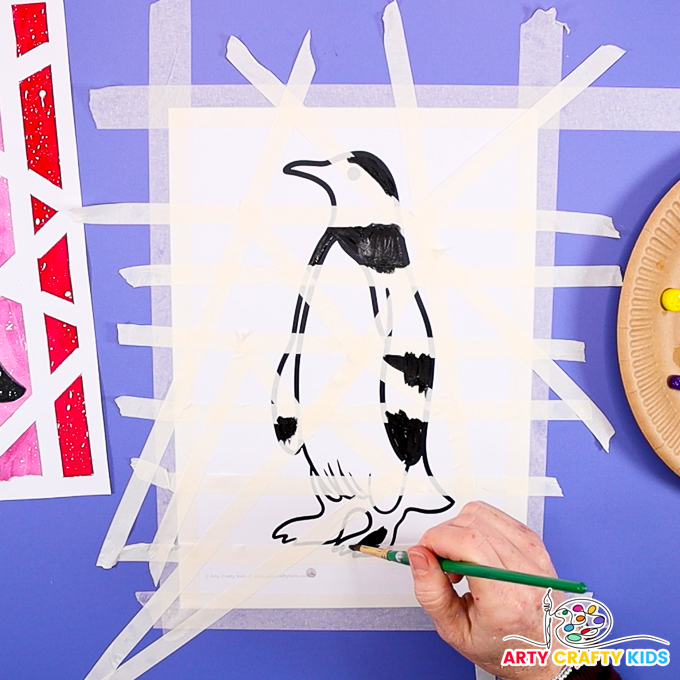
Step 3: Paint the Penguin
Before the Arty Crafty Kids start painting, ask them to take a moment to think about their color scheme.
They could use Winter hues of blue, pink and purple.
Apply contrasting and complimentary colors.
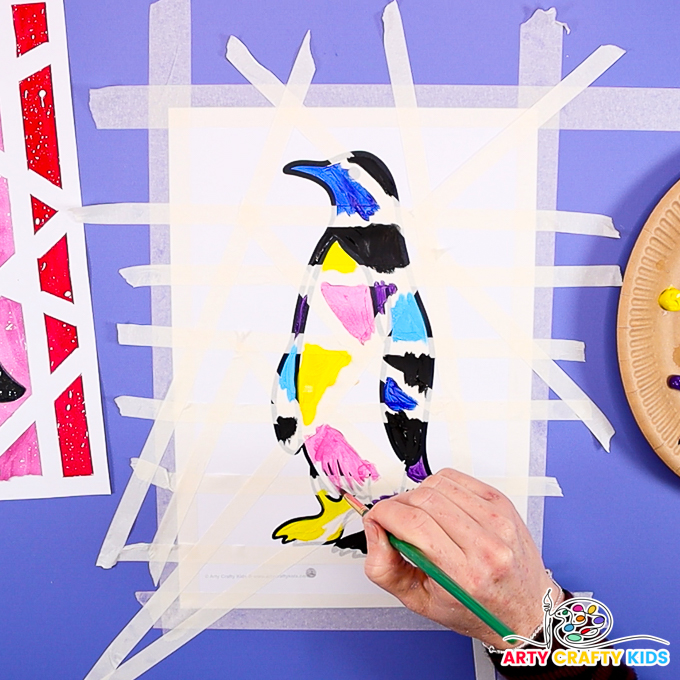
Once the kids’ have decided upon a color scheme, begin filling in the penguin.
Paint over the tape to create the beautiful crisp lines.
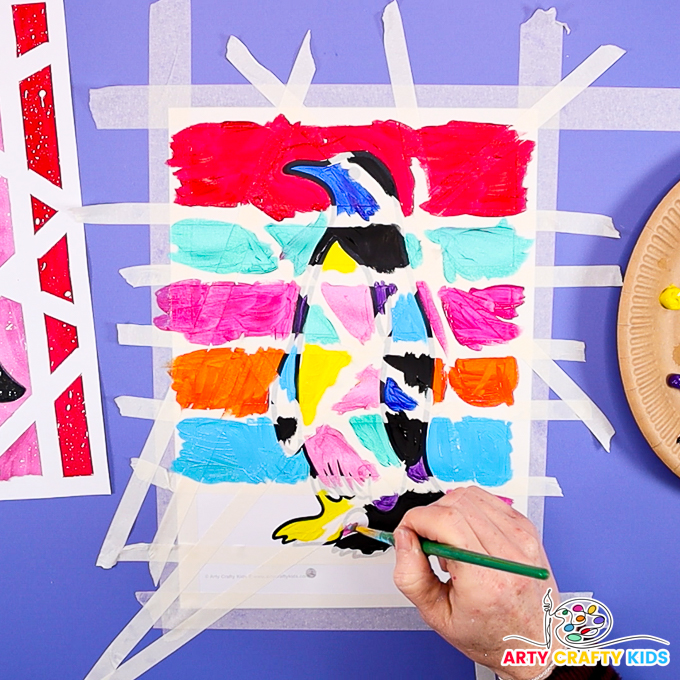
Next, paint the surrounding space around the penguin.
To help make the penguin stand out, encourage your Arty Crafty Kids to use a palette of contrasting colors.
Perhaps the penguin could be made up of cool colors and the surrounding space contrasted with warm colors.
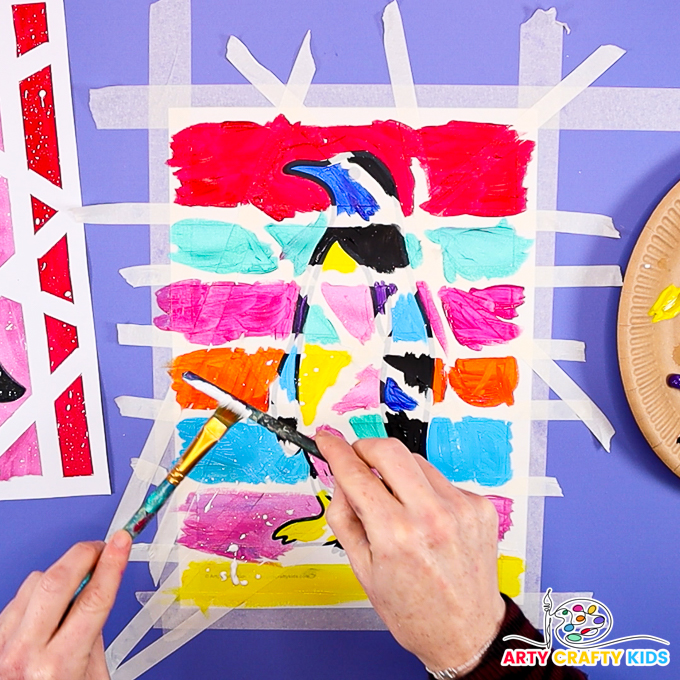
To enhance the Winter theme and add intrigue to the painting, use a paintbrush to splatter white paint over the penguin – this will create an abstract ‘snowfall’ effect.
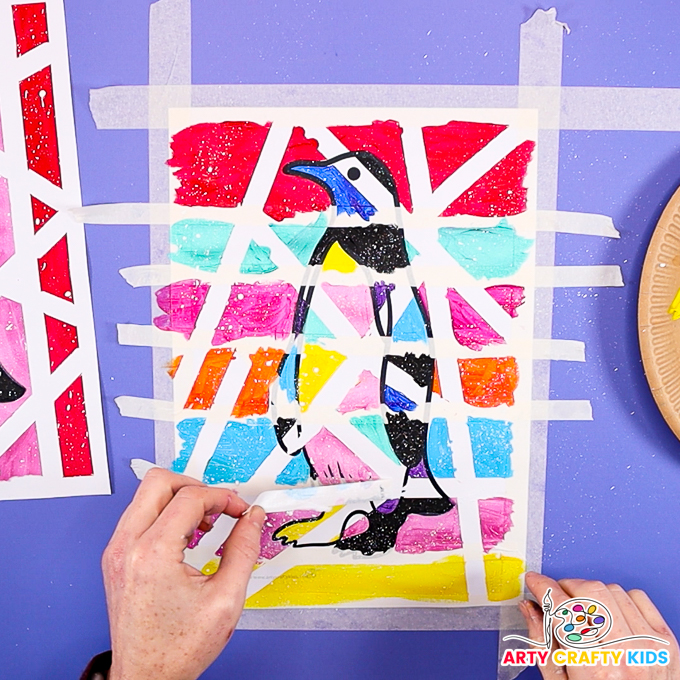
Step 4: Carefully Remove the Tape
While the painting is still wet (this will prevent the tape from getting too stuck!), carefully peel the tape away to reveal the results!
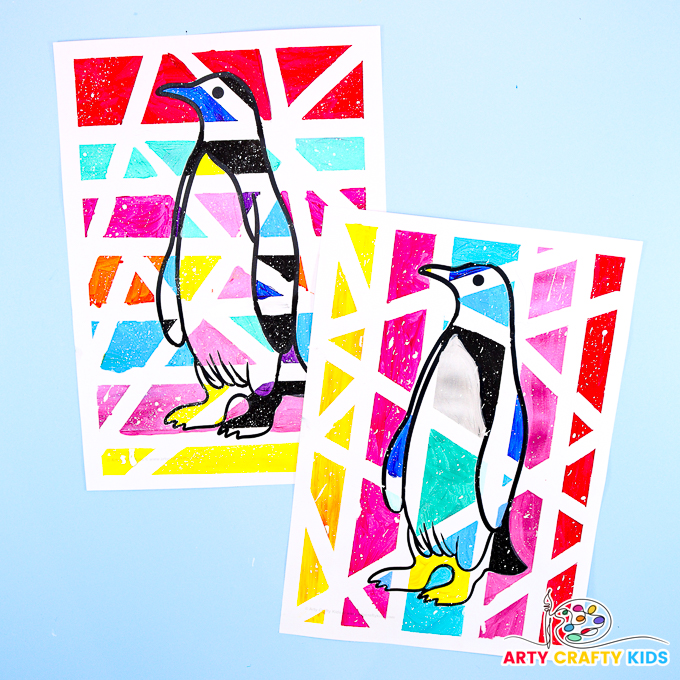
The tape resist penguin painting is complete – we adore how it turned out!
For more fun with art and painting, take a look at our sponge painted snowy owl craft and sponge painted Winter Trees!

