Sharing is caring!


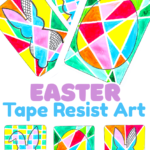
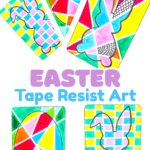
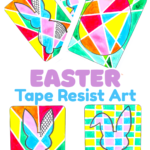
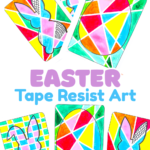
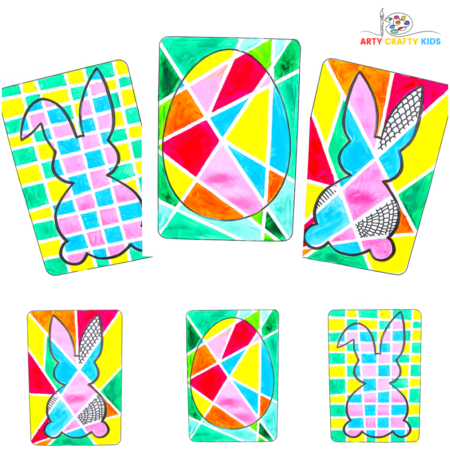
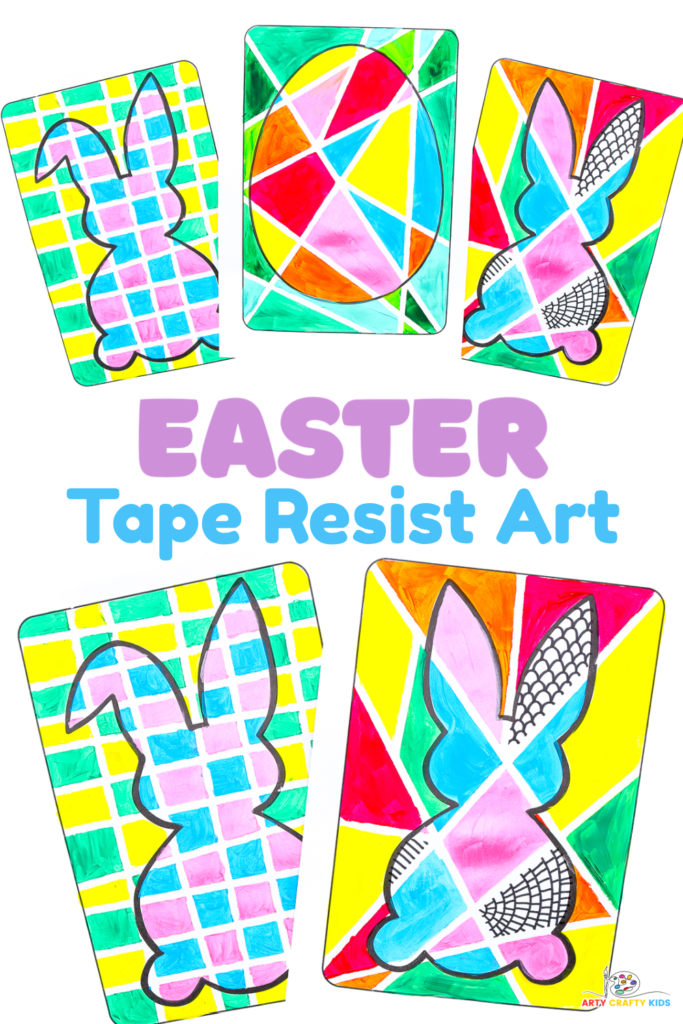
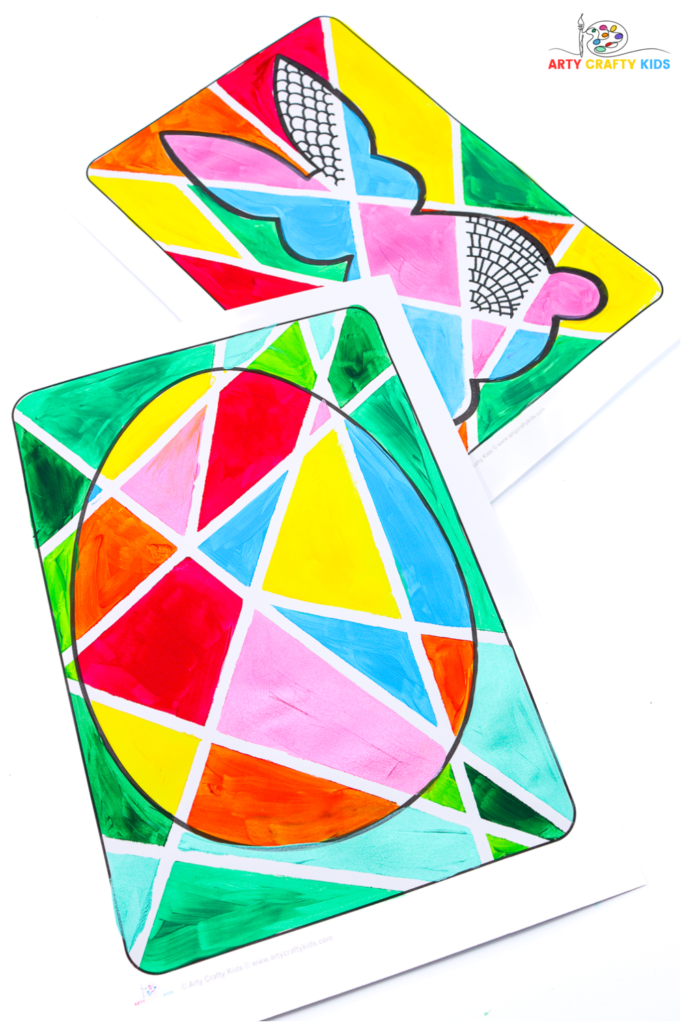
Get excited for our latest Tape Resist Art Project for kids – landing just in time for Easter! This fun-filled Easter Art activity adds a seasonal touch to the classic tape resist technique with adorable bunny and egg templates.
Kids are invited to paint the Easter-themed designs in vibrant colors and playful patterns, all while learning about line work and experimenting with color combinations.
The completed artworks can be proudly displayed as they are on the wall or as part of a classroom bulletin board display.
Additionally, the bunnies and eggs could be cut out and strung together to create an Easter garland or incorporated into a creative Easter-egg hunt.
To play with the tape resist process further, take a look at our tulip, heart, penguin and polar bear paintings!
What is Tape Resist Art?
Tape resist art is an easy art technique where tape is placed on a canvas to create patterns or shapes before painting. Once the paint dries, the tape is carefully peeled away to reveal the unpainted areas.
It’s such a fun and creative way for kids to explore color and form, and the reveal adds an element of magic and excitement to the process. This method is a great way to create simple abstract and geometric artwork.
How to Create the Tape Resist Easter Paintings
Materials:
White Card Stock for Printing
Artist Tape ( Two Different Widths)
Acrylic Paint
Paintbrush
Black Marker Pen
Easter Templates (members will need to login to access the template).
Not a Member?
Join the Arty Crafty Kids club to access the Easter Templates and 1000’s more Art and Craft templates, How to Draw Guides and Coloring Pages.

Written Step-by-Step Easter Art Painting Tutorial
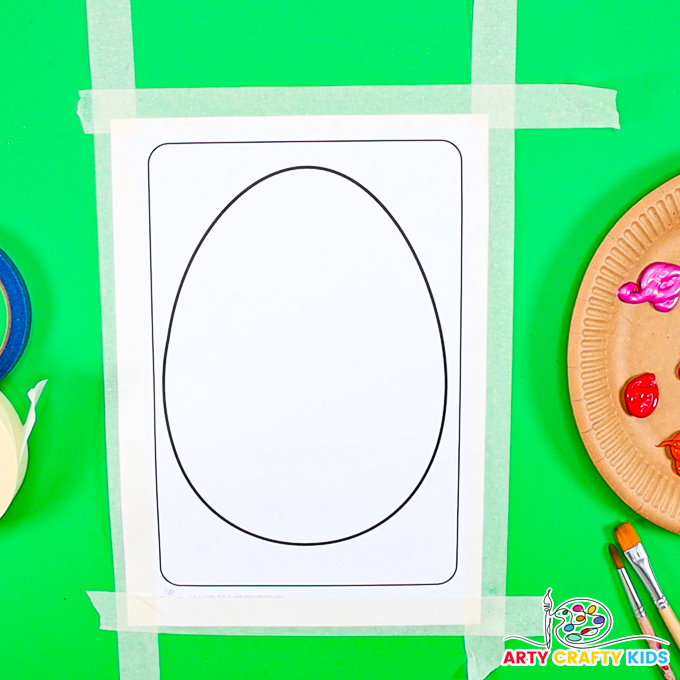
Step 1: Prepare an Easter template.
Apply tape around all four edges of a printed Easter template, creating 1cm border along each edge.
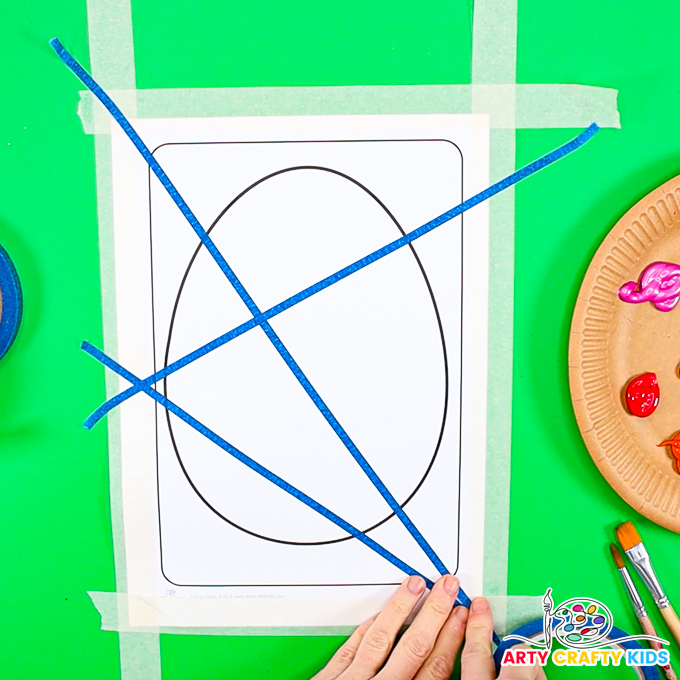
Step 2: Create a Pattern with Tape
Using multiple slimmer pieces of tape, begin to create a pattern across the template.
Apply the tape in any direction; as much or as little as your Arty Crafty Kids desire.
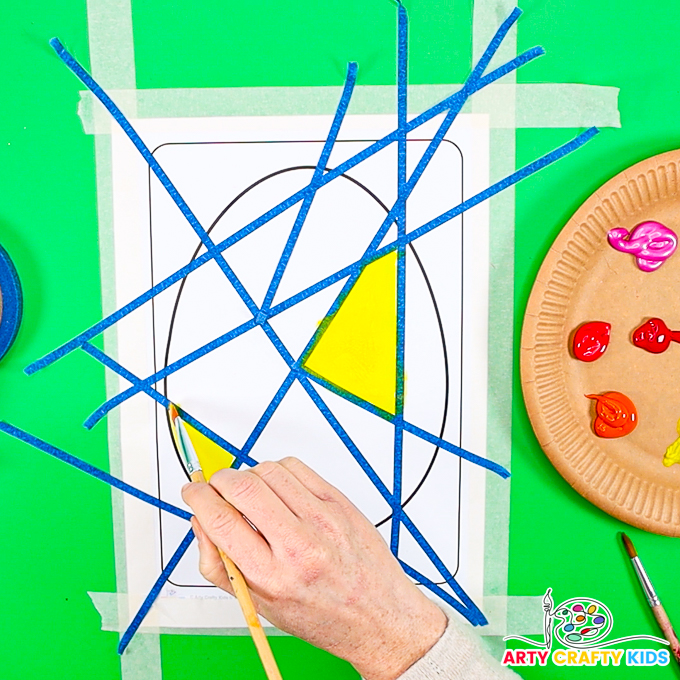
Step 3: Paint the Easter-themed design.
Before the Arty Crafty Kids start painting, ask them to take a moment to think about their color scheme.
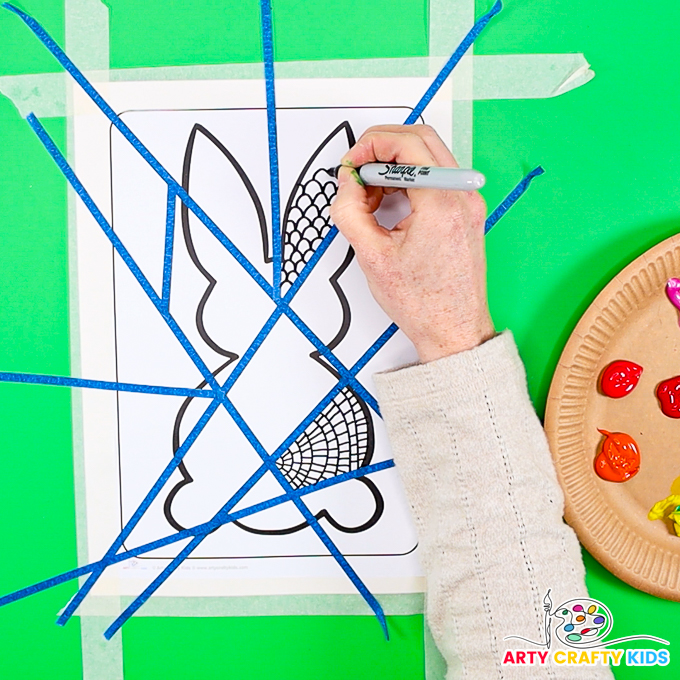
As well as painting the geometric segments, Arty Crafty Kids can grab a marker pen to create simple doodles, which adds a new layer of fun to the Easter art project!
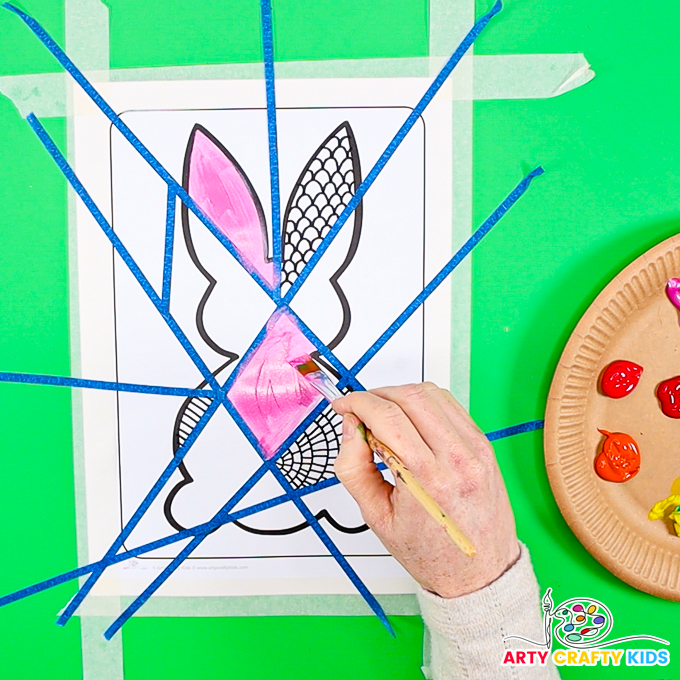
Continue painting the Easter the design, brushing over the tape to help create defined lines.
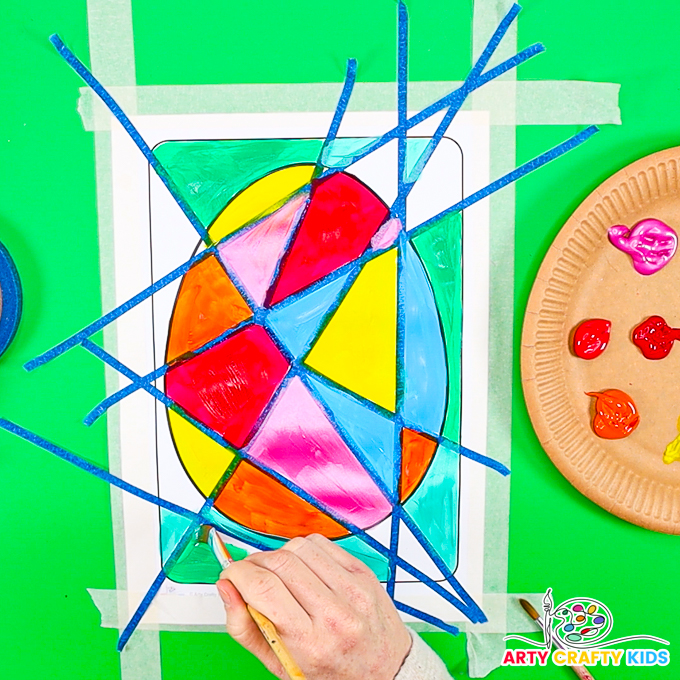
Step 4: Paint the background.
Next, paint the surrounding space around the Easter template.
To help make the design stand out, encourage your Arty Crafty Kids to use a palette of contrasting colors.
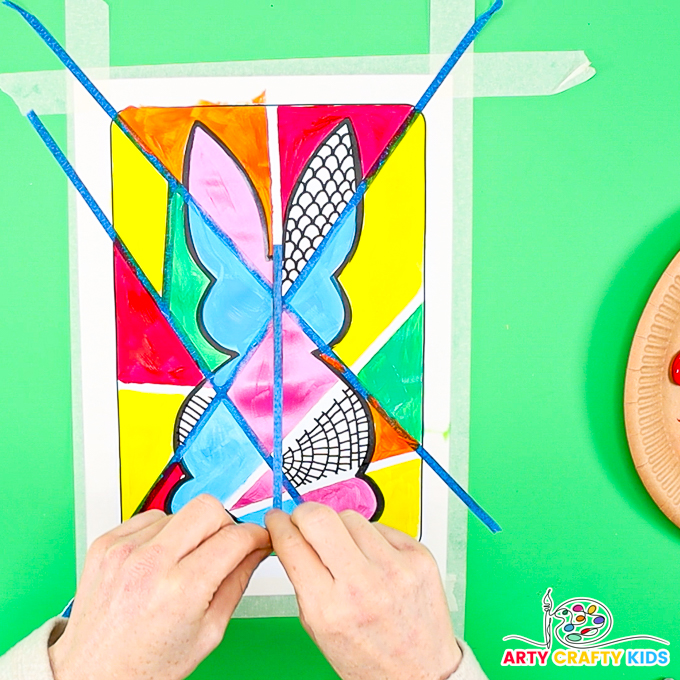
Step 5: Carefully remove the tape.
To prevent the tape from tearing the artwork, carefully peel it away while the paint is still wet. As a result, you’ll maintain the defined lines and avoid any unwanted damage.
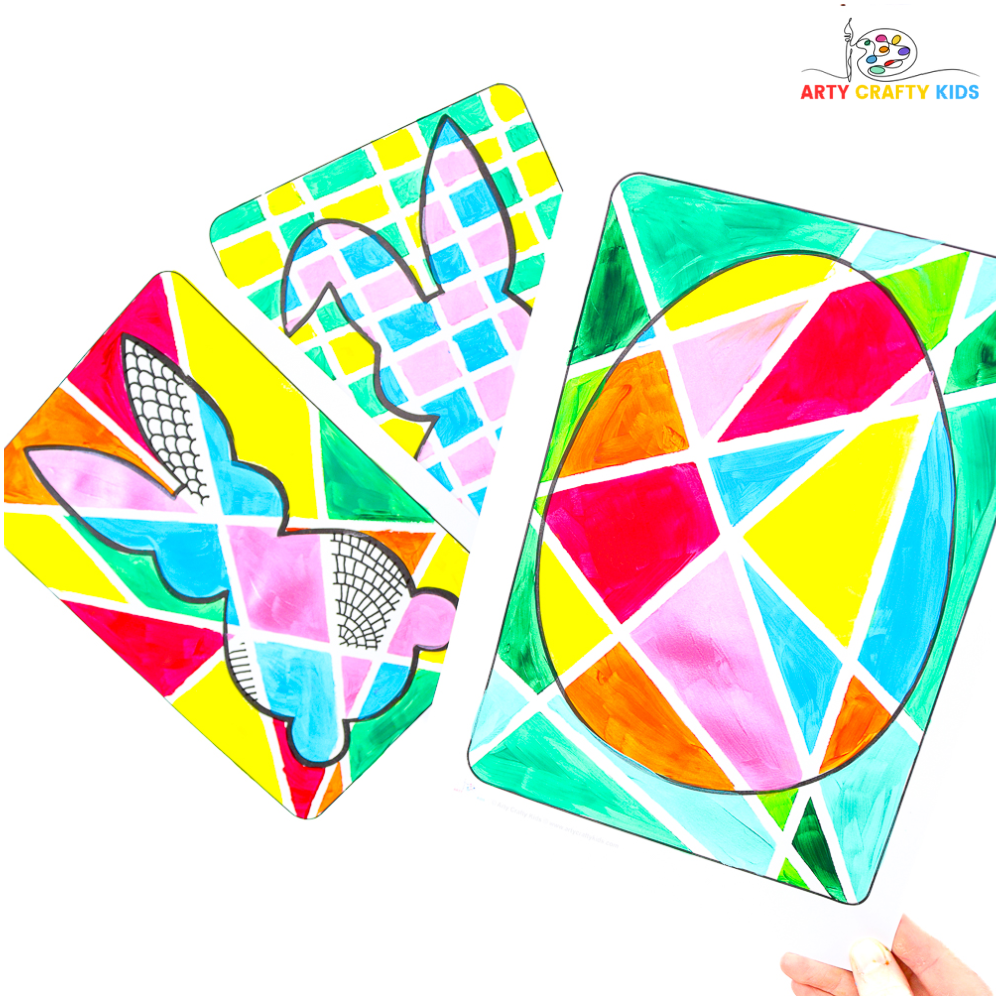
The tape resist Easter Art project is complete – we adore how they turned out!
For more projects to try with the kids this Easter, take a look at our Mono-Print Easter Egg art idea, Squiggly Easter Eggs and How to Draw a Bunny tutorial.

