Sharing is caring!
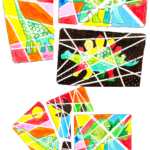
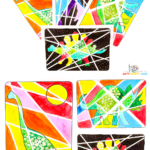
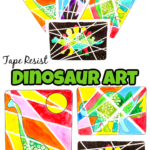
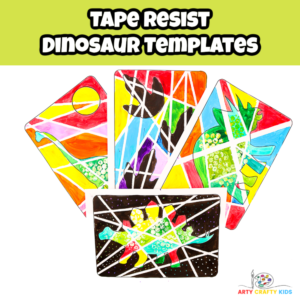
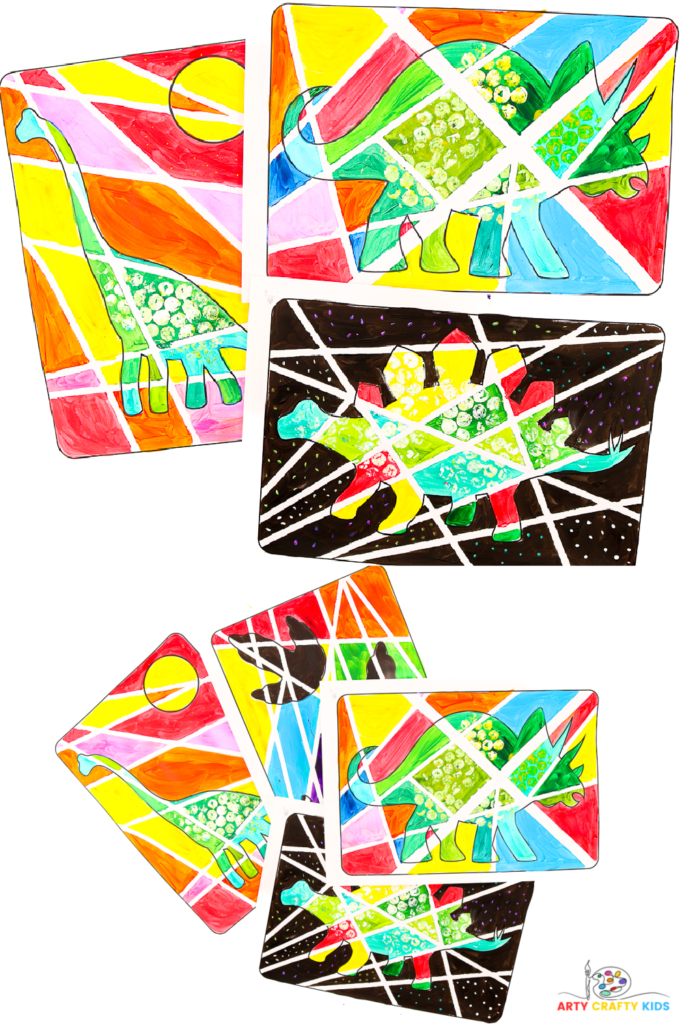
If your little ones are dino-obsessed, this Tape Resist Dinosaur Art activity is the perfect way to combine their love for dinosaurs with a creative, hands-on art project!
This simple, yet engaging craft is designed to spark your child’s imagination as they paint their very own dinosaur scene featuring a Stegosaurus, Brachiosaurus, Triceratops, and even dinosaur footprints.
Plus, the tape resist technique adds an exciting twist that will have your kids eager to see the final reveal!
If your kids love dinosaurs, be sure to check out our other exciting dinosaur-themed projects!
Explore our Sunset Silhouette Dinosaur Painting Tutorial for a striking, atmospheric art piece, or dive into our 3D Brachiosaurus and Tyrannosaurus Rex Crafts to create realistic, hands-on models that bring these prehistoric giants to life.
These fun and creative activities are perfect for expanding your little one’s love for all things dino!
How to Make Tape Resist Dinosaur Art
Materials:
- White Card Stock for Printing
- Artist or Washi Tape ( Two Different Widths)
- Acrylic Paint
- Paintbrush
- Bubble Wrap (for printing)
- Dinosaur Templates including Brachiosaurus, Triceratops, Brachiosaurus, and Dinosaur Footprints (members will need to log in to access the template).
Not a Member?

Step-by-Step Tape Resist Dinosaur Art
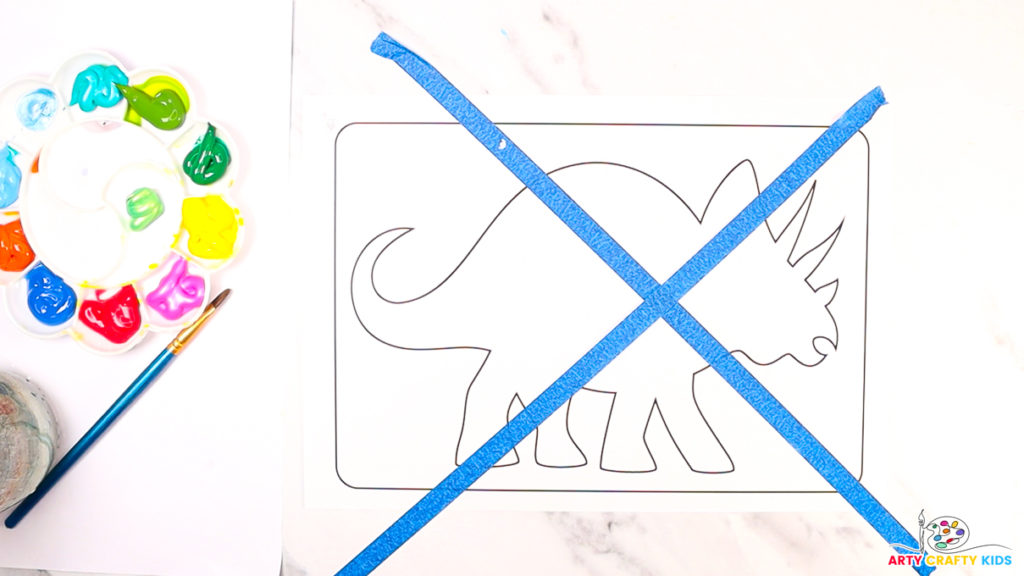
Step 1: Prepare the dinosaur template.
You can begin by printing out the provided dinosaur templates- these will be the base for your tape resist design.
Using artist or washi tape, secure the template to the work surface with the first pieces of tape.
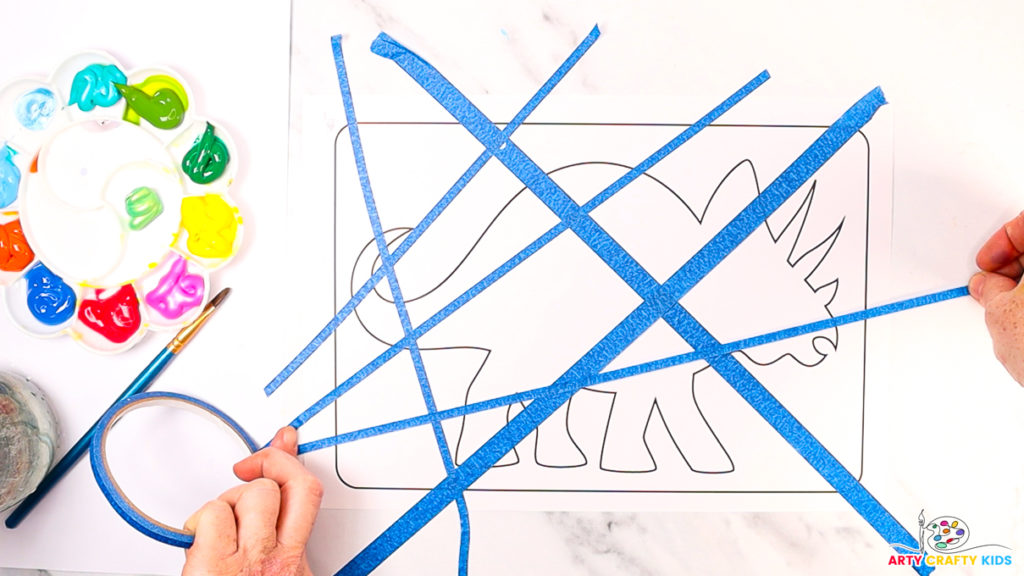
Step 2: Create a geometric design with tape.
Now for the fun part! Begin applying strips of tape across the canvas The tape can be placed in various directions to create interesting geometric patterns and sections.
The idea is to leave some areas of the paper exposed for painting while protecting others to create the tape resist effect.
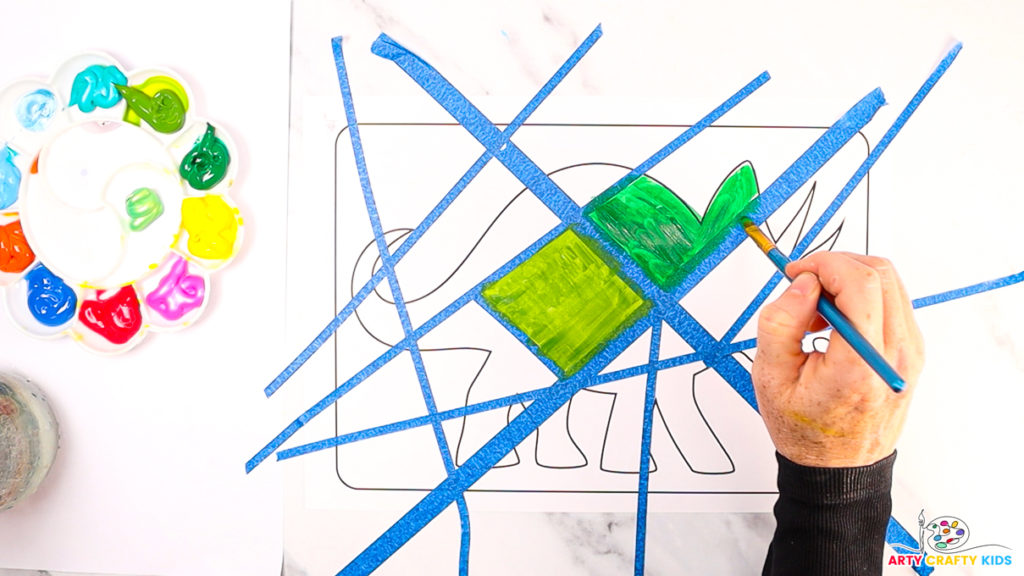
Step 3: Paint the exposed areas of the dinosaur template.
It’s time to get creative! Choose a variety of paint colors, and start filling in the exposed areas of the canvas.
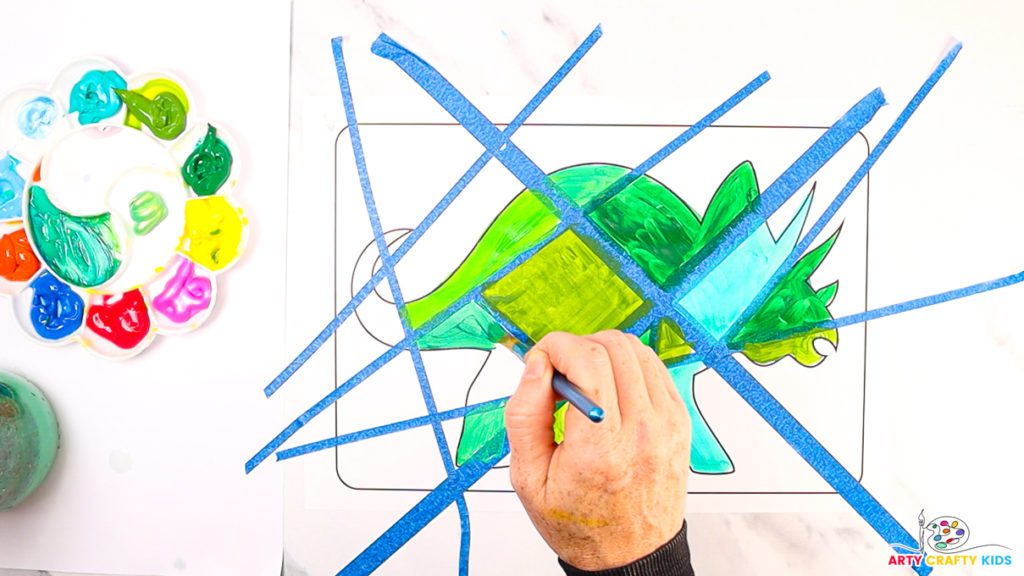
Encourage your child to experiment with blending colors or creating patterns within the sections. They can use brushes or sponges to apply the paint, and there’s no right or wrong way to do it!
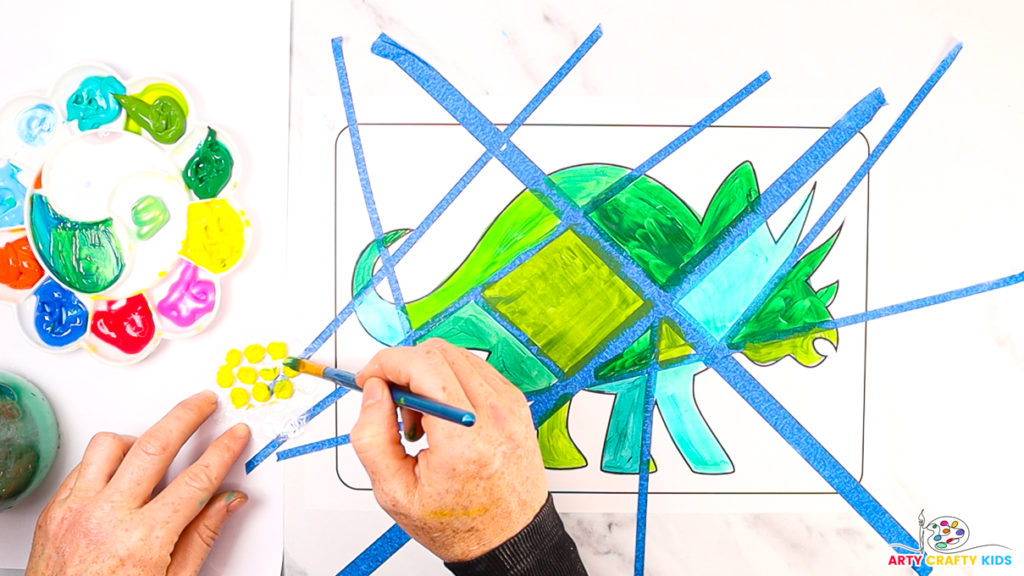
Step 4: Explore bubble wrap printing to add texture.
Cut a piece of bubble wrap into a circular shape and paint the bubbles with a paintbrush.
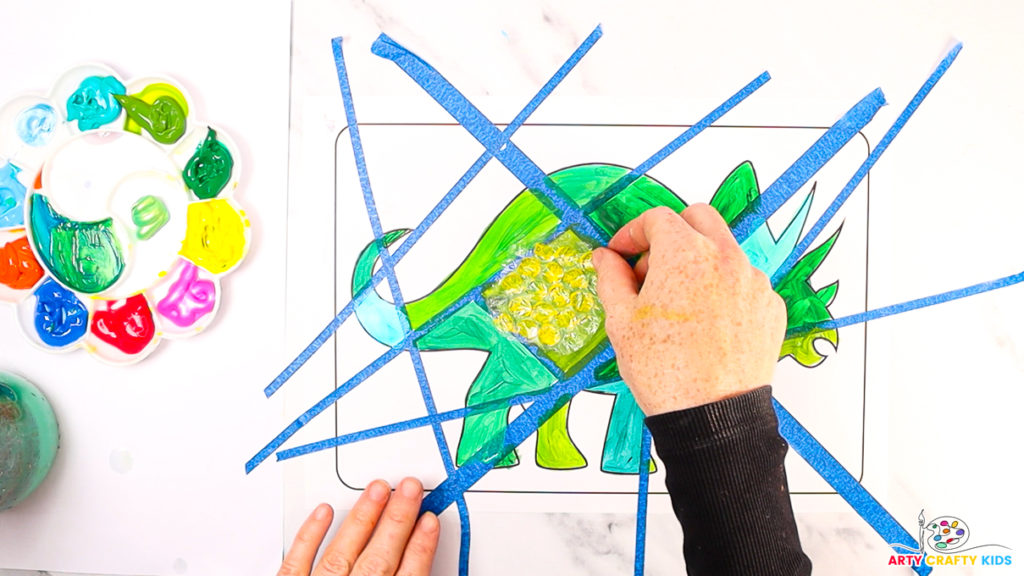
Next, flip the bubble wrap over and start pressing it onto the dinosaur areas. The bubble wrap creates a fun, scaly texture that mimics dinosaur skin.
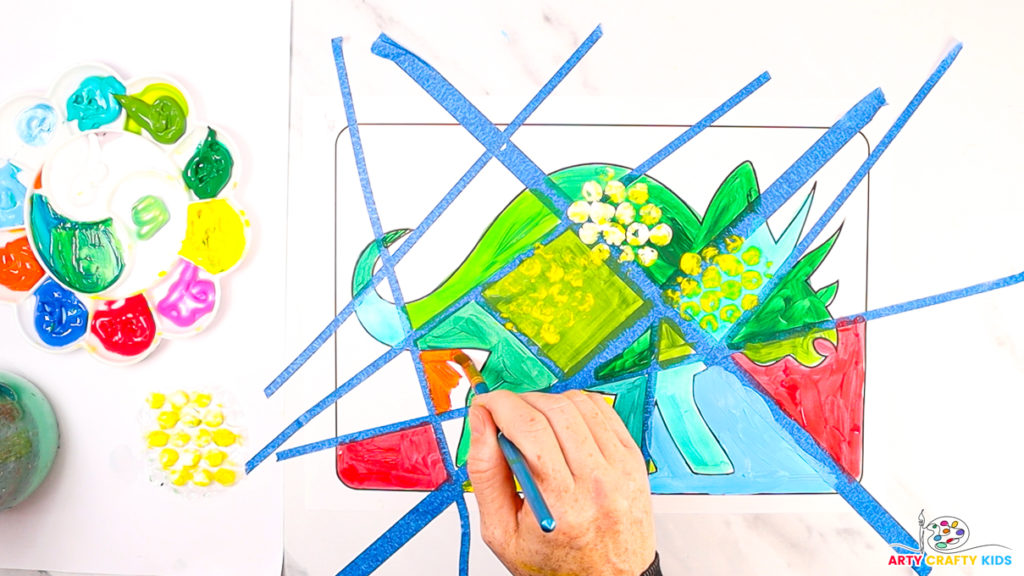
Step 5: Paint the surrounding background.
Use a variety of contrasting colors to fill the area around the dinosaur. Encourage your Arty Crafty Kids to choose colors that will make the dinosaur stand out.
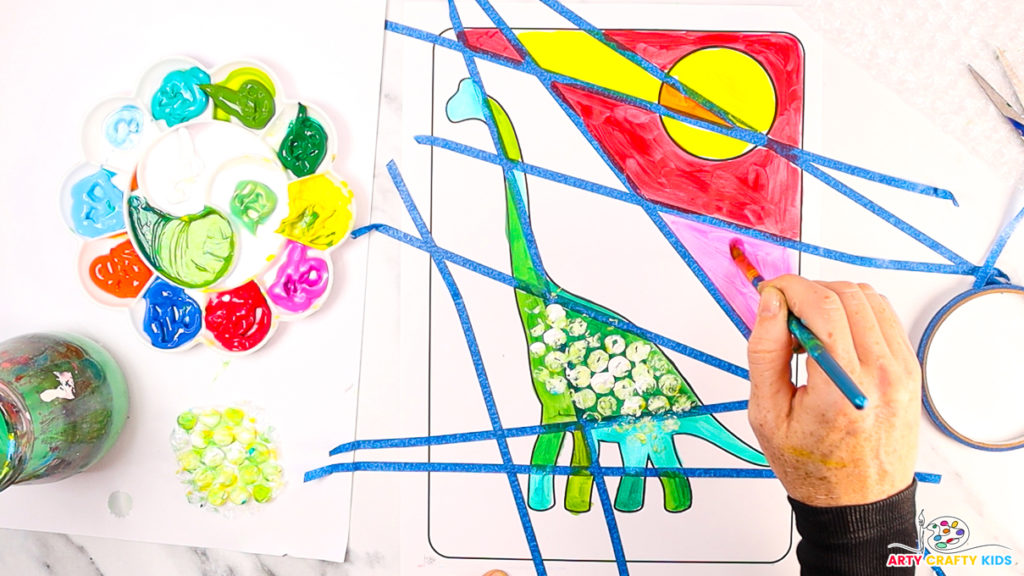
Another way to create a background is by adding a theme — in this example, we’ve used warm colors to convey a sunrise.
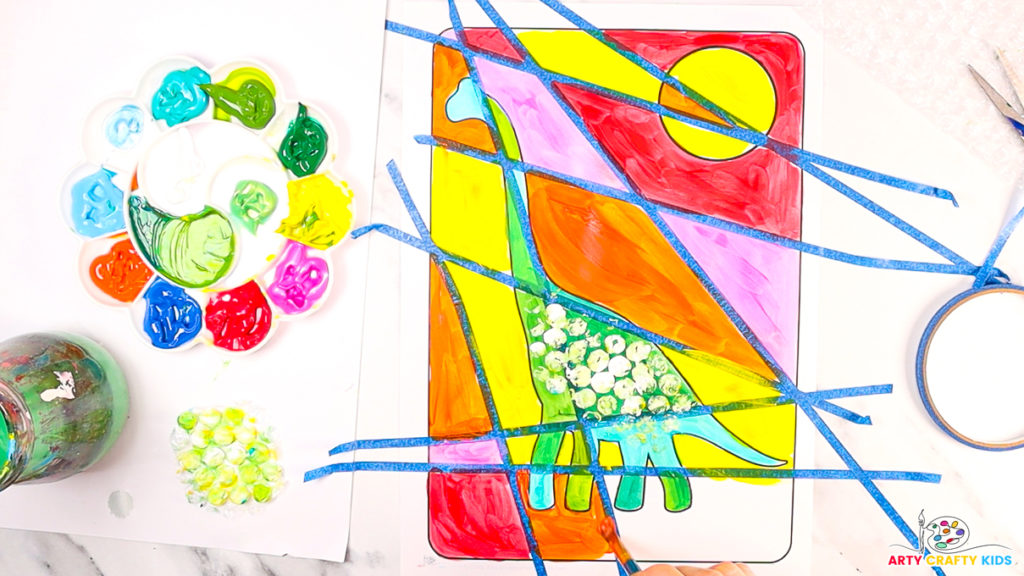
However your Arty Crafty Kids approach the painting, keep filling the spaces until every section is complete and then leave it to dry.
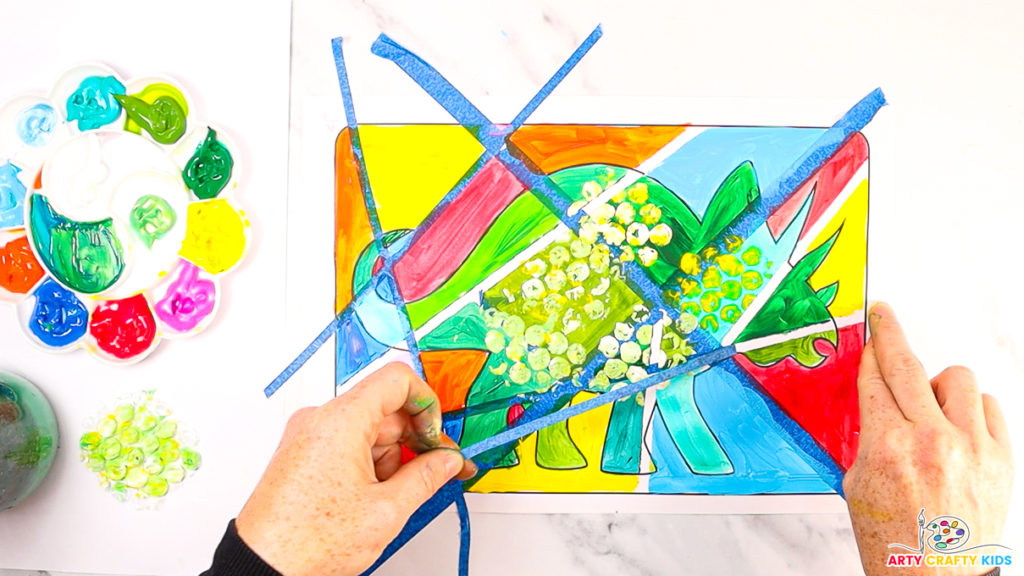
Step 6: The big reveal!
Once the paint is completely dry, it’s time to peel off the tape. Start slowly from one corner, revealing the crisp white outlines of the dinosaurs and the footprints beneath.
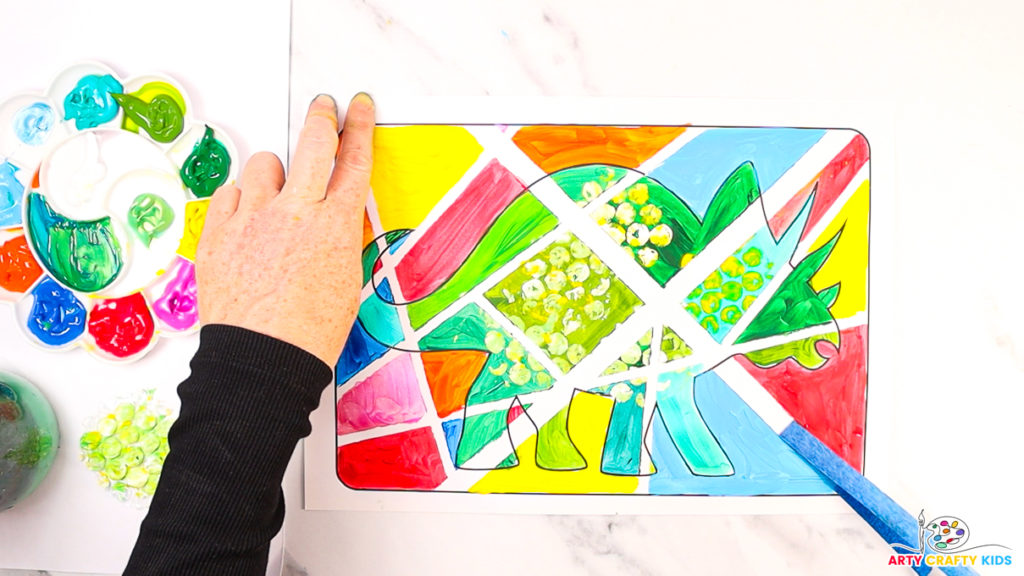
Once the final piece of tape has been removed, this is where the magic of tape resist comes to life!
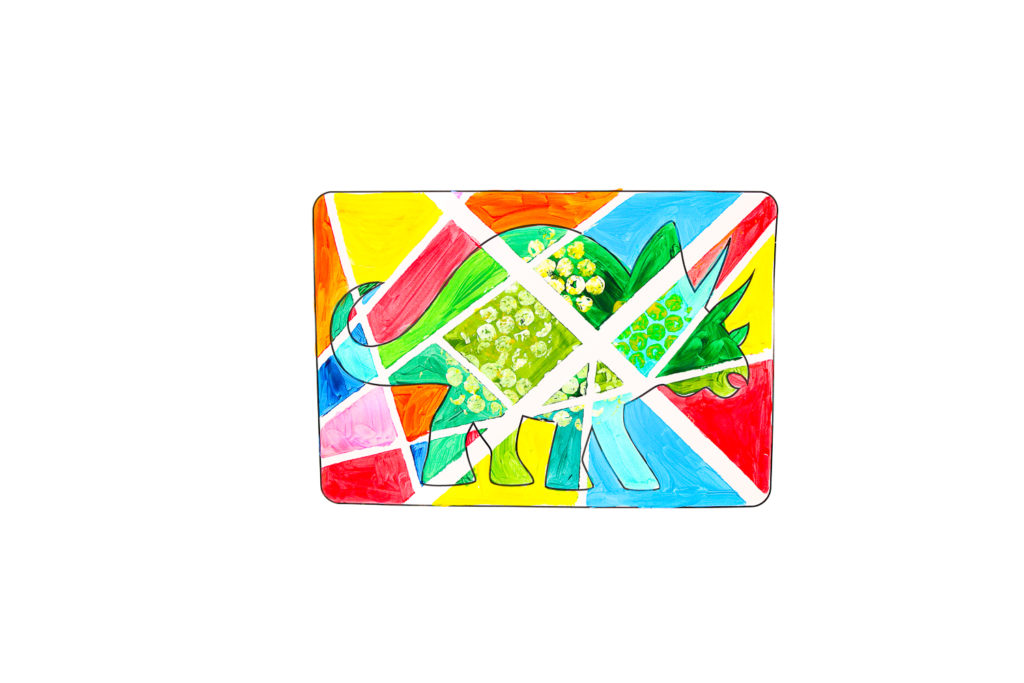
The tape resist dinosaur painting is complete and ready to be proudly displayed!
Whether hung in a bedroom, playroom, or given as a gift, this artwork will be a reminder of a fun and creative day spent exploring the world of dinosaurs.
Download the Dinosaur Templates:
Bring your child’s imagination to life with our Dinosaur Tape Resist Templates! This set includes easy-to-use templates of a Stegosaurus, Brachiosaurus, Triceratops, and dinosaur footprints, perfect for a variety of craft projects.
Designed for both beginners and seasoned young artists, these templates make it easy to create striking tape-resist paintings or add a prehistoric twist to other creative activities.


