Sharing is caring!

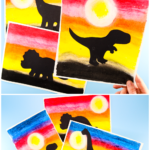
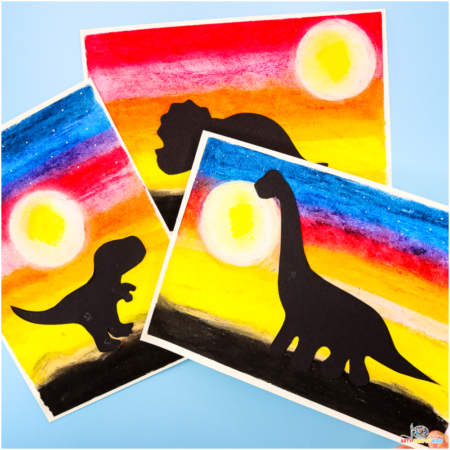
Learn how to transform a simple sheet of paper into an impressive piece of Sunset Dinosaur Silhouette Art!
This project is perfect for kids of all ages, offering a fun, hands-on experience that combines creativity with learning. Through this activity, children will discover how to use oil pastels to create a vibrant sunset backdrop, adding depth and atmosphere to their prehistoric dinosaur silhouettes.
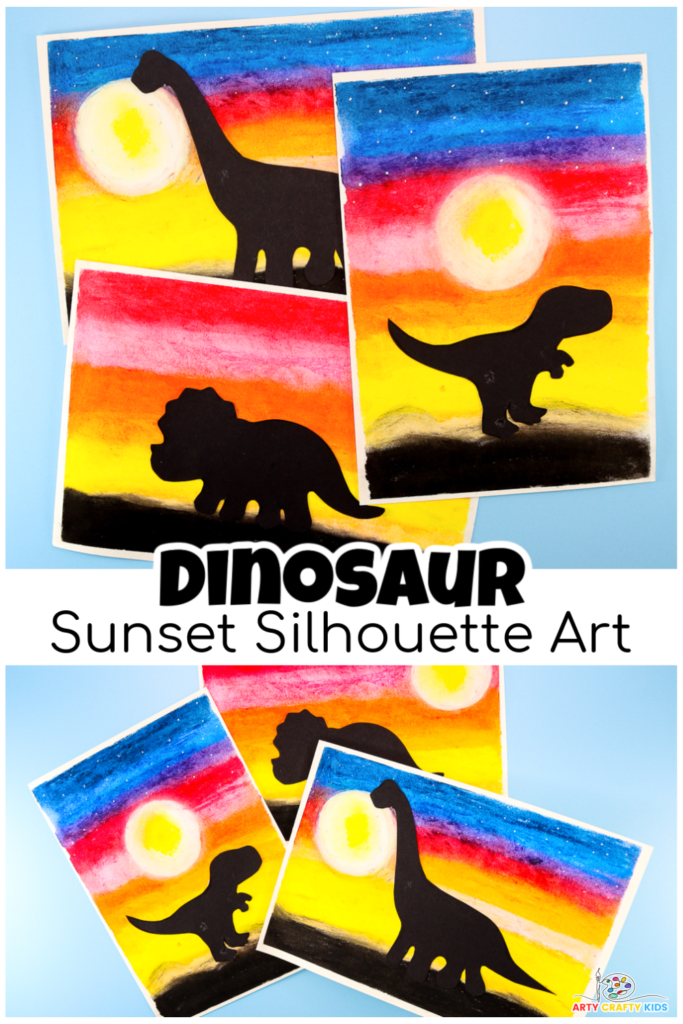
Our step-by-step tutorial will teach our Arty Crafty Kids how to blend colors to create smooth gradients; helping to bring their dinosaur silhouette scenes to life!
For even more arty crafty fun with dinosaurs, check out our 3D Brachiosaurus and Tyrannosaurus Rex paper crafts! These exciting projects are perfect accompaniments to your Sunset Dinosaur Silhouette Art, adding an extra dimension of creativity and fun to your prehistoric adventures.
How to Create Sunset Dinosaur Silhouette Art with Oil Pastels
Materials:
- Mixed-Media or Thick White Card Stock
- Oil Pastels
- Black Card Stock or Paper
- Kitchen Roll or Cloth
- Pencil
- Scissors
- Glue
- White Acrylic Marker Pen
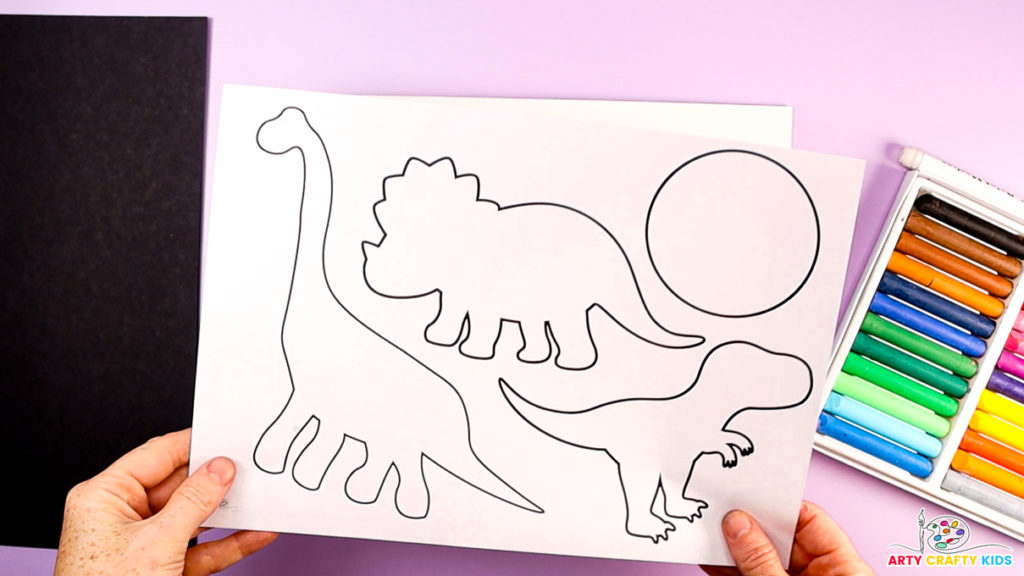
- Dinosaur Silhouette Templates (members will need to log in to the Arty Crafty Kids members area to access the printable tutorial and template).
Not a Member?
Join the Arty Crafty Kids club to access the dinosaur silhouette templates, along with lots of creative and fun Art and Craft templates, How to Draw Guides, and Coloring Pages.

Let’s Make Dinosaur Silhouette Art!
Step 1: Prepare the materials.
Print the dinosaur silhouette templates from the members’ area. You can choose to print the basic outlines to save printer ink or black silhouettes.
After that, apply artist tape to all four edges of mixed-media paper.
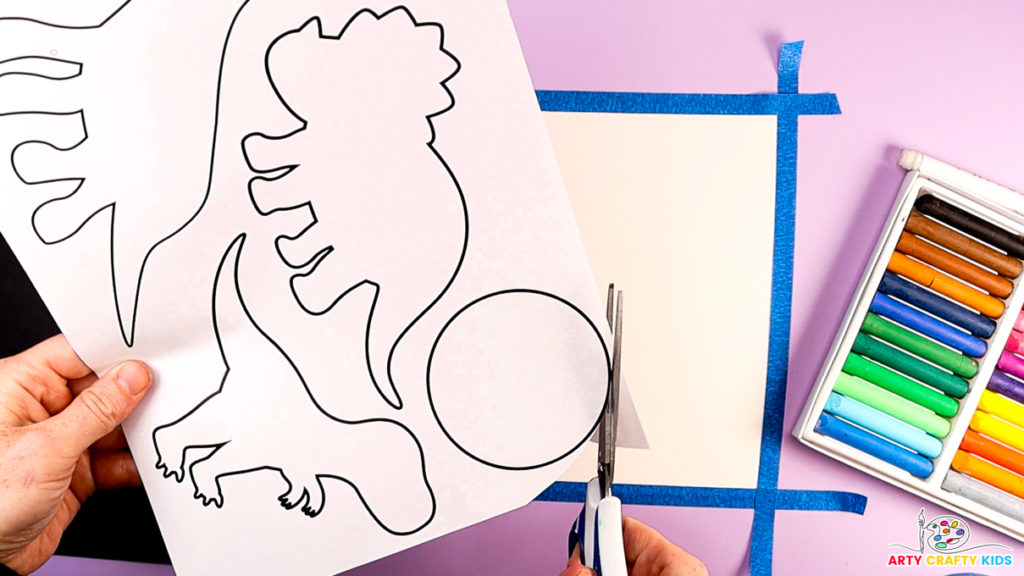
Step 2: Cut out the circle.
Use a small piece of artist’s tape to attach the circle to the paper anywhere within the upper area of the paper.
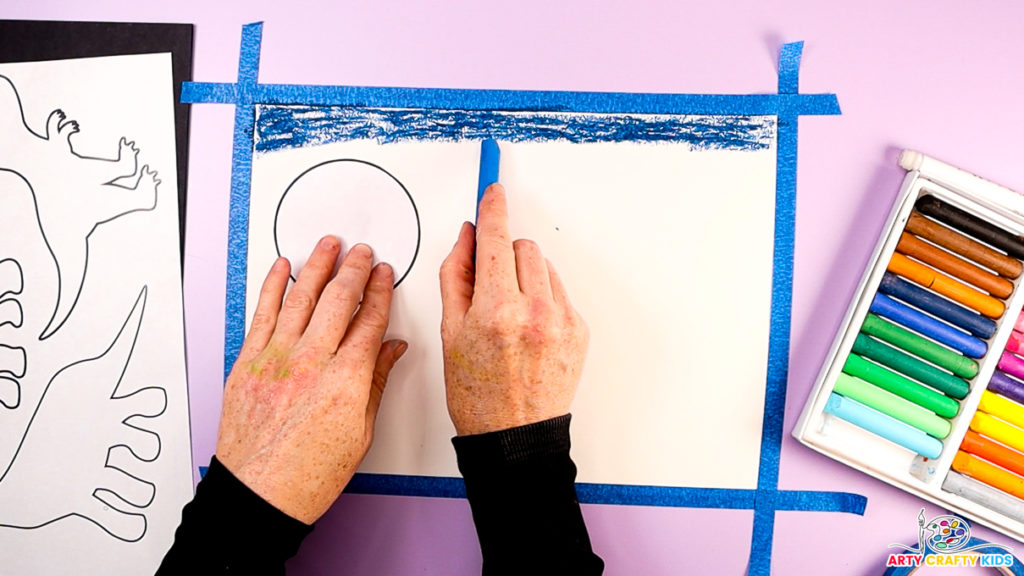
Step 3: Creating the sky.
At the top of your paper, use the dark blue oil pastel to color a thick strip. This represents the highest part of the sky.
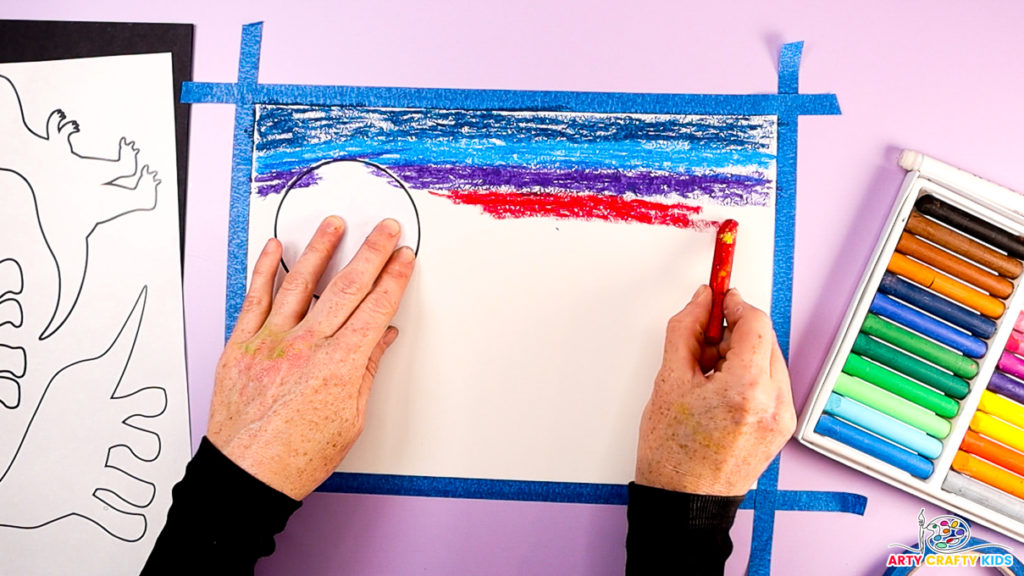
Next, add light blue, purple, and red stripes. Be sure to overlap the edges of each color as you add them. Extend the pastels up to the edges of the circle, and gently press down on the paper circle to avoid damaging the sunset silhouette.
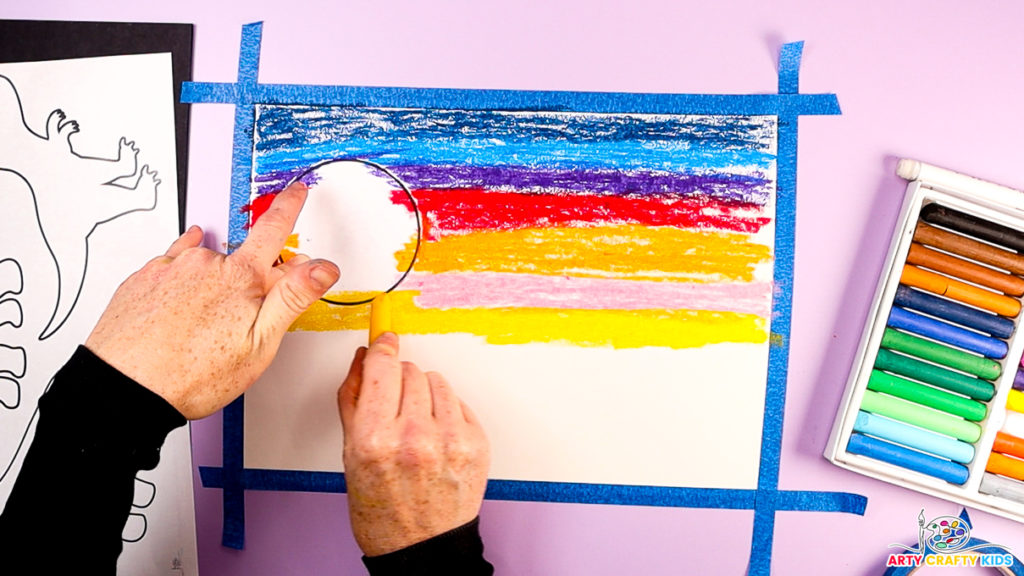
Continue to create horizontal stripes across the paper, using vibrant shades such as pink, dark orange, light orange, yellow, and light yellow. Leave a couple of inches of white space at the bottom of the page.
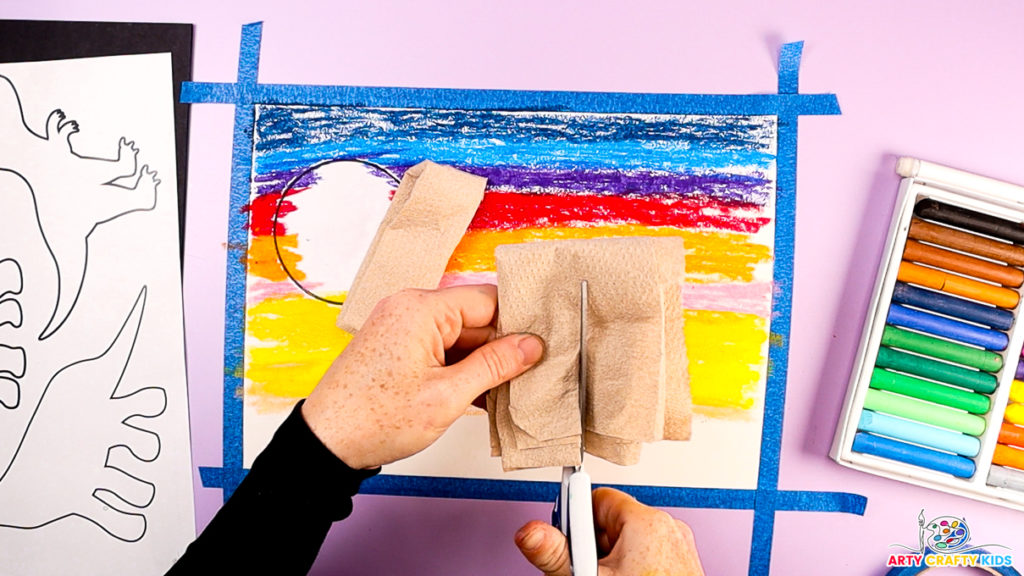
Step 4: Prepare the kitchen roll paper for blending.
Fold multiple pieces of kitchen roll paper over and cut them into thick strips. These strips will be folded over again to blend the colors of the sky into a beautiful sunset.
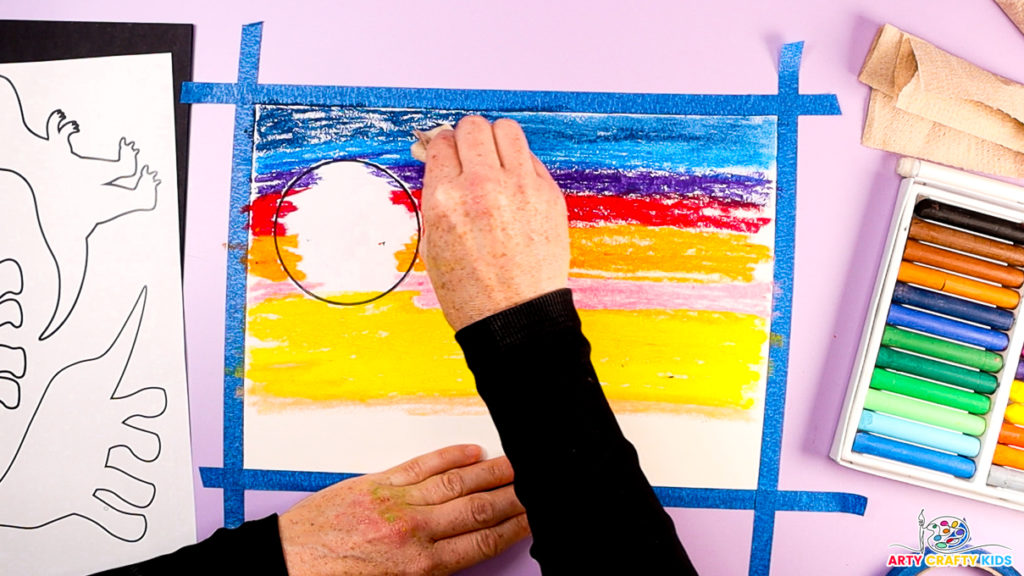
Step 5: Use the oil pastels to blend colors to create a smooth gradient.
Using a piece of kitchen roll paper, a cloth, or your finger, gently blend each row with the color below. Use gentle back and forth or circular motion to blend the oil pastels.
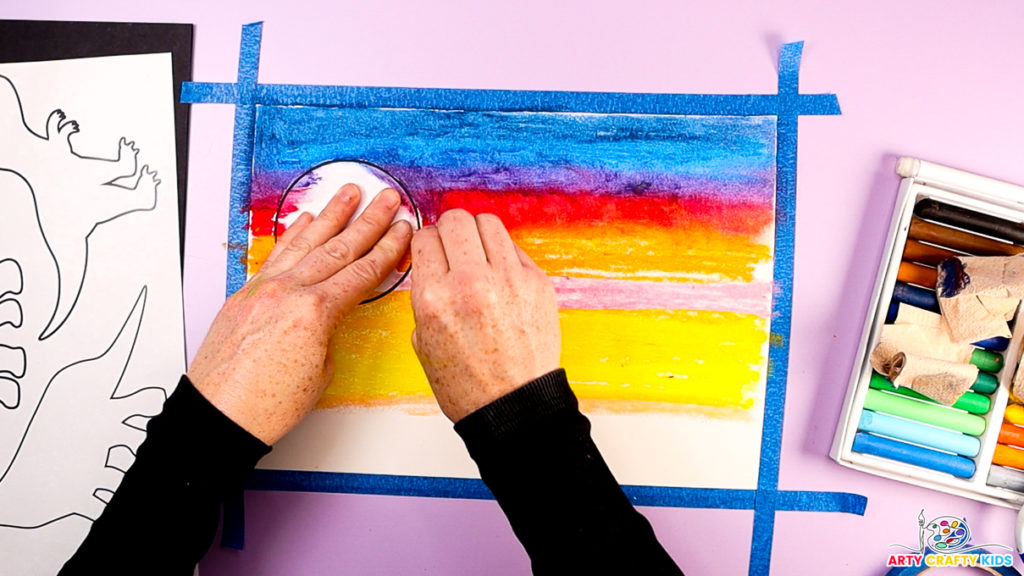
To maintain a “clean” appearance between the different colors, use fresh pieces of your blending tool for each color group, i.e., dark blue, light blue, and purple as one set, then red and pink as another group.
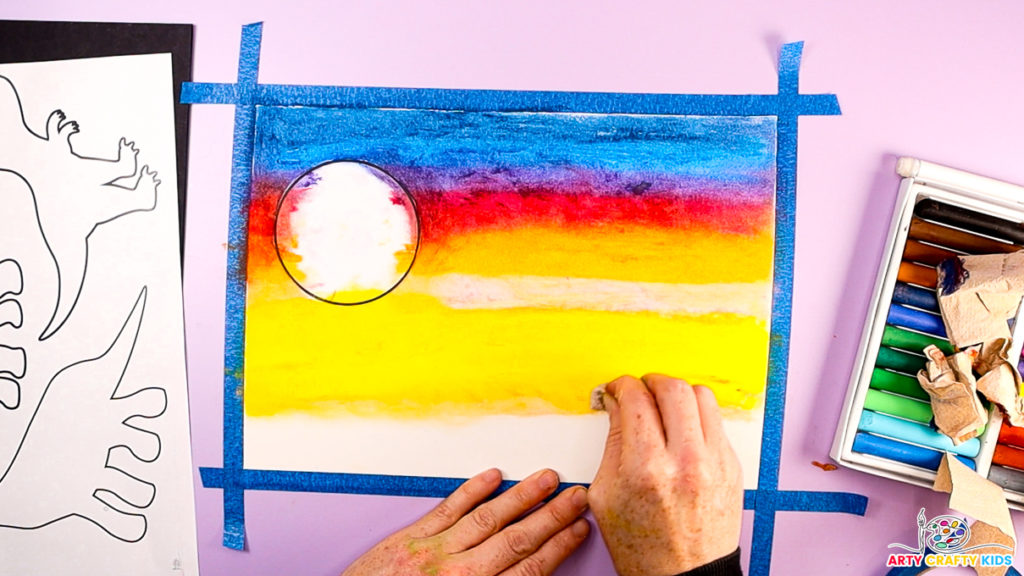
Keep blending the colors until you achieve a beautiful sunset gradient.
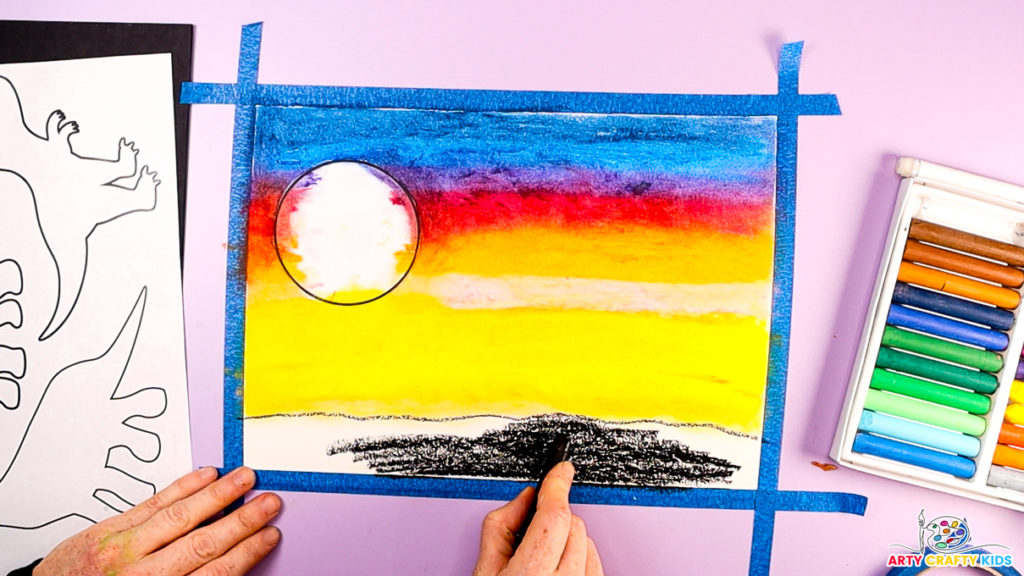
Step 6: Use a black oil pastel to outline the ground.
Use a black oil pastel to outline the ground and then fill the white space with black for contrast.
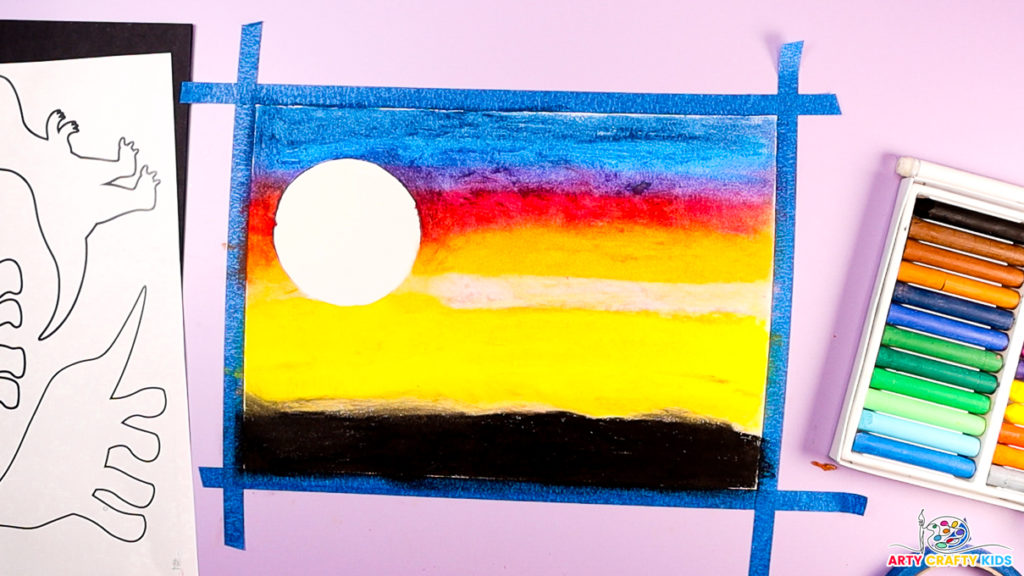
Step 7: Blend the black floor area.
Use a blending tool to blend the black oil to create a solid floor area for the dinosaur silhouette.
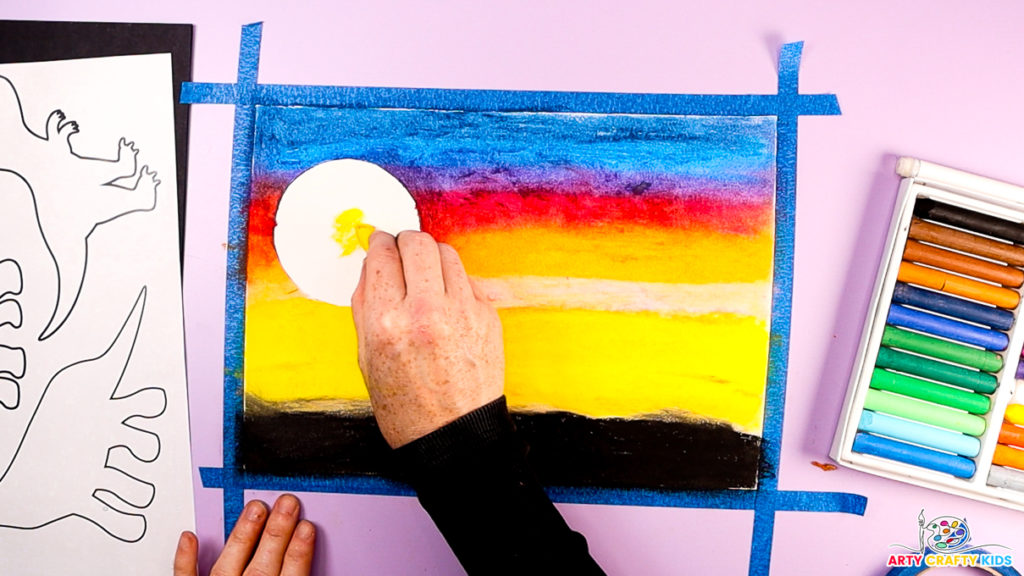
Step 8: Remove the circle to reveal the sun silhouette.
Remove the paper circle and add a small layer of yellow to its center.
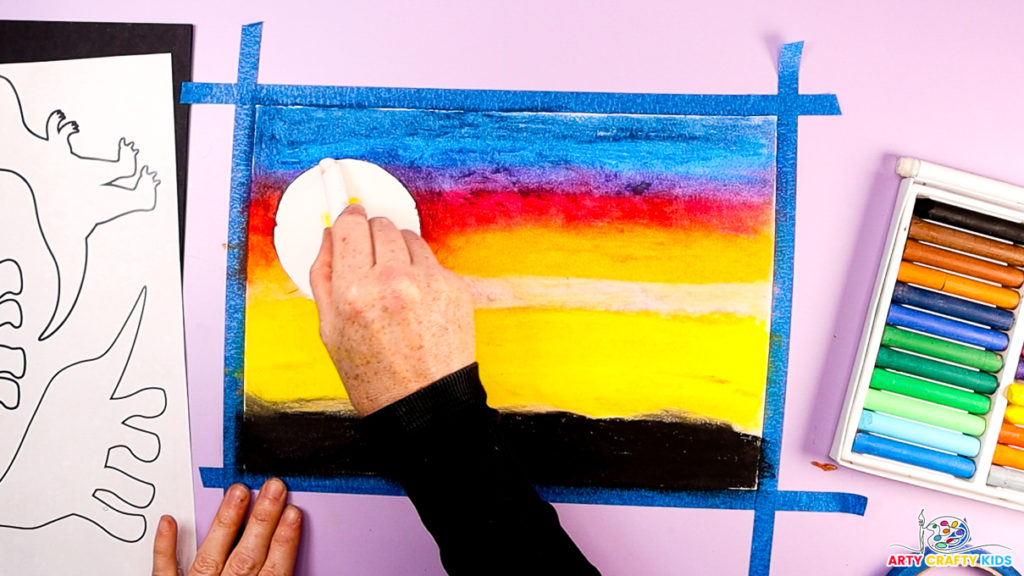
Next, fill the remaining white space with a layer of white oil pastel and outline the circle’s perimeter.
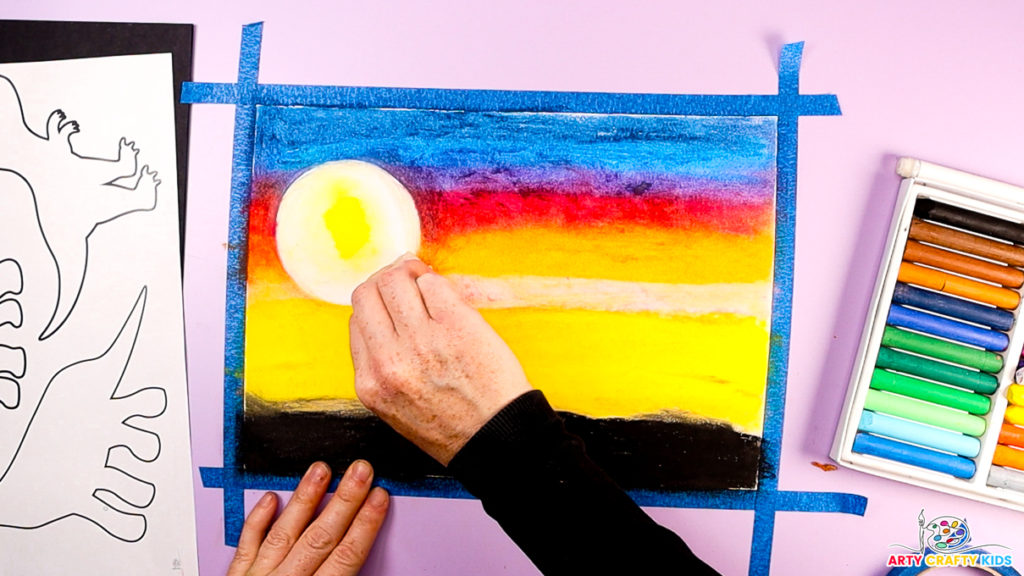
Step 9: Blend the sun.
Use a blending tool to blend the yellow and white within the sun, and then use another tool to blend the edges of the sun with the surrounding colors.
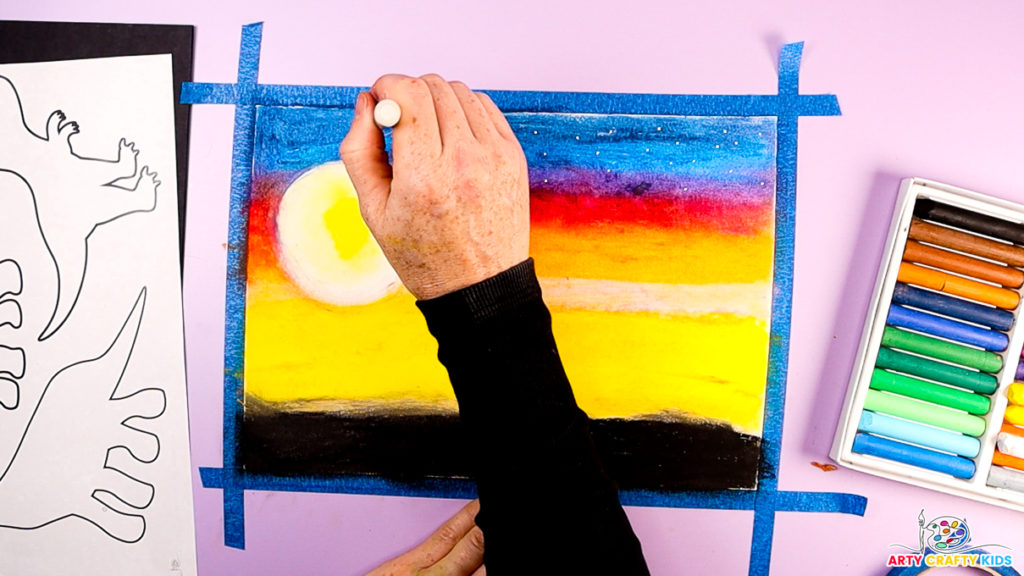
Step 10: Draw stars within the deep blue sky.
Use a white acrylic marker pen to add white dots to the dark blue area of the sunset, creating the impression of stars and emphasizing the transition between day and night within our sunset composition.
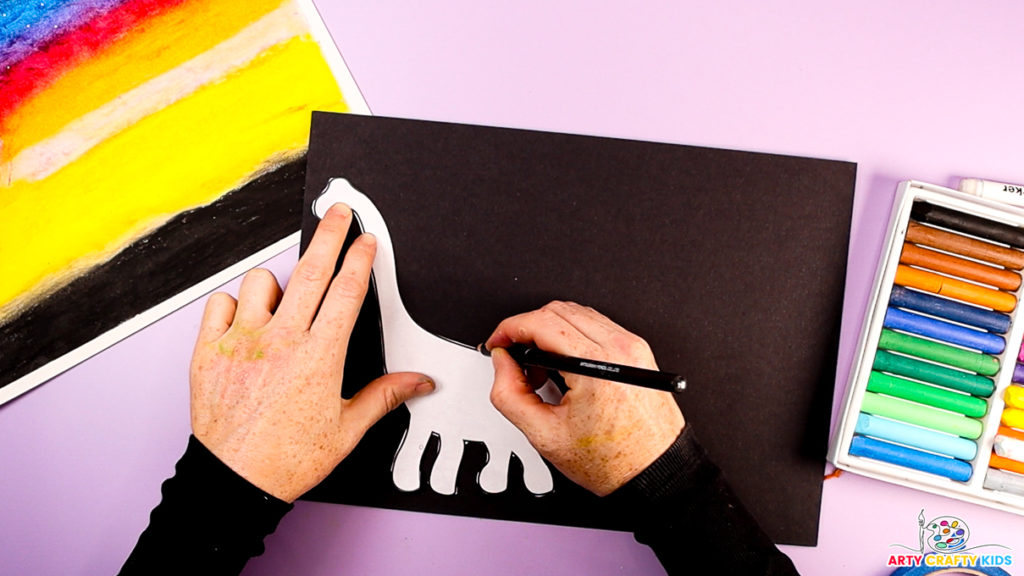
Step 11: Cut out a dinosaur silhouette from the template.
Choose one of the dinosaur silhouettes from the templates (Brachiosaurus, Tyrannosaurus Rex, and Triceratops) and carefully cut it out. Next, outline the silhouette onto black paper and, again, carefully cut it out.
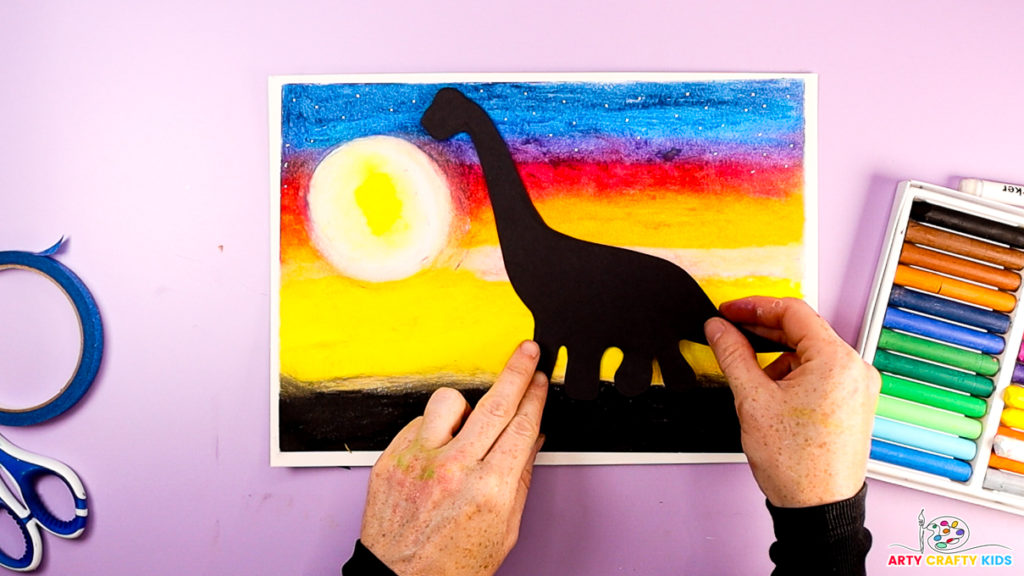
Step 12: Glue the dinosaur silhouette to the sunset background.
Apply a thick spread of blue to the back of the silhouette and affix it to the backdrop to complete the Sunset Dinosaur Silhouette Art Project!
Tips for Success:
- Encourage children to use their fingers or a blending tool to gently blend the pastels for a smooth transition between colors. If using fingers is too messy, they can use a kitchen roll or cloth instead.
- Remind kids to press gently with the oil pastels to avoid breaking them. Experiment with different color combinations and dinosaur silhouettes for variety.
- To create a sunset, always start with the darkest (cool) shades first and then progress to the lightest (warm) shades.
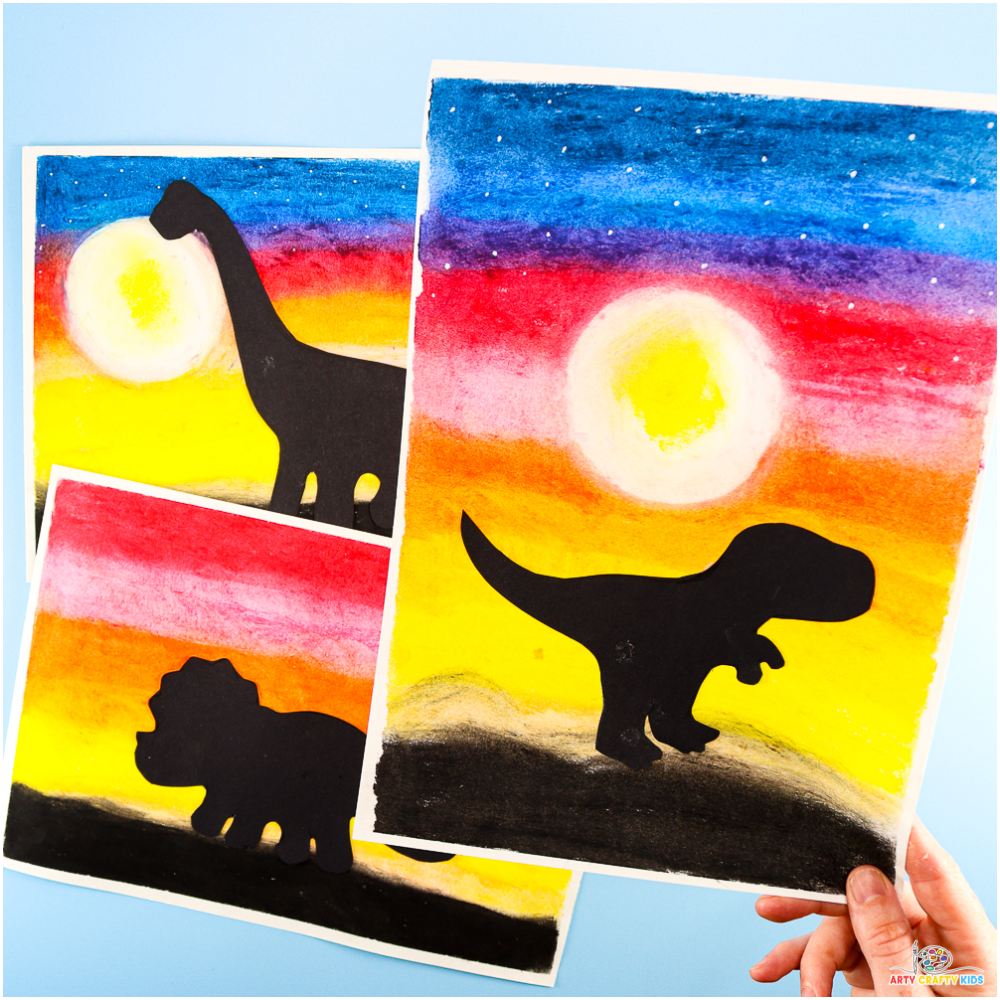
Enjoy creating your beautiful sunset dinosaur silhouette art! This project is not only a wonderful way to play with positive and negative space, but it also shows kids how to blend colors effectively to create gradients.
Download the Dinosaur Silhouette Templates:
This template offers a choice of three dinosaur silhouettes: a Brachiosaurus, a Tyrannosaurus Rex, and a Triceratops.

