Sharing is caring!
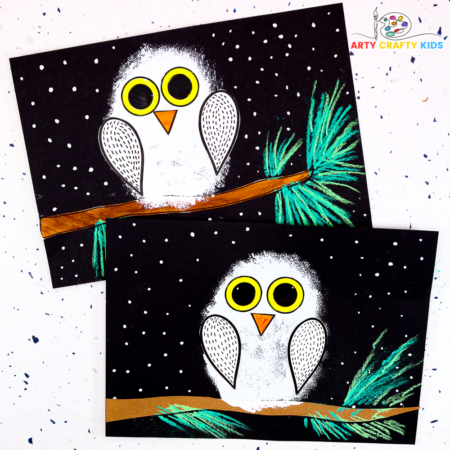
This easy Sponge Painted Snowy Owl Craft is perfect for little hands to make this Winter and is a fantastic craft to pair with a reading of Owl Babies (a popular book with preschoolers).
Using basic craft materials that you’re likely to already have at home, kids can create their own adorable Snowy Owl against a snowy backdrop.
Whether you’re exploring winter animals or just looking for a fun home activity, this craft is sure to bring smiles to your little ones.
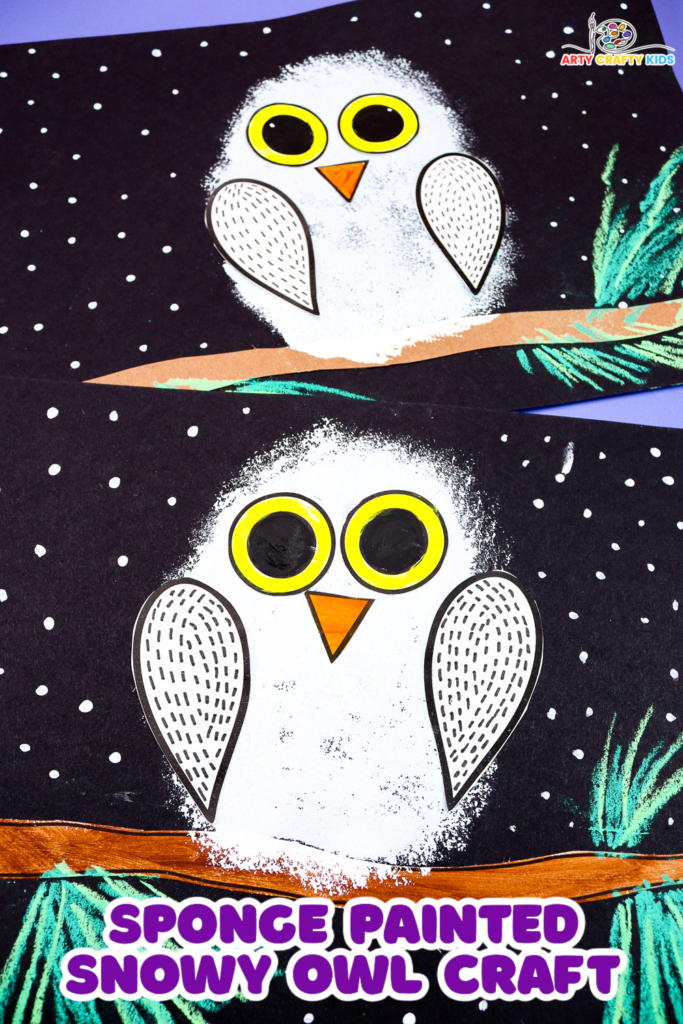
Winter animal topic is always a fun one to explore during the months of January and February.
Along with the sponge painted snowy owl, we recommended trying our 3D Polar Bear, 3D Owl and beautiful Winter Tree scene craft activities with your Arty Crafty Kids.
Related: Snowman Coloring Pages, Penguin How to Draw
How to Make the Sponge Painted Snowy Owl Craft
Materials you will need:
- Black Card Stock
- White Card Stock for Printing
- Paint (Acrylic)
- Sponge or Pom-Pom
- Optional Clothes Peg
- Paintbrush
- Black Marker Pen
- Optional Chalk Pastels
- Scissors
- Glue Stick
- Snowy Owl Craft Printable Template (members will need to login to access the template).
Not a Member?
Join the Arty Crafty Kids club to access the Snowy Owl Templates and 1000’s more Art and Craft templates, How to Draw Guides and Coloring Pages.

Written Step-by-Step Tutorial
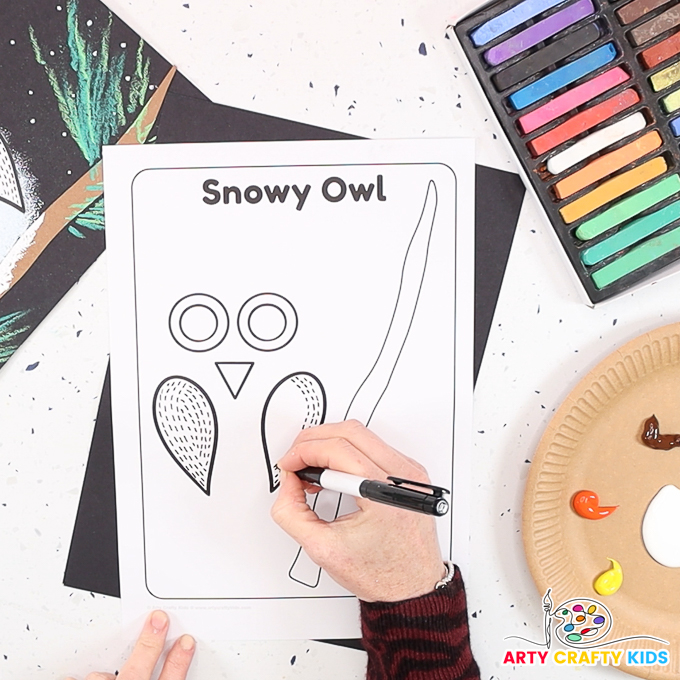
Step 1: Decorate the Owl’s Wings
Use a black marker pen to draw feathery detailing to the wings. These could be lines of simple dashed lines or little wavy shapes.
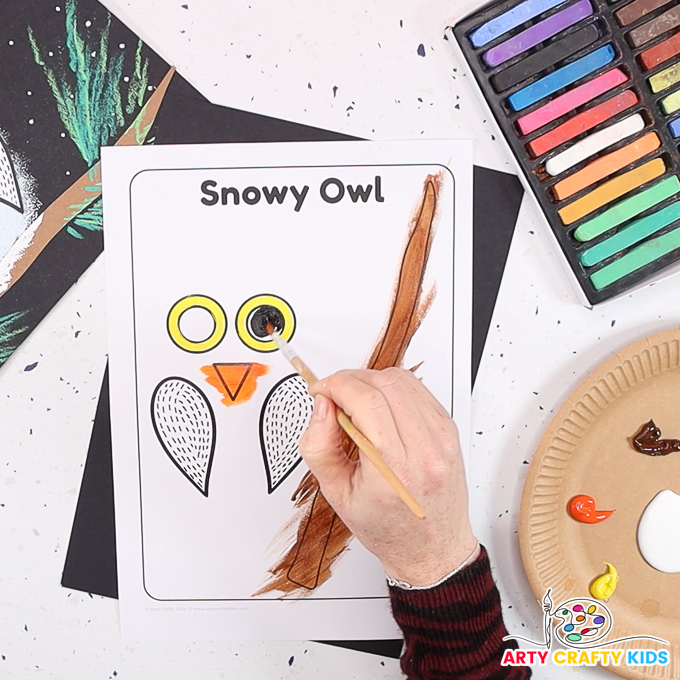
Step 2: Color in the Owl’s Eyes and Beak
While we have used paint to color in the template, your Arty Crafty Kids may prefer to use crayons or marker pens.
Once the template is colored in, carefully cut out all the elements and put them to one side.
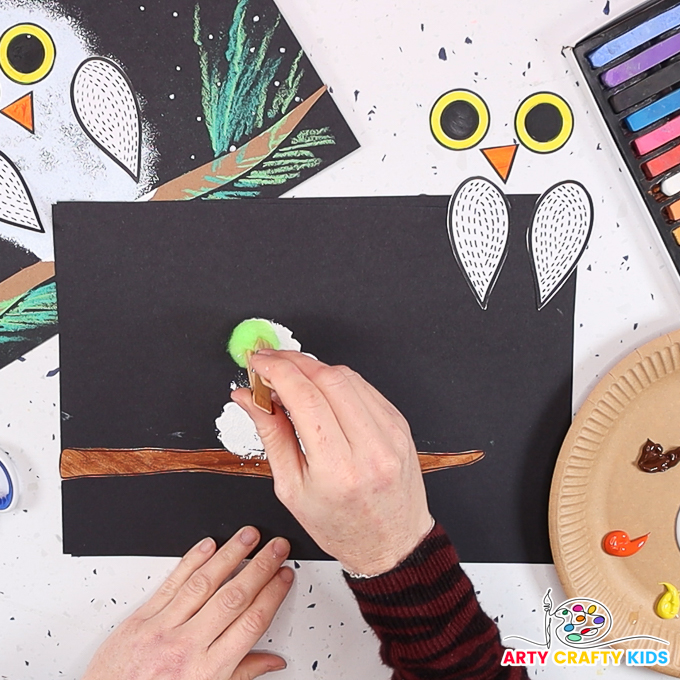
Step 3: Sponge Paint the Owl’s Body
First, glue the colored in tree branch to a sheet of black card stock.
Connect a small piece of sponge or a pom-pom to a clothes peg ( this reduces the mess and is a fun fine motor exercise) and dip it into some white paint.
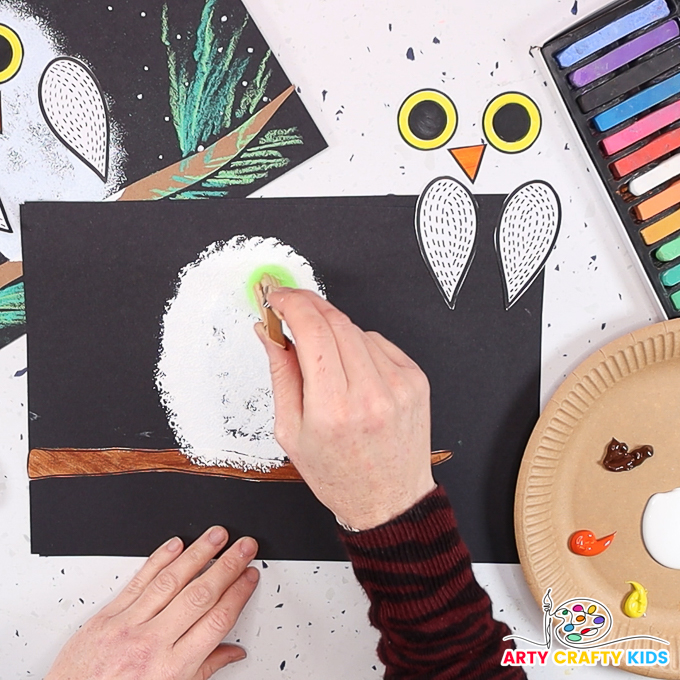
Continue dabbing the white paint to create a large oval shape for the owl’s body.
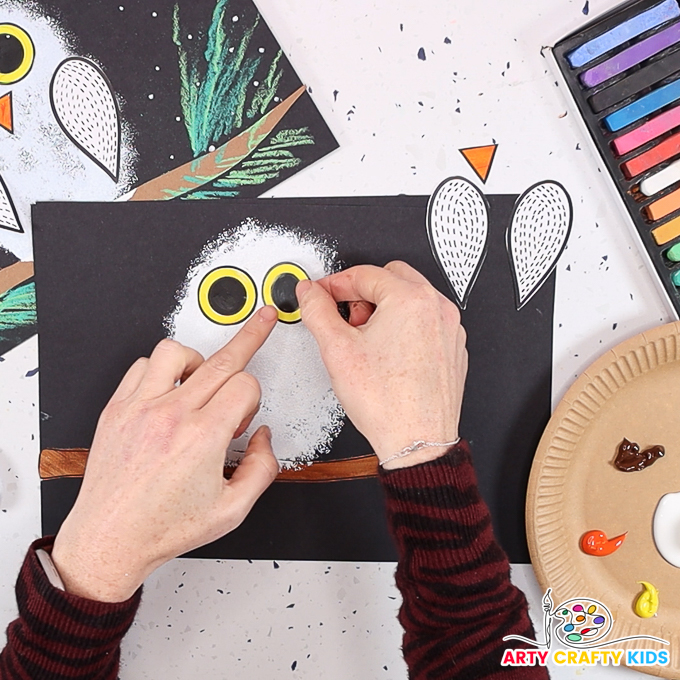
Step 4: Glue the Eyes
Followed by the owl’s beak.
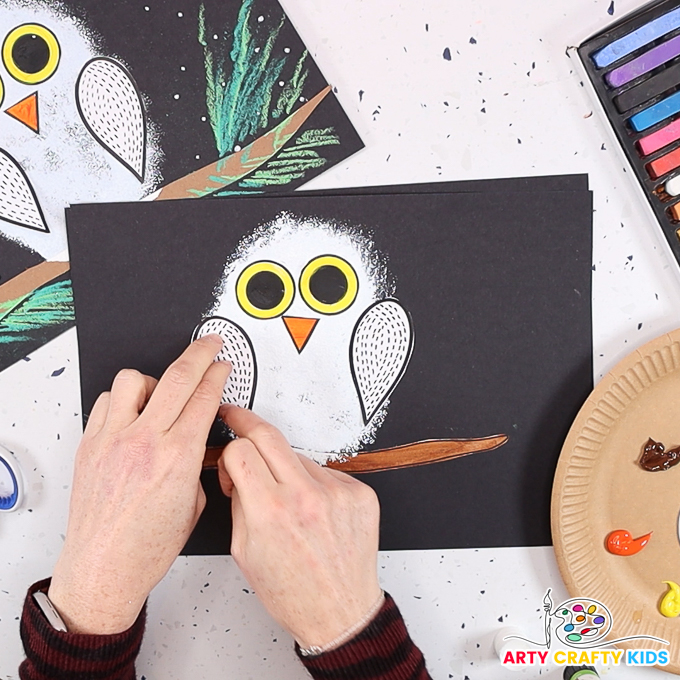
Step 5: Glue the Wings
Position the wings on opposite sides of the owl’s body.
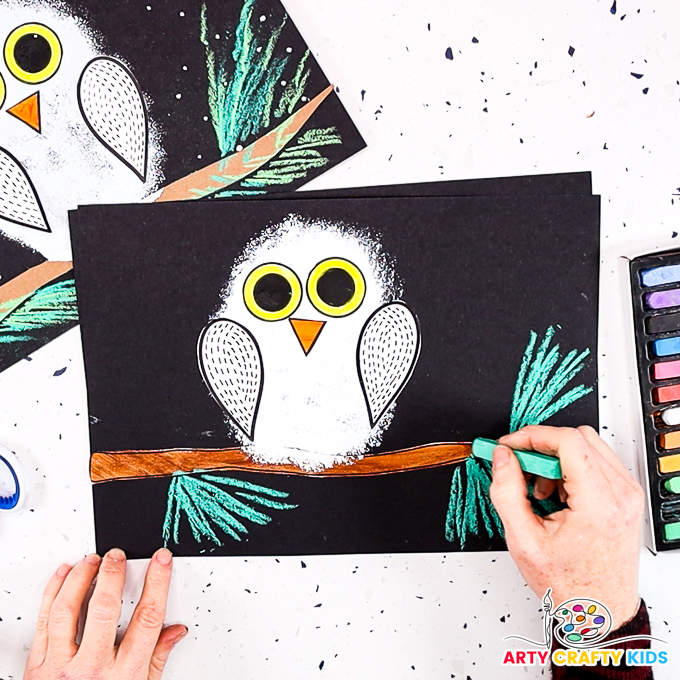
Step 6: Draw some Pine Needles
Use green chalk pastels (ideally two different shades) to draw bunches of short lines away from the tree branch.
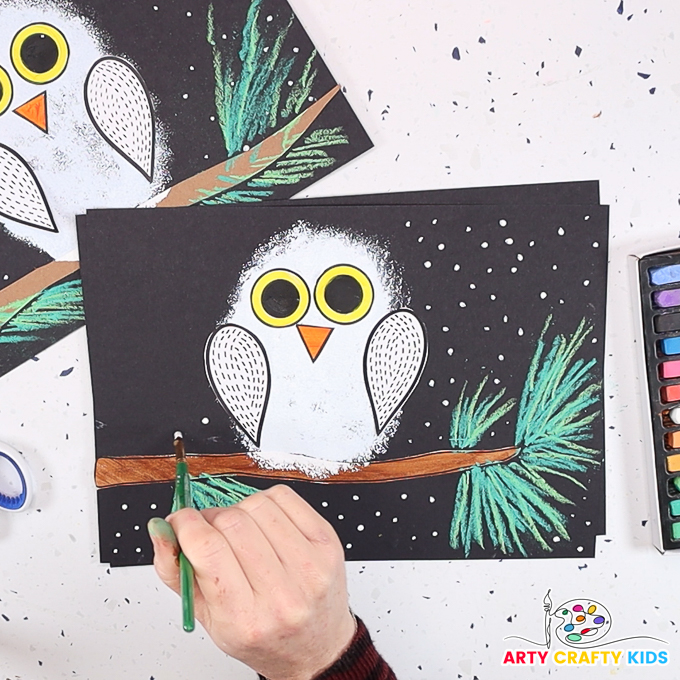
Step 7: Paint a Winter Backdrop
Dip a paintbrush (or a finger!) into some white paint and fill the space around the snowy owl with white dots.
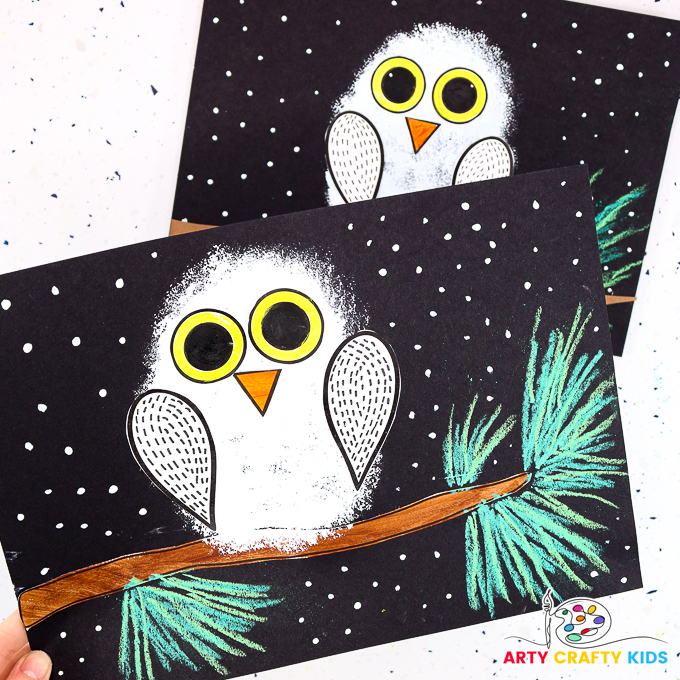
The snowy owl is complete – we love how it turned out!
The extra features of the pine needles and snowfall sets off the Winter tone and adds interest to the finished project.

