


Spring is finally here, and that means bright flowers, warmer days, and plenty of Easter-inspired creativity! This Sleeping Bunny Line Art project is a lovely, simple way for kids to explore line drawing and texture while creating a peaceful little bunny curled up among spring blooms.
Using dashed and dotted lines, children can give their bunny a soft, fur-like effect, making it look extra cozy. The best part? It’s super easy to set up – just print, draw, and color! Whether it’s for an Easter craft, a spring art lesson, or just a fun afternoon of creativity, this project is a beautiful way to celebrate the season.
So, grab some pencils and paints, and let’s bring this sleepy bunny to life!

If your kids love exploring line art and texture, they might also enjoy our Easy Reindeer Line Art and Simple Fox Line Art projects! Both follow a similar technique, making them great companions to this Sleeping Bunny – perfect for building a collection of adorable, nature-inspired art.
How to Make Sleeping Bunny Line Art
This Sleeping Bunny Line Art project is perfect for kids 5 and up, with plenty of ways to adapt it for different ages:
- Ages 5-7 – Great for simple coloring and cutting, plus an introduction to dashed lines for texture.
- Ages 8-10 – Kids can add more detail and depth, refining their line work and experimenting with color combinations.
- Tweens & Teens – A calming, mindful activity where they can play with different line techniques to create perspective and depth.
It’s a fun, flexible project that works beautifully for home, school, or a seasonal Easter craft!
Materials:
- White Card Stock for Printing
- Brown Backing Card Stock
- Colored Marker Pens
- Paint (optional)
- Scissors
- Glue Stick
- Sleeping Bunny Template (members will need to login to access the templates).
Not a Member?
Join the Arty Crafty Kids club to access the Bunny Template and 100s more Art and Craft templates, How to Draw Guides, and Coloring Pages.

Let’s Make Bunny Line Art
This dashed line technique is a fun and simple way for kids to explore texture and movement in art, and it even connects to famous artistic styles!
Similar to Pointillism, where tiny dots build up an image (think Georges Seurat and Paul Signac), our bunny comes to life through small, repeated marks. It also has a touch of Van Gogh’s expressive brushstrokes, like those in Starry Night, where short lines create texture and energy.
To get started, print the bunny line template onto white cardstock – make sure you adjust the printer settings!
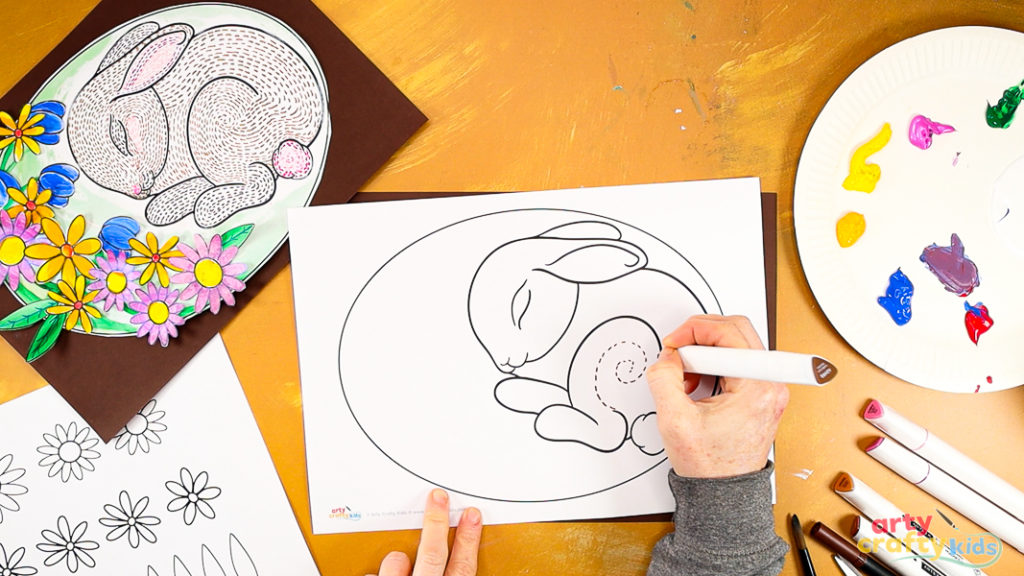
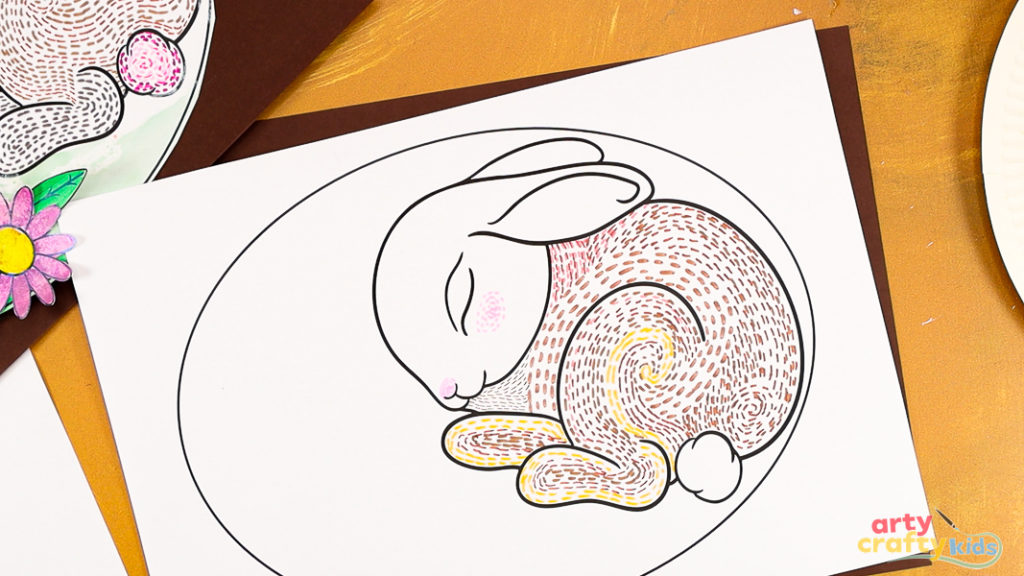
Step 1: Draw the first line.
Start with the curved shape of the leg.
Using a brown fine-tipped marker, draw a swirling line of dashes to create texture. You can begin in the center of the hind leg or follow the outer outline—whichever feels most natural!
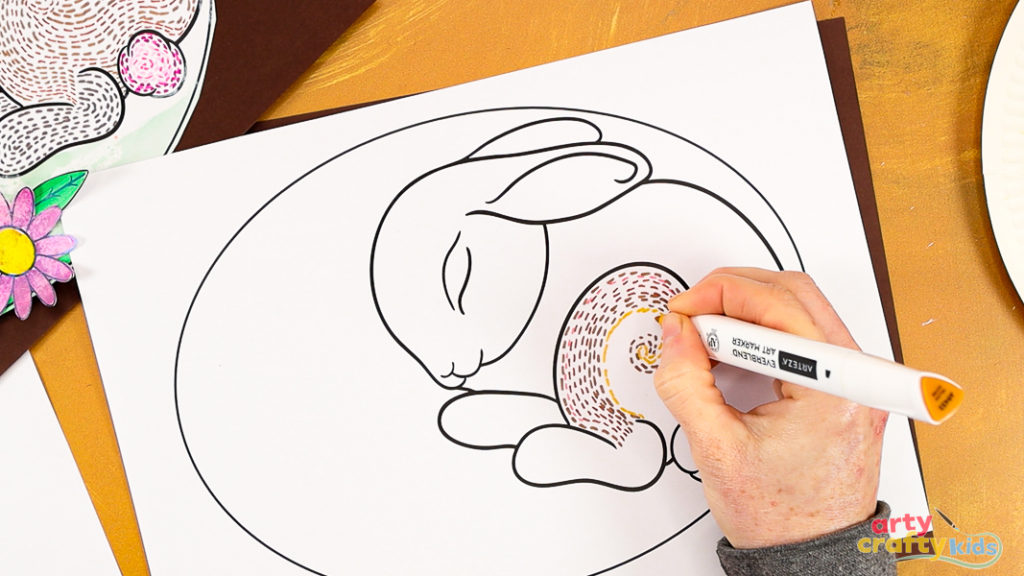
Step 2: Draw the next set of dashed lines.
Using your first swirling line of dashes as a guide, gradually fill the remaining space with more dash-lines, following the natural curves of the bunny’s hind leg.
This helps create a sense of movement and soft fur texture.
For extra depth, try layering different shades of brown or adding different shades of brown, yellow (ochre), or cream to highlight certain areas. Keep the strokes light and relaxed.
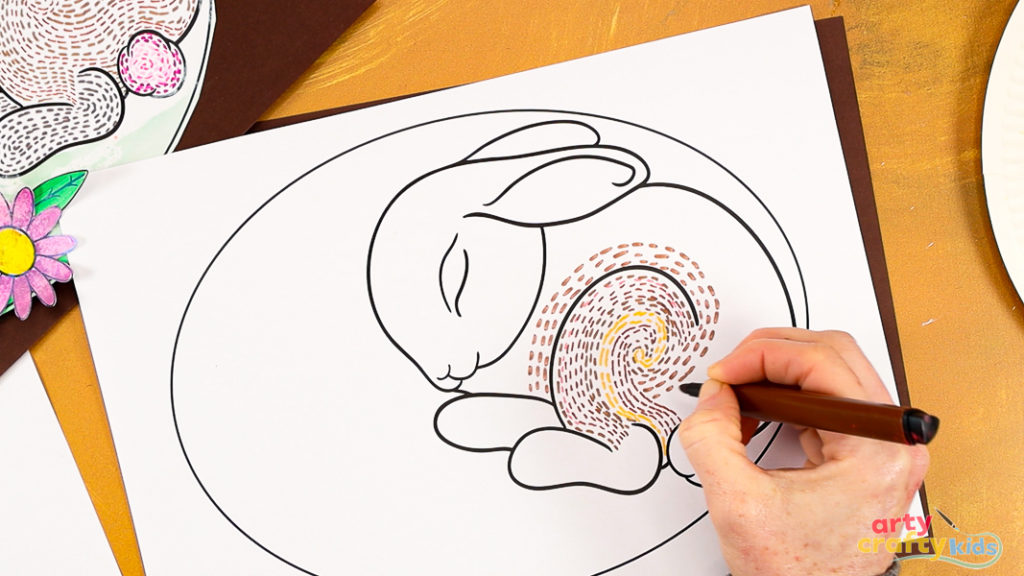
Step 3: Continue to fill the bunny with dashed lines.
Once the hind leg is complete, continue adding dashed lines across the bunny’s body, using the bold outline as a guide. Follow the natural curves to maintain a soft, fur-like texture.
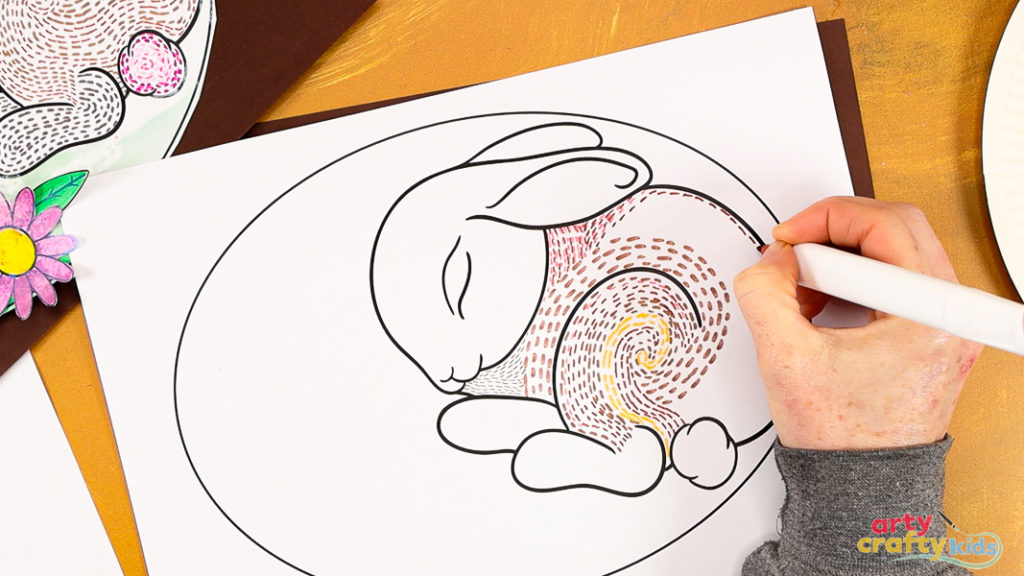
Use different colors and vary the size, spacing, and direction of the dashes to add depth and texture.
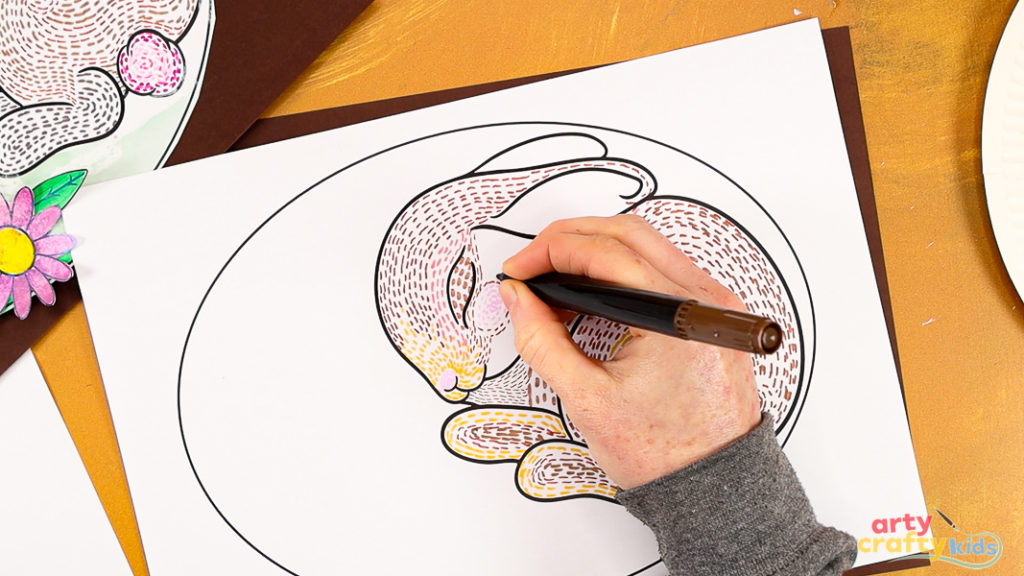
Step 4: Introduce a pink nose and cheek.
Draw a dashed, swirling shape to form the bunny’s cheek, adding a soft, textured look. Then, use small dots to create a tiny, delicate nose for an extra sweet touch.
Step 5: Experiment with perspective.
Use a lighter color to draw a series of gentle, radiating lines that extend outward from the nose, flowing into the wider head area and eye.
Vary the direction of the lines—some reaching toward the facial features, others blending into the surrounding space.
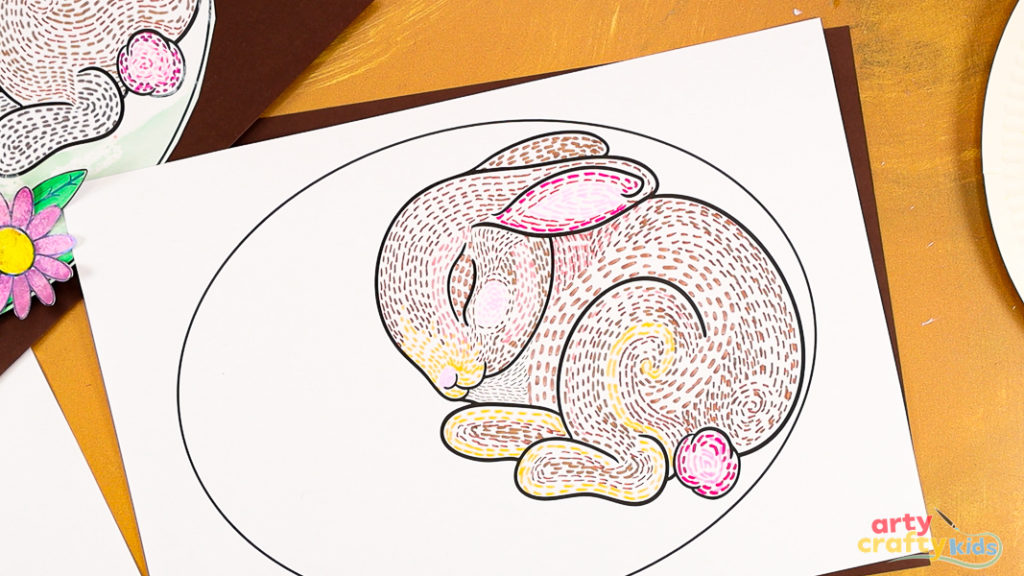
Then, gradually transition to darker lines to build depth and definition, continuing the strokes to fill the head and face with soft, textured fur.

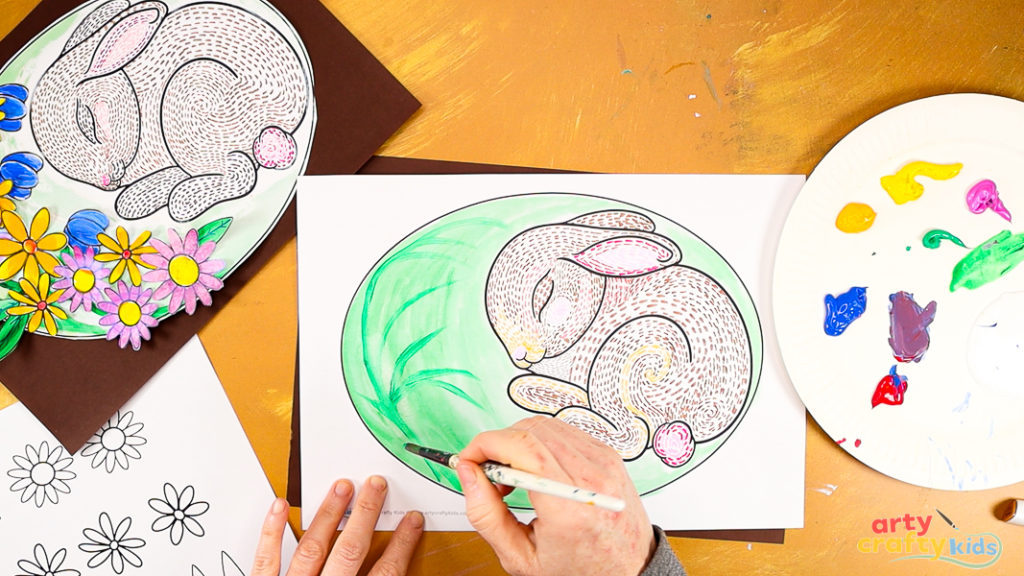
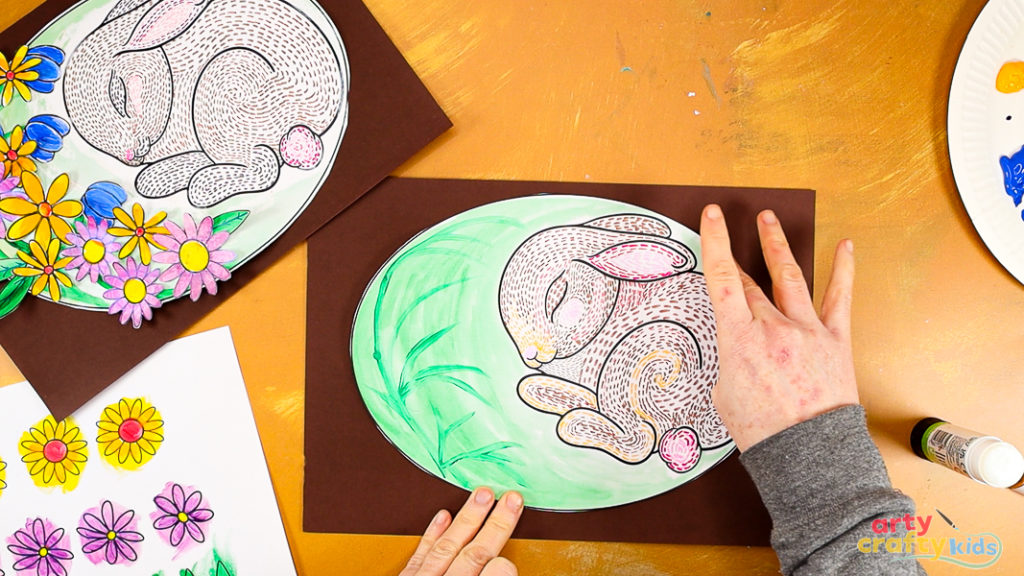
Step 6: Paint around the sleeping bunny.
Use a wet brush to gently dilute some green paint, then softly wash the area around the sleeping bunny with color.
This creates a light, natural background, almost like a bed of moss or soft grass within its burrow. Feel free to experiment with different shades or even a different color to create a unique, dreamy setting for your bunny.
Step 7: Paint some flowing flower stems.
Using a thin brush and green paint, gently sweep curved lines around the bunny to create soft, flowing stems.
These will be mostly covered and are used for guidance for the next step – so no need for perfectionism!
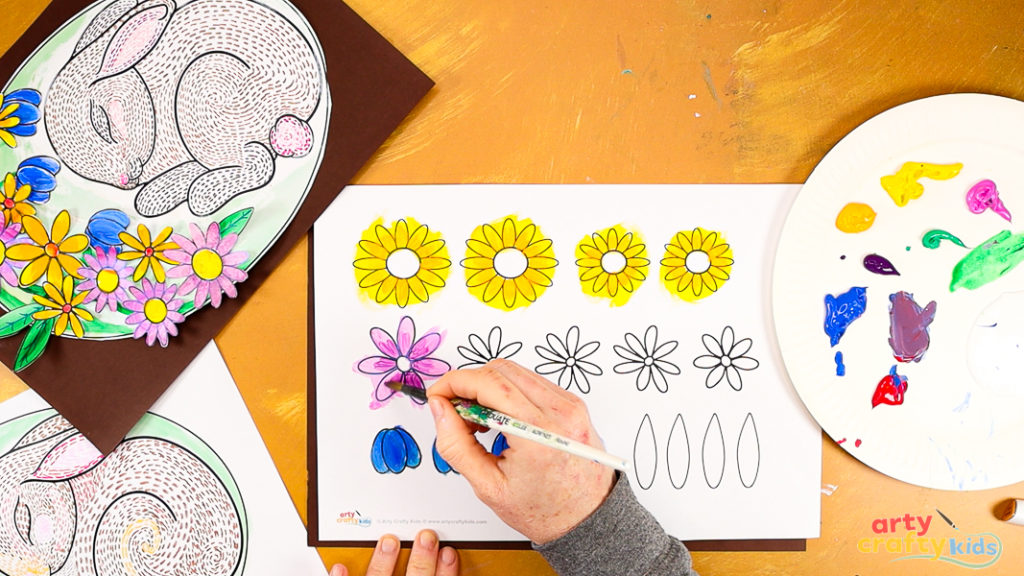
Step 8: Paint the flowers.
Kids can paint their flowers in solid colors or have fun experimenting with blending by mixing in a little white or layering lighter and darker shades of their main color.
This adds depth and dimension, making each flower unique!
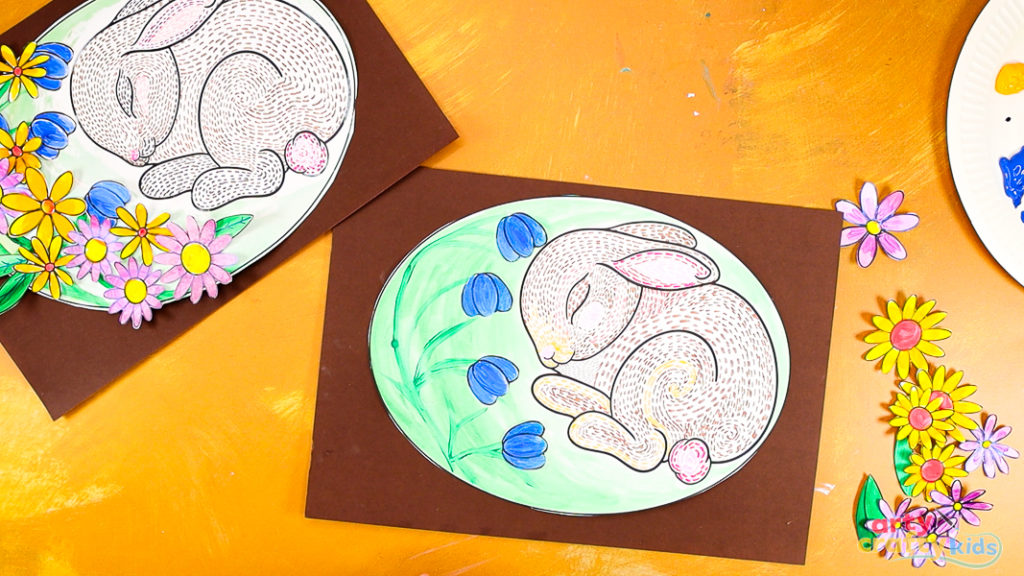
Step 9: Cut out the sleeping bunny line art.
Once the bunny line art is dry, carefully cut out the oval shape and glue it onto a piece of reddish-brown cardstock.
This gives the impression of a cozy bunny nestled inside its decorated burrow, adding warmth and contrast to the design.
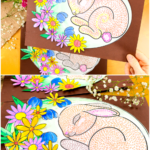
Step 10: Add the flowers to the bunny line art.
Cut out the flowers and affix them to the painted stems.

The flowers were designed in different shapes and sizes to encourage collaging and layering.
For a 3D effect, apply glue only to the center of each flower, leaving the petals free to gently lift off the page, adding depth and dimension to the scene.

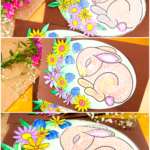
The Sleeping Bunny Line Art Project is complete!
This project is all about contrast and balance, bringing different textures and effects together in a really fun way.
The dashed line art gives the bunny a soft, delicate feel, while the bold, colorful flowers add a vibrant pop that makes the whole piece come to life.
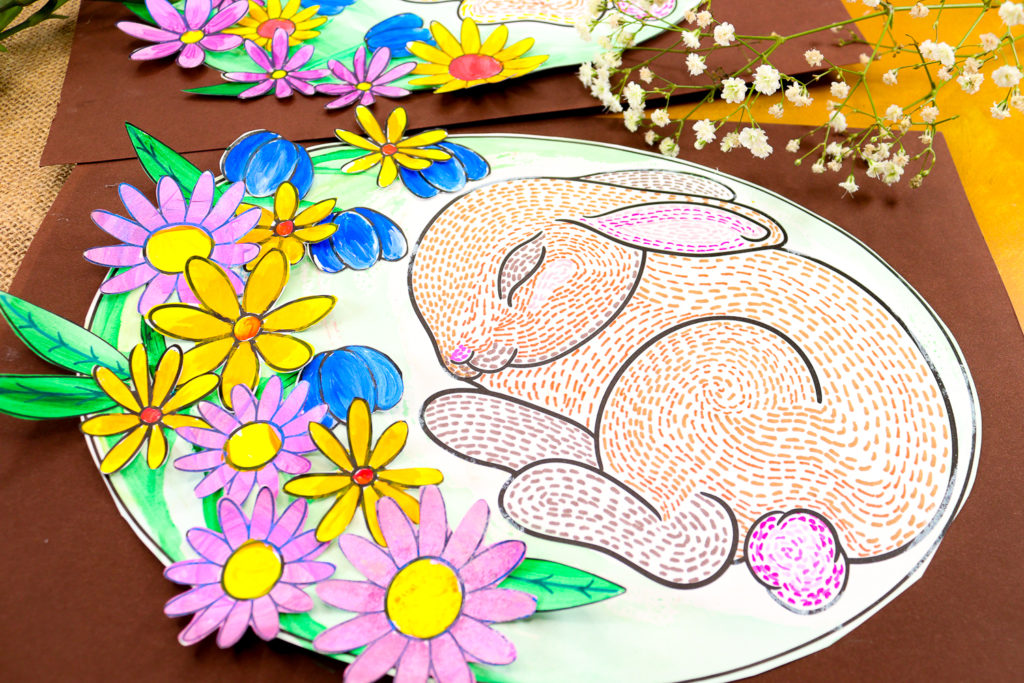
The mix of detailed line work and bright, flowing paint keeps things interesting, and the 3D lift of the petals adds an extra bit of depth. It’s simple, playful, and full of movement—making it such a joy for kids to create!