Sharing is caring!
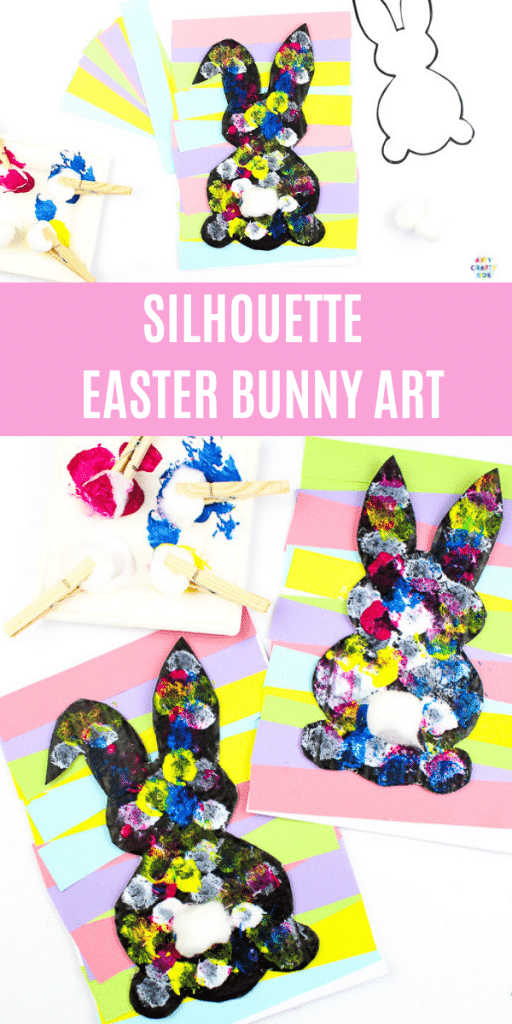
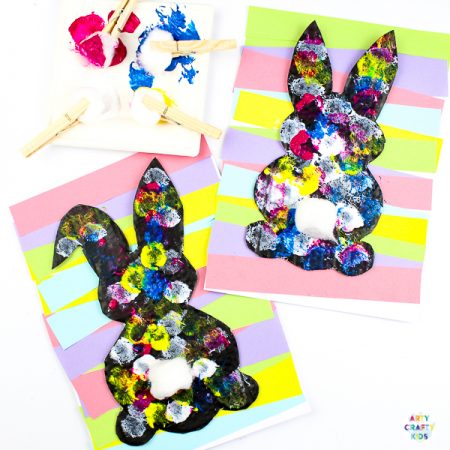
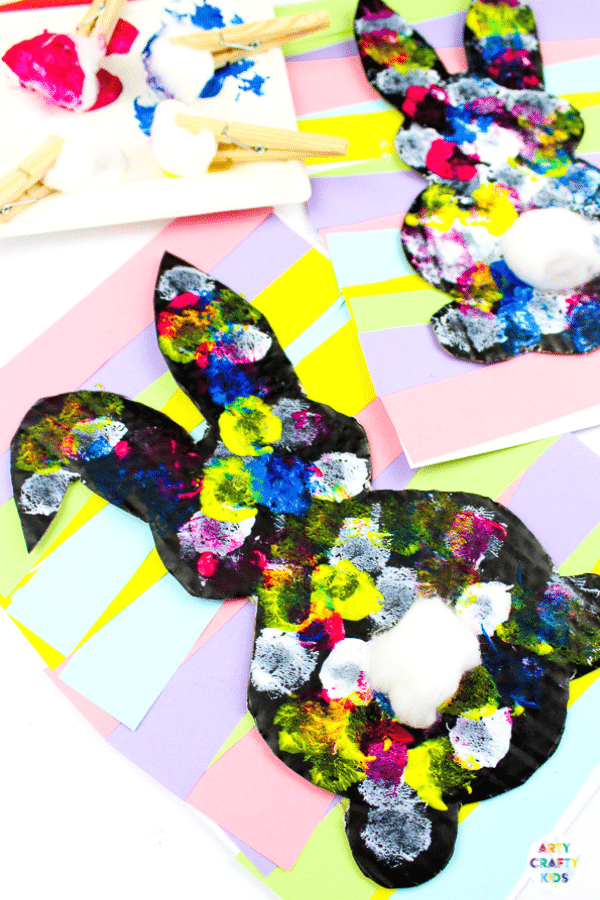
This adorable Silhouette Easter Bunny Art Projects takes the ‘cotton tail’ variety of bunny rather literally; exploring a fun and interesting painting technique – printing with cotton balls!
With a choice of two Easter Bunny Templates, Arty Crafty Kids can let their creativity run free to create a layered and dynamic work of art.
Silhouette Easter Bunny Art: Materials
Scrap Cardboard
A4 White Cardstock
Pastel Coloured Paper
Paint inc. Black
Cotton Wool Balls
Clothes Pegs
Glue Stick & PVA Glue
Paper Cutter / Scissors
Easter Bunny Templates:
The Easter Bunny templates are exclusively available to Arty Crafty Kids Club members.
Join the Arty Crafty Kids club to download the templates and access our complete collection of Art & Craft templates, Colouring Pages, How to Draw Guides, Activity Booklets and much more!
Already a member? login here! and search Easter Bunny Silhouettes
Silhouette Easter Bunny Art: Tutorial
Step 1:
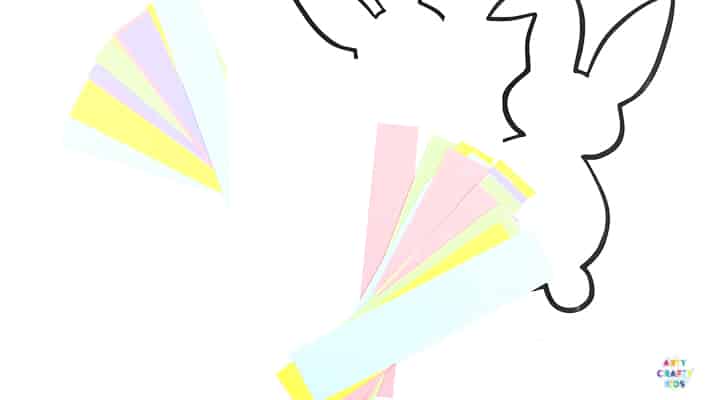
Using a paper cutter or scissors, create 10 or more strips of paper – vary the widths of the paper and colours. Here, we’ve opted for pastel shades of yellow, blue, pink, purple and green, which are perfect for Spring and Easter themed arts and crafts.
Download and print the Easter Bunny Templates onto white paper.
Step 2:
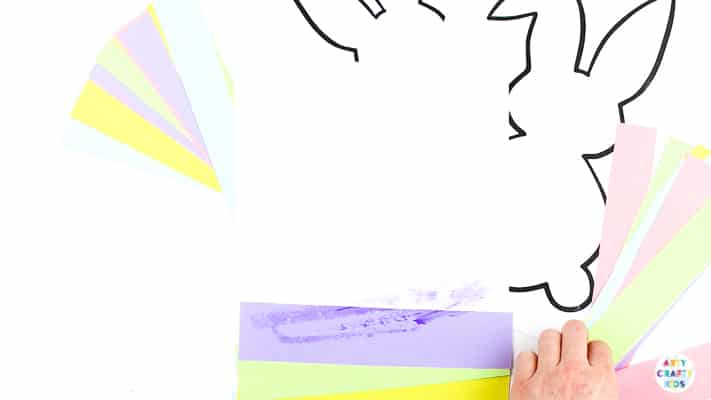
Starting from the bottom of the page, begin filling the surface of the white card stock with colourful strips of paper arranged in stripes.
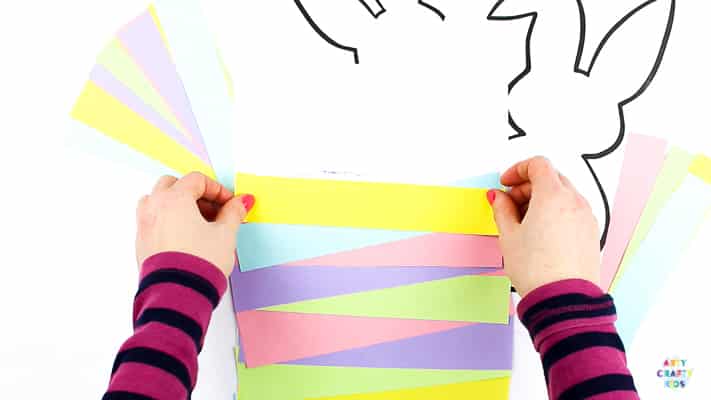
Arty Crafty Kids can create patterns, zig-zag the strips of paper ( as we have in this demonstration) or cut the paper into smaller parts to create a ‘stained glass’ effect.
Step 3:
Continue filling the white space until the surface area is full.
Step 4:
Take a piece of scrap cardboard from a box and paint the surface black.
Step 5:
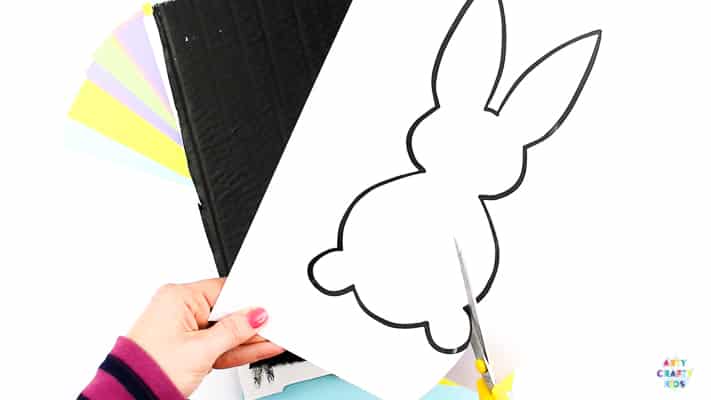
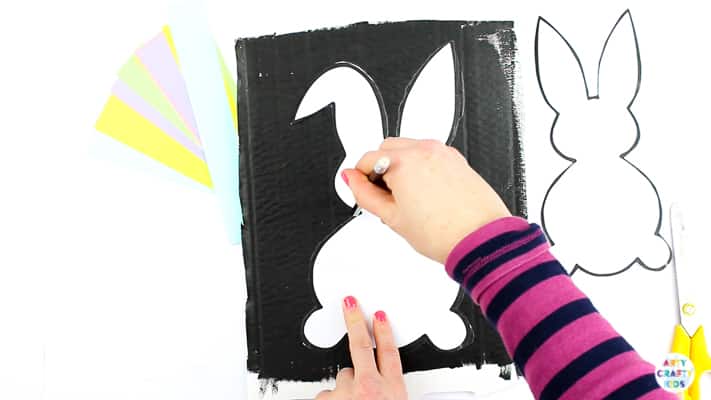
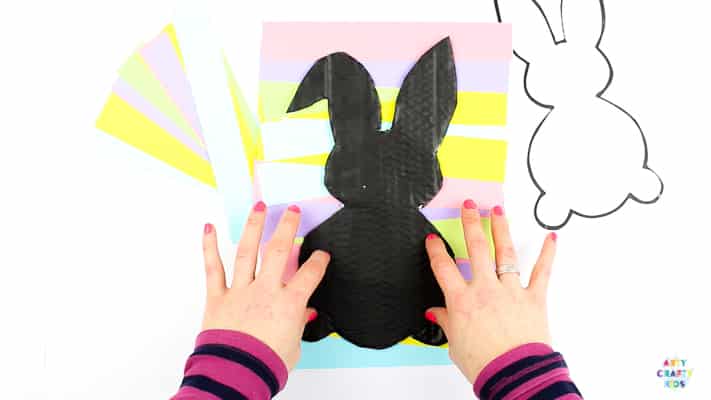
Cut out an Easter Bunny Template and trace around its silhouette onto the dried black cardboard.
Step 6:
Cut out the Easter Bunny Silhouette.
Step 7:
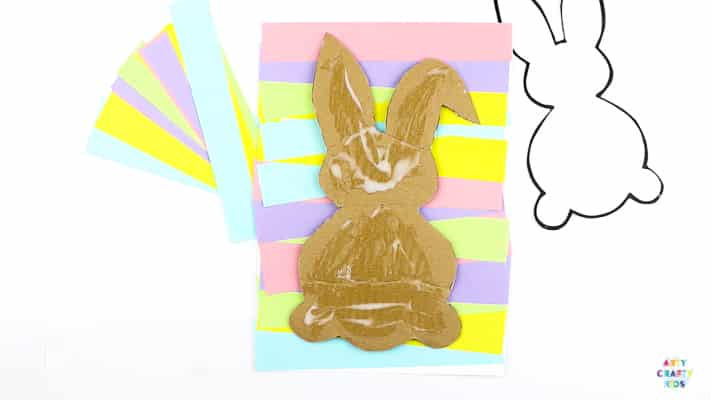
Cover the unpainted side of the silhouette with a generous helping of PVA glue.
Step 8:
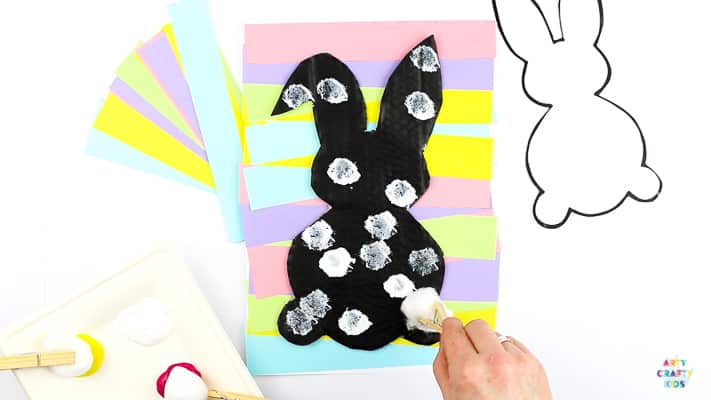
Glue the cardboard bunny to the layered paper background.
Step 9: Printing with Cotton Balls
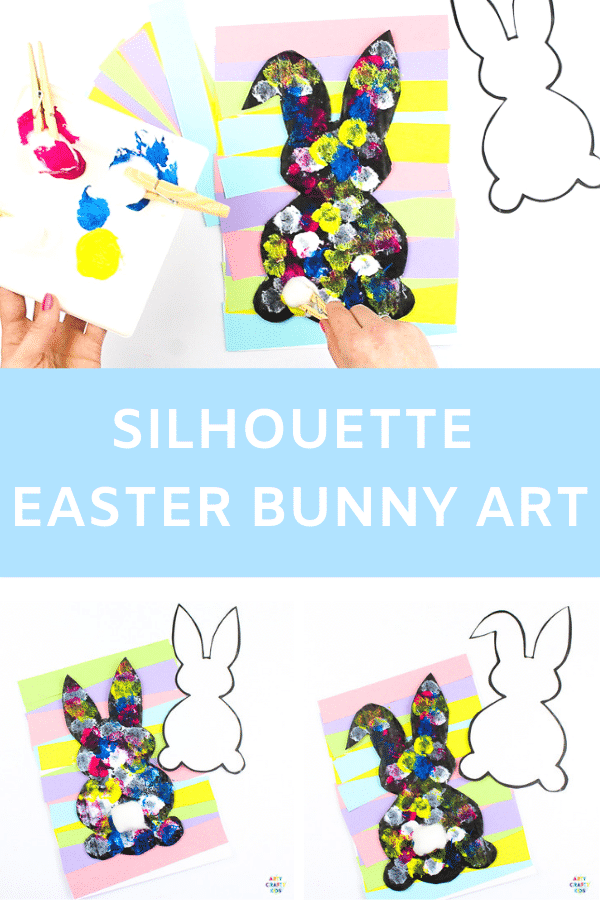
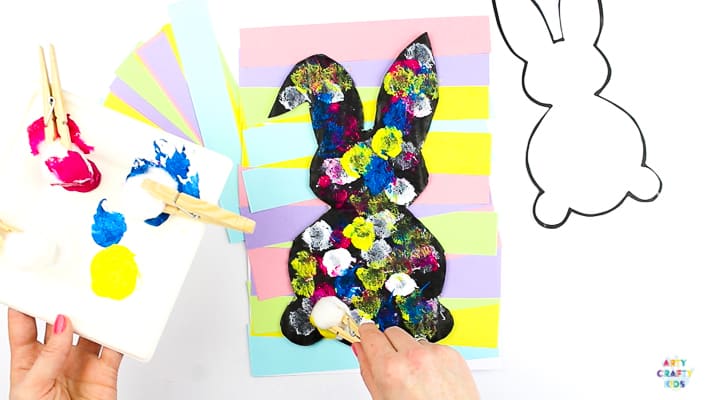
Place a single cotton ball into a clothes peg and create one ‘cotton ball brush’ for each colour.
Dip the cotton ball directly into the paint and print the Easter Bunny Silhouette.
TIP: Start with the white paint and layer colours on top, this will enhance the additional colours against the black.
Step 10:
Complete the Silhouette Easter Bunny Art Project with a cute ‘cotton tail’ – a single cotton ball!
Arty Crafty Kids Club
Creative and playful Art & Craft Templates
How to Draw Guides and Pre-writing Line Work
Colouring Pages & Seasonal Activity Booklets
Perfect for Educators and Parents, with new content added weekly!
Take a look at another Silhouette Bunny concept and easy peasy Circle Art Easter Egg Activity.
For more Easter arts and crafts, take a look at these popular posts:
Happy Hoppy Easter Bunny Craft
Pop-Up Easter Bunny Craft Bunny Silhouette Art
Happy Crafting!
