Sharing is caring!
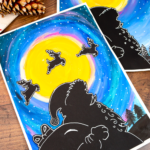
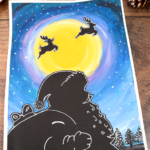
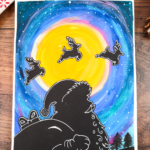
Capture the magic of Christmas Eve with this stunning Santa Silhouette Art project!
Santa stands against a glowing full moon and a twinkling night sky with his sack of gifts, gazing up as his reindeer soar gracefully across the moon.
This art idea is perfect for kids who love to get creative with paint. They’ll have so much fun blending deep blues, purples, and white to create a dreamy night sky full of stars, with the bold yellow moon taking center stage.
The silhouette of Santa and his flying reindeer is simple to recreate using black paper or card, and, with or without a white marker pen for added detail.

Not only does this craft encourage creativity, but it’s also a wonderful way to practice blending colors and exploring contrast. The result? A beautiful piece of art that’s sure to become a treasured Christmas keepsake. Hang it up as festive décor, gift it to someone special, or simply enjoy making memories together.
For more holiday inspiration, explore our Easy Reindeer Line Art, How to Draw Santa Claus Flow Drawing, and Snowman Christmas Card Craft.
These fun and creative projects pair perfectly with your Santa silhouette art, adding even more festive flair to your holiday crafting!
How to Make Santa Silhouette Art
Materials:
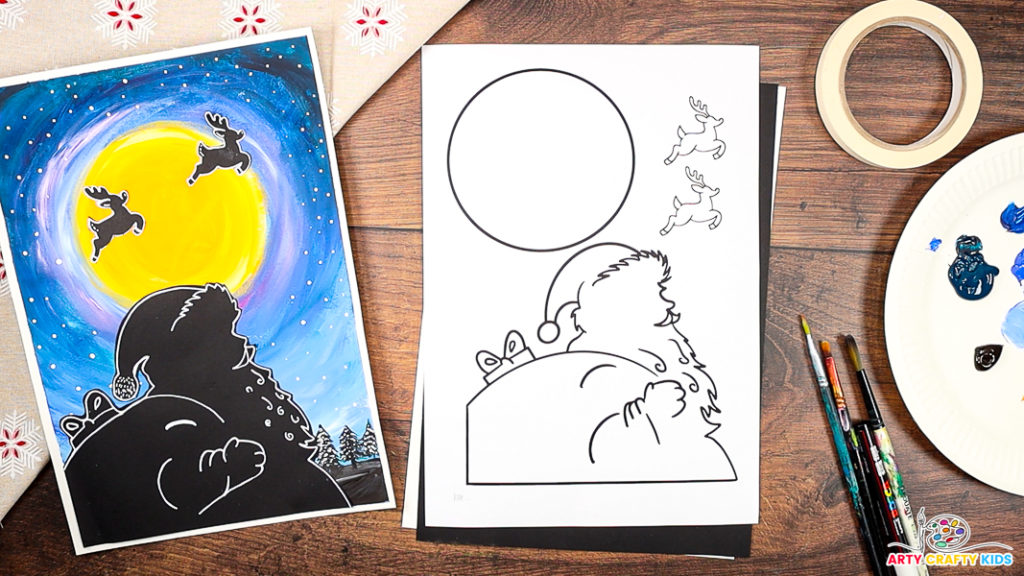
- Black and White Card Stock
- A White Acrylic Pen ( Posca Pens are great!)
- Acrylic Paint – Blue, Pink, White and Black
- Paintbrush – Round Tipped and Fine Tipped
- Masking Tape
- Scissors
- Santa Silhouette Template (members will need to login to access the templates).
Not a Member?
Join the Arty Crafty Kids club to access the Santa Silhouette Art Template and 100s more Art and Craft templates, How to Draw Guides and Coloring Pages.

Let’s Create a Magical Santa Christmas Painting
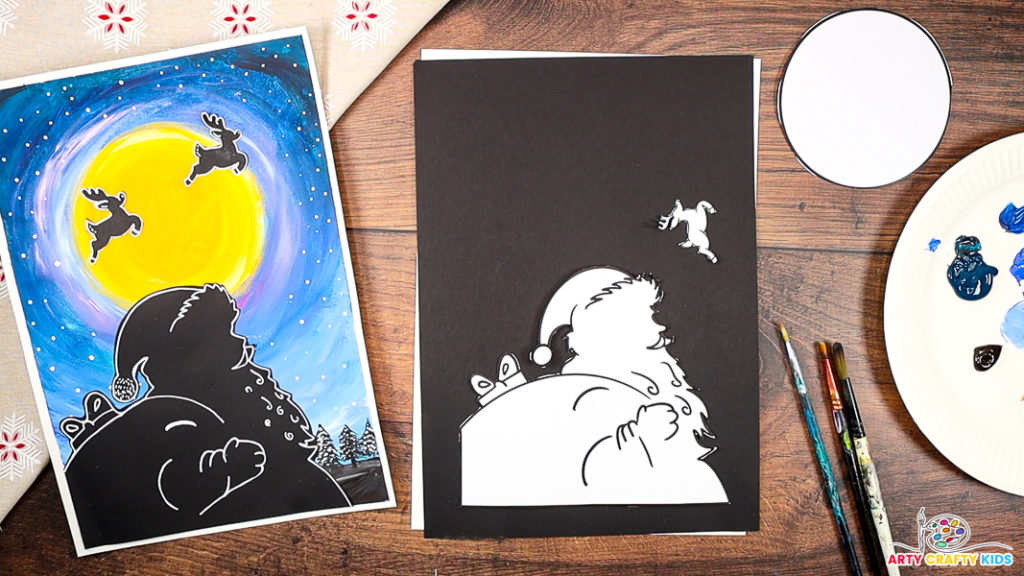
Step 1: Cut out the Santa silhouette template.
Carefully cut out the Santa template and place it onto a piece of cardstock. Younger children might find the shape a bit challenging and may need a helping hand.
If the white detailing doesn’t suit your Arty Crafty Kids, you can simplify the process by painting the silhouettes entirely black. Once they’re dry, simply cut them out for a bold and striking effect.
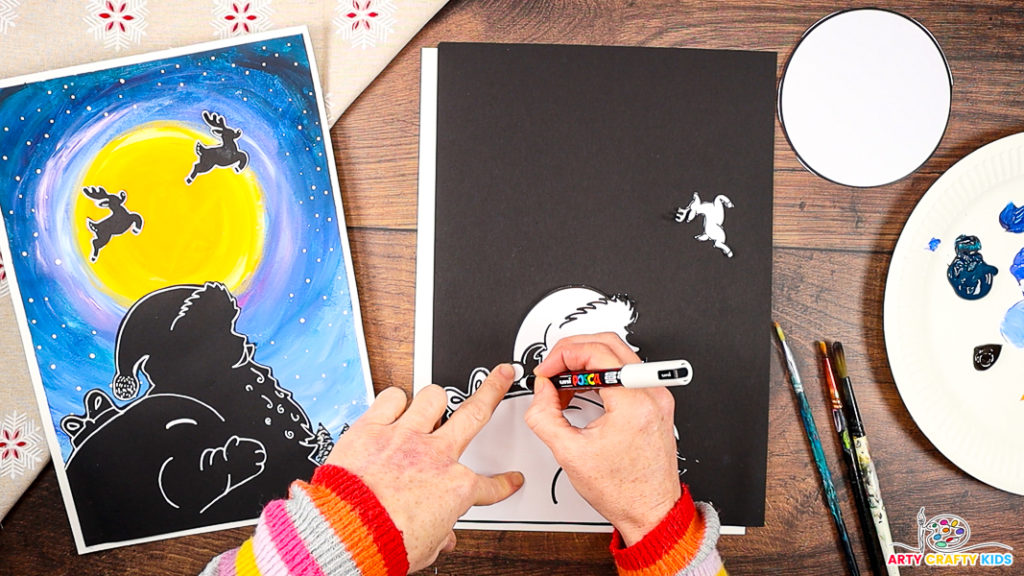
Step 2: Outline the Santa silhouette template with a white pen.
Position the Santa silhouette at the bottom of a piece of cardstock and carefully trace around it with a white marker pen. Take your time to ensure the ink dries completely to avoid smudging.
Alternatively, you can outline the Santa silhouette with a pencil first and then trace over the pencil lines with your marker for a cleaner finish.
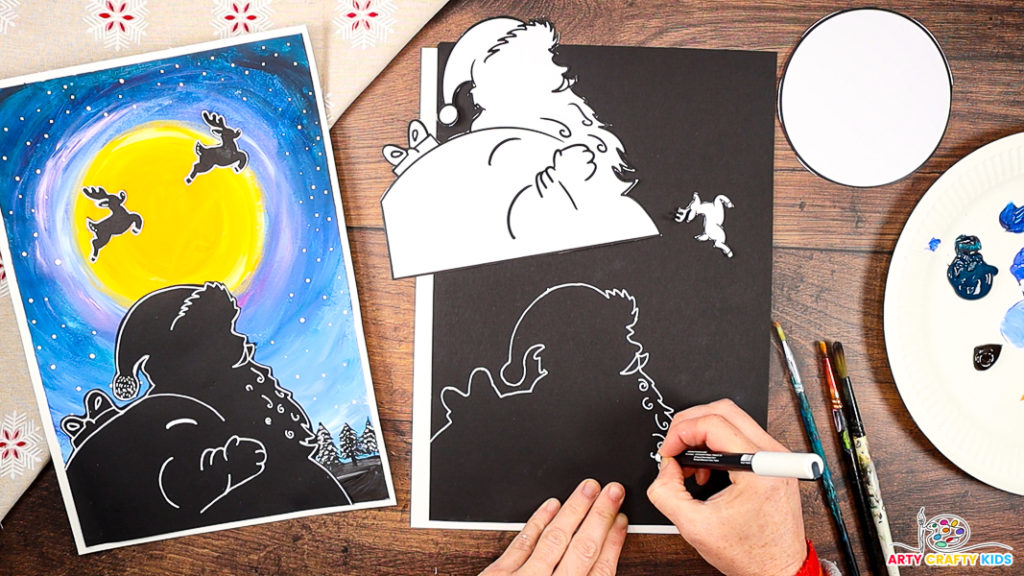
Step 3: Add some detailing to Santa.
Using the template as a guide, take a white marker pen to add finer details, such as Santa’s mustache, the fluffy trim on his hat, and outlines to define the sack and gift.
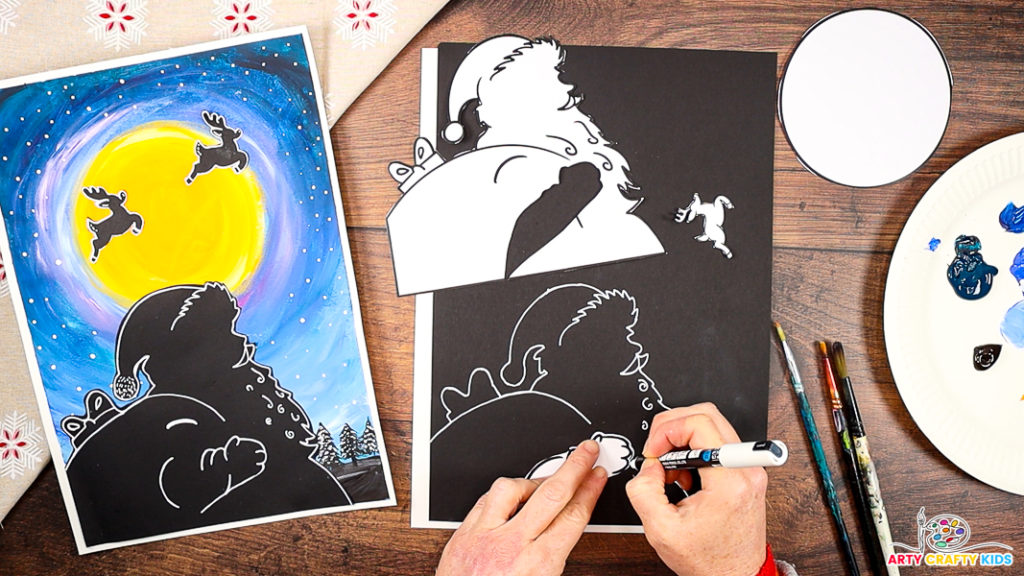
The arm and hand can be a bit tricky to draw freehand, so refer back to the template.
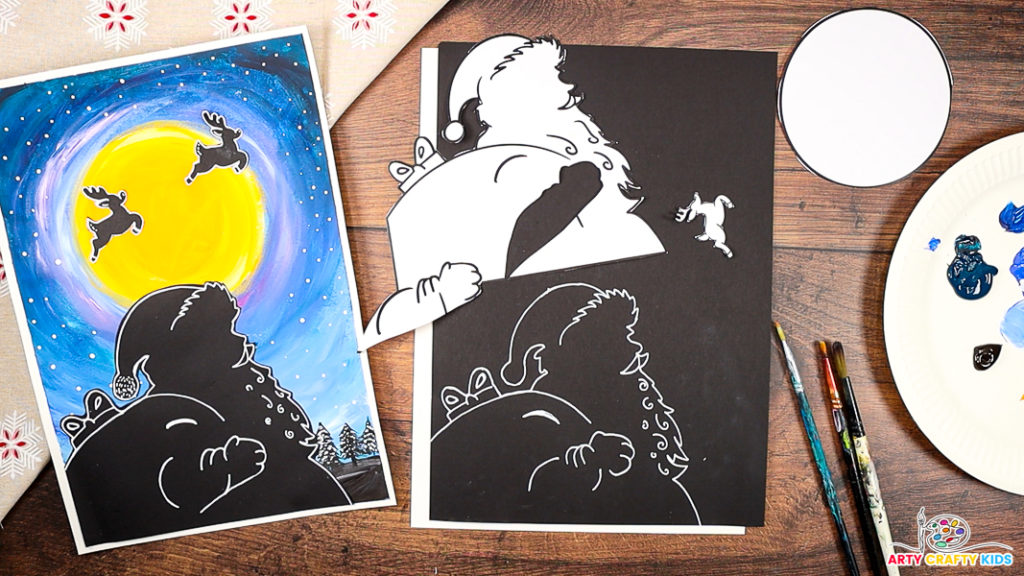
Simply cut out Santa’s arm and hand from the template and trace them directly onto the silhouette for accuracy.
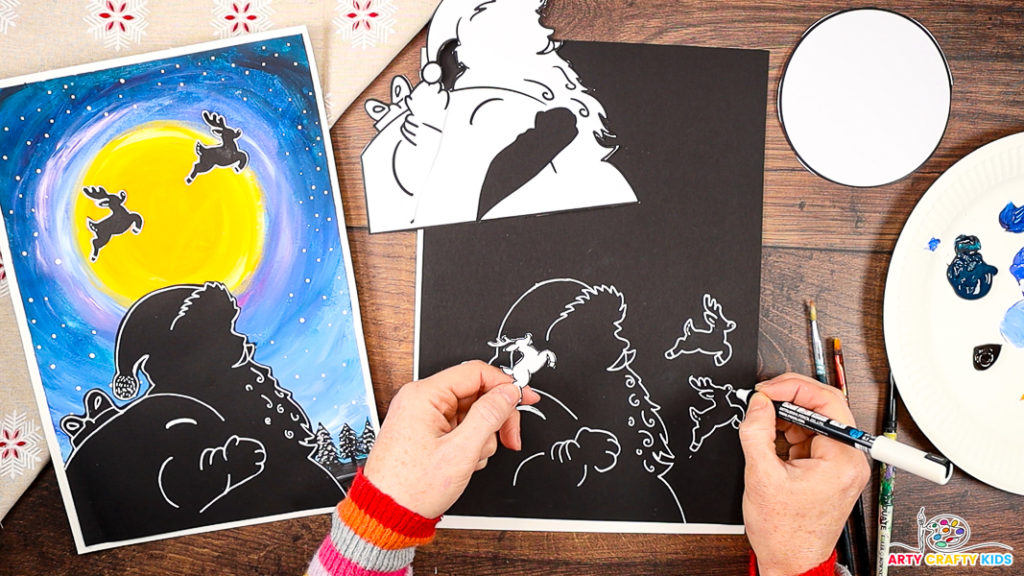
Step 4: Trace the reindeer silhouettes.
Just like with Santa, trace the reindeer shapes using a white pen, adding finer details to bring them to life. Your Arty Crafty Kids can include as many reindeer as they like.
Once all the reindeer are outlined, carefully cut out the silhouettes. The cutting doesn’t need to be as precise as when working with the original template. Kids can simply cut around the shapes, leaving a small border around the white outlines for a polished yet playful effect.

Step 5: Prepare the canvas for painting the night sky.
Start by adding a border to your cardstock using masking tape. This will keep the edges clean and give your artwork a nice, finished look.
Next, cut out a circular shape for the moon and stick it to the upper center of the sheet. Use a small amount of tape or glue to hold it in place – it’ll protect the space for your glowing moon as you paint the sky.
With the border and moon ready, your canvas is all set for painting the magical night sky!
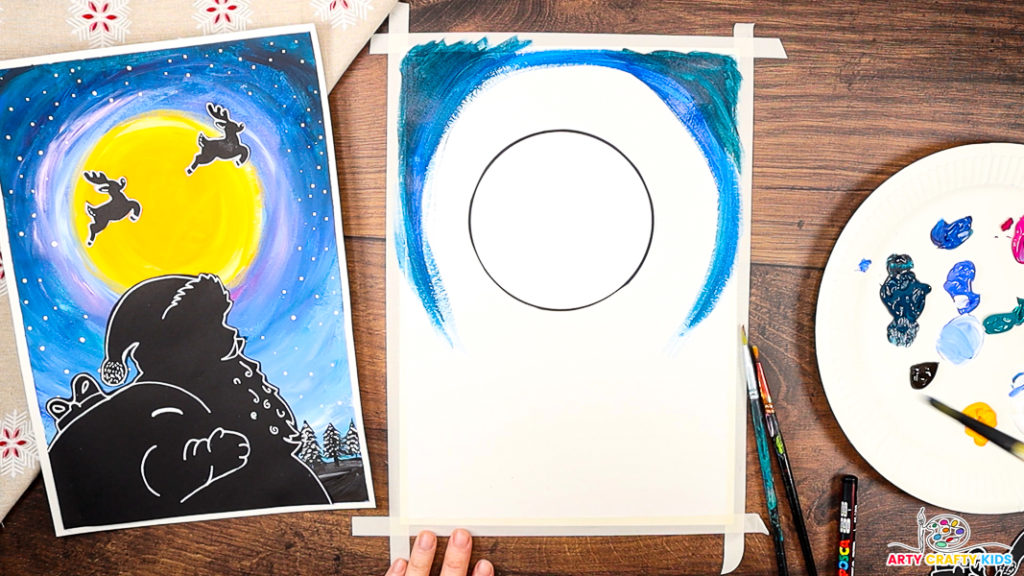
Step 6: A step-by-step guide for painting the night sky.
Create a stunning night sky by using circular motions to blend shades of blue around the moon. Start at the edges of your canvas, working outward from the moon’s center, and gradually build up the depth and richness of the sky.
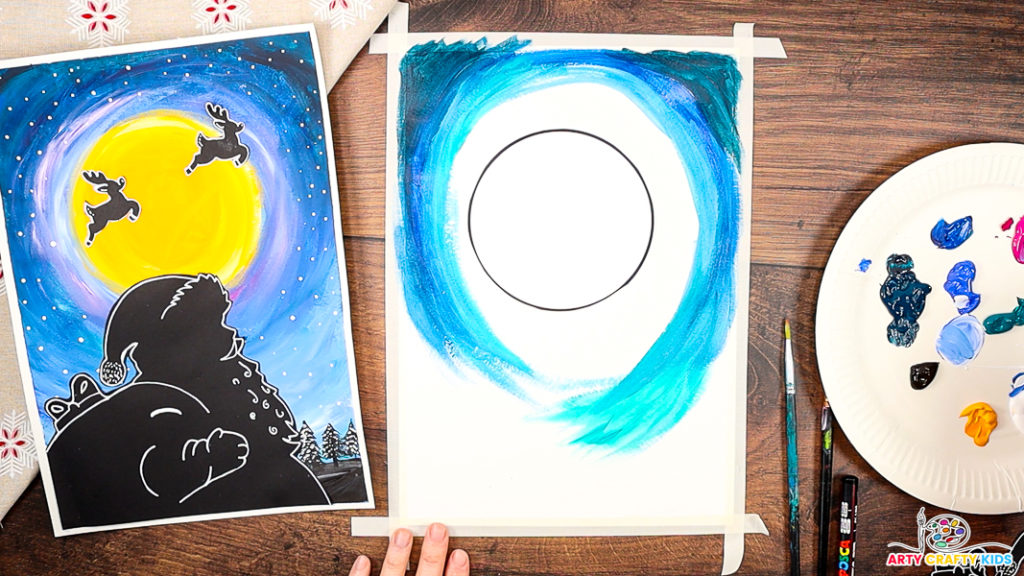
Start near the borders of the cardstock and use deep, dark blues to create a rich base for the night sky. Use gentle, circular strokes to avoid harsh lines and help the paint flow smoothly.
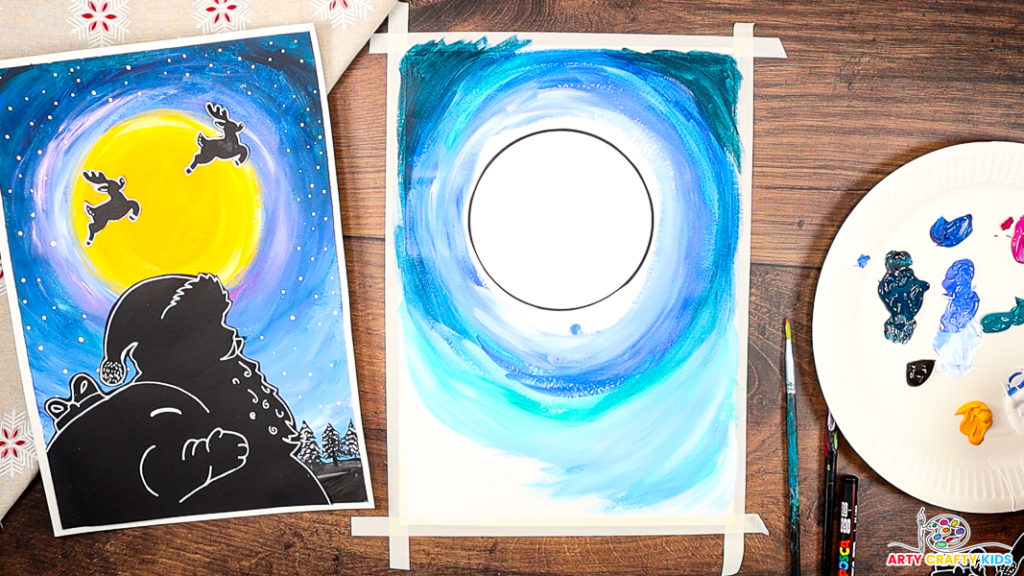
Gradually shift to lighter shades of blue as you move closer to the moon. Blend the colors seamlessly by overlapping the lighter tones with the darker ones, keeping the circular motion consistent for a natural gradient effect.
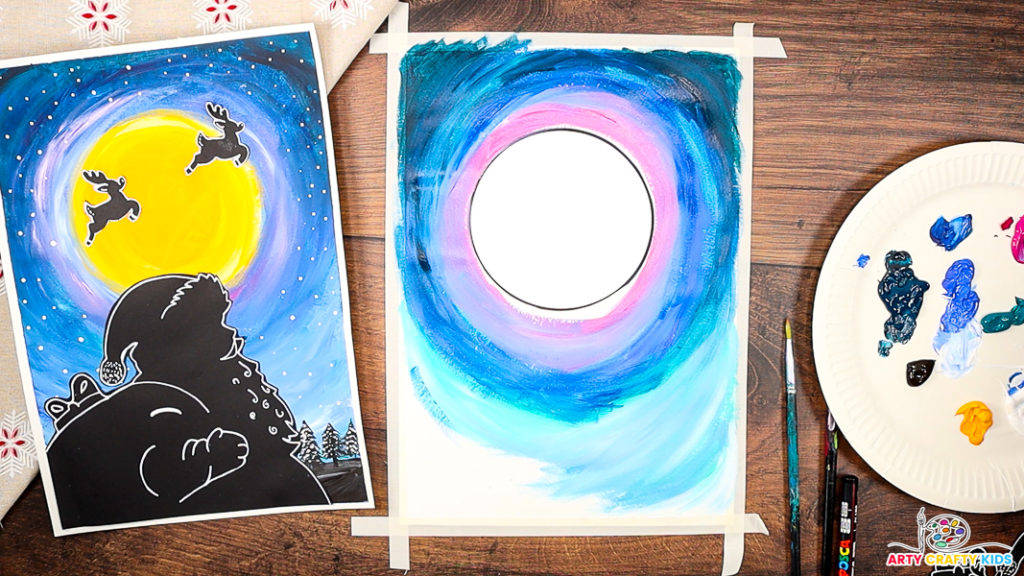
Dab on a little black paint around the edges to deepen the sky, or blend in touches of purple for a magical twilight feel. To create a glowing effect, use very light blue or white paint to softly highlight the area around the moon.
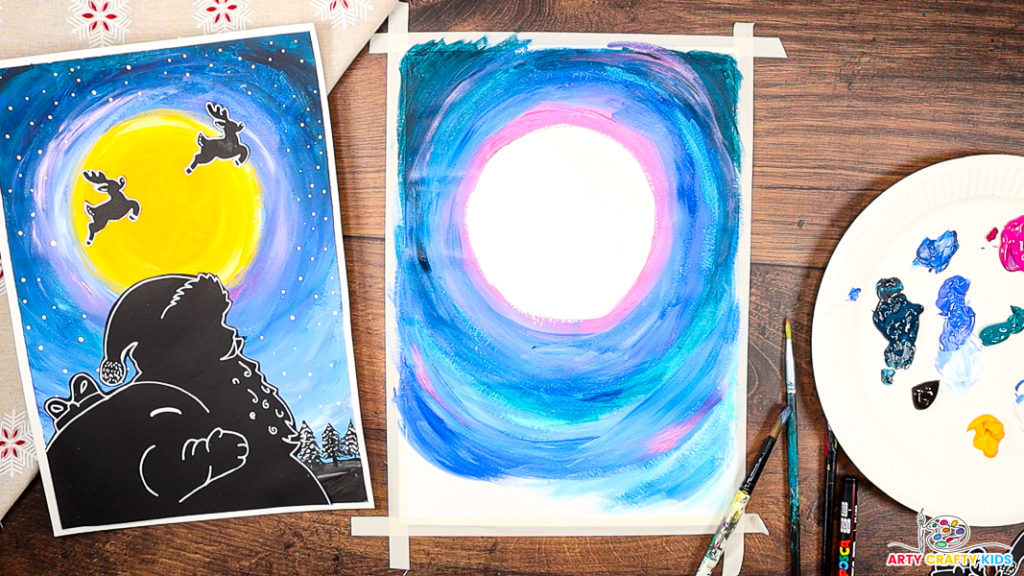
Once the sky is painted, gently remove the moon mask to reveal the blank circle. If needed, touch up the edges of the moon with white paint to make it crisp and bright.
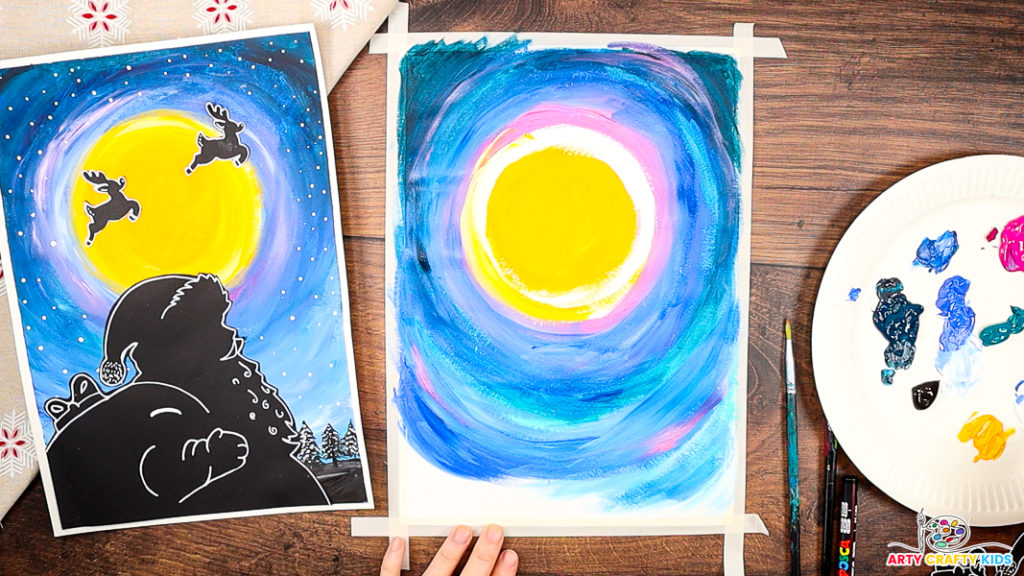
Step 7: Paint the bright yellow moon.
Fill in the blank circle with bright yellow paint using a brush for a smooth finish.
For a glowing effect, blend a little white paint into the center or add touches of orange around the edges for texture.
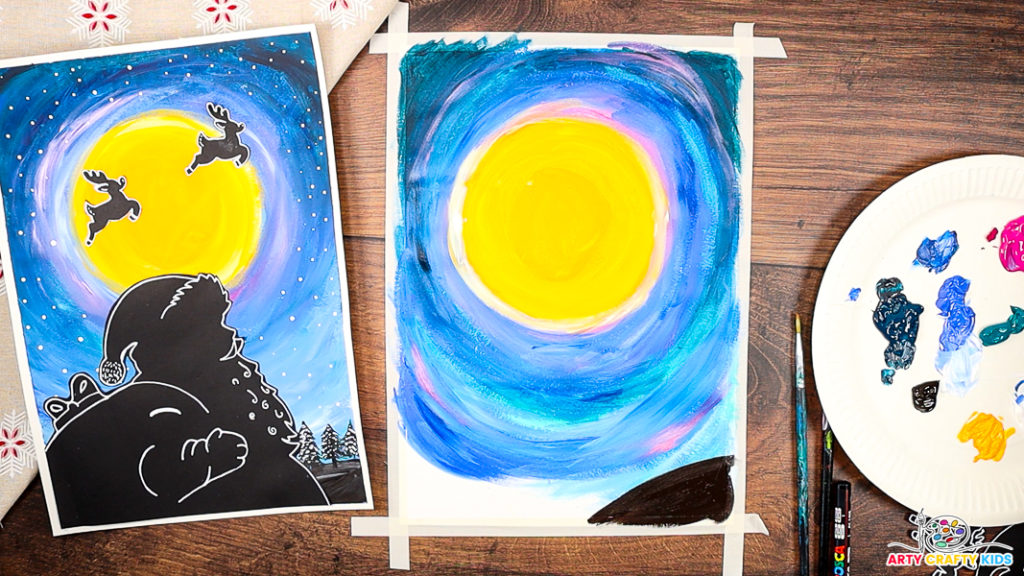
Step 8: Paint a small black hill.
Use a flat or round brush to create a smooth curve. Keep the edges clean, and fill it in with solid black paint to make it stand out as a bold silhouette against the background.
This little hill will ground your artwork and add depth to the scene.
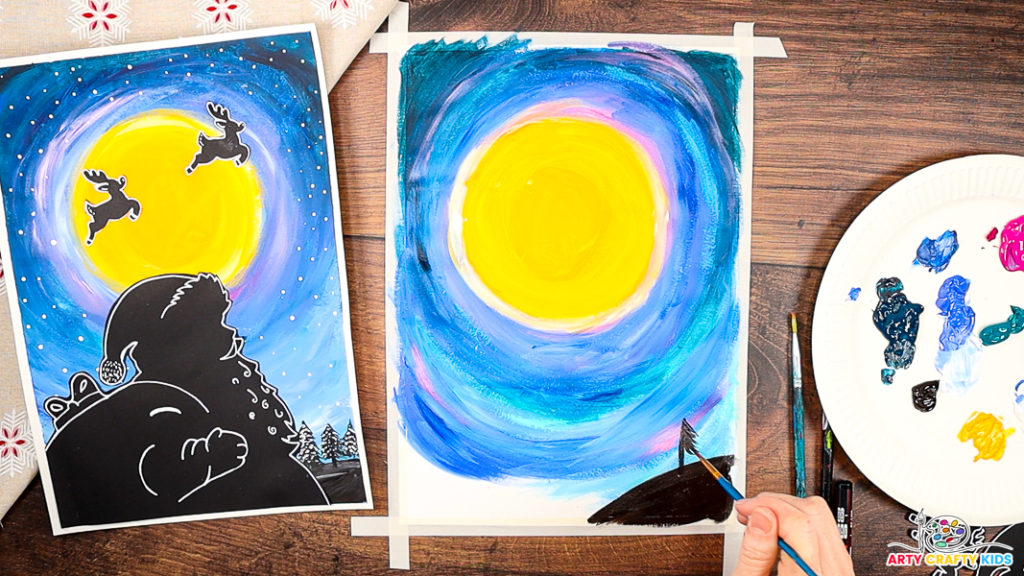
Step 9: Paint the tree silhouettes.
Start by painting a single straight line for the tree trunk. Then, use short, layered brush strokes in a downward direction to create a textured, bushy effect for the branches.
Build up the layers gradually to give the tree a natural, full appearance.
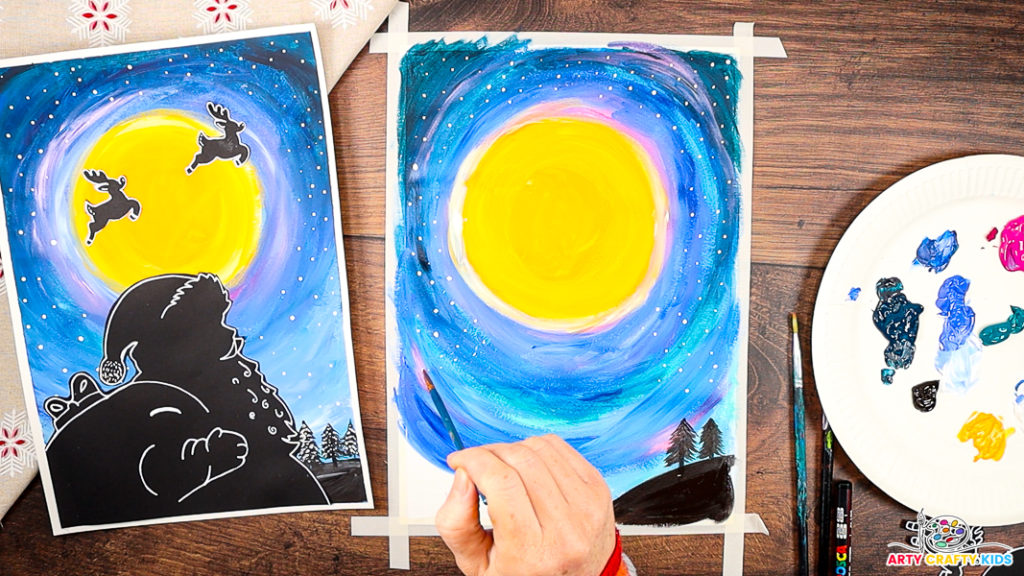
Step 10: Paint the twinkling stars.
Use a fine-tipped paintbrush dipped in white paint to add stars to the sky. Create dots of varying sizes for a more realistic and dynamic starry effect, gently scattering them across the night sky.
Leave the painting to dry.
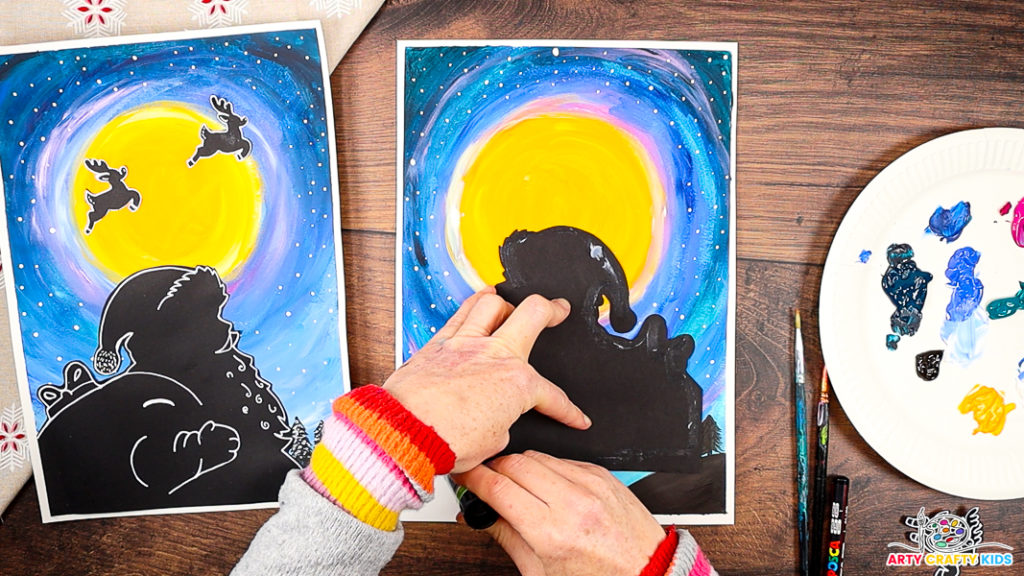
Step 11: Affix the Santa silhouette.
Once the painting has dried completely, flip the silhouette over and evenly apply a generous layer of glue to the back.
Secure the silhouette to the right-hand corner of the painting.
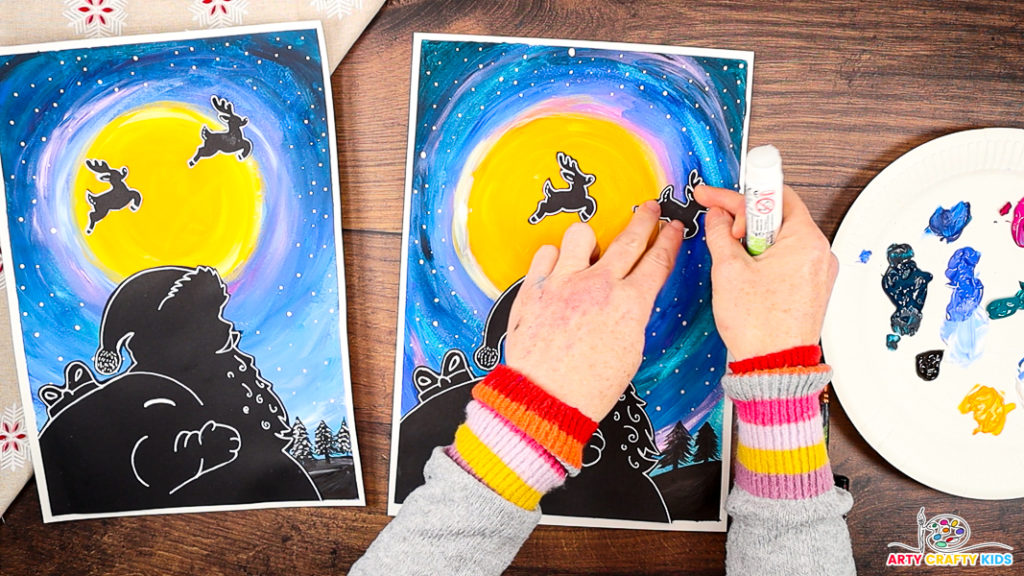
Step 12: Affix the reindeer silhouettes.
Position the reindeer silhouettes in the sky, arranging them as if they’re flying across the moon. Once you’re happy with their placement, apply glue to the back of each silhouette and press them gently onto the canvas
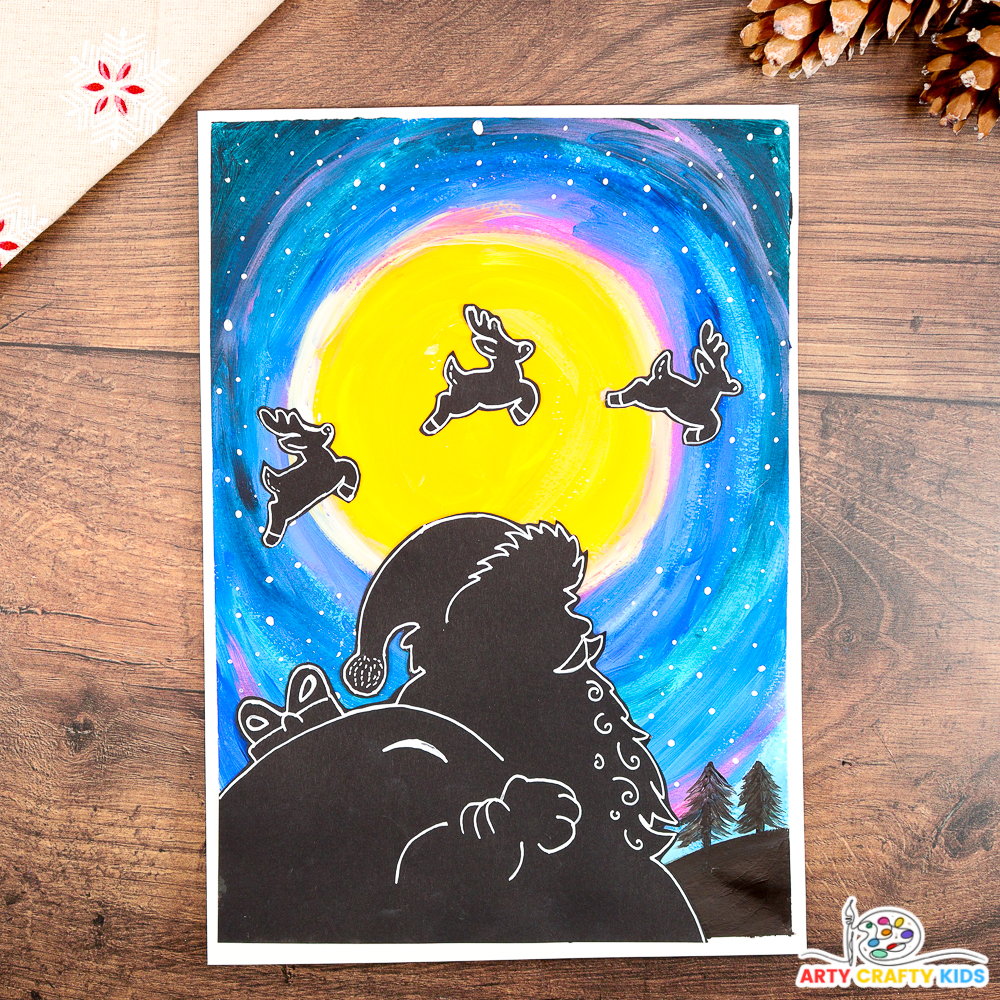
And there you have it – a magical Santa silhouette artwork, complete with a glowing moon, twinkling stars, and reindeer soaring through a rich, painted night sky.
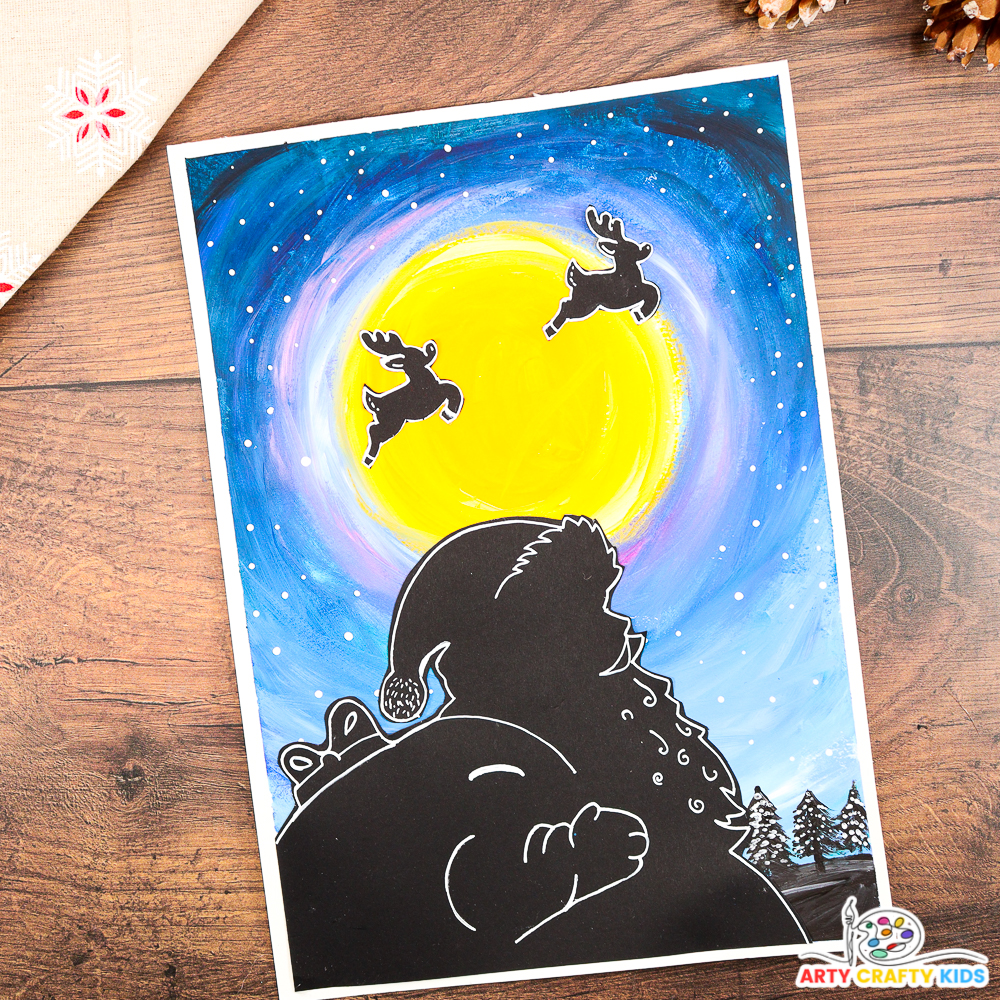
This Santa silhouette art project is the perfect blend of creativity and storytelling, allowing kids to immerse themselves in the magic of Christmas while exploring fun art techniques like color blending, layering, and silhouette work.


