Sharing is caring!
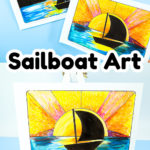
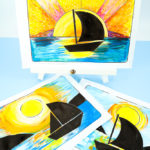
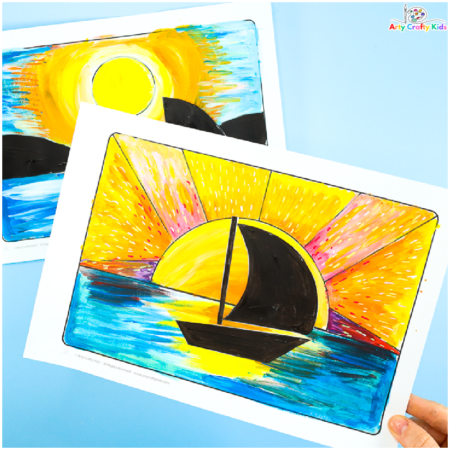
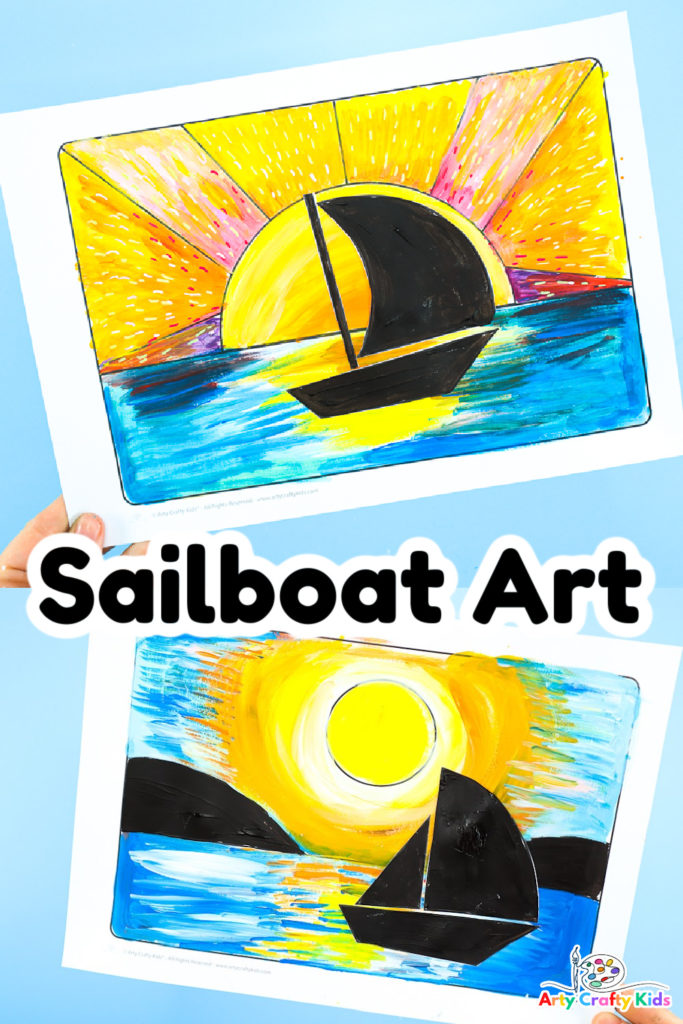
Are you looking for a fun and easy art project for the kids this Summer? Complete with sailboat silhouettes and seascape templates, this sailboat silhouette art project for Summer is sure to be a hit with the kids!
This versatile and fun summer art project will inspire your Arty Crafty Kids to explore color to help them recreate some of their favorite sunsets of the season.
Children are encouraged to pay attention to how the sunset’s colors change, and to play with the paint as they blend the colors togethers.
They will learn how to use simple paint strokes to create a sense of perspective within their art and will be encouraged to think about the concept of foreground/background and light/shadow – and how these effects are applied to make the sailboats stand out from the colorful backdrop.
Related Posts:
Sailboat Silhouette Art Project for Kids this Summer
Materials
Mixed Media Paper or Card Stock
A favorite Coloring Medium (our tutorial features acrylic paint)
Paintbrushes – mixed tips!
Scissors
Glue Stick
Download the Sailboat Silhouette and Seascape Templates:
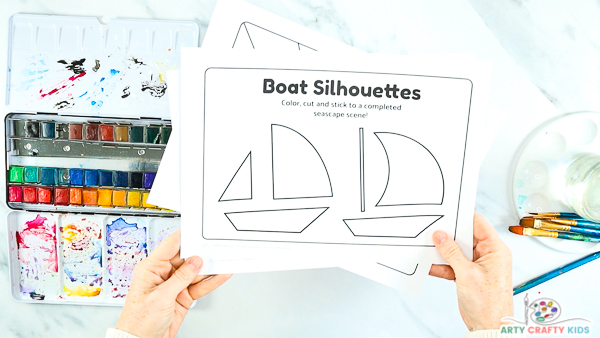
The printable download includes two seascape templates, and black & white sailboat silhouettes for children to color.
The templates are available to members of the Arty Crafty Kids club.
Members will need to log in to access the templates: https://www.artycraftykids.com/product/sailboat-silhouette-art-templates/
Not A Member?

Watch the Video Step by Step Tutorial for Sailboat Silhouette on the Large Sunset Seascape Template:
Step-by-Step Summer Sailboat Silhouette Art Tutorials:
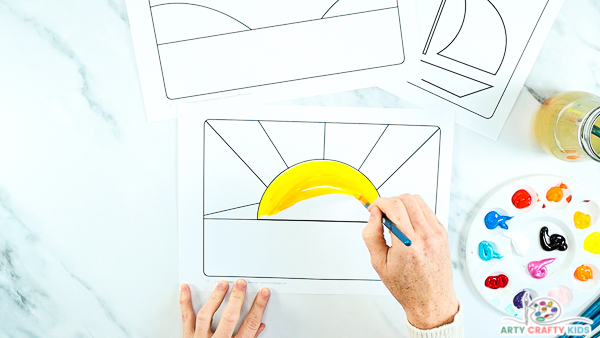
How to Paint to the Sun
To begin, prepare the paint palette. Add different shades of yellow, orange, red and blue, as well as white and black.
Using yellow and orange hues, paint the sun like a rainbow by following the arch shape. Start with the lightest shade of yellow and progress to deep orange hues.
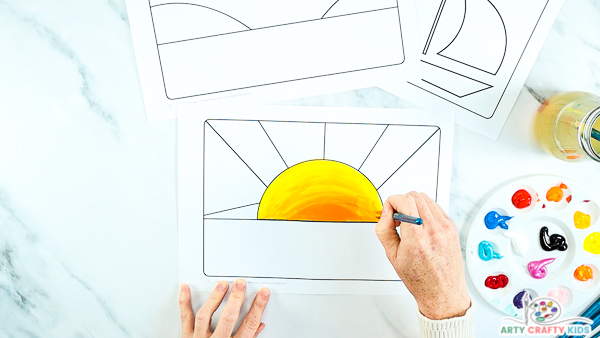
Blend Yellow and Orange Shades
Using the sun as a mixing palette, layer different shades of yellow and orange; continuing to move the paintbrush back and forth across the layers to blend the colors.
Add white to lighten the colors.
Ideally, the darkest shades will be positioned at the bottom of the sun, where the sun meets the sea.
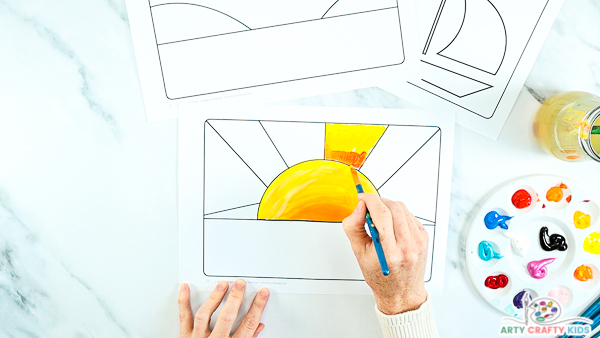
Paint the First Sun Ray
While the sun focusses on different shades of yellow and orange, the sun rays present an opportunity to explore the full spectrum of warm colors – these are colors that derive from red, yellow and orange.
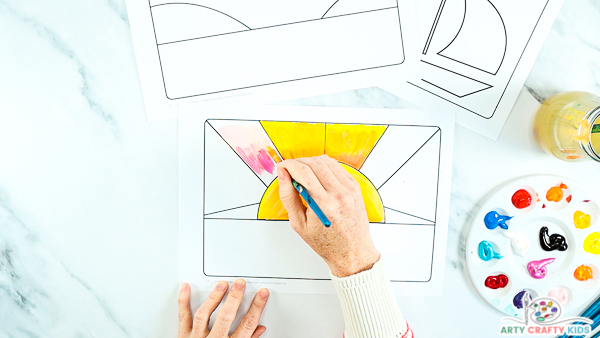
Explore Warm Hues
Paint each ray with a blend of red, yellow and orange, creating light and dark shades of each color.
Start with the lightest shades first, using short paint strokes to create the impression of lines (rays of color) traveling away from the sun.
Progress from light to dark and continue layering the paint strokes – can your Arty Crafty Kids describe the effect this creates?
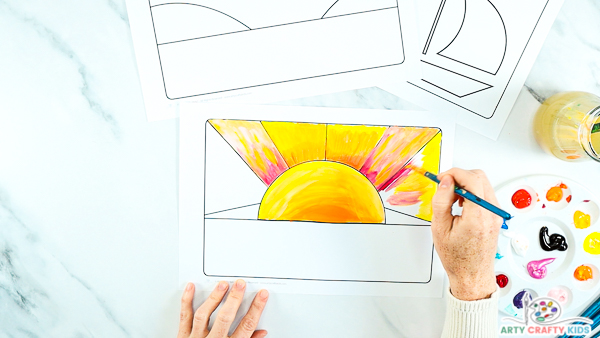
Complete the Sun Rays
Continue painting until the rays are bursting with colors!
While this tutorial features sun rays with multiple colors and blends, the rays may also be painted in block colors i.e one shade of red, orange, yellow, orange-red, pink etc. The end result will be just as effective and is a simple adaptation for younger Arty Crafty Kids.
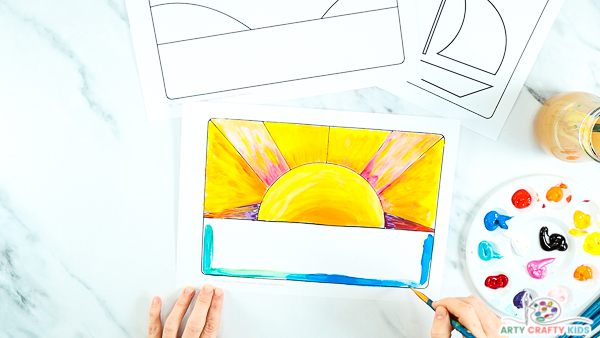
How to Paint the Sea
Let’s move onto the cool colors ( colors that derive from shades of green, blue and purple).
Begin by framing the “sea” area with dark shades of blue.
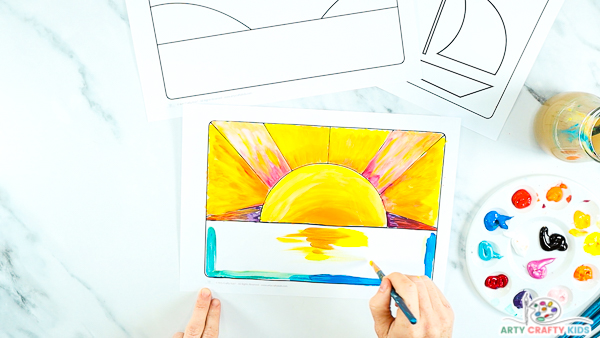
How to Paint a Sunset Reflection and Create Perspective
Before progressing with the remainder of the sea, add a few paint strokes of yellow and orange into the white space directly below the sun.
To create a sense of the perspective, the lines closest to sun should start wide and become narrower as they move away from the sun.
Adding a reflection to the water is a great way to introduce perspective to young artists.
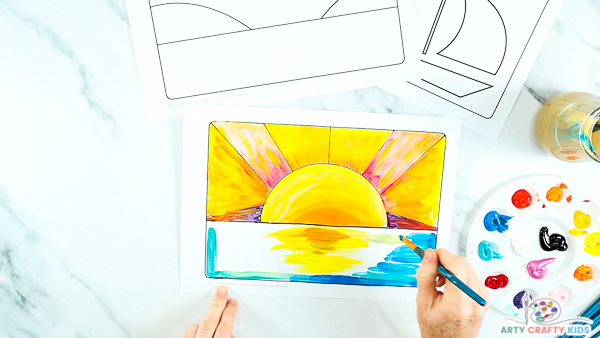
Blend and Create Different Shades of Blue
With the beginnings of the reflection painted, fill the surrounding white space with different shades of blue.
Add white to lighten the blue.
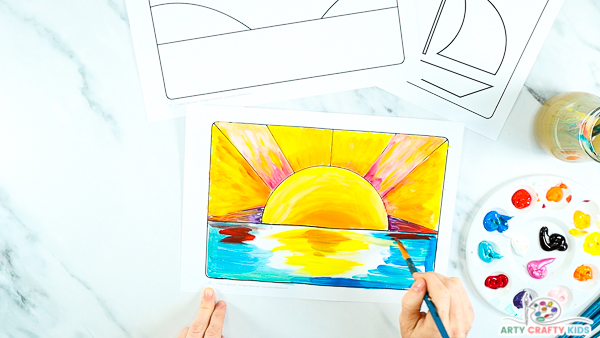
The Sea Meets the Sunset
Where the final sun rays meet the sea, paint a layer of red on top of the blue sea and mix to form a shimmer. The mix of blue and red will create gorgeous purple hues.
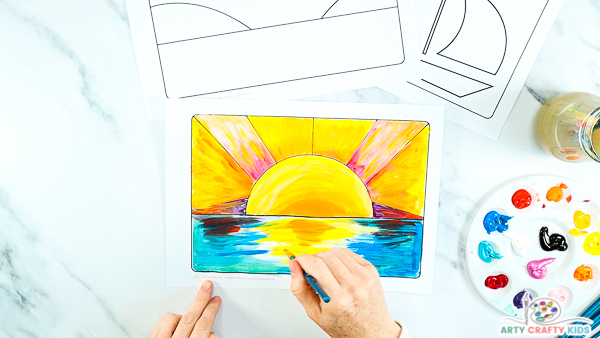
Use Simple Dry Brush Strokes to Merge the Reflection and Sea
Add a small amount of blue paint to a dry fine tipped paintbrush and brush it away the body of blue sea into the sun ray.
The dry brush will make it difficult for the paint to spread and the strokes will need to be fairly forceful. The benefit of this technique is that it helps to merge the reflection into the sea without too much secondary color mixing – as well know that yellow and blue makes green!
The strokes will also be fairly bold in color, however slightly broken as the paint struggles to spread, allowing the color underneath (white or the sunset shimmer colors) to peak through.
Watch both video tutorials to this technique in action!
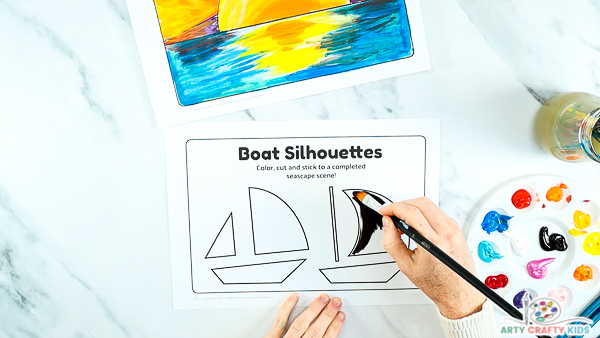
Paint the Sailboat Silhouettes
The sunset seascape painting element is complete! leave the painting to thoroughly dry and move onto the sailboats.
Paint the silhouettes black or any color/design of the Arty Crafty Kids choosing.
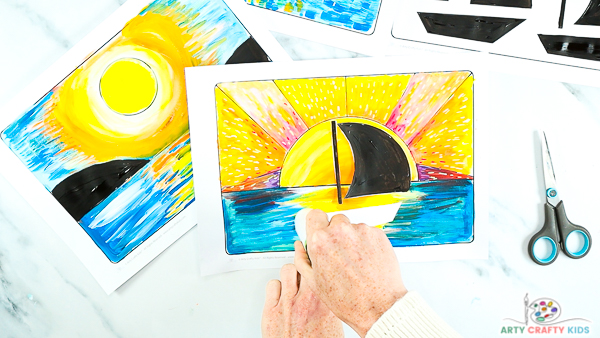
Glue the Sailboat Silhouettes to the Seascape Scene
Carefully cut out the painted sailboat silhouettes.
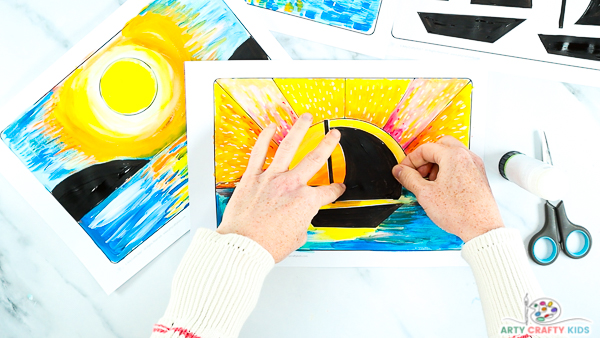
Next, glue the sailboat onto the seascape scene.
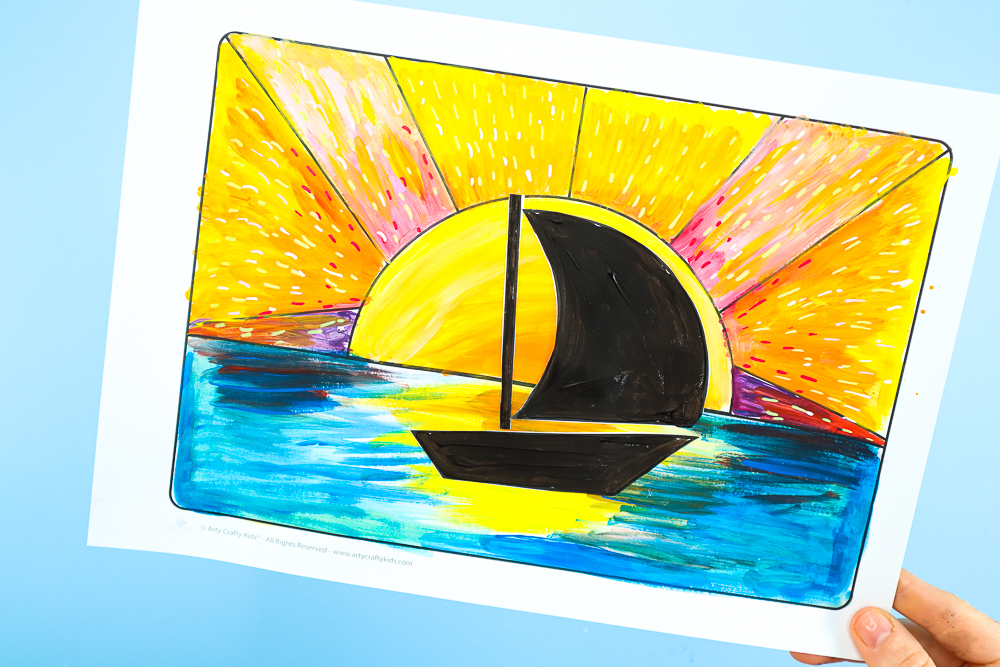
The First Sailboat Silhouette Art Tutorial is Complete
I hope your Arty Crafty Kids enjoy exploring and playing with cool and warm colors, learning a few simple techniques to create perspective in art and making this summertime project their own!
The seascape templates are open to all sorts of mediums, including oil pastels, watercolor paints and crayons (to name a few).
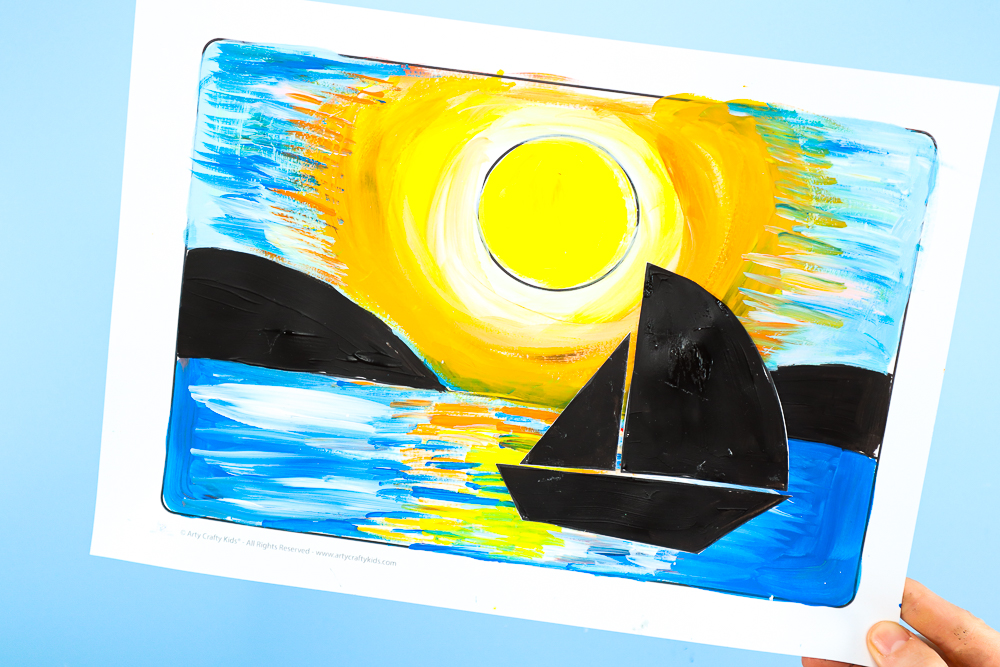
Our second seascape template is open to interpretation – the round, central circle could present as a sun or moon, with the Summer blue sky swapped for a twilight night with a shining moon and twinkly stars.
To see an alternative “sunset’ painting technique to try with your Arty Crafty Kids, take a quick look at this video tutorial. It also demonstrates how to use dry paint strokes to merge the sunset reflections within the sea.
Watch the Video Step by Step Tutorial for Sailboat Silhouette on the Small Sunset Seascape Template:
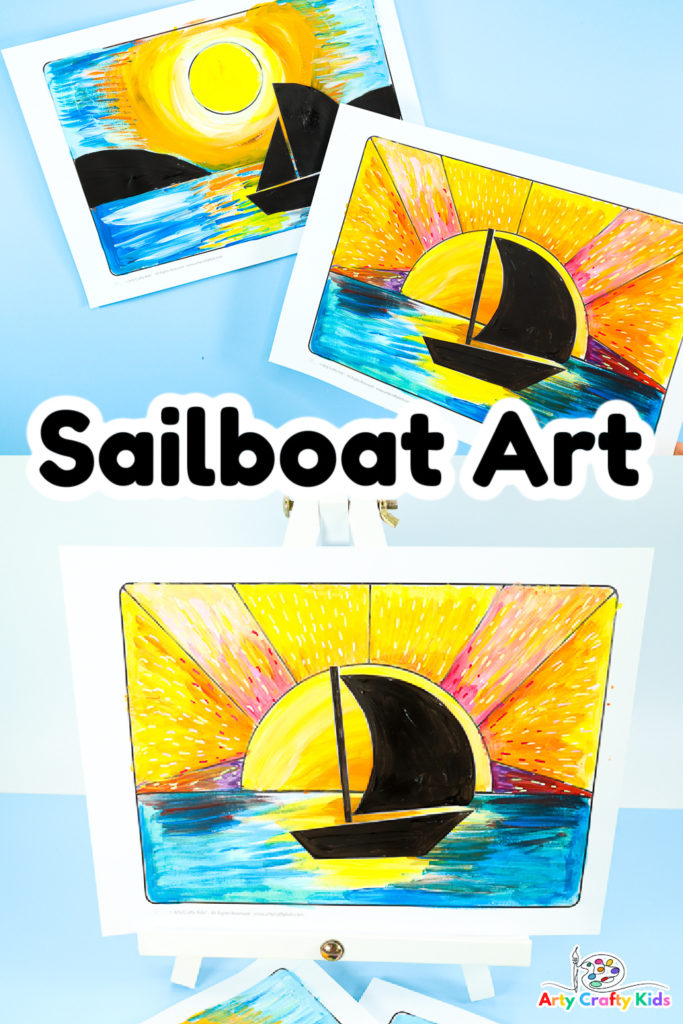
Remember, if you share your kids’ arty crafty makes on social media, give us a tag and use the #artycraftykids
More Summer Art Projects for Kids
Looking for more fun summer art projects for kids? Check out our blog for some great ideas! From easy and fast projects that can be done in an afternoon, to more complex projects that will take a few days to complete, we have something for everyone.
And best of all, most of these projects can be done using items you already have around the house!

