Sharing is caring!

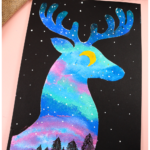
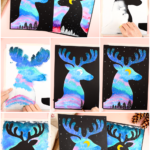
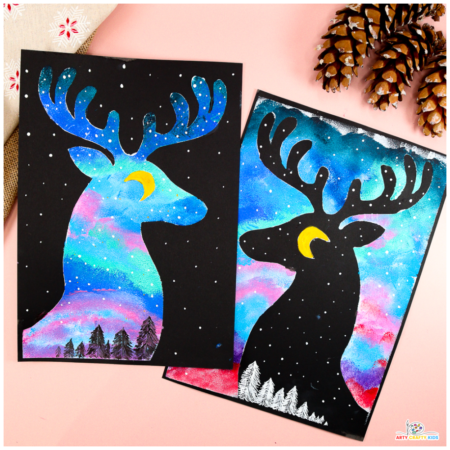
Let’s create something magical! This Reindeer Silhouette Painting is the perfect winter art project for kids, combining creativity with simplicity.
With just one silhouette template, children and adults alike can explore the striking contrast of negative and positive space while playing with color to design a beautiful, northern lights-inspired sky. It’s a festive and fun activity ideal for the holiday season or chilly winter afternoons.
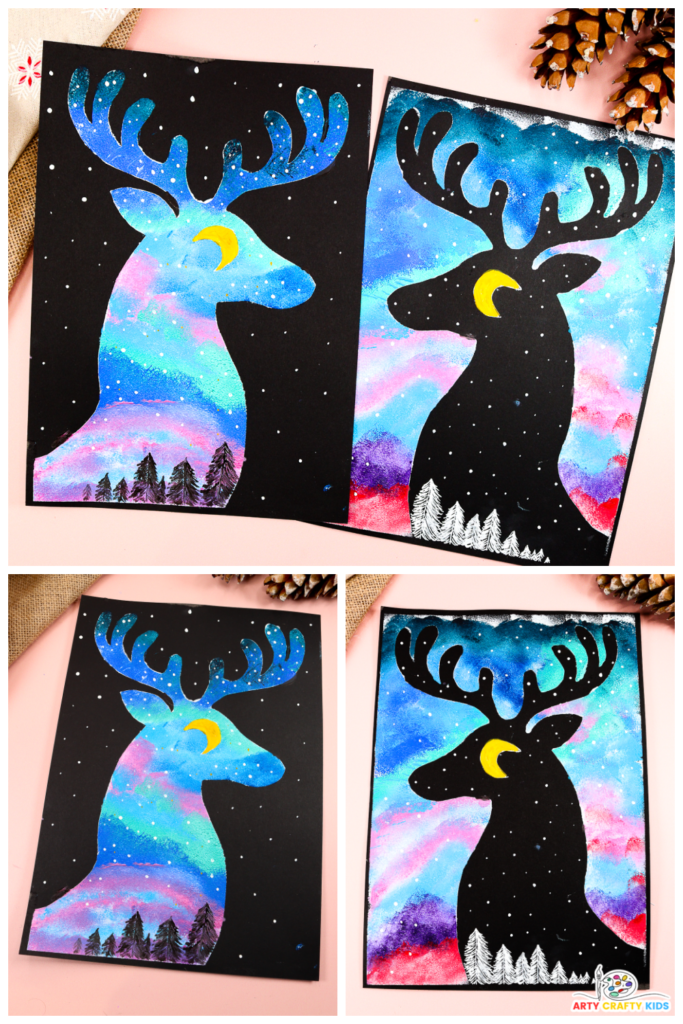
This project also makes a fantastic art lesson for kids of all ages, particularly within a classroom setting. The easy-to-follow process allows younger children to experiment with basic techniques, while older kids can dive deeper into color mixing.
They’ll love the tactile nature of this activity, blending and layering colors with sponges, brushes, or even their fingers to create unique textures and hues.
The process encourages creativity and hands-on exploration, helping kids understand how colors interact and transition, while boosting their confidence in expressing their artistic vision.
Pair this project with our recent Santa Silhouette Art for a Christmassy feel! Both projects complement each other beautifully and offer kids a chance to experiment with festive themes while honing their art skills.
How to Create a Reindeer Silhouette Painting
Materials
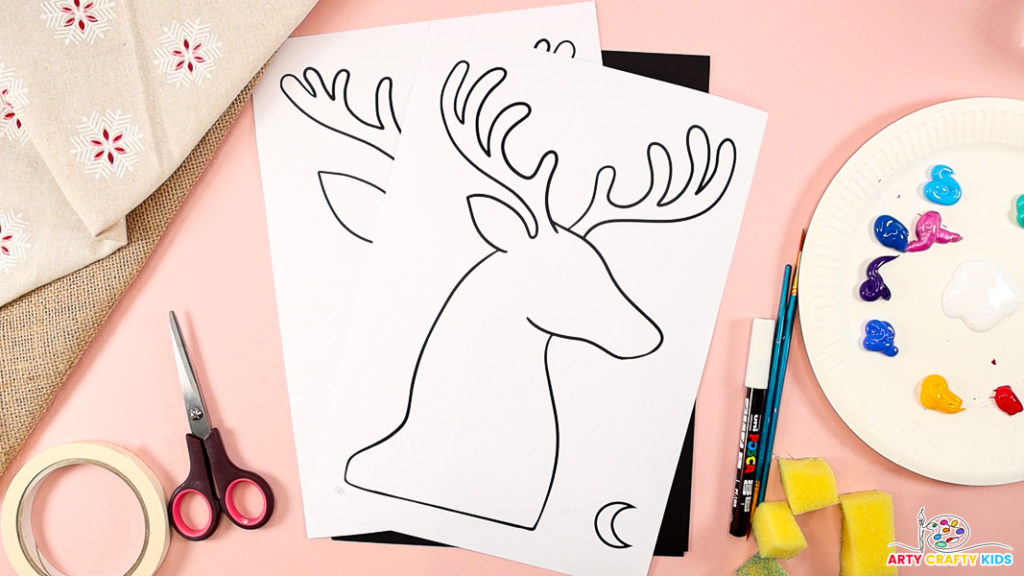
- Black and White Card Stock
- A White Acrylic Pen ( Posca Pens are great!)
- Acrylic Paint – Blue, Yellow, Pink, Green, White and Black
- Paintbrush – Round Tipped and Fine Tipped
- Masking Tape
- Sponge
- Scissors
- Reindeer Silhouette Art Templates (members will need to login to access the templates).
Not a Member?
Join the Arty Crafty Kids club to access the Reindeer Silhouette Art Templates and 100s more Art and Craft templates, How to Draw Guides and Coloring Pages.

Reindeer Silhouette Art: A Step-by-Step for using the negative space silhouette.
Learn how to transform the space within the reindeer shape into a vibrant, northern lights-inspired night sky with this easy and creative art technique.
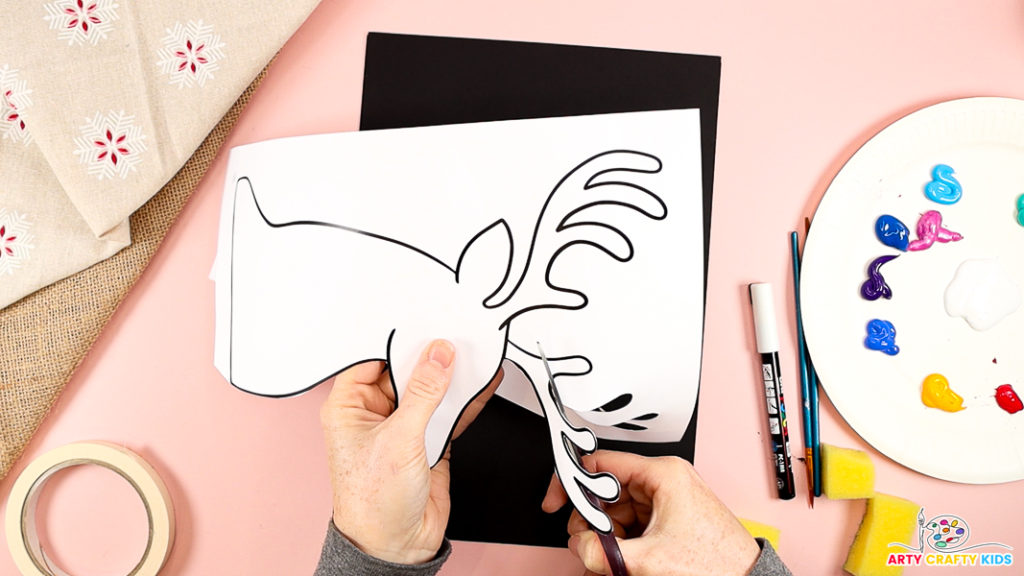
Step 1: Cut out the Reindeer template.
To use the negative space silhouette, carefully cut out the reindeer in a single motion, ensuring the surrounding paper remains intact.
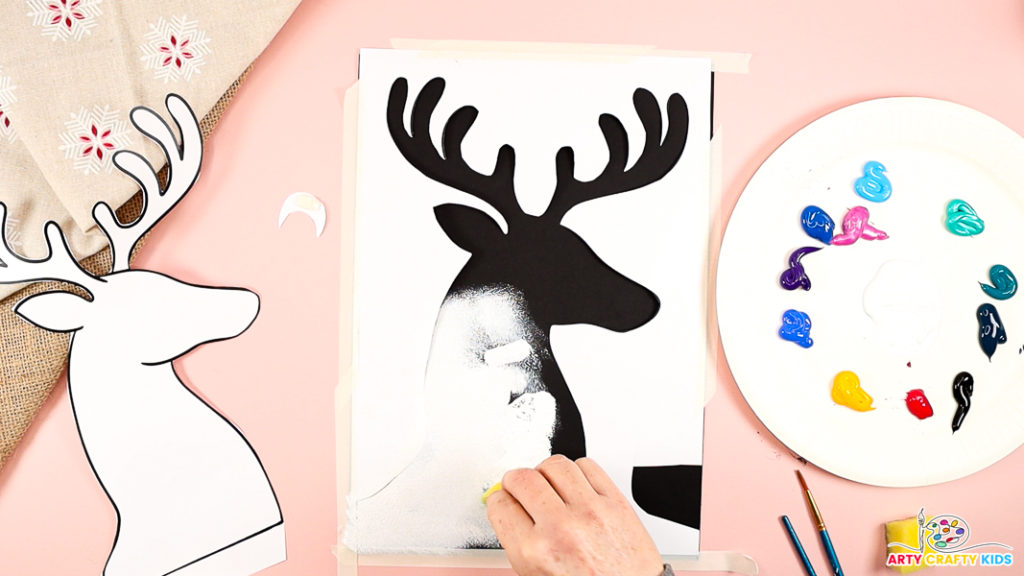
Step 2: Prepare the canvas and paint the silhouette white.
Begin by securing the black cardstock to your workspace using masking tape to prevent it from moving. Next, position the negative space silhouette over the black cardstock and tape it
down firmly with masking tape to hold it in place.
Dip a sponge into white paint and gently dab within the silhouette opening, carefully filling the space with soft, even layers of white. This technique ensures clean edges and creates a striking contrast against the black background.

Step 3: Place the moon inside the white section of the reindeer.
Before adding color to the reindeer silhouette, position the moon shape within the reindeer outline -we’ve placed it in the area where the eye would typically be.

Step 4: Paint the reindeer with Northern lights-inspired colors.
Choose deep blues and purples for the night sky, and vibrant greens, pinks, and yellows for the northern lights. Add white or metallic paint for highlights.
Start with darker tones, blending smoothly across the reindeer silhouette using a sponge or wide brush.
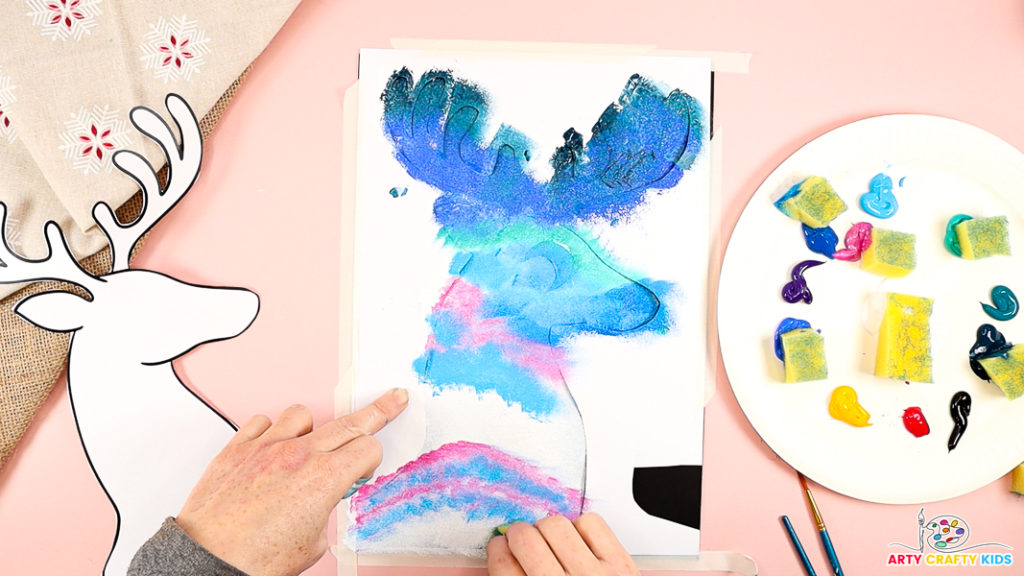
Apply lighter colors like green, pink, and yellow in soft streaks or waves, using a dry brush or sponge for a glowing effect.
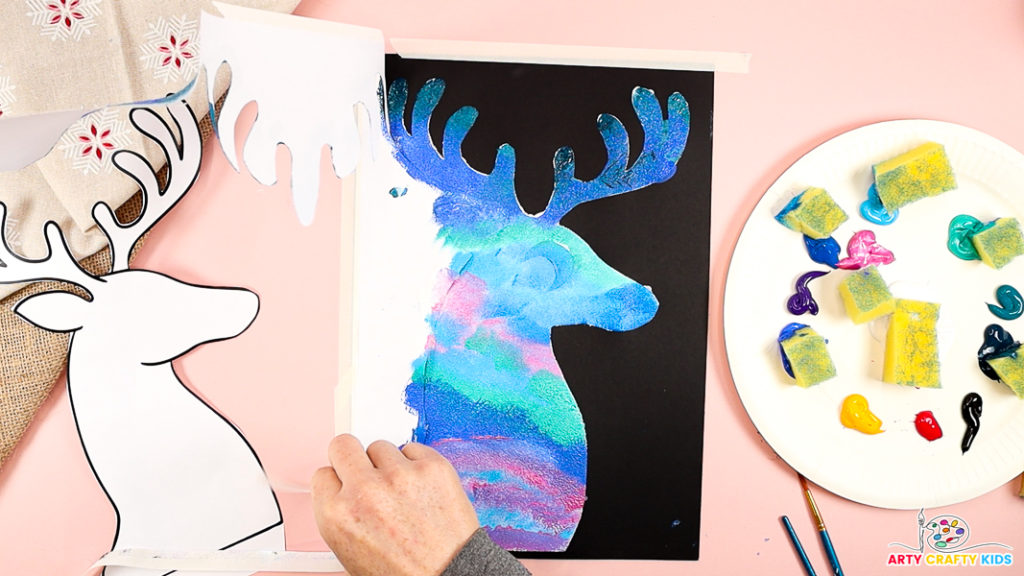
Step 5: Remove the negative space silhouette.
Once your Arty Crafty Kids have finished their reindeer silhouette painting, gently peel away the negative space silhouette.
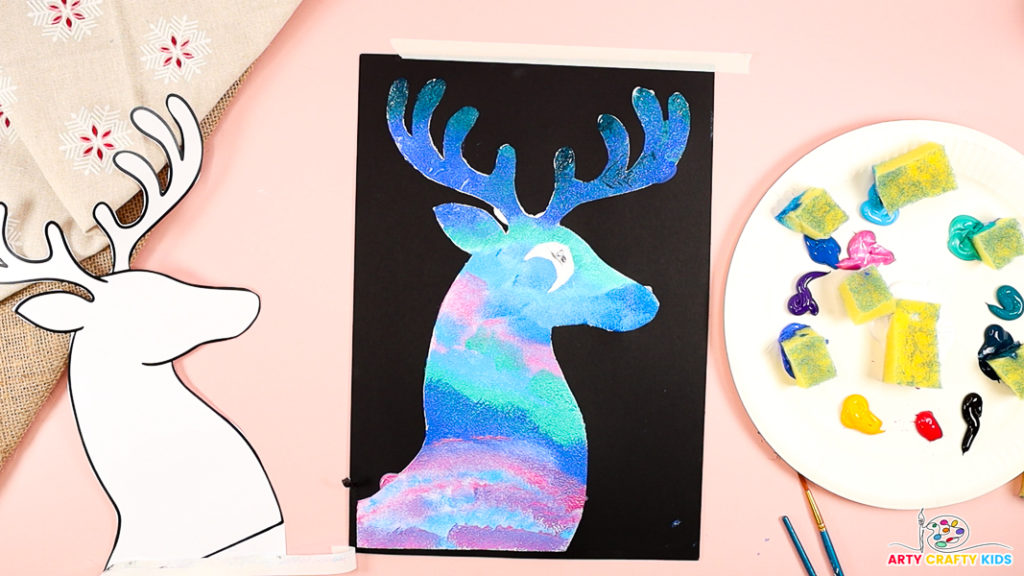
Next, remove the moon shape from the reindeer silhouette.
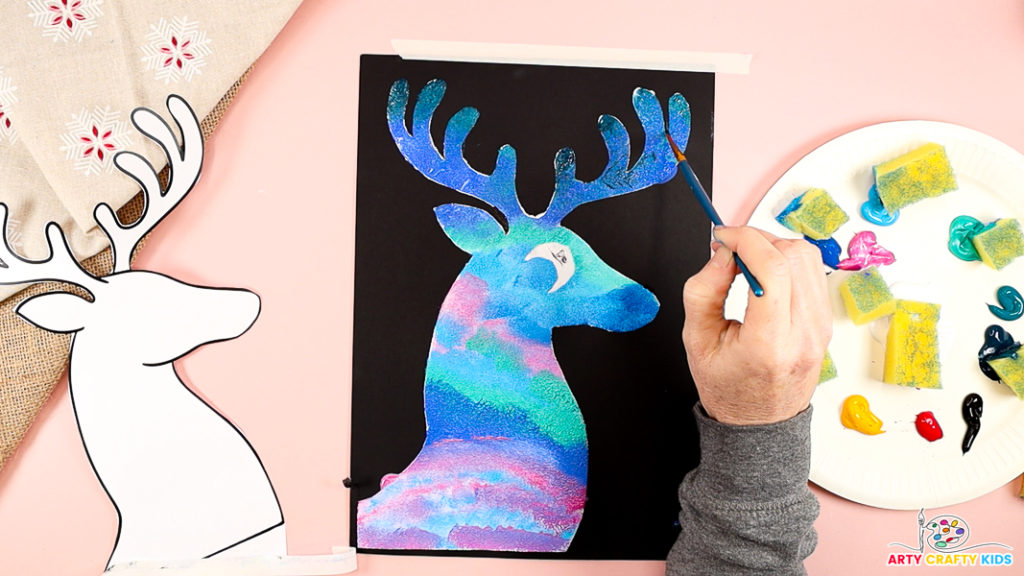
Step 6: Tidy up the reindeer.
Cover any excess paint, splatters, or bleed-through by painting over it with black using a paintbrush.

Step 7: Paint Simple Pine Tree Silhouettes
- Start with the Trunk:
Using black paint and a thin brush, paint a single vertical line to form the tree trunk. Begin at the top of the desired tree height and extend it downward. - Add the Branches:
Starting at the top of the trunk, paint short horizontal lines on either side to create the smallest branches. Gradually make the lines longer as you work your way down the trunk, giving the tree a triangular, pine-like shape.

3. Layer the Branches:
Overlap the lines slightly to give the appearance of a full, textured tree. Keep the branches uneven and natural to mimic real pine trees.
4. Fill and Refine:
Once the structure is complete, fill in gaps and thicken areas as needed to enhance the silhouette. Adjust the shape to make the trees look unique and varied.
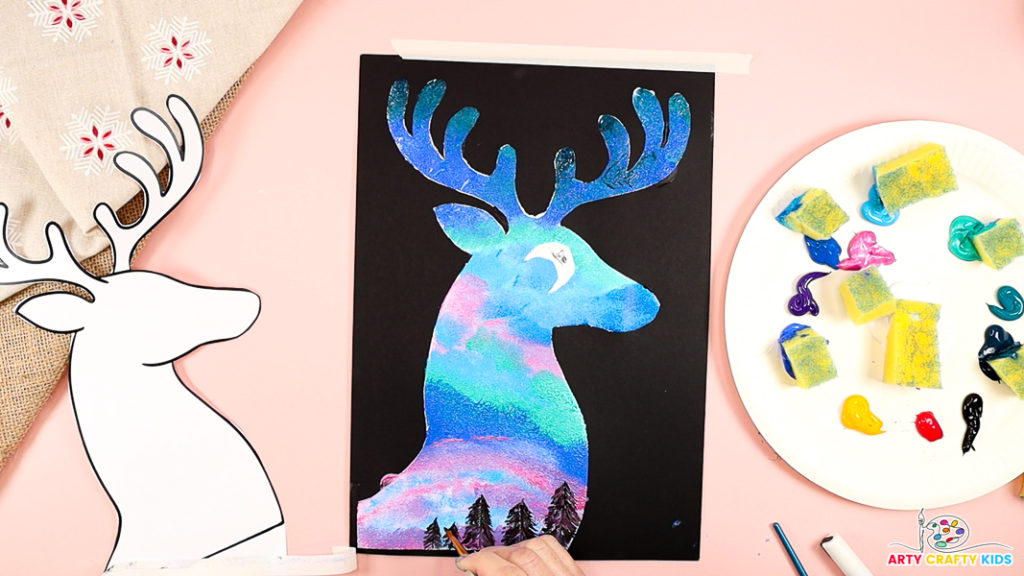
5. Add Multiple Trees:
Repeat the process to create a forest effect, varying the height and width of the trees to add depth and interest to the scene.
These simple pine tree silhouettes beautifully complement the reindeer design and enhance the wintry forest atmosphere!

Step 7: Paint Twinkly Stars
Add twinkly stars by dotting white paint across the sky with a fine brush or toothpick. Vary the sizes for depth, and scatter them randomly.
For extra sparkle, include a few starbursts with tiny rays around the dots. These stars add a magical, festive touch to your reindeer scene!
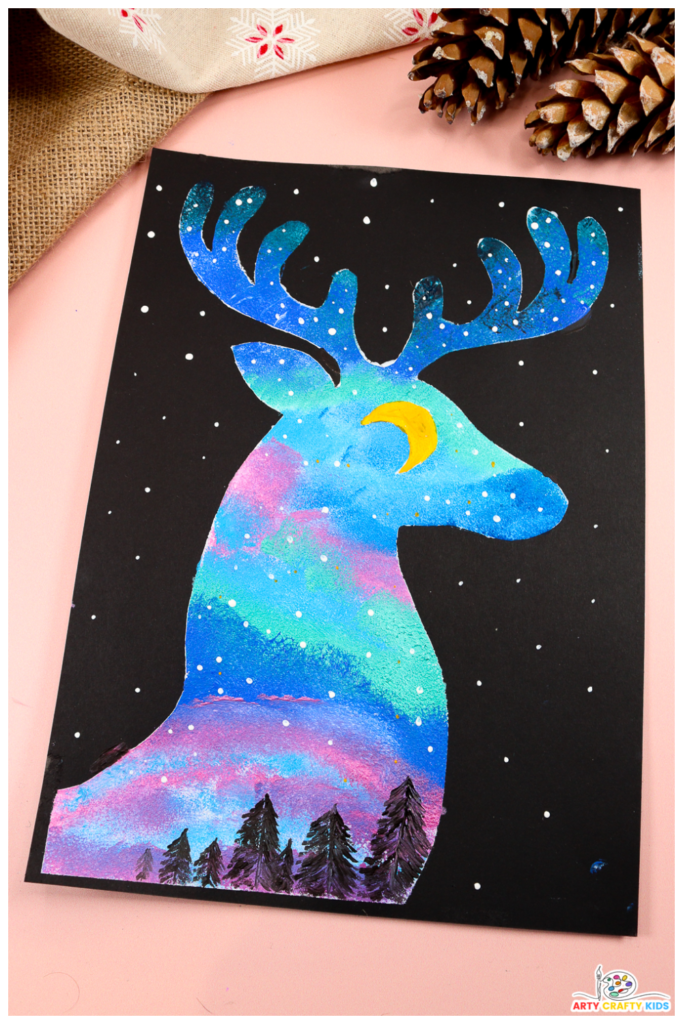
Finish your reindeer silhouette painting by adding a sprinkling of stars to the black background around the silhouette.
This simple addition enhances the contrast between the vibrant reindeer and the dark night sky, adding a magical, eye-catching element that completes the artwork beautifully.
Reindeer Silhouette Night Sky Painting: Step-by-Step Instructions
This step-by-step guide will help you create a magical reindeer silhouette painting with a vibrant night sky surrounding it.
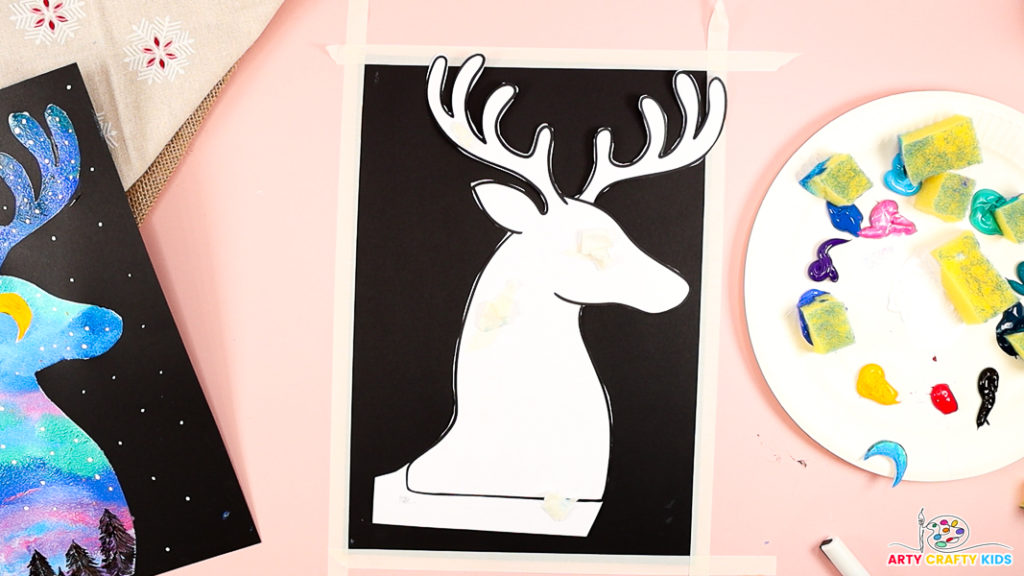
Step 1: Prepare the canvas and reindeer silhouette template.
Begin by securing the edges of the black cardstock with tape.
Place the reindeer silhouette cutout on the cardstock and fix it in place with masking tape around the edges. Ensure the template is flat to avoid paint seeping underneath.
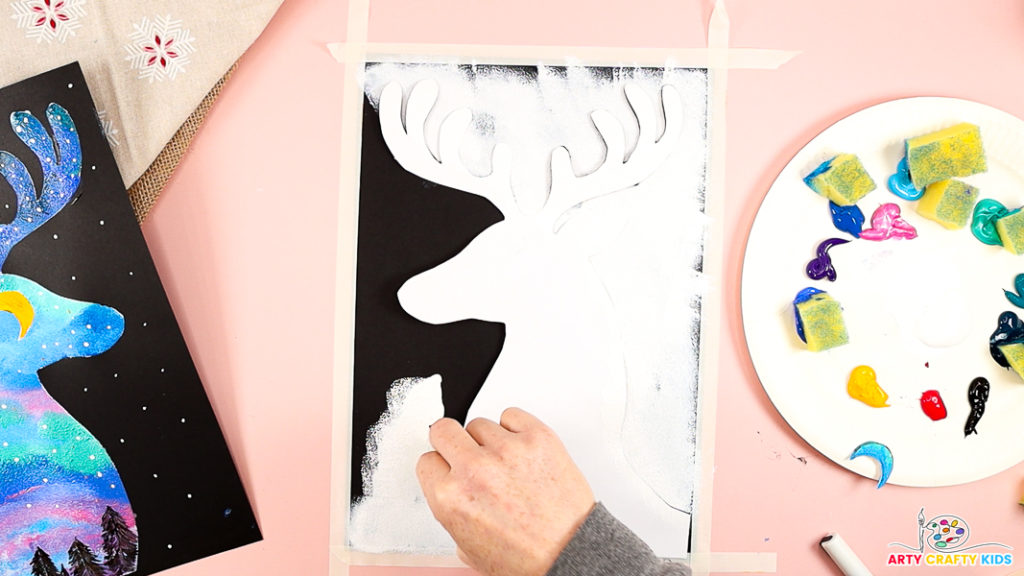
Step 2: Paint the surrounding space white.
Before painting the night sky, use a sponge to gently dab white paint around the reindeer, filling the surrounding space.
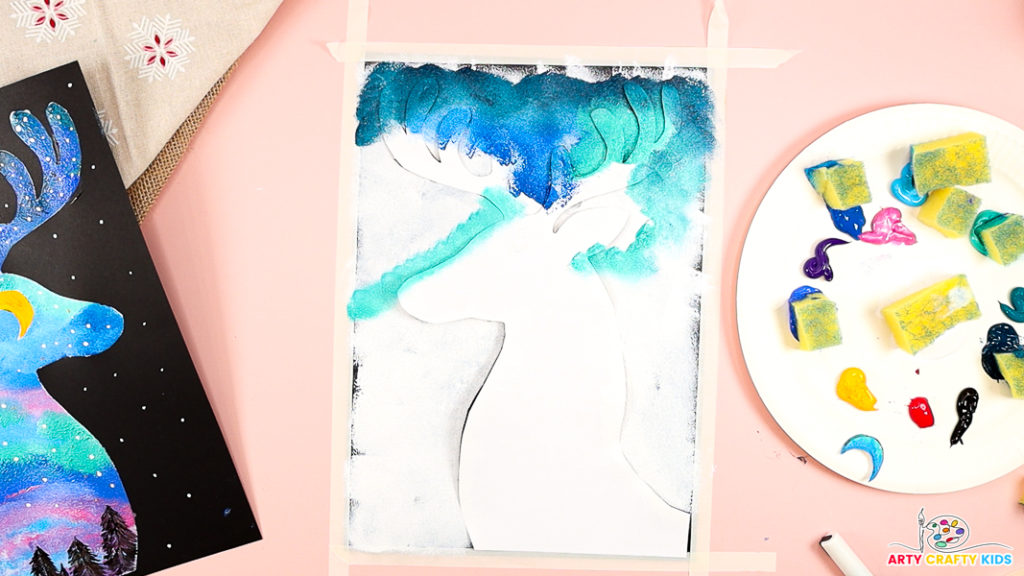
Step 3: Paint the night sky.
Using a sponge or large brush, apply a base layer of dark blue and purple paint around the reindeer shape.
Blend the colors smoothly for a rich night sky effect. Work quickly to keep the edges around the silhouette clean.
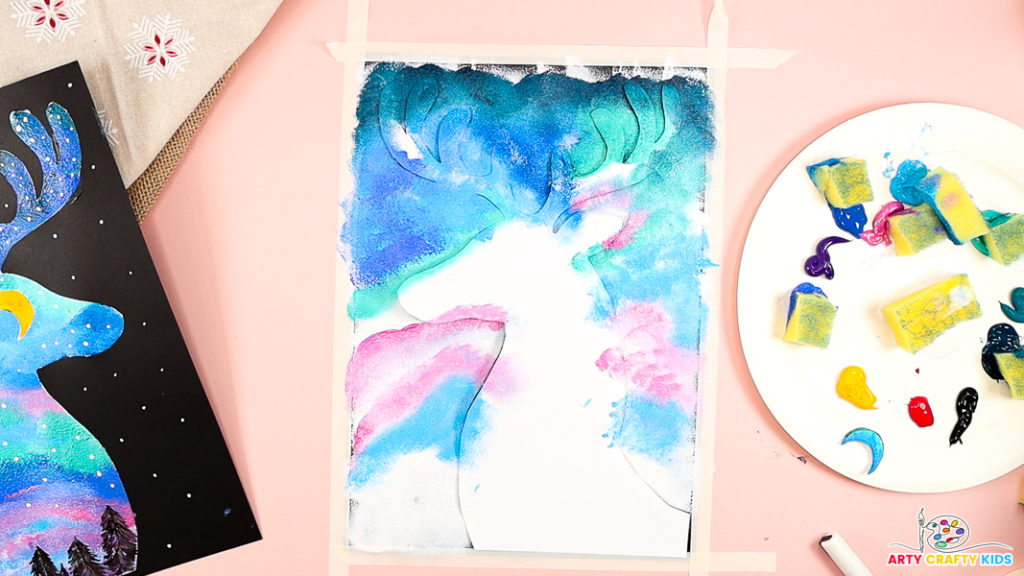
Dip a sponge or dry brush into lighter colors like green, pink, and yellow.
Gently dab and streak these colors across the night sky to create the appearance of glowing northern lights. Blend lightly into the base colors to maintain a soft, natural effect.

Step 4: Reveal the reindeer silhouette.
After completing the night sky, gently lift the reindeer shape to unveil the black silhouette beneath.

Step 5: Paint the twinkly stars.
With a fine-tipped brush, dot white paint across the night sky to create stars. Vary the size of the stars, and scatter them randomly for a natural look.
Add a few starbursts (small crosses) to represent brighter, twinkling stars.
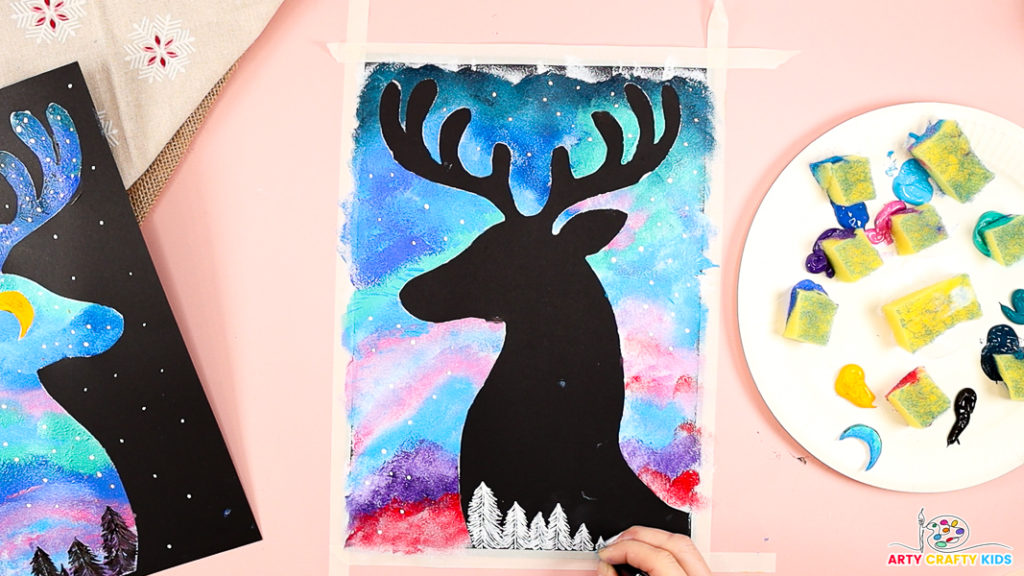
Step 6: Draw some white pine trees.
Enhance your scene by painting simple white pine trees to complement the night sky. Use a fine brush and white paint, or a white acrylic marker pen to create vertical lines for the tree trunks.
Starting at the top of each trunk, add small, horizontal brushstrokes branching out on both sides.
Gradually make the branches longer as you work down the trunk to form a classic pine tree shape. Scatter the trees across the background, varying their size and placement to add depth and a touch of wintery charm to your artwork.
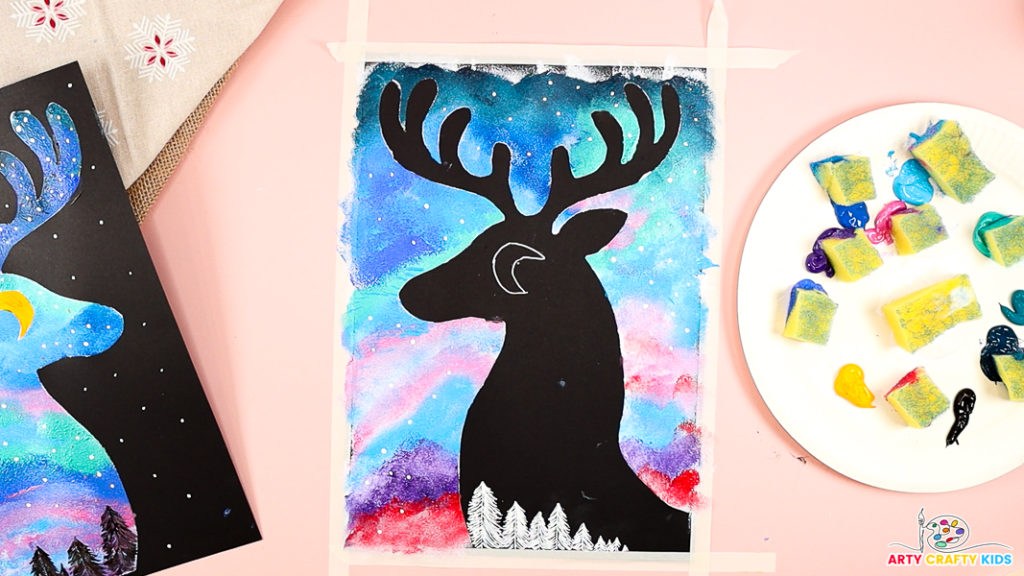
Step 7: Add a moon.
Select the perfect spot for the moon and use an acrylic marker to neatly trace its shape.

Step 8: Paint the moon yellow.
Fill the traced moon with bright yellow paint, blending in a little white for a glowing effect.
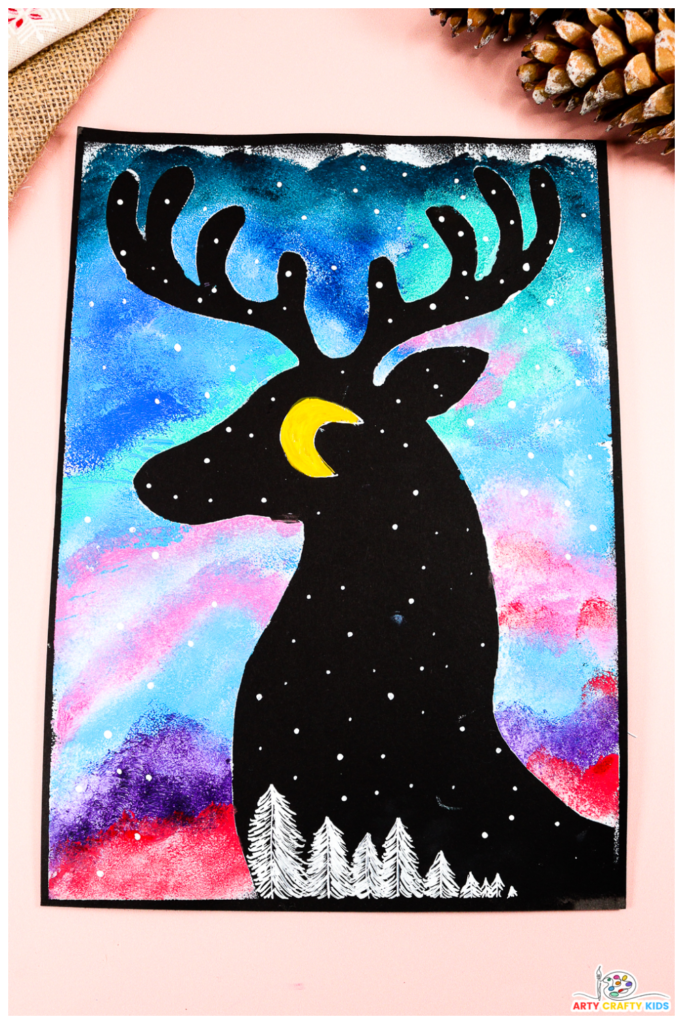
Then, add twinkling stars within the black reindeer silhouette by dotting white paint with a fine brush.
This contrast of light stars inside the dark reindeer shape creates a stunning, eye-catching effect. Finish by scattering a few stars across the outer night sky for a magical, cohesive look.
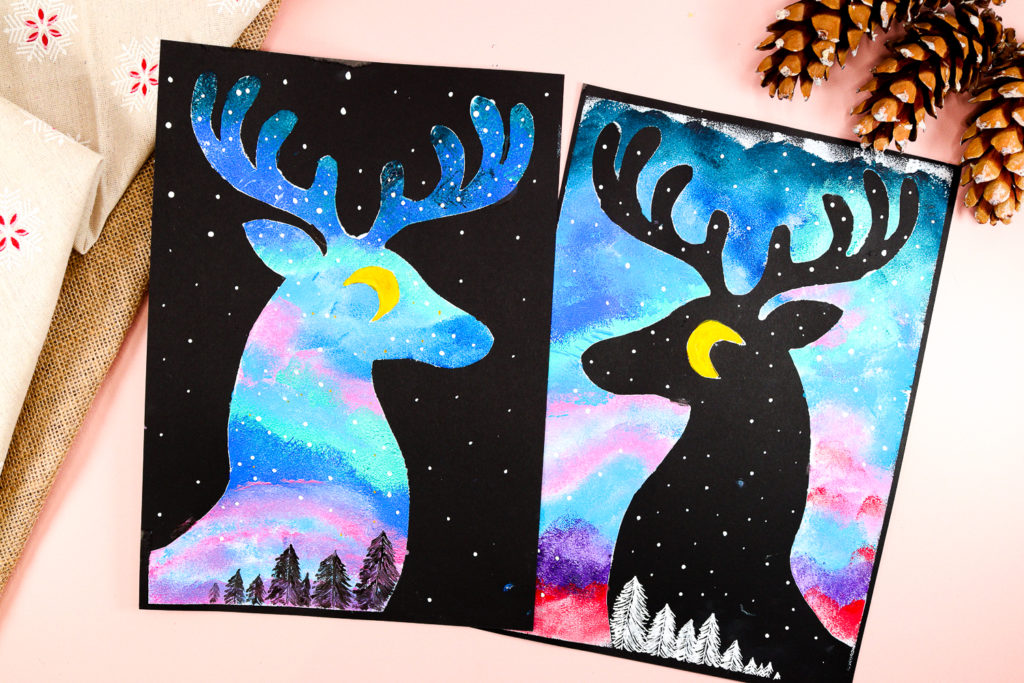
The Reindeer Silhouette Painting tutorial is complete!
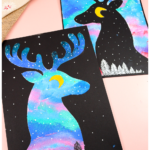
This project beautifully demonstrates how two unique paintings can emerge from the same concept, exploring opposites through the use of positive and negative space.
One artwork focuses on the reindeer shape filled with the colors of the northern lights, while the other transforms the space around the reindeer into a glowing night sky, leaving the silhouette as a bold, dark focal point.
This approach not only encourages kids to think creatively but also introduces them to important artistic principles like contrast and composition.
It’s a wonderful way for children to experiment with color, shape, and space while discovering how simple techniques can lead to completely different visual outcomes. Plus, it’s a fun and engaging way to build confidence in their creative decision-making!
More Silhouette Painting Ideas
If you enjoyed creating this reindeer silhouette painting, you’ll love exploring more silhouette art projects! Each one uses the same concept of contrasting shapes with vibrant backgrounds, offering endless possibilities for creativity and learning:
- Sunset Dinosaur Silhouette Art: Step into the prehistoric world with bold dinosaur silhouettes set against a glowing sunset sky. Perfect for young dino enthusiasts!
- Autumn Silhouette Art: Celebrate the colors of fall by pairing autumn-themed silhouettes with a warm, seasonal gradient background.
- Owl Silhouette Painting: Create a striking twilight scene featuring a perched owl silhouette, perfect for exploring contrast and nighttime themes.
These projects are great for kids of all ages, allowing them to experiment with colors, shapes, and the interplay of positive and negative space. Dive into these ideas and keep the creativity flowing!

