Sharing is caring!
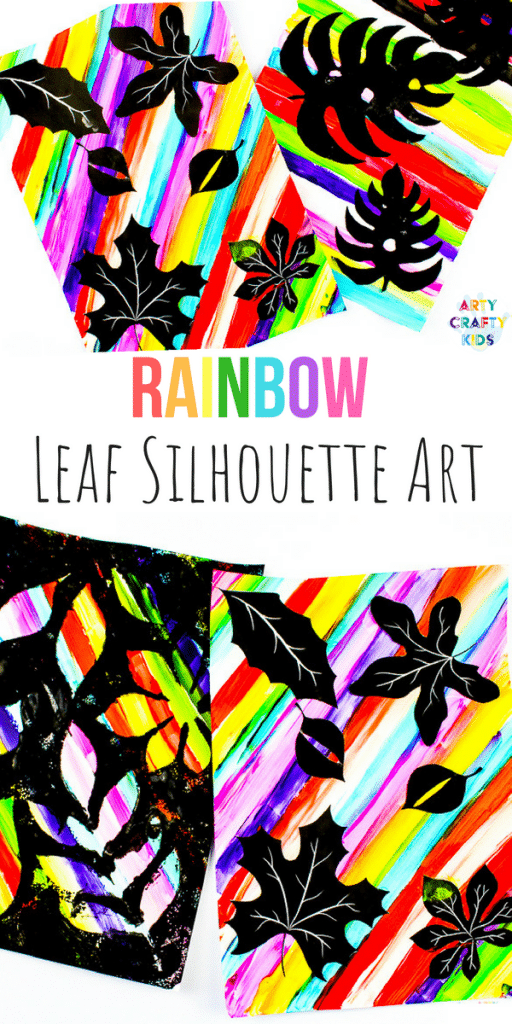
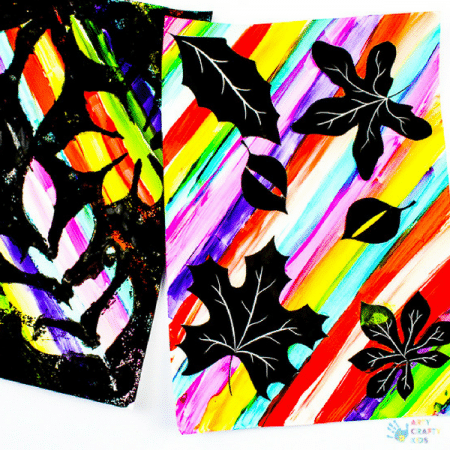
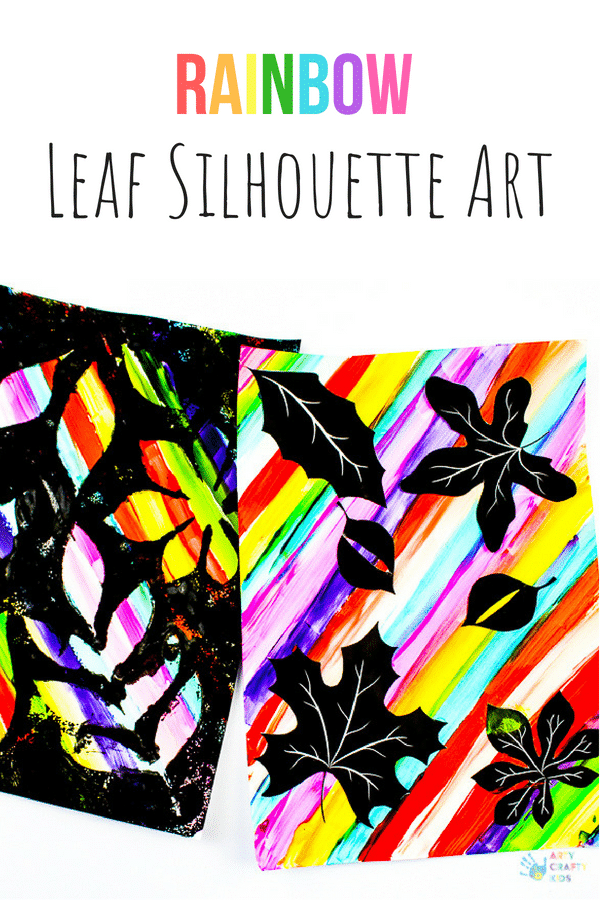
This simple Rainbow Silhouette Leaf Art project is all about play and creative experimentation.
Playing with colours.
Playing with positive and negative space.
Playing with various artistic approaches.
And with a choice of four downloadable templates, Arty Crafty Kids can really make this project their own and immerse themselves into the creative process.
Learning and developing as they create, without any pressure of getting it ‘right’ or ‘wrong’ – anything and everything goes!
Rainbow Silhouette Leaf Art: Materials
White Card Stock
Paint
Scissors
Sponge
PVA Glue
Printer
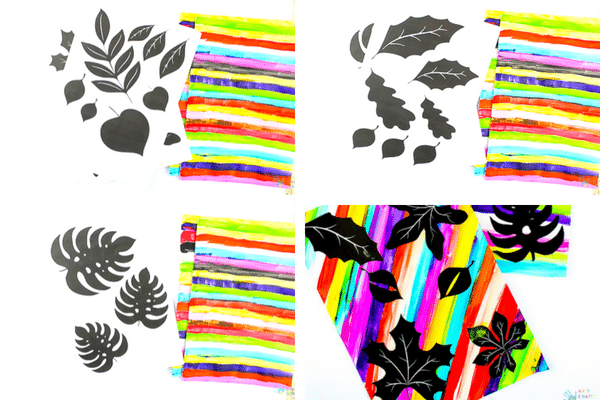
Leaf Templates:
Enjoy a FREE leaf template when you sign up for our Arty Crafty newsletter (the sign-up form can be found towards the end of this post)
Rainbow Silhouette Leaf Art: Tutorial
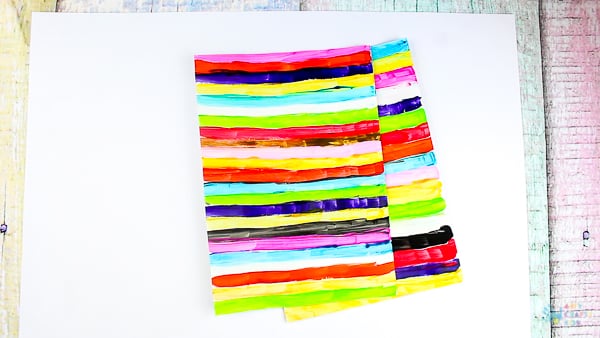
Step 1. Let’s make a Rainbow!
This is a great opportunity for Arty Crafty Kids to explore the magic and wonder of colour-mixing, and for this reason, I would always recommend that Arty Crafty Kids only paint with the primary colours with black and white.
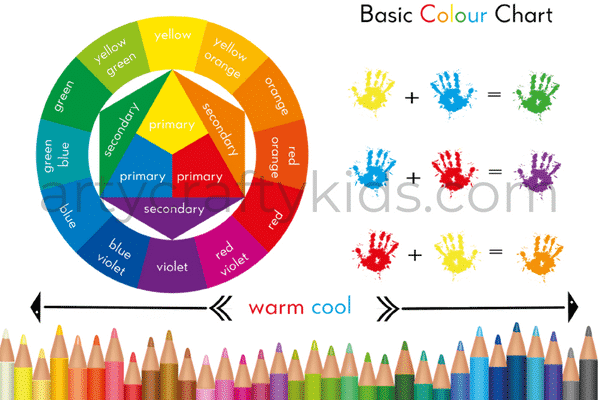
With the ease of ready-mixed paint, it’s tempting to offer the full spectrum of ready-made colours, however, this sadly denies kids the opportunity to experiment, play and ultimately learn through the process of trial and error.
So, with access to the primary colours only, encourage your Arty Crafty Kids to make as many colours as possible!
Ask questions throughout the process:
- How much yellow and red do you need to make orange?
- How many shades of blue can you make?
- What happens when you mix all the colours together?
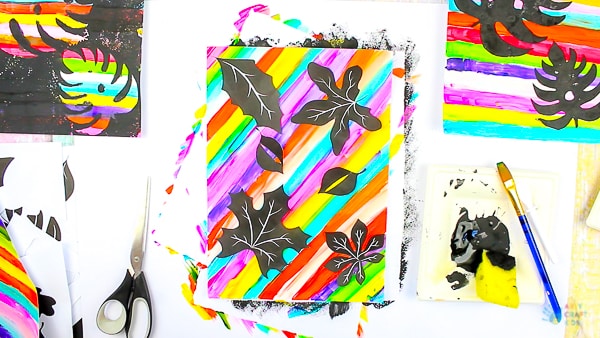
Step 2. While the Rainbow Canvas dries, cut out the leaf silhouettes of your Arty Crafty Kids chosen template(s).
Place the leaves on the canvas and experiment with their arrangement.
Step 3. Now it’s time to make a choice…
Stick the leaf silhouettes directly on to the rainbow background or move onto Step 4. to create inverted silhouettes.
Alternatively, paint two rainbow canvas’ and do both options.
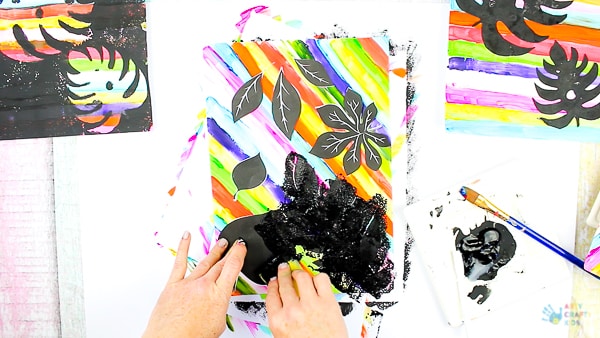
Step 4. To create inverted silhouettes, simply hold the unstuck leaf template with a finger or two and gently sponge paint around the shape with the other hand.
To contrast against the rainbow background, we’ve used black in our example piece.
For an alternative method, take a look at our Autumn Leaf Painting concept, where we’ve left the background white and added an assortment of colours instead of black.
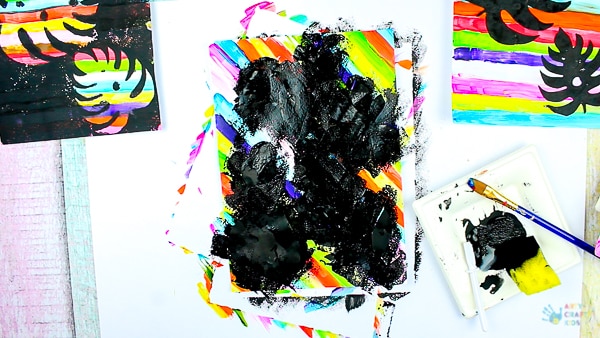
Step 5. Continue sponge painting around each leaf.
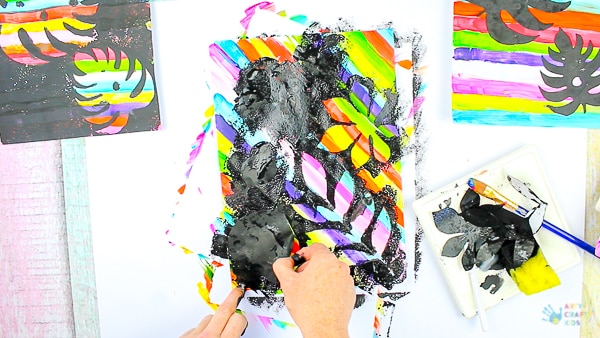
Step 6. And then gently peel the templates away to reveal the inverted leaf silhouettes.
Here, the Arty Crafty Kids are again presented with a choice; the piece could be left complete at this stage with more of the rainbow background revealed or, it could be filled in.
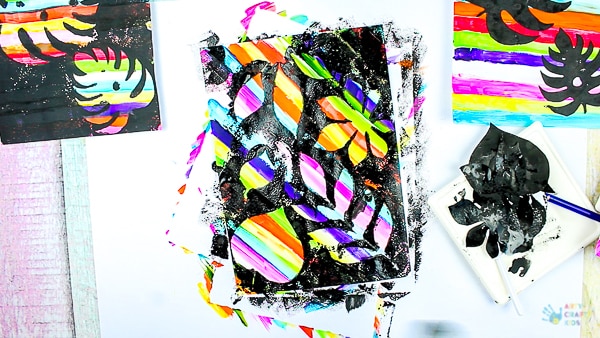
Step 7. To enhance the effect of the inverted silhouette, simply fill in the remaining space surrounding the leaves. This remaining area is called negative space and simply put, it’s the area that surrounds the subject or point of interest.
In this instance, it’s our leaf silhouettes.
The notion of positive and negative space is naturally explored in this project and one your Arty Crafty Kids will consider without knowing the official terminology or theory – they’ll be too busy doing!
Rainbow Silhouette Leaf Art: Sign-up form – Free Template Download
To access the template, sign up to our Arty Crafty Kids Club newsletter, and we’ll also keep you posted about other crafts, free templates and offer!
This template, and many others, is also available in our Arty Crafty Kids Club Members Area Free 10-Day Trial – Sign Up Here
And this concludes the Rainbow Silhouette Leaf Art project.
I would like to end with a thought from my eldest Arty Crafty Kid, Olivia (8):
I really like this project. It lets children use their imaginations and play with rainbow colours.
I love the idea of rainbow leaves, it makes me think of a magical fairy world. A little glitter would really finish off the project!
