Sharing is caring!
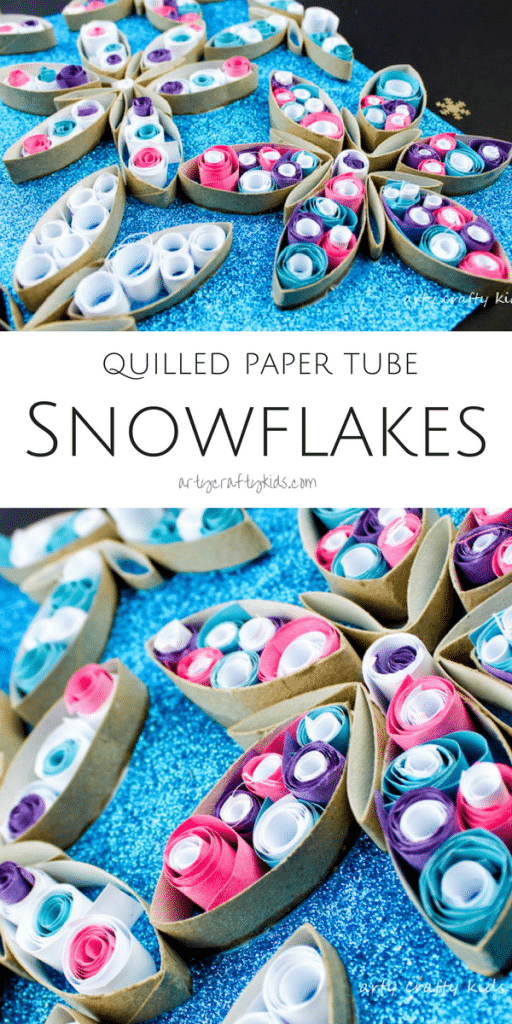
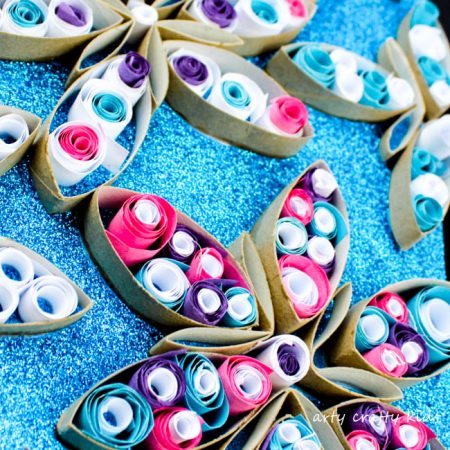
Quilling is the wonderful art form of rolled strips of paper, glued together to create a decorative design. We applied this technique within a simple paper tube frame to create a stunning Quilled Paper Tube Snowflake Craft, that’s simple, fun and perfect for kids who fancy trying something a little different and learning a new skill.
It’s well known that every snowflake is different and like a real snowflake, each and every one made using our design can be unique, with an infinite number of pattern and design possibilities that will naturally flow from your Arty Crafty Kids creative take on the activity.
It’s also a great way for kids to explore symmetry while creating a beautiful piece of Wintery Art.
Sound good? Let’s get started!
Quilled Paper Tube Snowflake Craft: Materials and Tutorial
Paper Tubes
Construction Paper
Glitter Card or Plain Card Stock
Pencil
Paintbrush
PVA Glue
Plate
Check out our nifty Video Tutorial below to see the craft in action!
[mv_video aspectRatio=”16:9″ key=”dctiw6cfyghabzpsley1″]
Written Tutorial
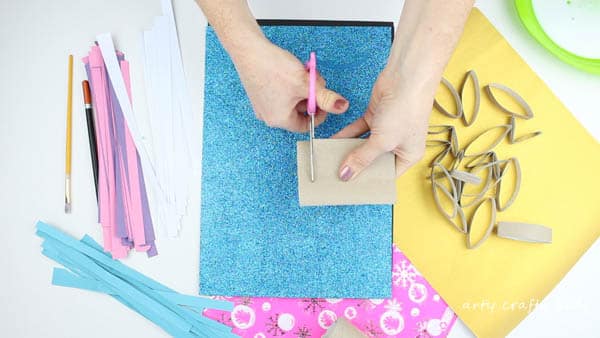
Step 1: Flatten the paper tube and cut into several even strips.
Don’t worry if some are wider than others – this will add depth to the finished piece!
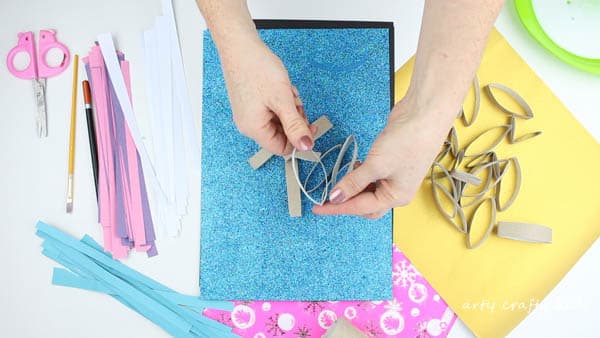
Step 2: Open up the paper tube strips to create ‘petal shapes’.
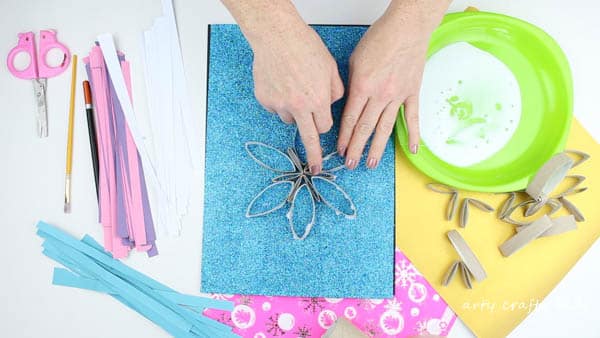
Step 3: Design the Snowflake!
This is completely open-ended and I would encourage the Arty Crafty Kids to experiment with the tubes and their positioning until they’re happy with the shape of their snowflakes.
To create additional shapes (as seen in the centre of the snowflake), try folding the paper tubes in half.
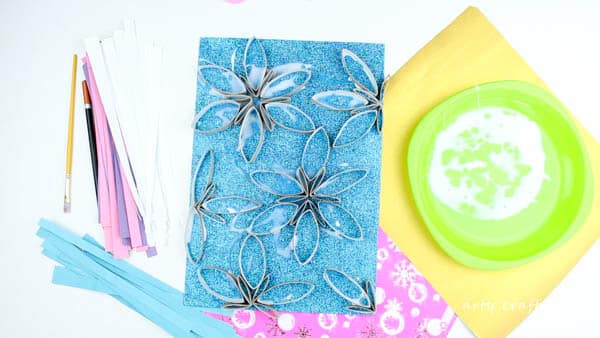
Step 4: To secure the paper tubes to the cardstock, simply dip the tubes into PVA glue and place them on the cardstock, pressing down firmly.
As you can see from the image above, excess glue will spread across the cardstock. While it may look messy, it will help with the next steps!
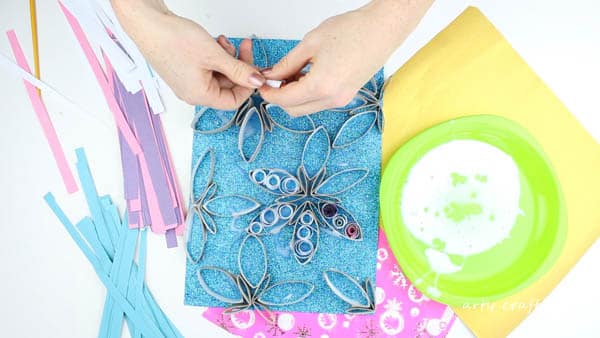
Step 5: It’s time to Quil!
Cut the construction paper into strips. We used an A4 piece of paper and cut it Width ways using a paper trimmer.
For best results, use various colours and like the paper tubes, don’t worry about making the width of the individual strips too even. The uneven appearance will add texture.
To roll the paper, simply wrap it around a pencil or paintbrush and then slide it off.
Dip the rolled paper into the glue and place it inside the paper tube.
It’s likely that the roll may unravel a little – this is fine and all part of the process!
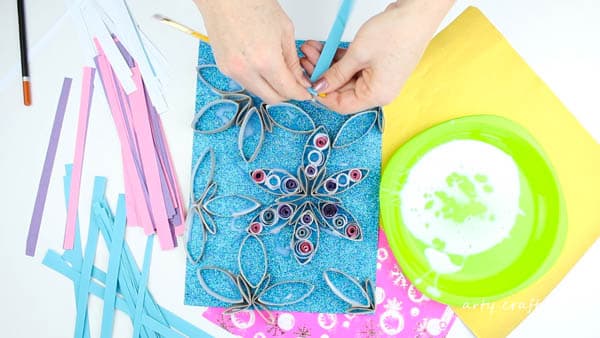
Step 6: A roll within a roll…
For wider rolls, wrap the paper around a pencil.
To create tighter rolls, use a narrow object, like the end of a paintbrush. This will be handy for filling empty, smaller spaces and in some instances, you may need to reduce the length of the paper and create smaller rolls.
This craft is all about the Arty Crafty Kids taking their time and experimenting with the process.
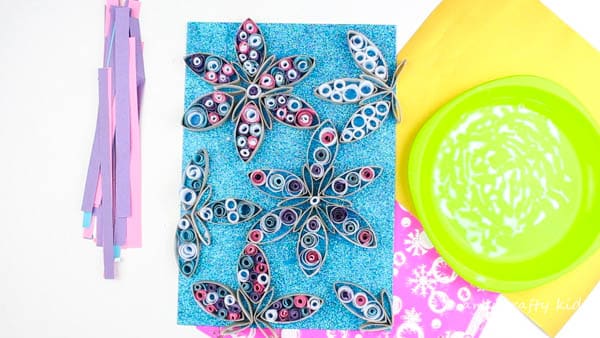
Fill all the paper tubes with quilled paper, varying the colours and combinations.
Once the Quilled Paper Tube Snowflake Craft is complete, leave it dry!
Quilled Paper Tube Snowflake Craft
The inspiration for this craft comes from the amazing variety of quilled projects over on Red Ted Art. If your Arty Crafty Kids love this process, then I would definitely recommend that you pop over and take a look!
In the meantime, for more Winter Art Fun take a look at these popular posts:
14 Winter Art Projects for Kids
