Sharing is caring!

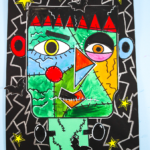
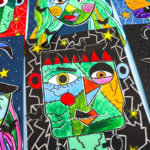
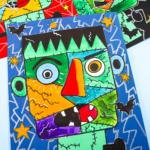
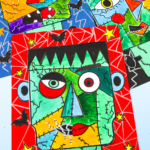
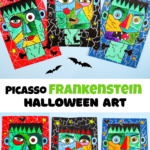
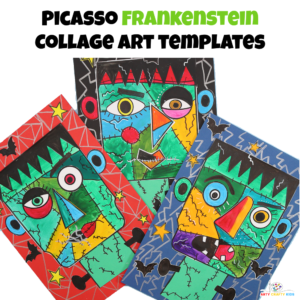
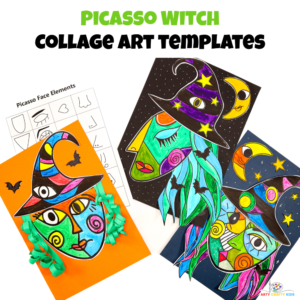
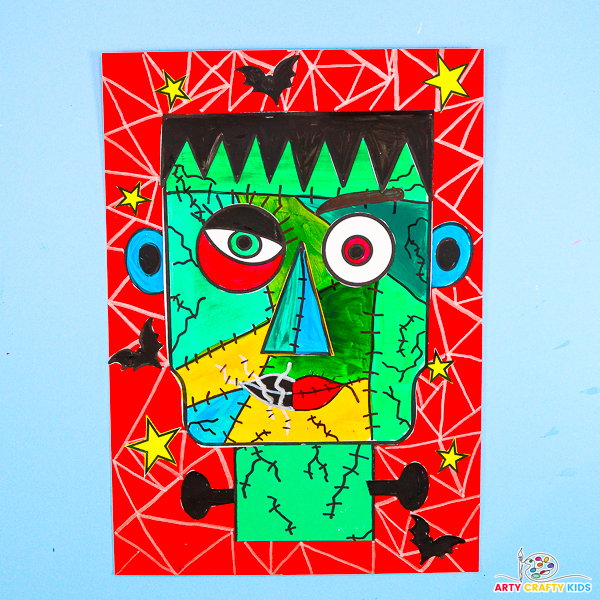
If you loved our Picasso witch collage, then you’re in for another treat! This Halloween, we’re bringing a new twist to our creative art world by transforming Frankenstein into Picasso-styled collage art.
Just like our Picasso witch collage, this Frankenstein project uses vibrant shapes and playful composition to deconstruct a familiar Halloween character.
Where Picasso’s work often took human faces and bodies apart to show them in new ways, Frankenstein’s own story is one of assembly – a creature built from different parts.
Both Picasso’s art and Mary Shelley’s Frankenstein explore what it means to create, making Frankenstein the perfect subject for this style of collage.

Why Frankenstein and Picasso?
At first glance, Mary Shelley’s Frankenstein and Pablo Picasso’s artistic style might seem worlds apart, but they share some fascinating parallels. Both figures challenge the idea of identity and what it means to be “whole.”
In Shelley’s Frankenstein, the creature is constructed from different parts, much like Picasso’s use of geometric shapes and fragmented forms in his Cubist work. Picasso deconstructed the human form, showing it from multiple angles at once, and just like Frankenstein, these pieces come together to create something new and powerful, though not traditionally beautiful.
Frankenstein’s struggle with his identity and his place in the world echoes the experimental and daring spirit of Picasso’s art. Both push boundaries, asking deep questions about creation, self, and what it means to be human.
This makes Frankenstein an exciting and thought-provoking subject for a Picasso-inspired collage! Kids can have fun piecing together bright, bold shapes, mimicking Picasso’s cubism while also reflecting on Frankenstein’s patchwork nature.

How to Make Picasso Frankenstein Collage Art for Halloween
Materials:
- White Card Stock for Printing
- Colored Cardstock
- Colored Paper (optional)
- Coloring Medium ( paint, crayons, marker pens etc)
- Scissors
- Glue Stick
- Pencil
- Black Marker Pen
- White Acrylic Marker Pen
- Picasso Frankenstein Templates (members will need to login to access the templates).
Not a Member?
https://www.artycraftykids.com/arty-crafty-kids-club/Join the Arty Crafty Kids club to access the Frankenstein Templates and 100s more Art and Craft templates, How to Draw Guides, and Coloring Pages.

Let’s Create Picasso Frankenstein Face Collages!
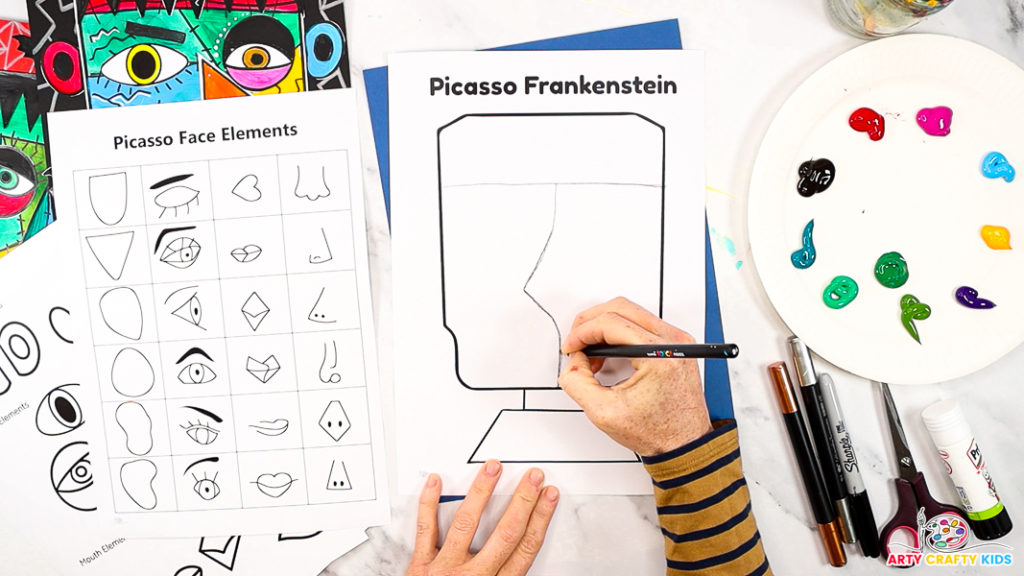
Step 1: Divide the face in half and draw a nose shape.
Your Arty Crafty Kids have the freedom to divide their Frankenstein however they like, but a classic feature is the distinctive line across the monster’s forehead. I
If they choose to include it, this can be the first line they draw, followed by a second dividing line down to the bottom of the face.

Step 2: Draw some facial features and color in the segments.
Now it’s time to bring Frankenstein to life! Start by drawing some simple facial features—this can include just a bold, drawn mouth, as seen in the image.
Feel free to experiment with the placement and shape of the eyes, nose, and scars.
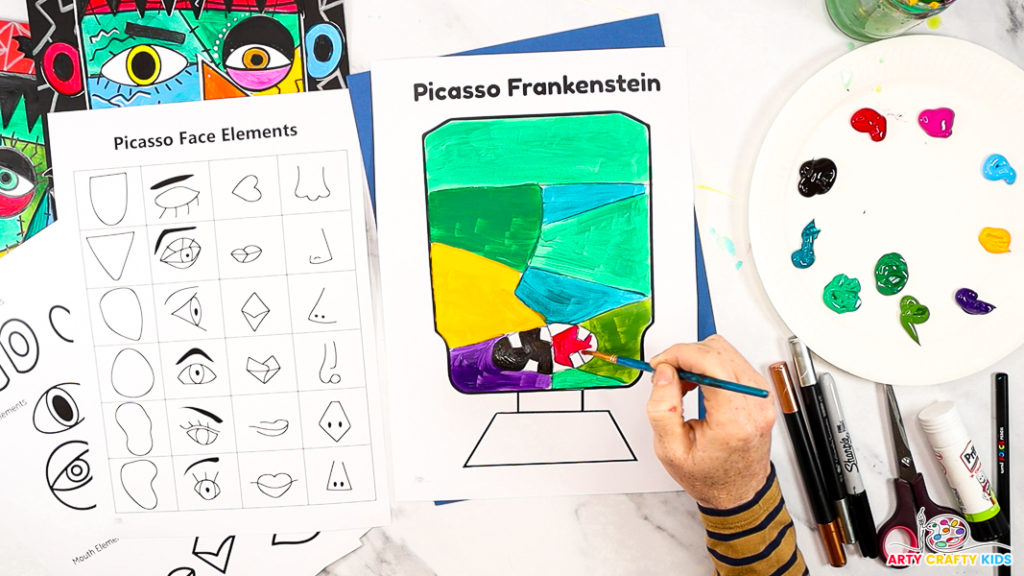
Next, add a splash of color to the different segments of Frankenstein’s face.
While we’ve used paint to color in our Frankenstein, your Arty Crafty Kids can use any medium they love. Whether it’s crayons, markers, pastels, or even a combination of different materials.

Step 3: Color in the collage elements.
While Frankenstein’s head dries, color in the collage elements!
Use the template to mix and match elements like hair, bolts, eyes, noses, and mouths.
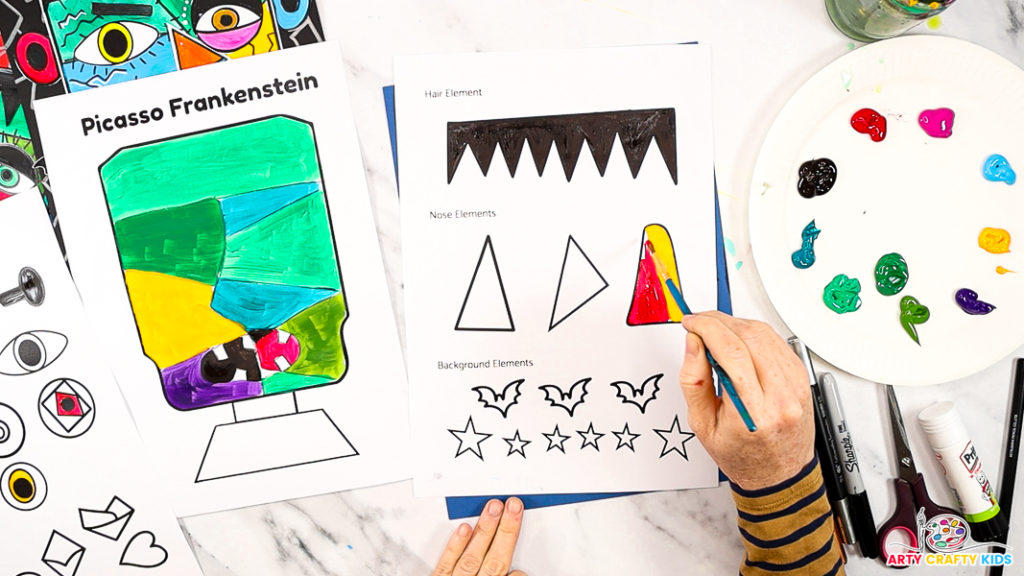
Encourage your Arty Crafty Kids to have fun coloring these in with bold, vibrant colors.
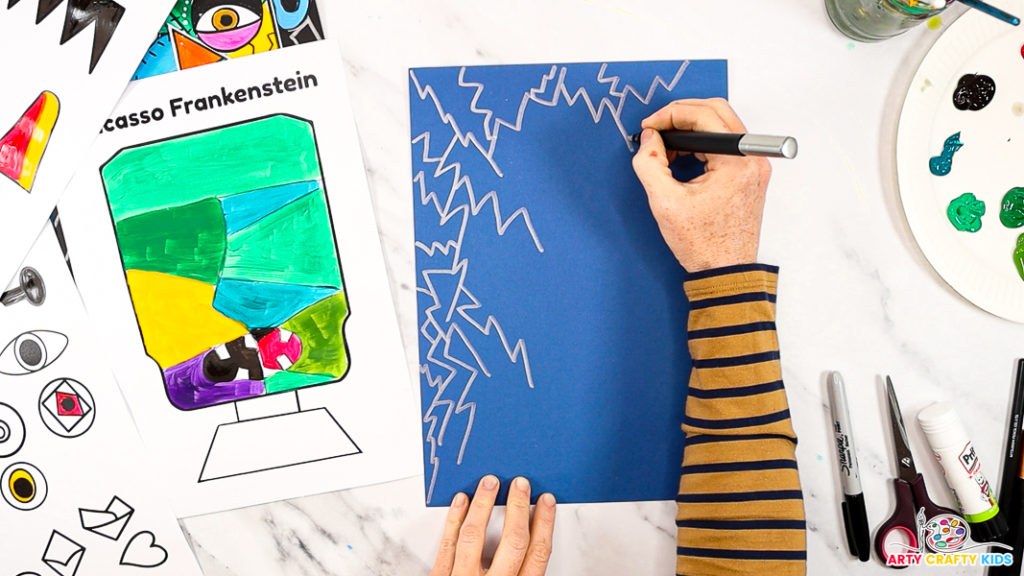
Step 4: Create an abstract background for Frankenstein’s portrait.
Let’s give Frankenstein an electrifying background!
To pay homage to the moment he was brought to life, use a metallic or acrylic pen to fill the page with bold, jagged zig-zags that resemble lightning bolts.
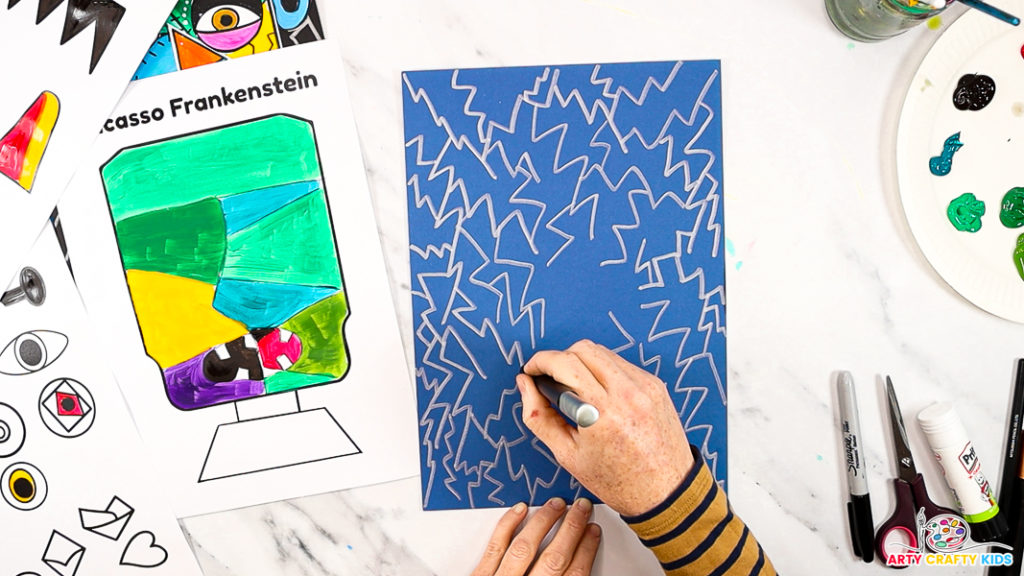
These striking shapes add a dynamic and abstract feel to the artwork, making it pop just like Picasso’s vivid, fragmented style.
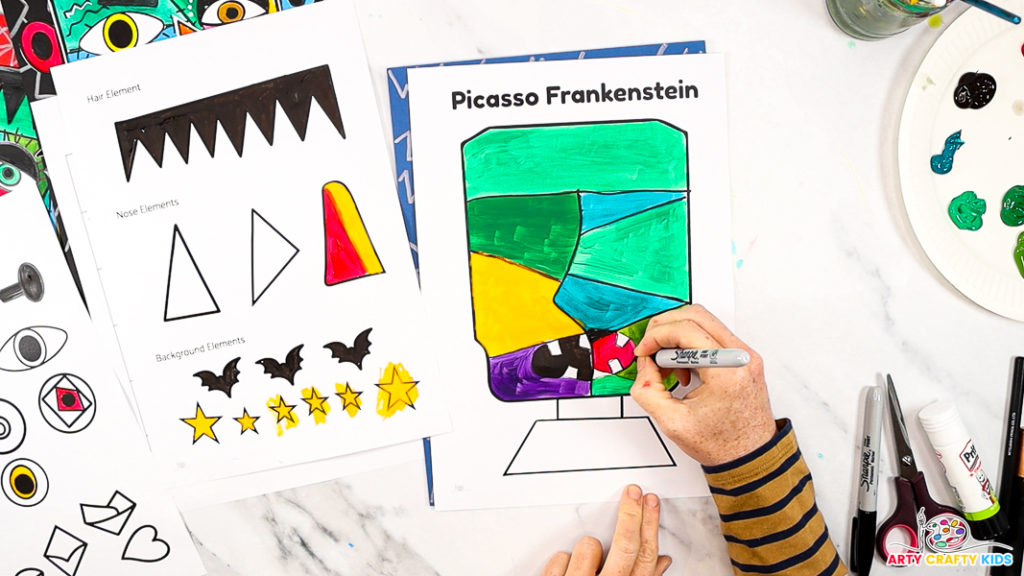
Step 5: Outline the Frankenstein’s facial features.
Once Frankenstein’s face is dry, grab a black marker pen to outline the facial features.
This not only adds definition but also emphasizes the mismatched, asymmetrical elements of the design, giving your Arty Crafty Kids witch that distinct Picasso-inspired look with bold, eye-catching contrasts!
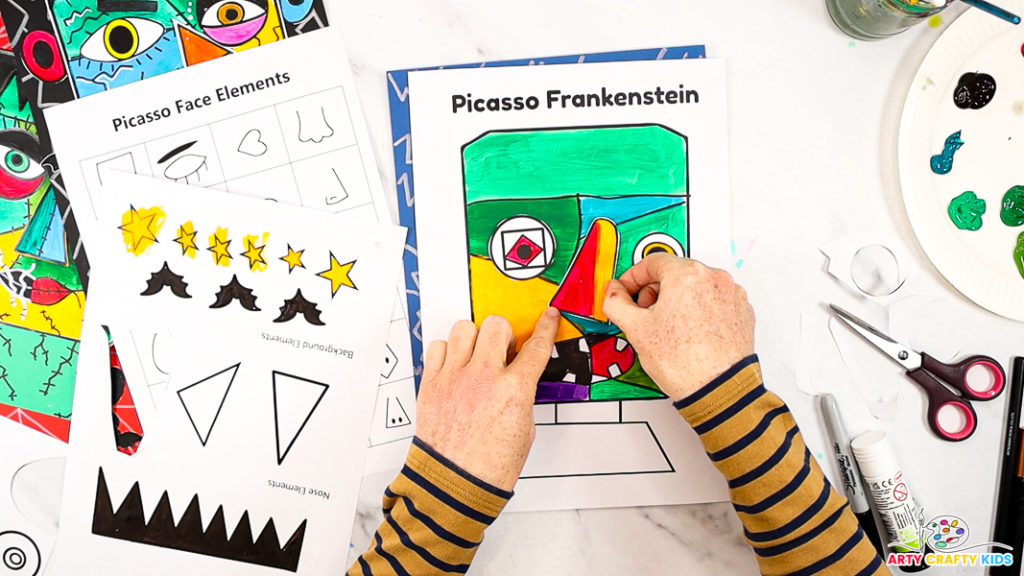
Step 6: Use the elements templates to collage extra features.
Cut out the facial elements from the template and paste them onto Frankenstein’s face. For example, use a collaged eye and nose.

Step 7: Continue building Frankenstein’s face.
Once the additional facial features (excluding the hair piece) are in place, further develop Frankenstein’s face by drawing expressive eyebrows and lashes.
Enhance the stitched effect by adding small vertical lines along the existing lines to emphasize the look of the stitches.
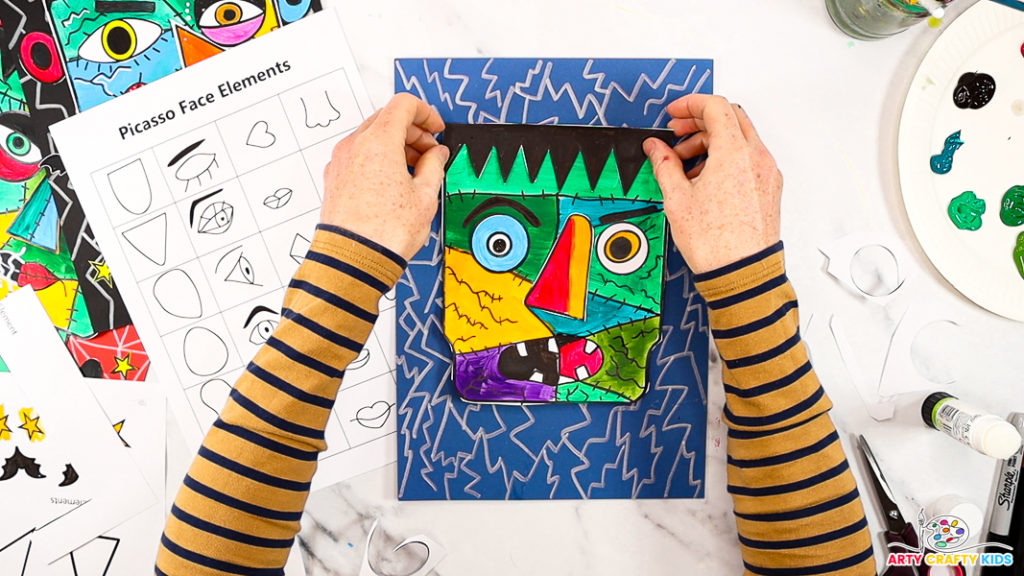
Step 8: Cut out Frankenstein’s head and affix it to the electrifying backing card.
With the head complete, securely attach Frankenstein’s hair to finish the look.

Step 9: Attach the ears, bolts, and neck to complete the foundational features of Frankenstein’s monster.
To highlight Picasso’s influence, arrange the pieces in deliberately misaligned and mismatched positions for an abstract effect.
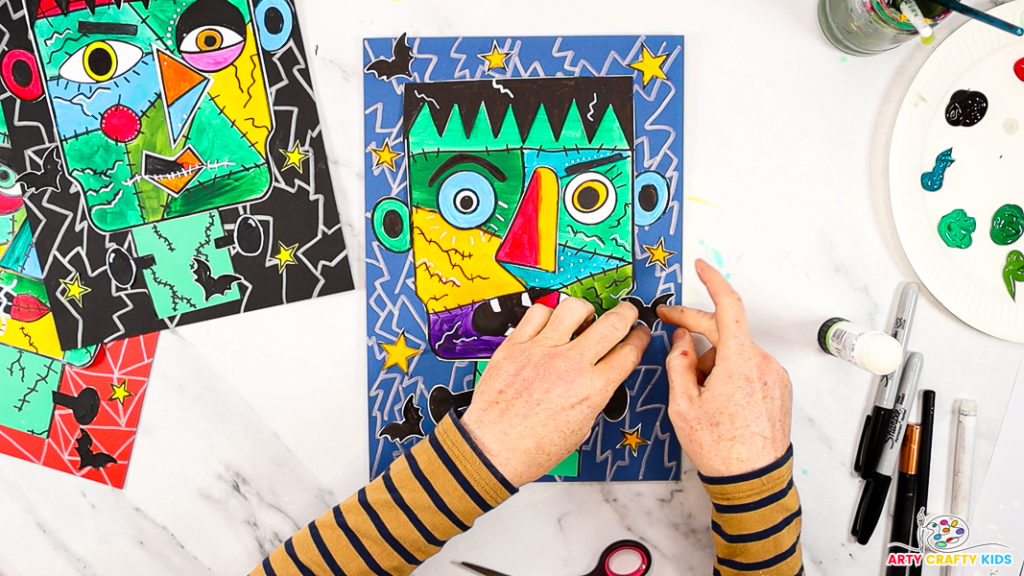
Add stars and bats for additional interest.
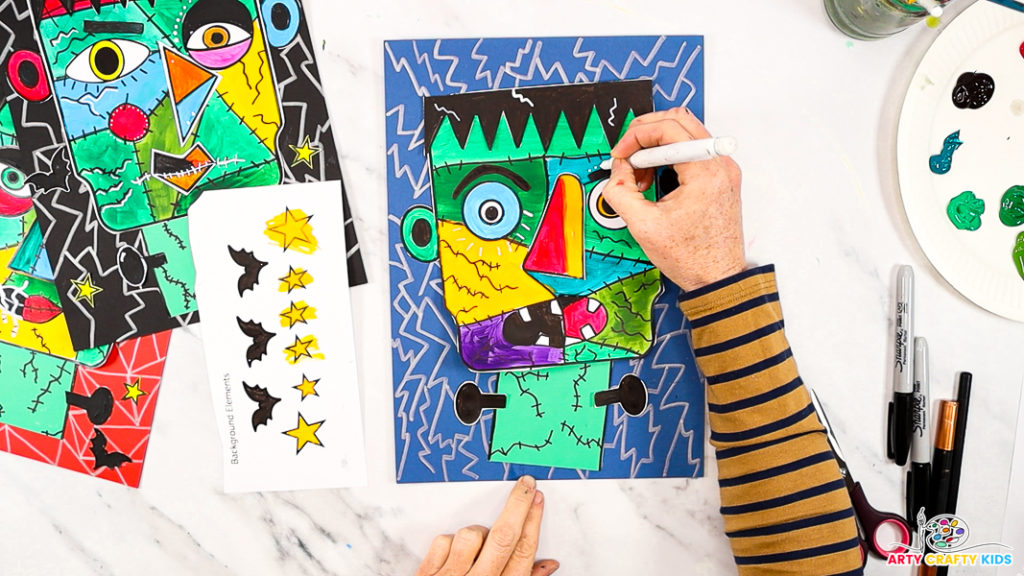
Use a white or black pen to add the final details and finishing touches to Frankenstein’s head, bringing the character to life
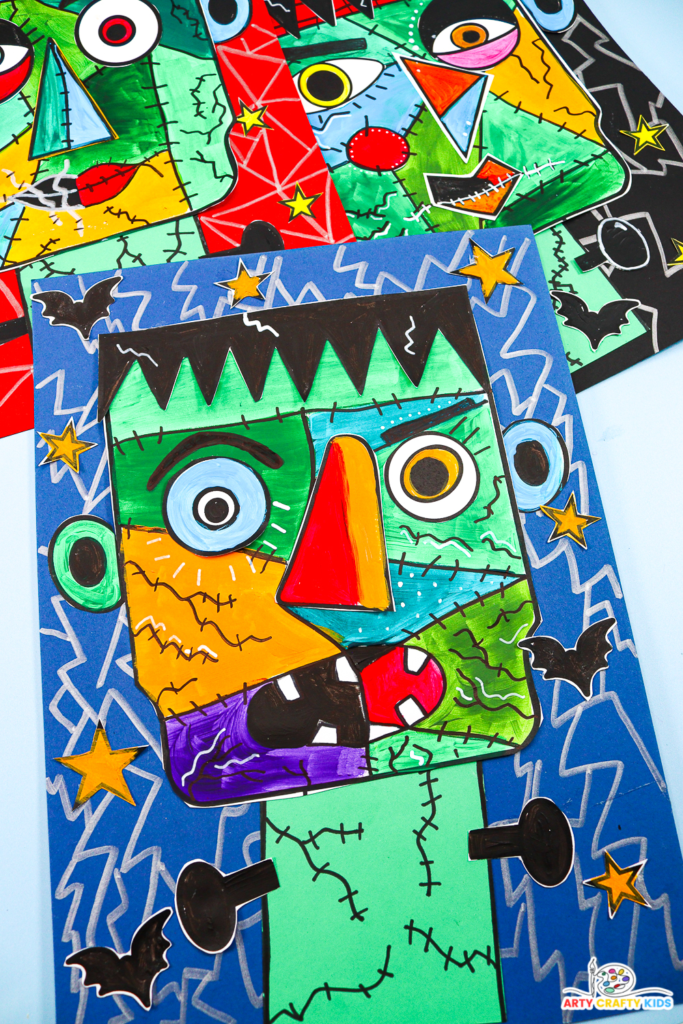
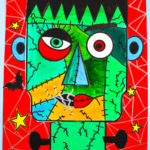
Completed Picasso Frankenstein Collage Art
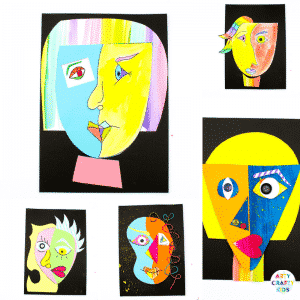
While Arty Crafty Kids are encouraged to use our Frankenstein templates, each creation is guaranteed to be one-of-a-kind and can be customized to suit children of all ages.
Take a moment to explore some of our variations for inspiration and see just how diverse and imaginative these Frankenstein masterpieces can be!
Here, the variation in eye and nose shapes, along with their positioning, transforms Frankenstein’s expression, giving the monster a friendlier and less intimidating look.

In contrast, this version of Frankenstein features a quirky expression—both eyes fixed on the audience, yet each conveying a completely different emotion.
Encourage Arty Crafty Kids to think about how their design choices—like the shape and placement of eyes, mouths, or eyebrows—completely transform their character’s appearance.
This is a great opportunity for them to explore how small changes can convey different feelings, like making Frankenstein look friendly, surprised, or even a little confused.
Having these discussions helps kids develop a deeper understanding of how expressions work and how they can communicate emotion through their artwork.
Download the Picasso inspired Frankenstein Templates
If you’re looking for a fun, hands-on Halloween activity, our Picasso-inspired Frankenstein templates are a perfect fit.
They offer kids a chance to mix and match different facial features, experimenting with expressions to create their own version of Frankenstein. W
Whether you’re crafting at home or in the classroom, these templates are a great way to spark creativity and help kids explore how different elements can change the look and feel of their monster. It’s a simple yet imaginative way to add some crafty fun to your Halloween celebrations!


