Sharing is caring!
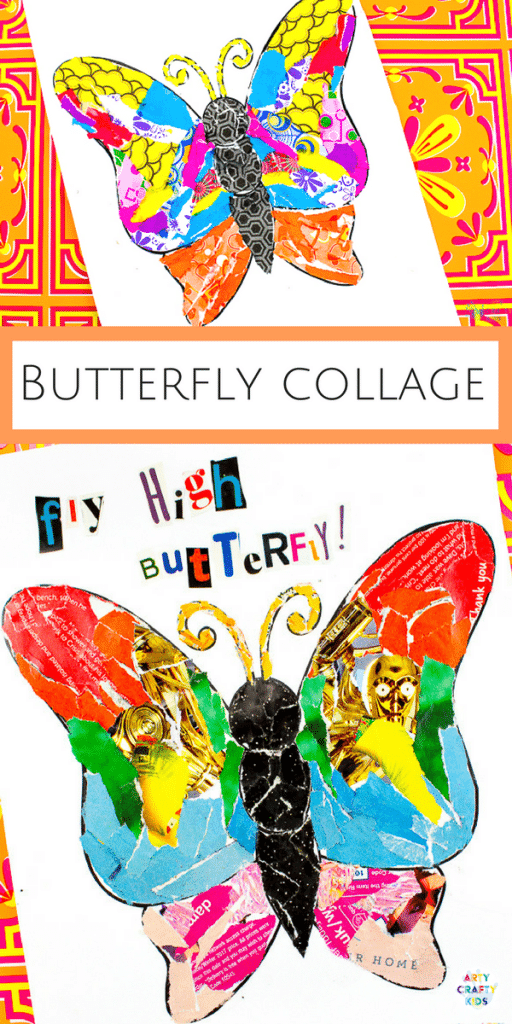
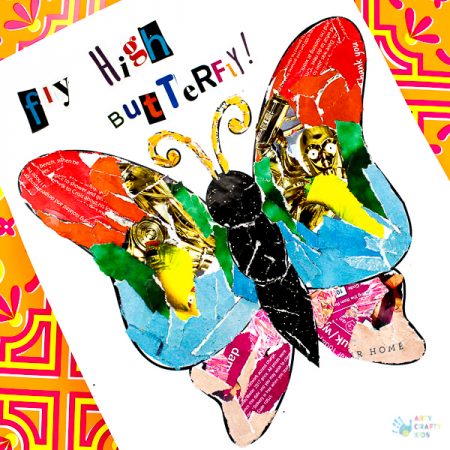
Collage art is a wonderful medium for kids to explore. The process of breaking one object (in this instance paper) to create a new whole naturally lends itself to encouraging creative thinking and developing problem-solving skills. With the aide of our butterfly template or hand-drawn shape, children will be measuring and calculating how each individual piece with fit into the available space, and of course, with creating a butterfly, there’s the additional challenge of symmetry. No matter how big or small your Arty Crafty Kids are, this project is adaptable and perfect for all! And they will be guaranteed to have the best time creating their Paper Butterfly Collage.
To extend the activity, I like to challenge my own Arty Crafty Kids to create with just one magazine.
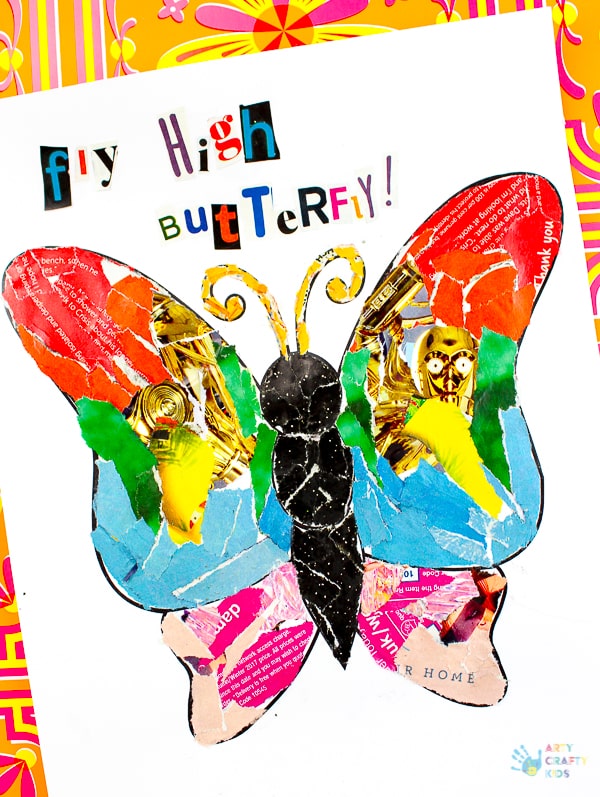
This is great for creativity and encourages kids (and adults!) to think outside of the box with respect to adding colour and texture to their collages. For example, an image of a woolly jumper can more than just the end product. Take a look at the thickness of wool, the stitch, and shapes. The same applies to furnishings, nature images, food and so on – If you look closely at our example butterfly, you may spot a familiar face!
Paper Butterfly Collage: Materials
Stock Card
PVA Glue
Scrap Paper, Newspaper or Magazine
Our butterfly template is accessible via the Arty Crafty Kids membership club, where a huge variety of templates can found as well as colouring pages, how-to-draw guides, DIY cards and much more!
Paper Butterfly Collage: Tutorial and Video
To see the process in action, take a look at our nifty video tutorial below.
[mv_video aspectRatio=”16:9″ key=”femigwf6on8xjx4qhalh”]
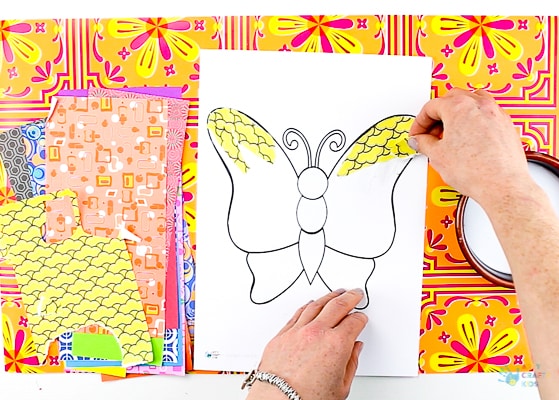
Step 1: Delve into the recyling bin or/and craft supplies and gather a variety of scrap paper.
Either download the template from our membership area or ask your Arty Crafty Kids to create their own shape.
Print or draw the shape onto a piece of white card stock. This is really important, as the process is very sticky and paper will just get too soggy and potentially spoil your child’s gorgeous creation. 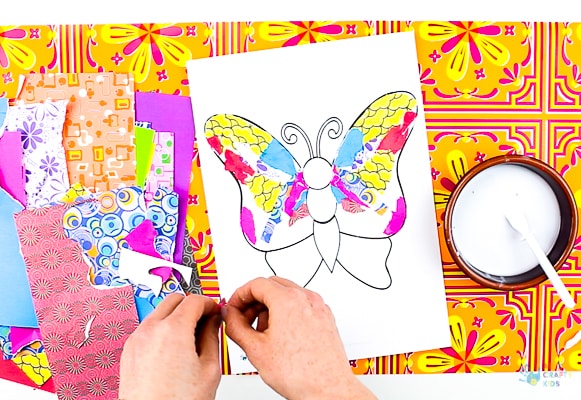
Step 2: Begin filling the butterfly with torn shreds of paper.
Your Arty Crafty Kids may prefer to cut their paper with scissors.
With each application, adds lots of glue, spreading it across the existing paper to secure all the edges.
Once this dry, this will leave a lovely gloss over the paper and make it quite hard to touch. Perfect if you’re likely to frame the collaged art!
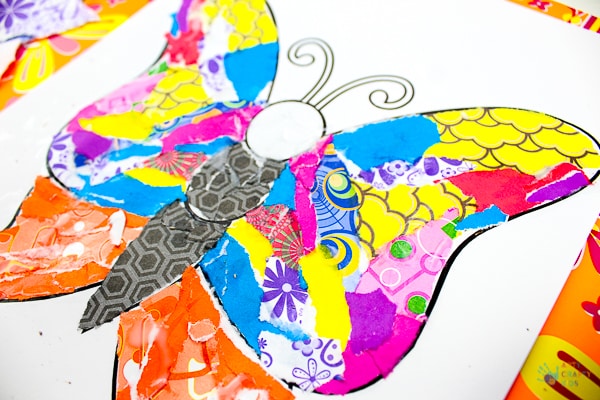
Step 3: Continue filling the shape with a variety of colours and textures.
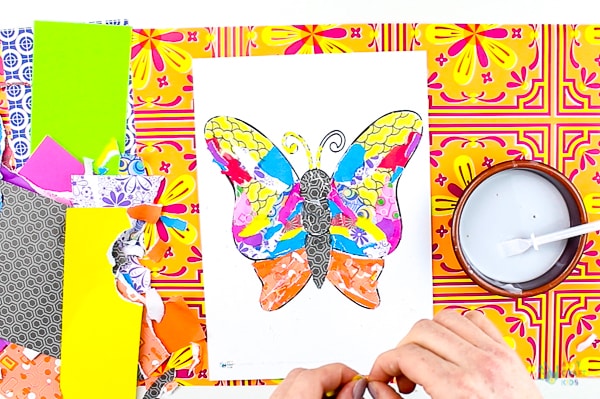
Step 4: Once the shape is complete, add one final spread of glue across the entire picture and leave the butterfly to dry!
The Paper Butterfly Collage is now complete!
I hope your Arty Crafty enjoy the process of creating their paper butterflies.
For more creative animal Art ideas, you may also enjoy Cool Cat Newspaper Art and our Mixed Media Unicorn!
And since you’re here…
Did you know that you can now have our crafts and all the materials you need
delivered straight to your door!
