Sharing is caring!
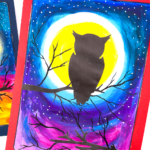
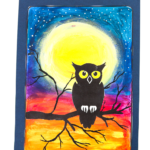
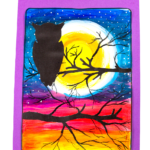
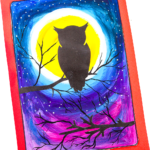
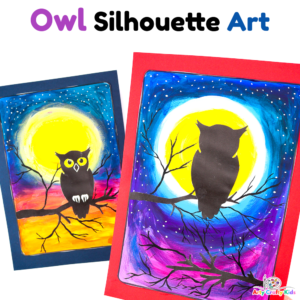
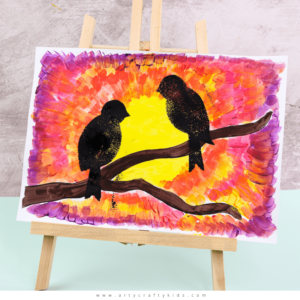
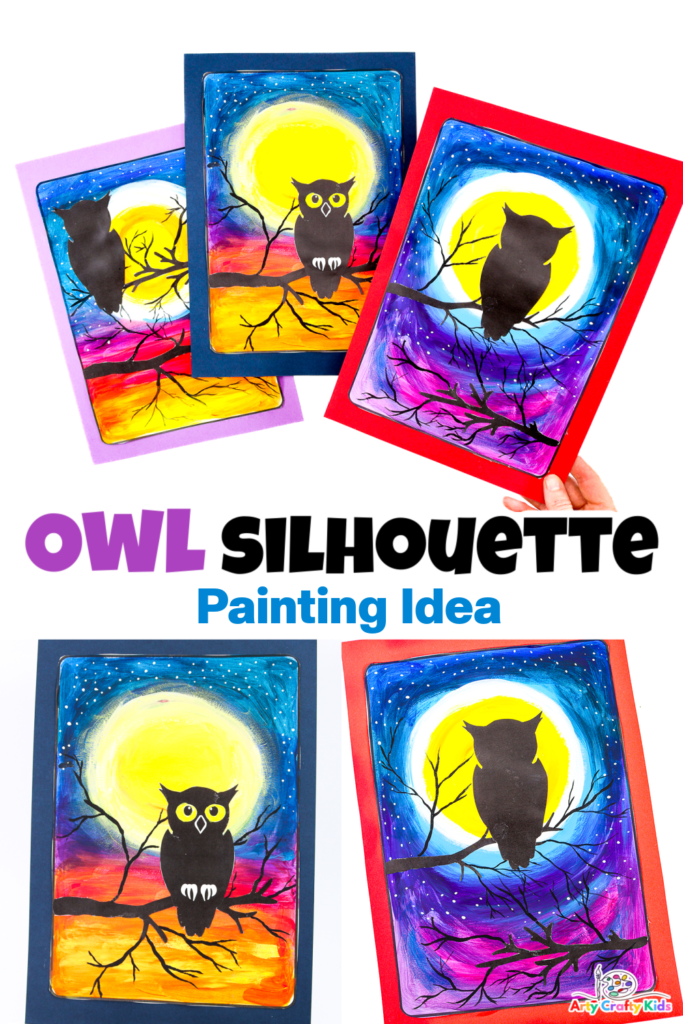
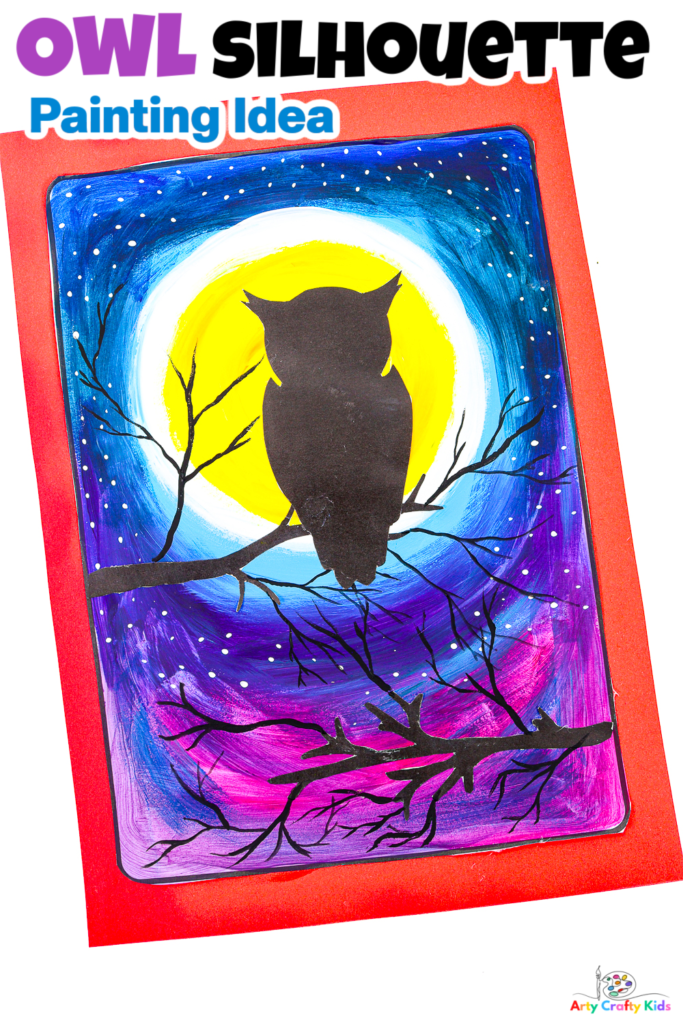
Designed with kids of all ages and beginners in mind, this beautiful Owl Silhouette Painting offers a simple yet delightful painting idea that can be easily attempted at home or in a classroom setting.
Included in this project are printable templates for both the owl silhouette and spooky tree branches, allowing you to tailor the tutorial to your child’s age and ability.
With the nights drawing in and the skies illuminated with the stunning hues of a Fall sunset, this art project is a fantastic way to delve into color blending and creation—a perfect fit for autumn or Halloween-themed art lessons.
How to Paint the Owl Silhouette Painting
Materials you will need:
- Card Stock or Mixed Media Paper for Printing
- Acrylic or a Favorite Medium
- Flat Tip Paintbrush
- Fine Tip Paintbrush
- Scissors
- Glue Stick
- Owl Silhouette Templates (members will need to login to access the template)
Watch the Step by Step Owl Painting Tutorial to see this Easy Painting Idea:
How to Paint a Moonlit Twilight Backdrop
Painting a twilight sky offers an opportunity for kids and beginners to explore colors, both in terms of their creation and blending.
The rich and diverse palette of autumn’s hues, from the warm oranges and pinks to the cool blues and purples, mimics the beautiful twilight sky; allowing young artists to draw inspiration from the natural world.
Related Posts: Four Seasons Tree Art, Spooky Circle Halloween Art, Kandinsky Tree art, Halloween Silhouette Art
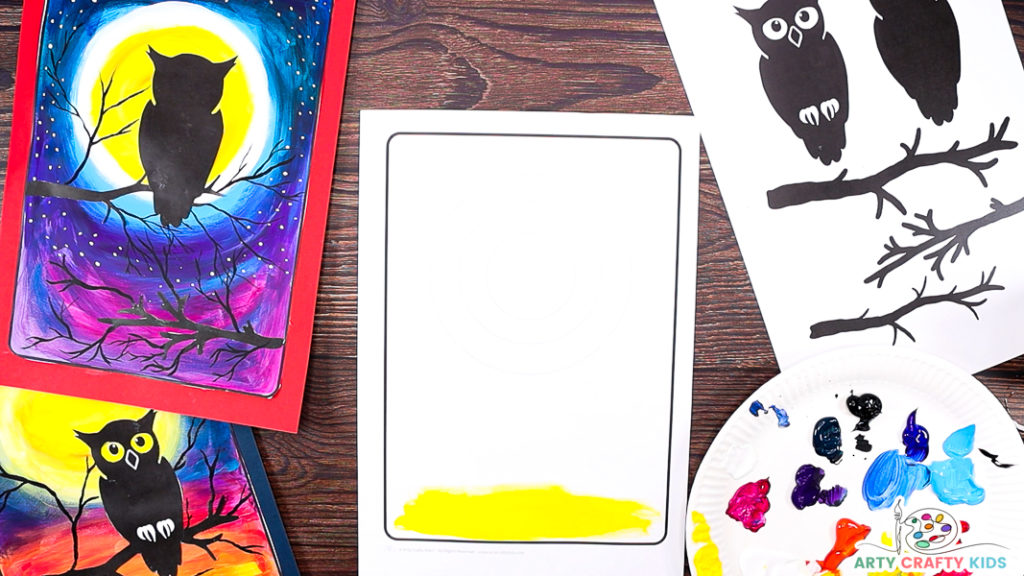
Step 1: Begin with a spread of yellow paint.
Use a flat tip brush to spread the paint at the bottom of (what will be) the moonlit canvas.
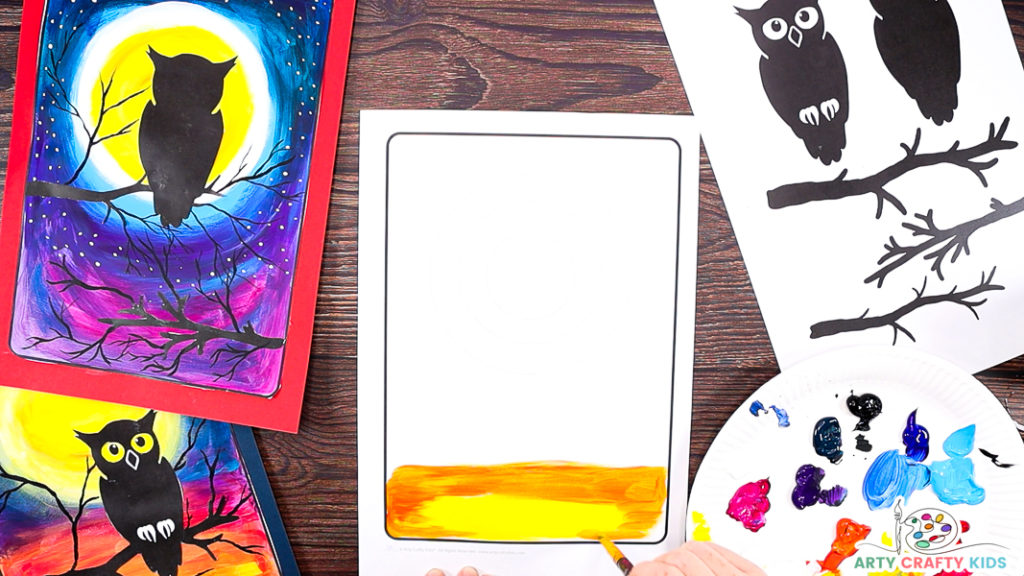
Step 2: Paint a layer of orange paint.
While the paint is still wet, surround the yellow with orange and blend the colors to create soft yellow/orange hues.
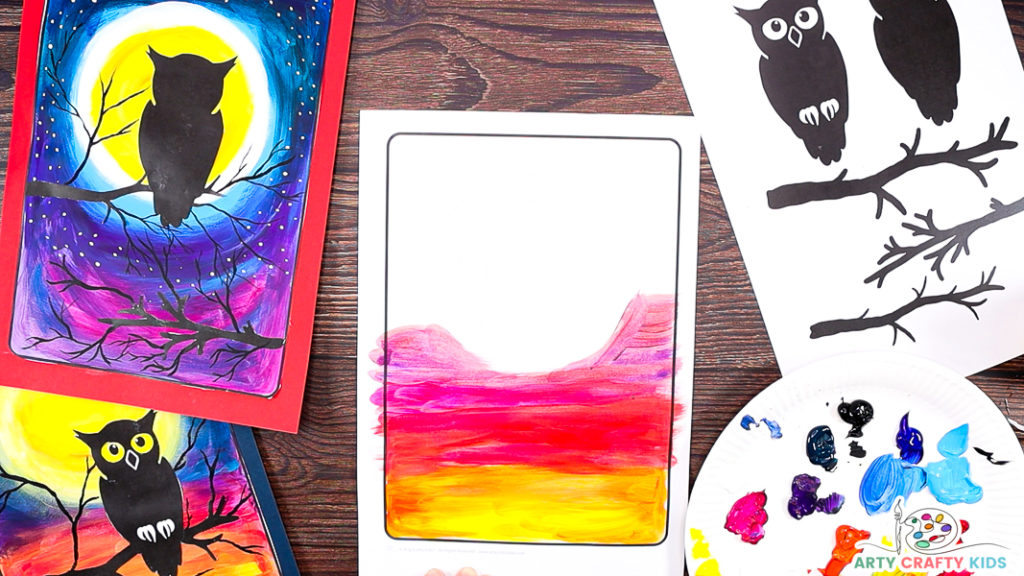
Step 3: Blend shades of pink and red.
As you work up the canvas, continue to blend the edges of the color blocks to create a seamless transition in color.
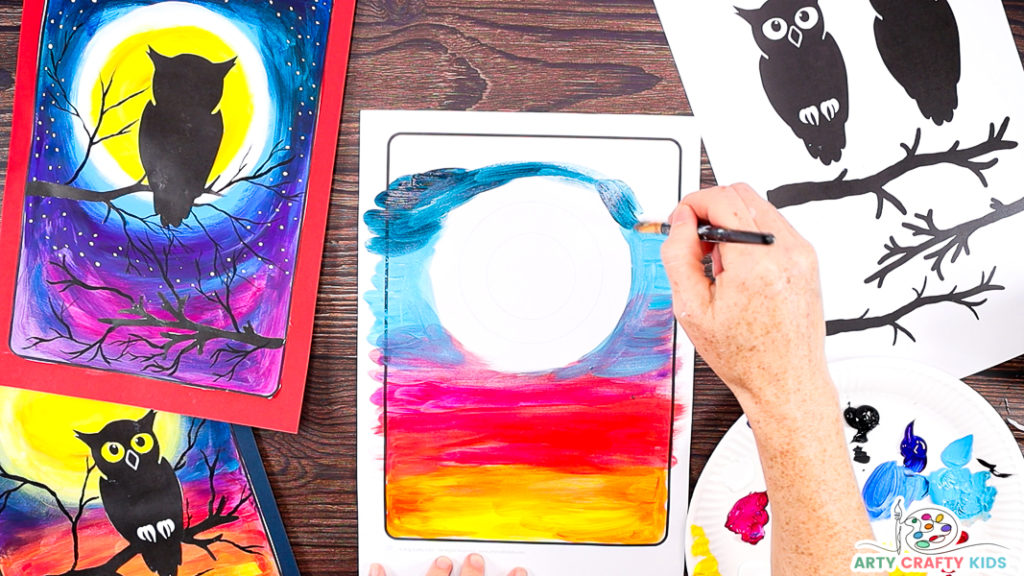
Step 4: Paint shades of purple and blue around the moon.
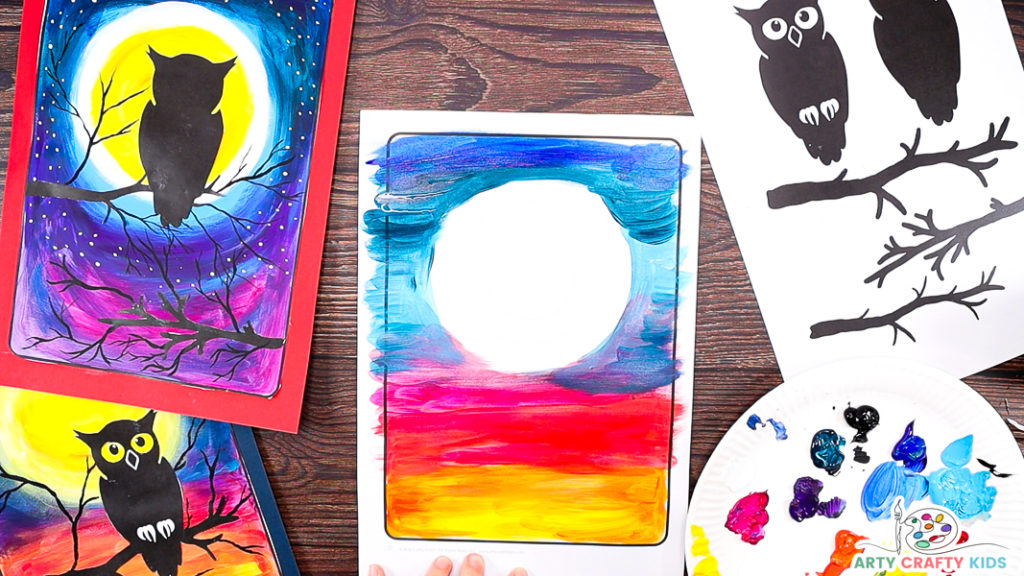
Continue blending the colors around the moon, starting with light purple and blue to deep and dark indigo color.
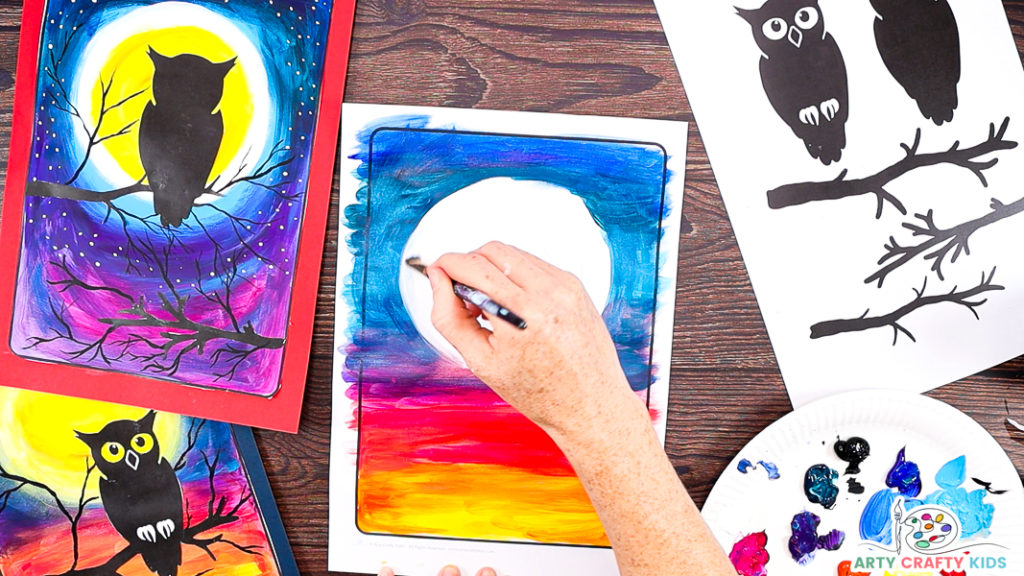
Step 5: Paint the moon’s glow.
Apply a generous spread of white around the outer rim of the moon, carefully blending into the surrounding color.
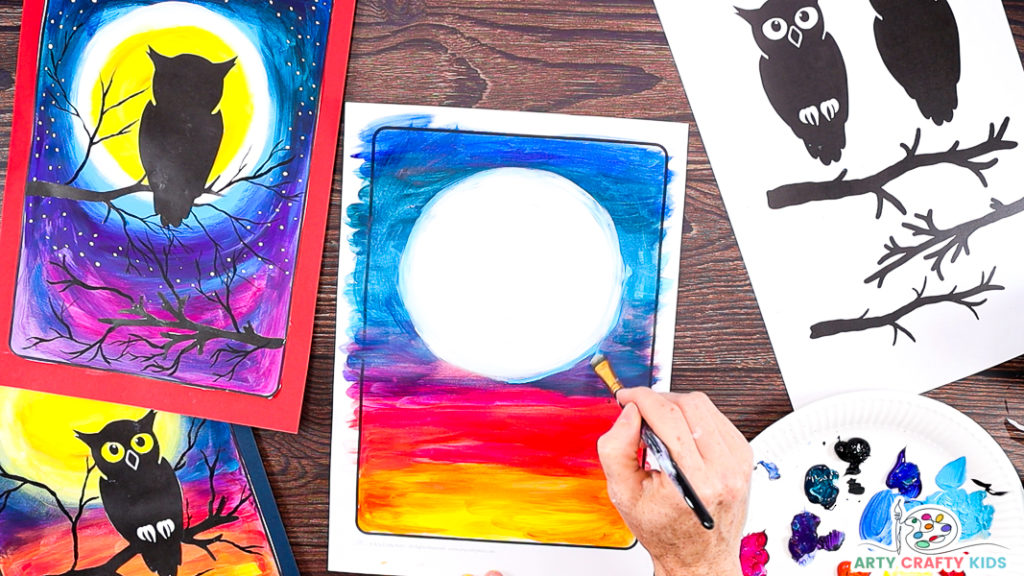
Step 6: Add definition to the moon’s glow.
Dip the paintbrush into a light shade of blue and gently spread it around parts of the outer moon rim.
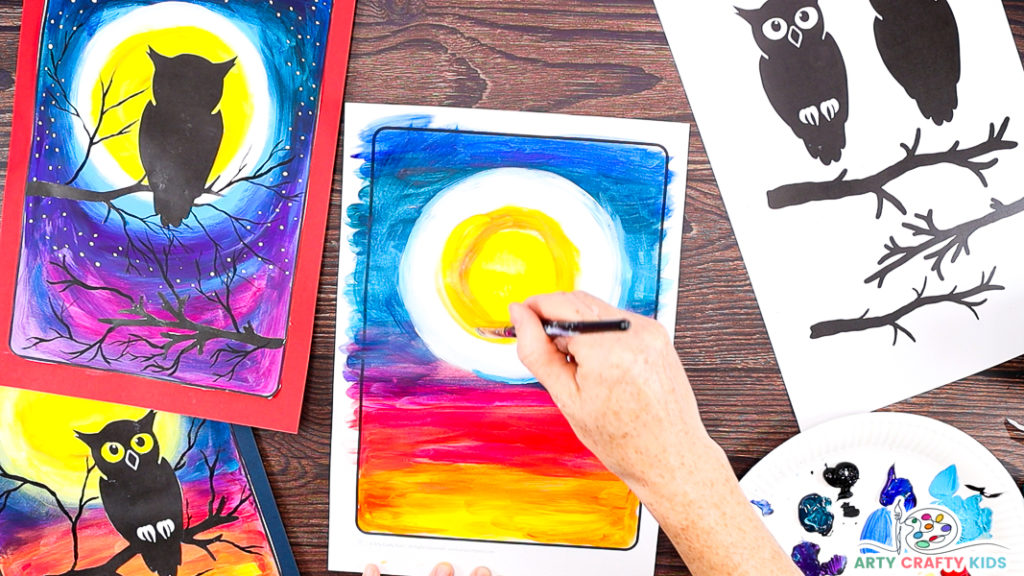
Step 7: Paint the moon yellow.
Paint the central circle of the moon bright yellow and fill the space between the center and the outer rim with a mix of yellow/orange.
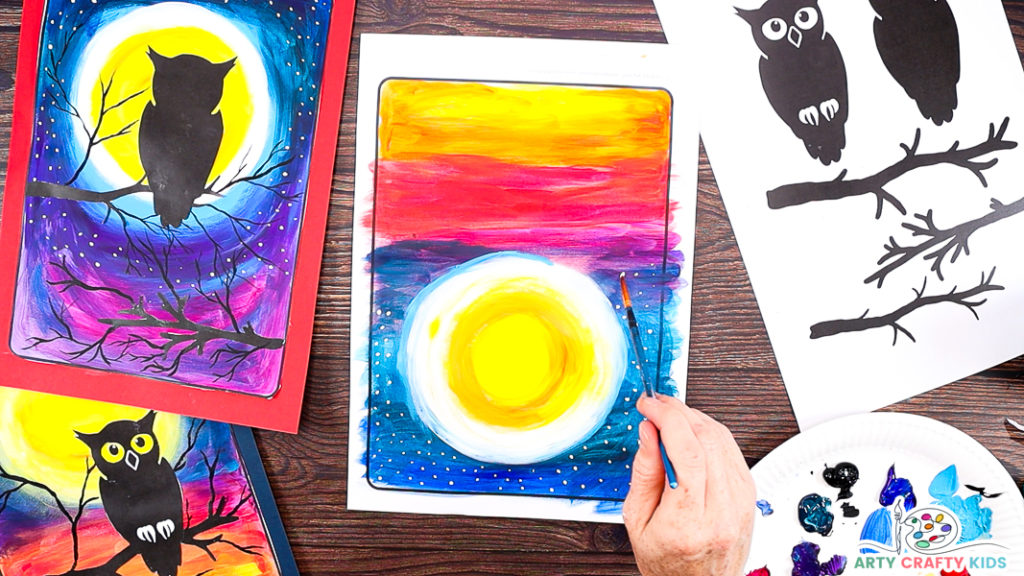
Step 8: Fill the twilight sky with little white stars.
Dip a fine tip paintbrush into white paint and create a collection of little dots within the purple and blue area of the sky.
How to Paint the Spooky Tree and Owl Silhouette
The next phase of this owl art project can be tailored to suit the age and ability of your kids. Choose which option is best for your lesson plan and child.
Simply cut and paste the spooky tree branches and owl silhouette directly onto the moonlit twilight sky OR follow the next steps of our art tutorial to enhance the tree branches with a spooky and realistic effect.
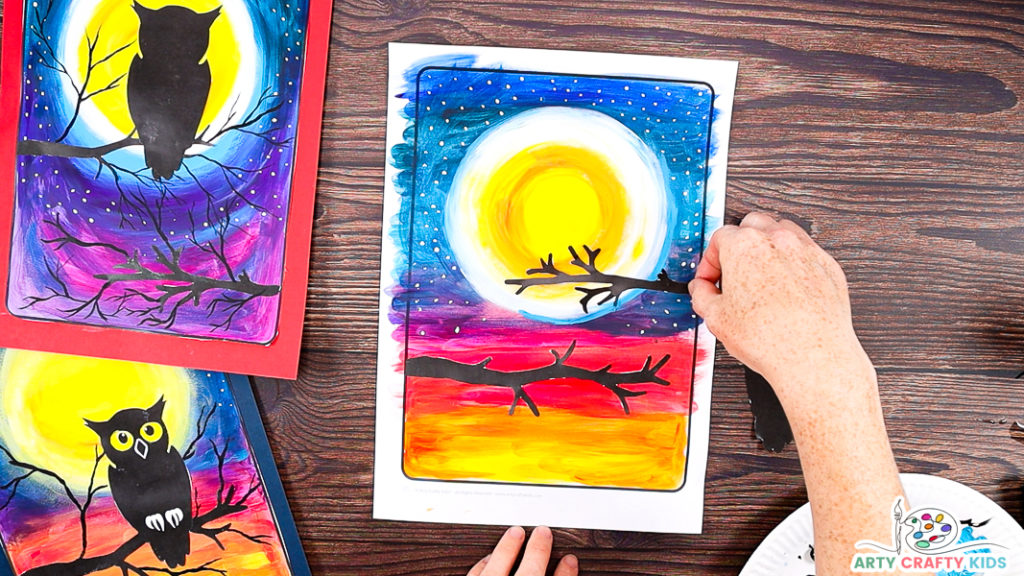
Step 9: Cut and paste the tree branch silhouettes onto the Twilight backdrop.
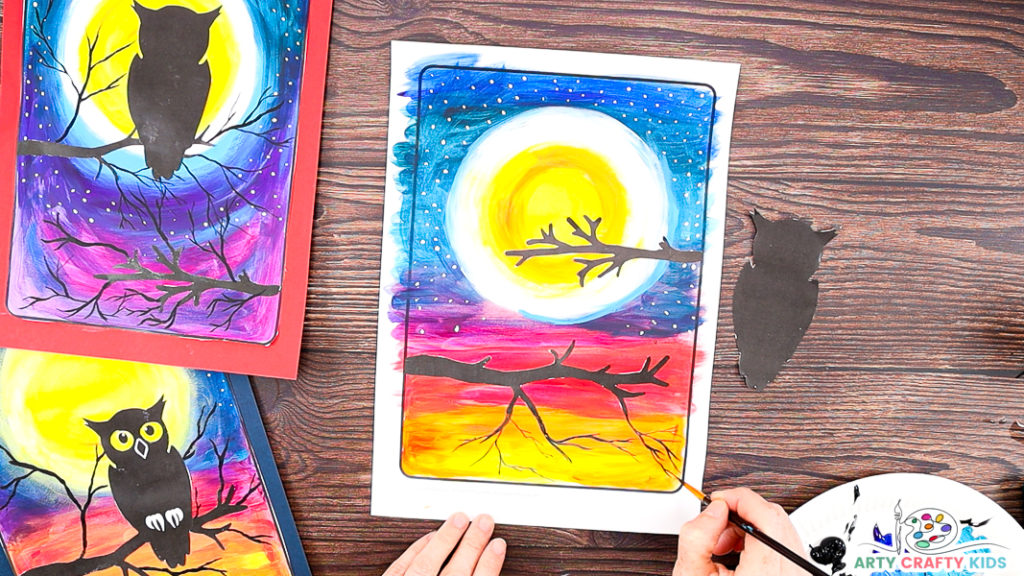
Step 10: Expand the tree branches and wispy twigs.
Dip a fine tip paintbrush into black paint and expand silhouette tree branches with longer and finer lines.
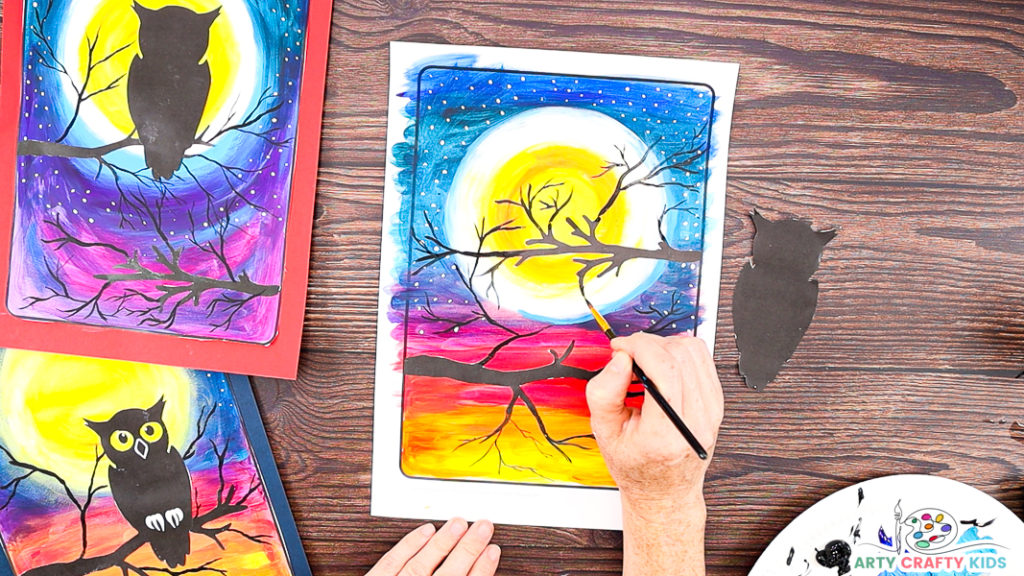
The branches can be wobbly and taper off at the end with little lines (twigs) painted from the root branch in various directions.
Feel free to expand the spooky tree branches into the the moonlight.
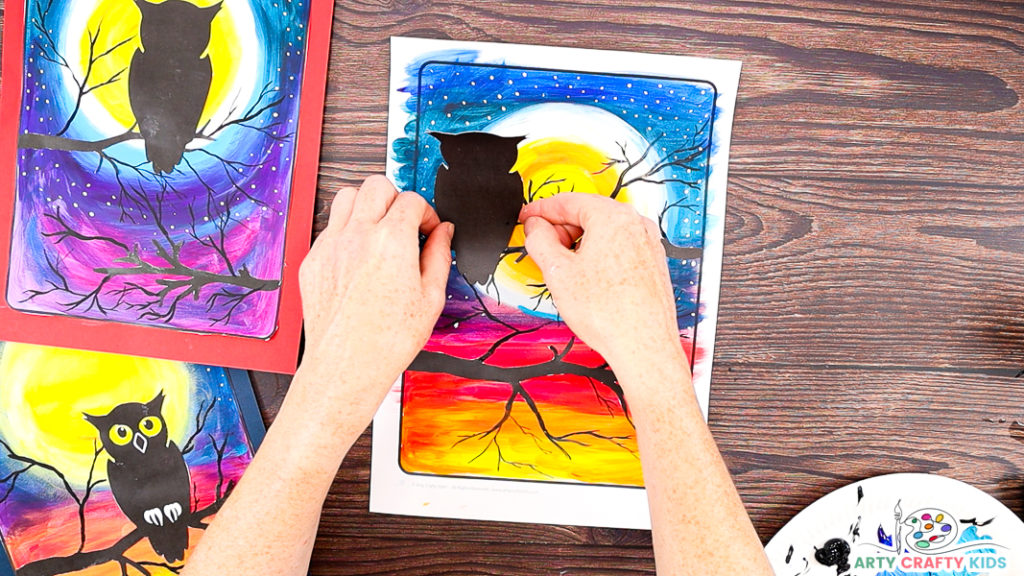
Step 11: Cut and paste the owl silhouette.
Choose a spooky tree branch and glue the owl silhouette – this completes the owl silhouette painting tutorial.
More Easy Painting Ideas for Kids
Our extensive assortment of enjoyable and attainable art projects for children encompasses a wide array of painting techniques.
These range from scrape painting and blow art to step-by-step drawing and painting tutorials, offering a diverse and engaging range of creative activities.


