Sharing is caring!
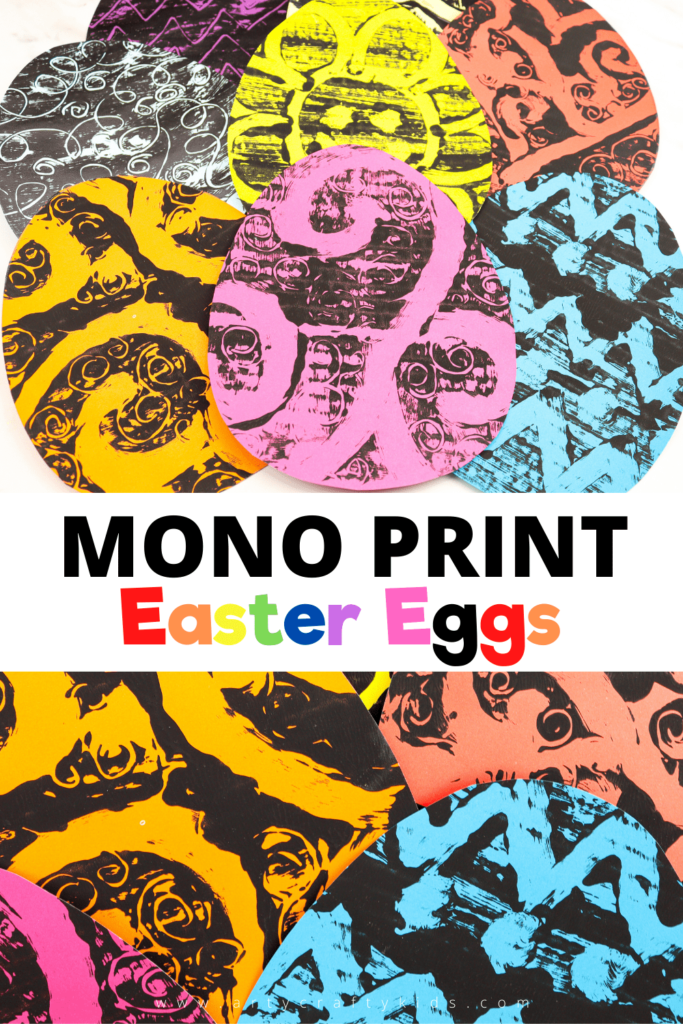
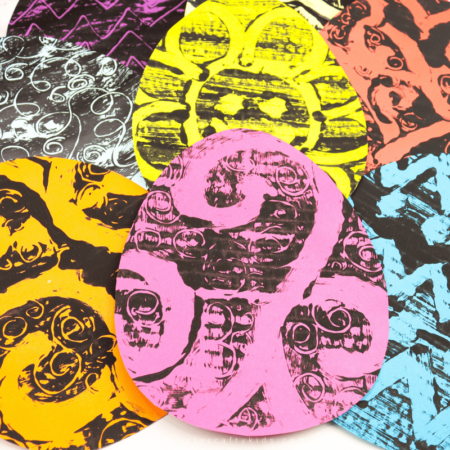
Mono print Easter Eggs: With Easter almost upon us, we’ve been working on brand new, super fun and easy Easter art and craft projects. And if you’re tired of the same old Easter art projects and pastel colors, our mono print Easter eggs are for you.
This Easter art project is incredibly simple, but really impactful and totally unique. Children will learn basic printing techniques, whilst getting hands-on with paint and pattern-making. They’ll love playing with bold color and exploring contrast as they create Easter eggs their friends and family are sure never to have seen before!
The perfect Easter art for preschool or early years children, this easy Easter art project will help to hone fine motor skills, encourage intentional mark-making and allow kids to explore how pattern and color can combine to create different effects.
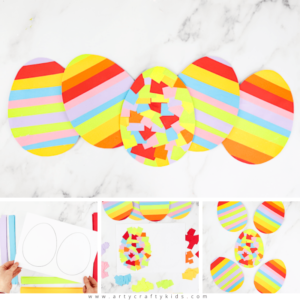
The finished egg prints look gorgeous mounted and made into Easter cards; they would make fab invitations to an Easter party; you could even thread them onto ribbon to make festive Easter bunting. Whatever you choose to do with them, they’re sure to attract the attention of the Easter bunny!
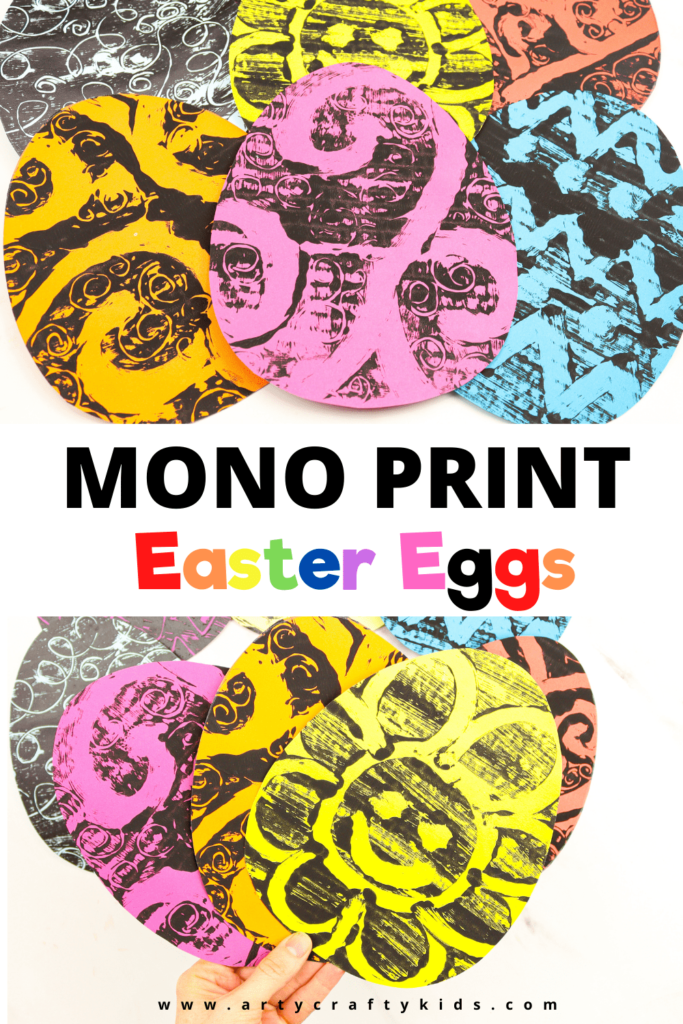
How to Make Mono Print Easter Eggs:
Materials:
Aluminimum Foil
Black Paint
Paintbrush, Sponge or Eco Q-tip
Colored Card Stock
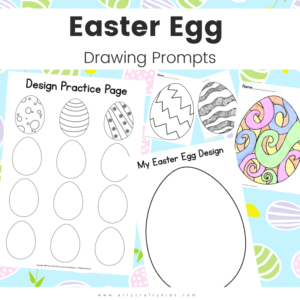
Download a FREE Easter Egg Template:
To download the free Monoprint Easter Egg Template (also called the Rainbow Easter Egg),
simply click the link and hit download – Easy Peasy!
Get your FREE Easter Egg Template here: https://www.artycraftykids.com/product/rainbow-easter-egg/
Watch the Video:
Let’s Make Mono Print Easter Eggs!
Paint the Foil and Draw
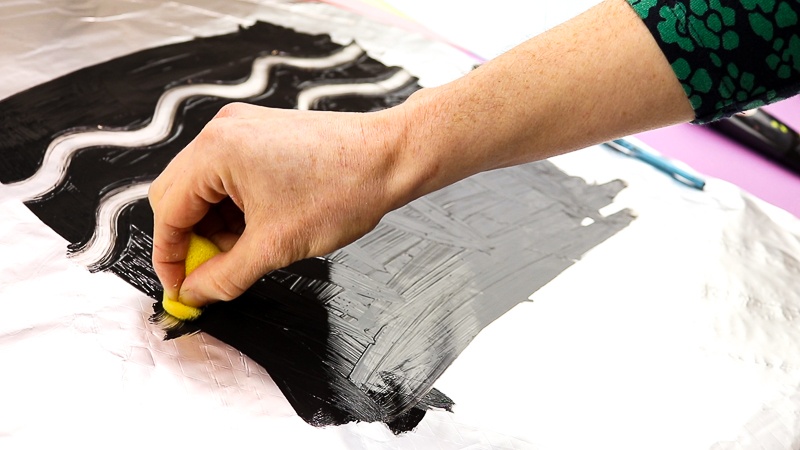
Begin your Easter egg art by painting a large rectangle of black paint thickly onto a sheet of aluminum foil. The painted area needs to be bigger than your sheet of A4 cardstock.
Now you have the base, it’s time to add some pattern to your Easter art project! You can use any kind of tool or implement to create your pattern – a sponge, an eco-friendly cotton swab, the end of paintbrush or, of course, your finger! Drag your chosen tool through the paint, making whatever pattern you like. It could be swirls, zig zags, waves, dots: whatever you think would make a great pattern for an Easter egg.
Layer a Piece of Colored Card Stock
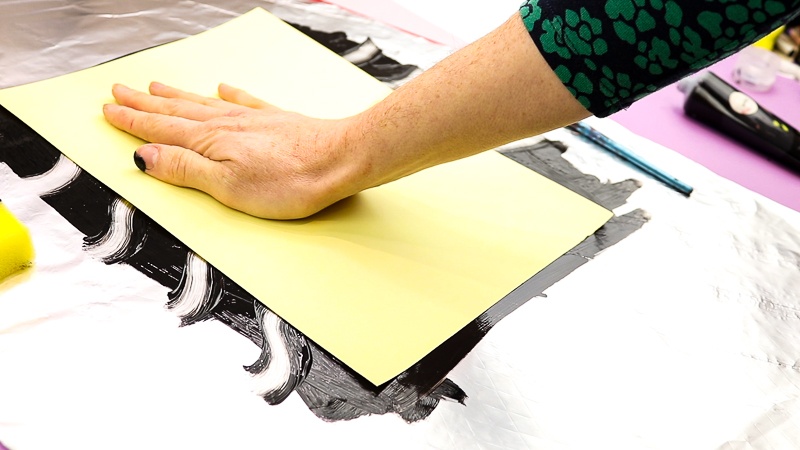
The next step in your Easter egg art is to lay a sheet of colored cardstock onto the paint and press down gently, but firmly. Try not to let the sheet slide on the paint – we want to make sure our pattern stays clear and defined.
Gently Peel the Cardstock
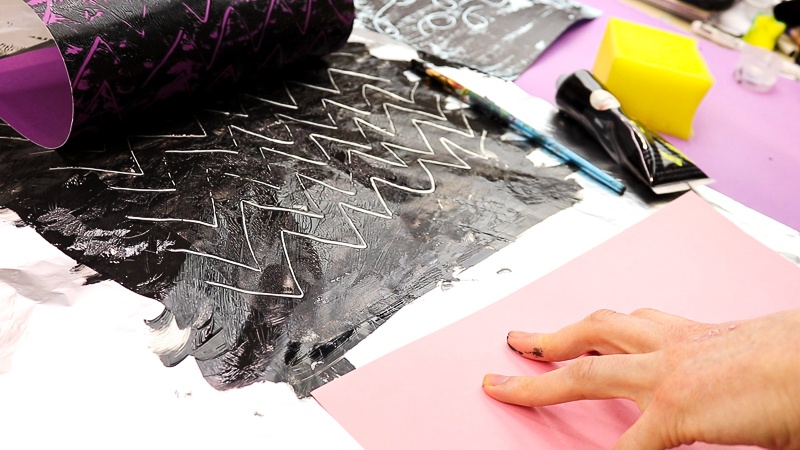
Now peel the cardstock off the painted foil, nice and gently, to make sure we keep that lovely pattern we’ve just created.
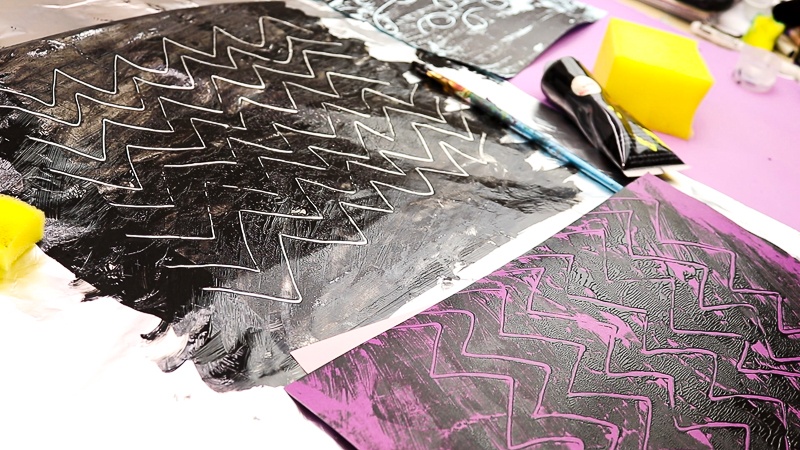
Wipe the Pattern with a Brush and Start Again!
But we can’t have just one easter egg, can we?! So add a little more black paint if you need to, and brush back over the painted foil, clearing the pattern you just made so you have a blank canvas ready to start all over again!
This time, why not try using a different tool to make the pattern for your Easter egg art – will it make a thicker or thinner design? And don’t forget to use a different colored cardstock to print on – the more colors the better!
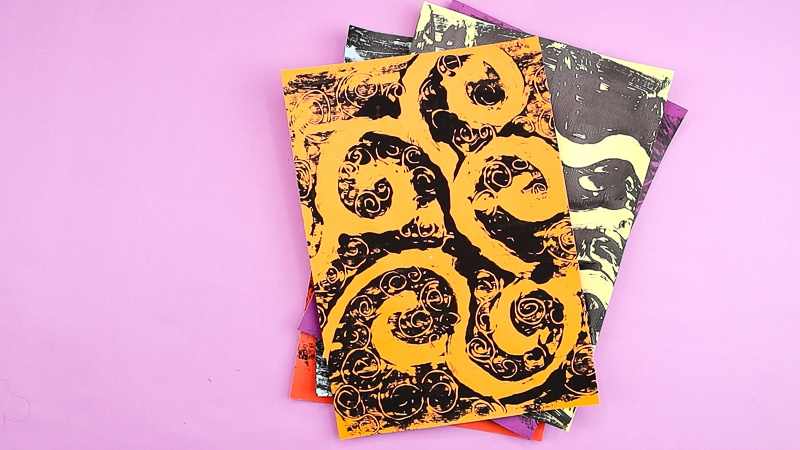
Leave the Designs to Thoroughly Dry
Once you’ve got creative with lots of different patterns and colors, leave your printed sheets of Easter art to dry.
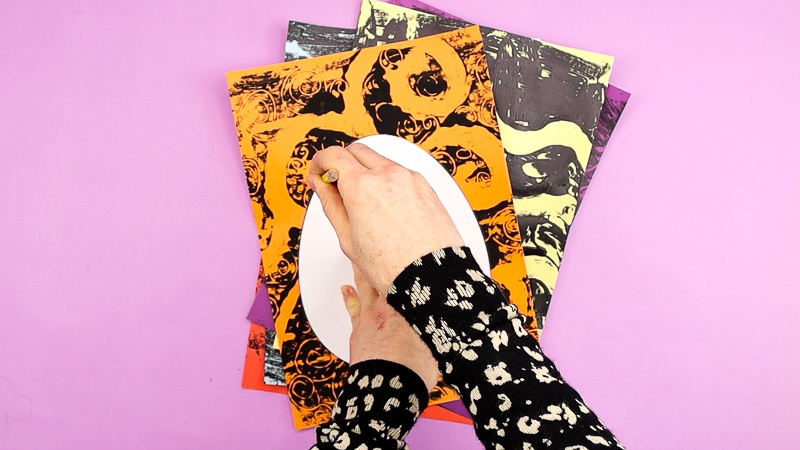
Draw an Egg Shape
When your Easter egg art is totally dry, draw around the egg template in the center of each printed sheet.
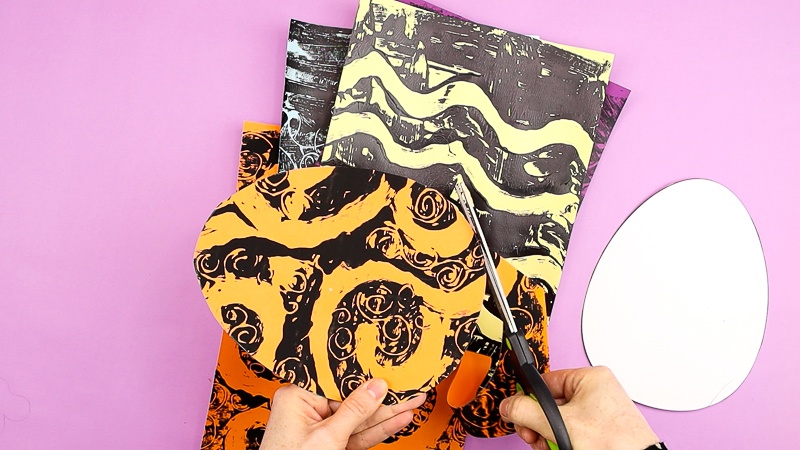
Cut out the Easter Egg
Then carefully cut out each one. (Remember not to throw away the scraps! You can cut them up into different shapes to make funky collage art or unique backgrounds for your paintings.)
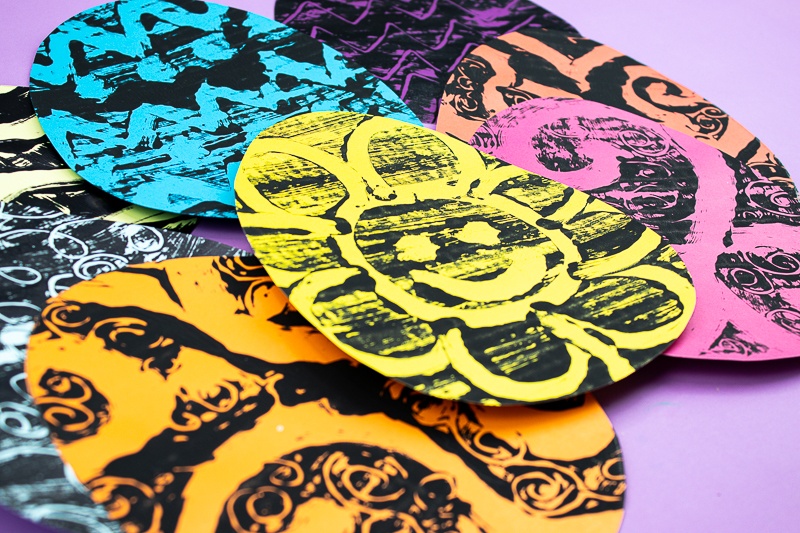
The Monoprint Easter Eggs are Complete
And there you have it! A super easy Easter art project that’s bold, colorful – and totally different! Don’t forget to share and tag us on social media so we can see your unique approaches to Easter egg art.
