Sharing is caring!
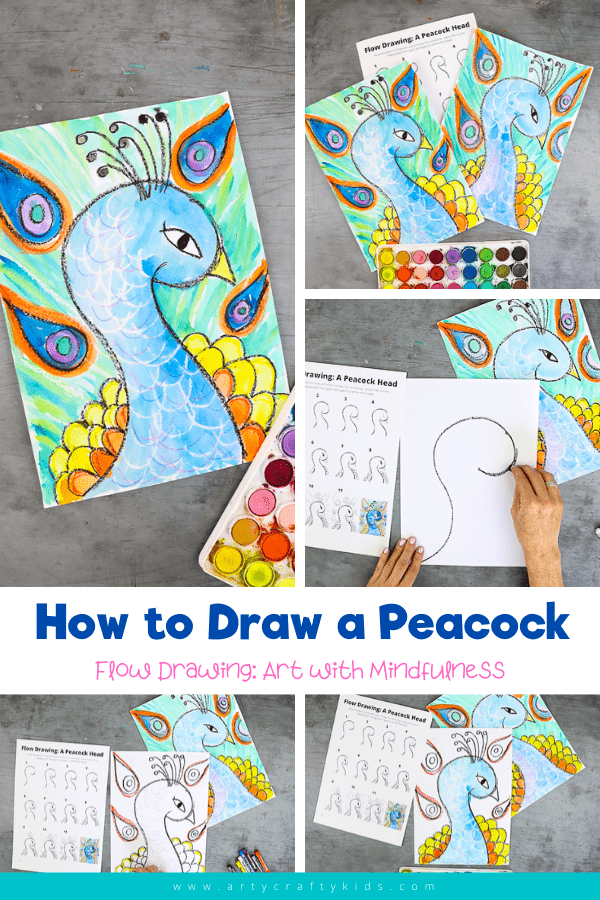
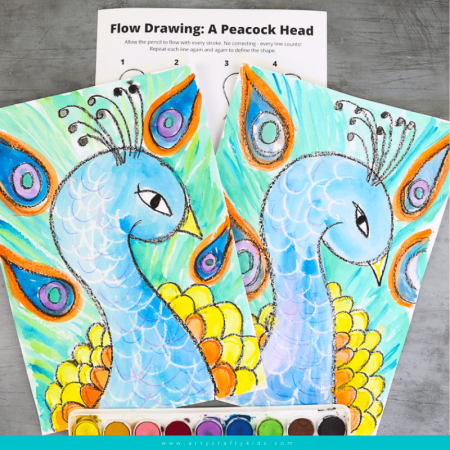
How to Draw a Peacocks Head: So far in our flow drawing series we’ve brought you a little bird, but how about having a go at a big bird – the proud peacock!
Their long elegant necks are well suited to the flowing lines of this drawing style. And their bold colors and natural, intricate feather patterns make them the perfect subject to explore through art.
Easy to draw but with tons of impact, our peacock head flow drawing guide will really capture children’s imaginations and nurture their creativity.
What is Flow Drawing?
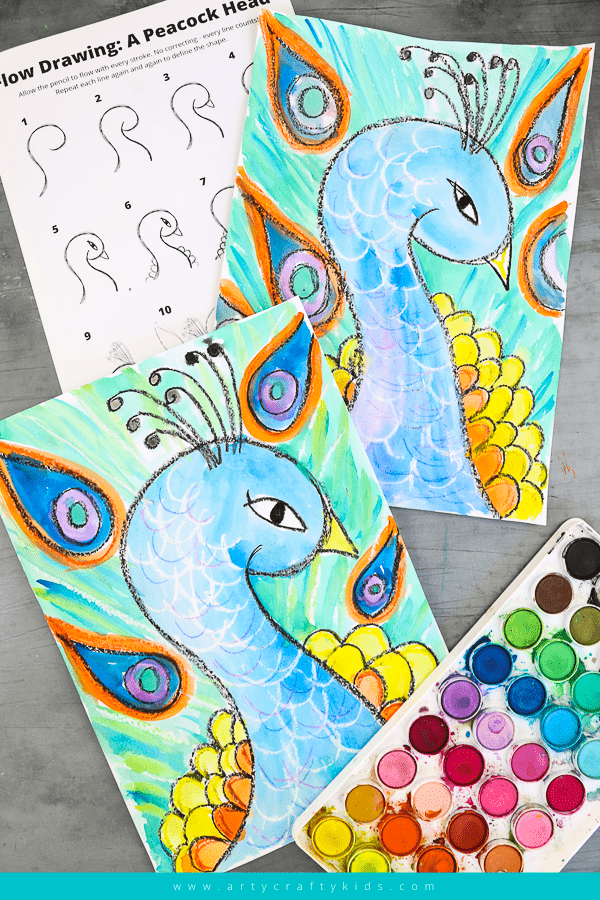
Flow Drawing is a new art technique developed by us to encourage children (and adult beginners too!) to understand shapes and create illustrations, in a much ‘freer’ way. By removing restrictions, flow drawing encourages children to fully engage in the moment and discover their natural flow, making every line count and bringing mindfulness to their creative process.
You can think of the flow drawing technique as a ‘how to draw’ guide with a difference – children won’t just draw a picture, they’ll create a unique work of art, right from their soul.
Flow Drawing Benefits:
Although the process of flowing more naturally in art might seem a little alien to children at first, it’s really worth encouraging them to have a go. Flow drawing has so many benefits and helps little hands and minds to:
- Explore simple shapes and how they work together to create larger forms
- Discover their natural flow and rhythm through repetitive movements
- Learn how to combine mediums, with a fun and easy approach
- Build confidence in their own creative ability
- Combat ‘perfection-seeking’ in art, providing a much needed alternative to rigid ‘how to draw’ guides
- Bring mindfulness to the creative process and boost mental health
- Foster a love of art and self-expression.
Flow Drawing for Kids: How to Draw a Peacock Head
What you need:
White Card Stock
Oil Pastels or Wax Crayons
Watercolor Paints
Download the How to Draw a Peacocks Head Guide:
The How to Draw a Peacocks Head guide is available to members of the Arty Crafty Kids club. Members will need to log in to access the template:
https://www.artycraftykids.com/product/flow-drawing-how-to-draw-a-peacocks-head/
Not A Member?
Watch the Video:
Let’s Draw a Peacocks Head:
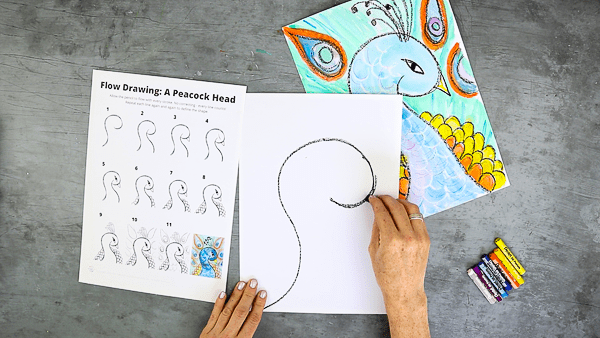
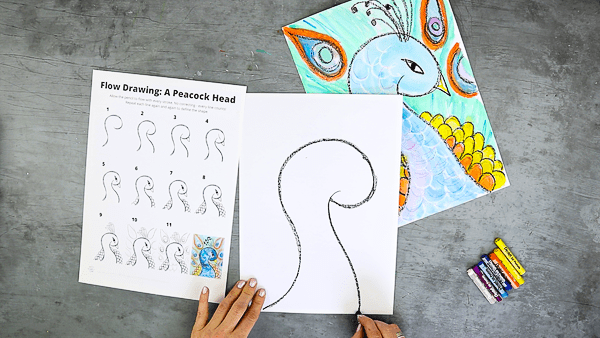
Draw a tall curl
Let’s start with the peacock’s long neck and head: to make it a little easier, we’re going to draw it in two parts.
First, start at the bottom left side of your page and sweep up, in and out, until you’re near the top of the page. Then draw over, down, out and in to the middle of the page. You should now have a sort of tall curl shape.
Complete the head
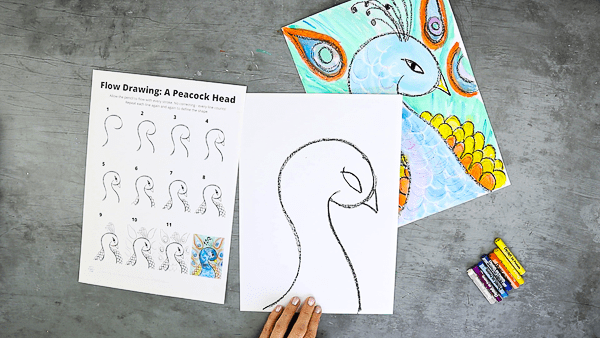
Now we need to draw the other side of the peacock’s head and neck.
Start just above where you finished your last line (the bottom of the peacock’s head) and draw one long sweep down, in and out all the way to the bottom of the page.
Remember, you can flow back over these lines as many times as you like to create a shape you’re happy with.
Add detail
Draw on some pretty almond (oval) shaped eyes and a pointy beak at the front of the head.
Draw head feathers
Peacock’s are known for their impressive, colorful feathers and they have several different kinds.
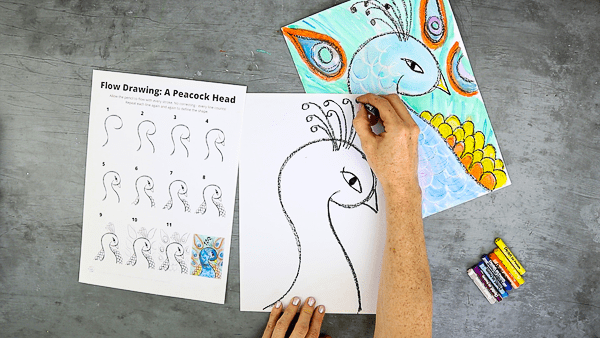
Let’s start with the head feathers: draw a line up, from the top of the head, with a little squiggly curl at the top. Draw six or so more, so your peacock has a nice feathery head!
And body feathers
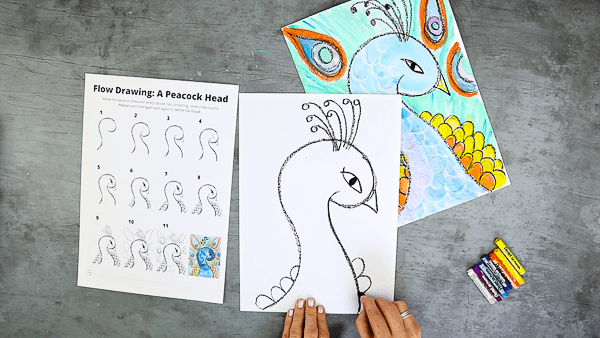
Now we’re going to add the body feathers – drawing them around the neck will give the illusion of the peacock’s body in the background.
Draw a line of semicircles up each side of the peacock’s neck (stop an inch or two down from the head so your design doesn’t look too crowded).
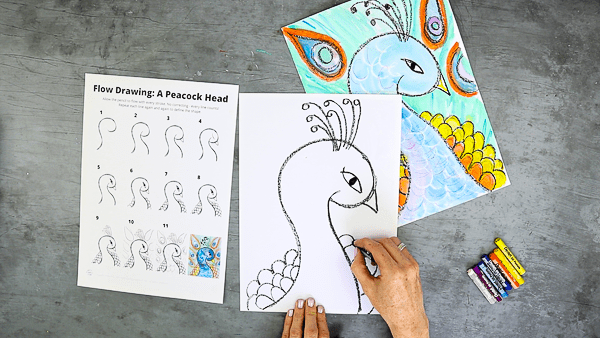
Then draw another line of semicircles on top of the first, and a third on top of that. This will give some lovely depth to your design.
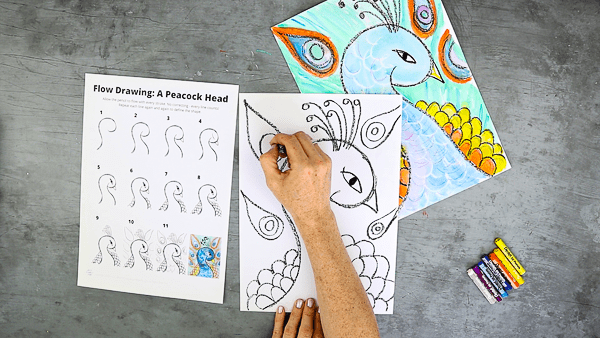
Now the tail feathers!
Finally, let’s draw the feathers we all recognise – the tail feathers!
In the background, draw some large teardrop shapes by starting at a point and flowing down, out and round; round, in and back up again to the tip.
Inside the round part of the teardrop, draw a circle, and then a smaller circle inside that one. These shapes on the peacock’s tail feathers are called ‘eyespots’ – can you see why?
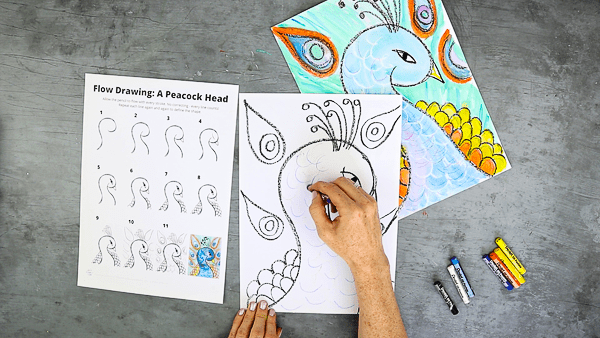
Decorate
Using your white oil pastel or wax crayon, draw more lines of semicircles across the peacock’s head and neck, just like you did for the body, to create a magic design. You can’t see it now, but all will be revealed when you start painting!
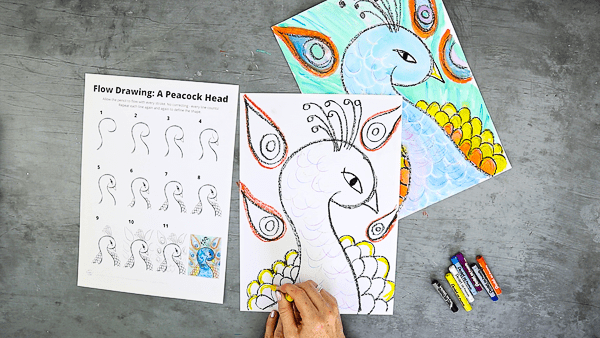
Let’s add color
Now use your pastel or crayon to play with shade, depth and highlights.
You could try tracing around the edges of the individual lines of body feathers, using different colors, to create depth in the layers. Or perhaps add detail to the ‘eyes’ in the tail feathers. It’s totally up to you which features you want to highlight.
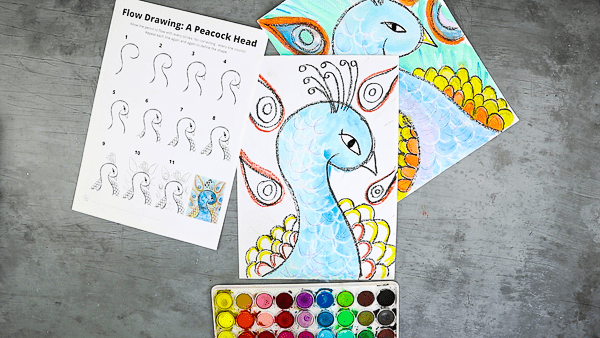
Time to paint!
When you’re happy with all the detail, move onto the watercolors. First, paint the peacock’s beautiful blue head – watch the hidden feathers emerge!
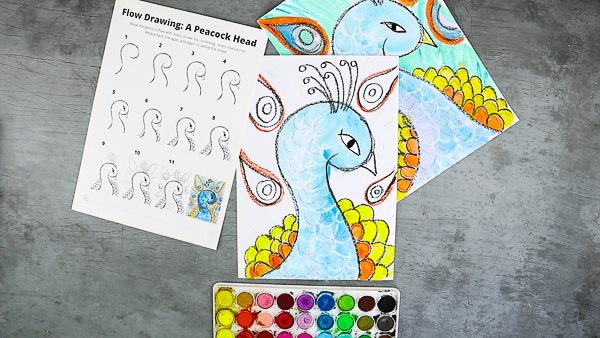
You can paint the body and tail feathers in matching blue, green and purple, or choose contrasting colors like we have to create a bold, colorful piece.
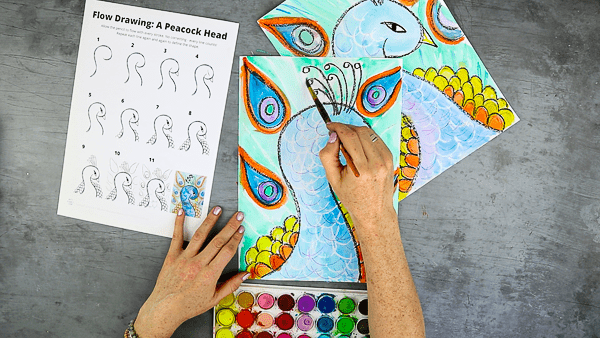
Finally, paint a bright background to really make your peacock pop!
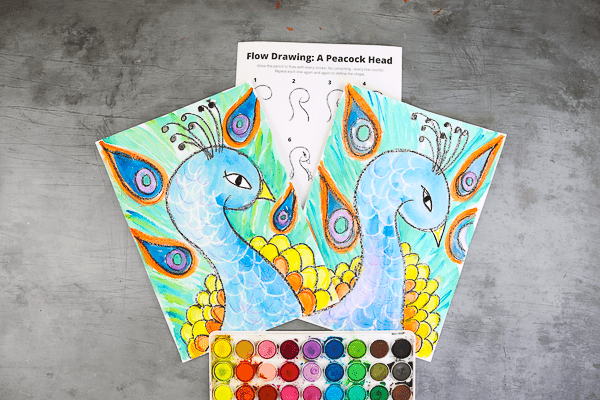
Now your work of art is complete! Don’t forget to share and tag us on social media, we love to see all your wonderful creations!
More Flow Drawing Guides for Kids:
How to Draw a Cat
https://www.artycraftykids.com/art/flow-drawing-for-kids-how-to-draw-a-cat/
How to Draw a Llama
https://www.artycraftykids.com/art/flow-drawing-for-kids-how-to-draw-a-llama/
How to Draw a Jellyfish
https://www.artycraftykids.com/art/flow-drawing-for-kids-how-to-draw-a-jellyfish/
How to Draw a Poppy
https://www.artycraftykids.com/art/flow-drawing-for-kids-how-to-draw-a-poppy/
Happy Drawing!
