Sharing is caring!
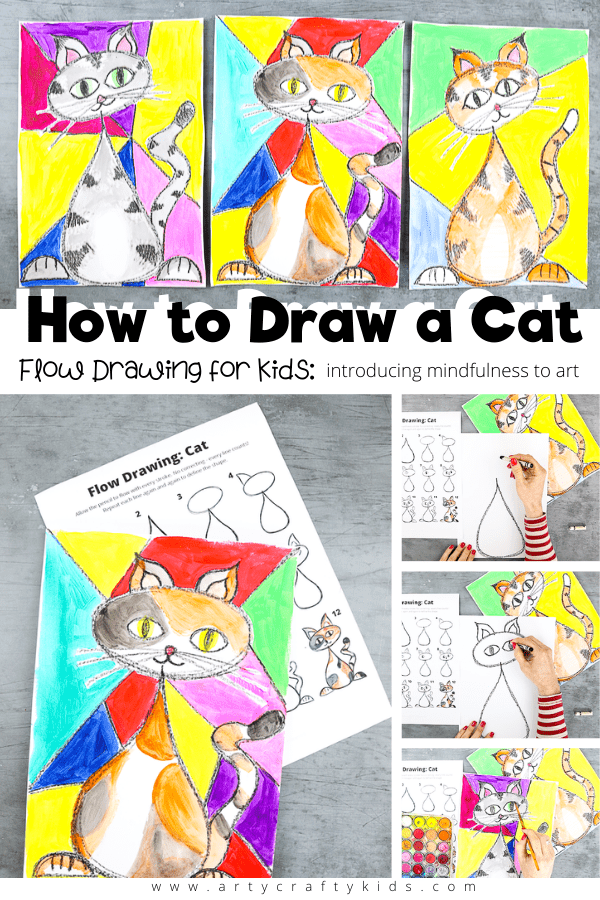
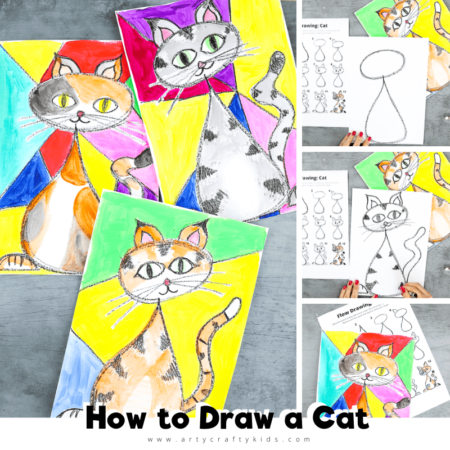
How to Draw a Cat – You guys have been loving our new flow drawing technique, so we know you’ll be excited for the next installment – how to draw a cat! Cats have a great aesthetic, with sleek lines and a range of patterns, and they have bags of personality too (I know mine does!) So they’re a brilliant animal to explore through art.
Our cat design is simple to draw, but gives a great effect, especially as children are encouraged to play around with a mixture of mediums.
And we’ve chosen to enhance that playfulness and personality by combining our colorful cats with bold geometrics. With the help of Arty Crafty Kids, you won’t just learn how to draw a cat – you’ll learn how to turn your cat into an avant-garde work of art!
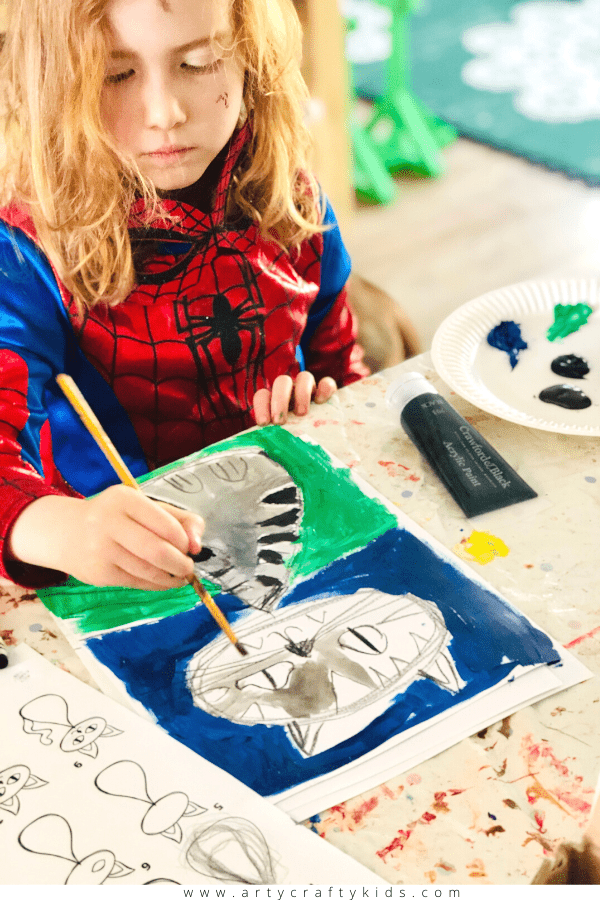
If you’re new to flow drawing, and haven’t tried our butterfly or bird designs yet, let us explain! Flow Drawing is a new art technique developed by us to encourage children (and adult beginners too!) to understand shapes and create illustrations, in a much ‘freer’ way.
It’s the perfect alternative to traditional ‘how to draw’ guides – by removing restrictions, flow drawing encourages children to fully engage in the moment and discover their natural flow, bringing mindfulness to their creative process.
Flow Drawing and Mindfulness
Mindfulness is the process of purposely bringing one’s attention to the present moment; to be fully immersed, free from distraction.
Mindfulness is now being discussed more and more, as we’ve begun to understand its importance for mental health and wellness, and actively practicing mindfulness can bring a whole host of benefits, from lowering stress and anxiety, to fostering calm, aiding sleep and even boosting your immune system! And utilising mindfulness in art can really open paths to creativity and innovation, free from judgement.
But it can be easy to forget, as often frazzled adults, that this is just as important for our children’s wellbeing as it is for our own.
So our Arty Crafty Kids flow drawing guides aim to bring mindfulness to the creative process by shifting the focus away from the end result (which can sometimes bring anxiety, through a need for perfection) to the process of drawing itself – discovering natural flow and rhythm through repetitive movements. As people often say: it’s not about the destination, it’s about the journey.
Our guides will help children to explore simple shapes and are designed to build confidence in their own creative ability, and foster a love of art and self-expression.
How to Draw a Cat
Supplies:
White Cardstock
Black Wax Crayon
White Wax Crayon
Acrylic ( or Tempura Paint)
Watercolor Paint
How to Download the ‘How to Draw a Cat’ step-by-step guide:
The How to Draw a Cat guide is available to members of the Arty Crafty Kids club. Members will need to log in to access the template:https://www.artycraftykids.com/product/flow-drawing-how-to-draw-a-cat/
Not A Member?
How to Draw a Cat – Watch the Video:
Step-by Step How to Draw a Cat Guide:
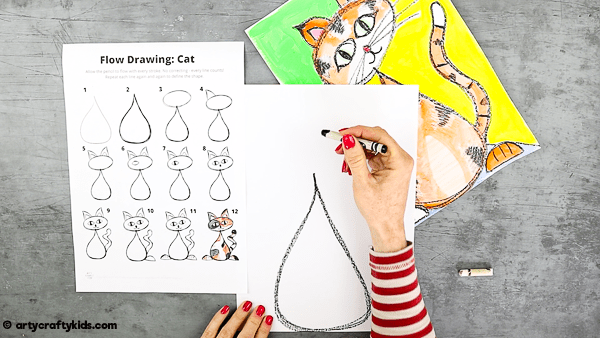
Create a Rain Drop
We’re going to begin with the cat’s body. To make sure we can fit him all in, and that we get the right proportions, start from about half way down the page.
Flow down, out and round; round, in and back up to the tip, to create a raindrop. Go over your line, and over again, until you’re happy with that droplet shape.
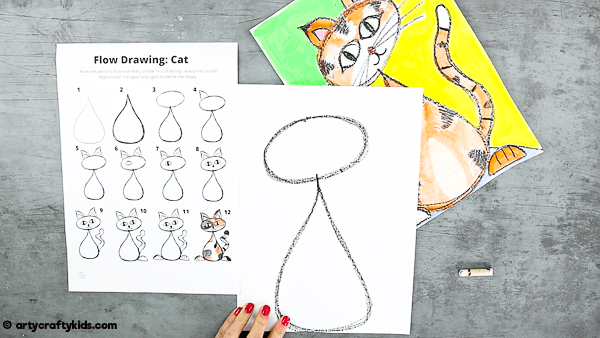
Draw an Oval
Now on to the head. Starting from the top of the body, almost as if it’s balancing on the tip of your raindrop, draw an oval (make sure you draw it landscape). Don’t forget to go round and around with your crayon to create the shape you want.
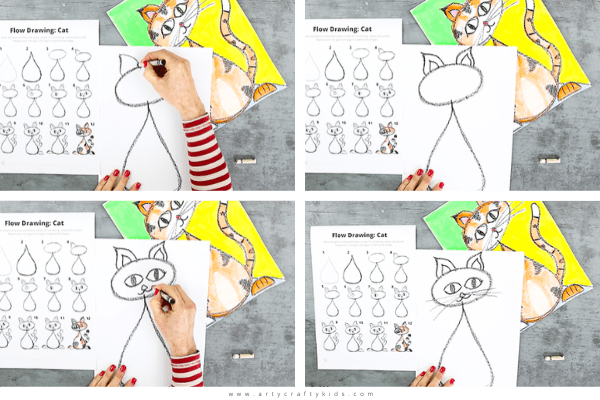
Add Cat Features
Now let’s turn our basic shapes into a cat!
Start with some ears: you could go for straight pointed triangles, or create softer ones like we have, which you can draw with a similar flow to the raindrop shape, just without the rounded bottom. Draw round, up, in to a point; down, out and round.
Then we need to add the cat’s distinctively shaped eyes. In the middle of the face, draw two big horizontal ovals, but be sure to give them slightly pointed ends. And to complete the cat eyes, draw a thin vertical (upright) oval in the centre of each eye.
Now draw a little circular nose – don’t forget lots of long, proud whiskers coming out from each side!
Finish the face with a cheeky smile.
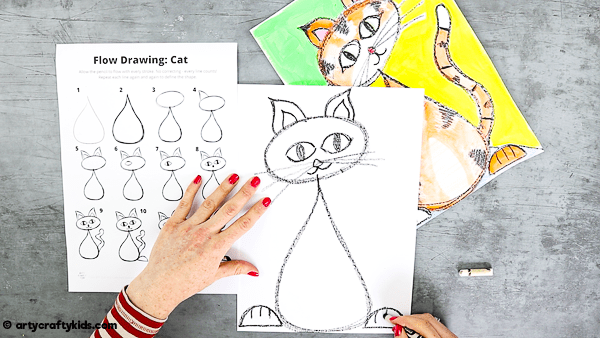
Semi-Circle Feet
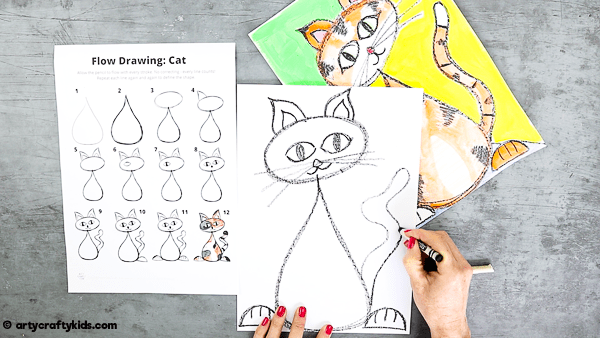
Next, your cat needs some paws! At the bottom of your cat’s body, on the left hand side, draw a semicircle: a flat bottom, with a big rounded top. Add some lines straight down from the top of your semicircle for his claws. Repeat on the right hand side for his other paw.
A Squiggly Tail
And a cat wouldn’t be complete without a tail! From the bottom of the body, draw a long squiggly line, up into the blank space, go over the top and squiggly back down the other side again.
Add Detail
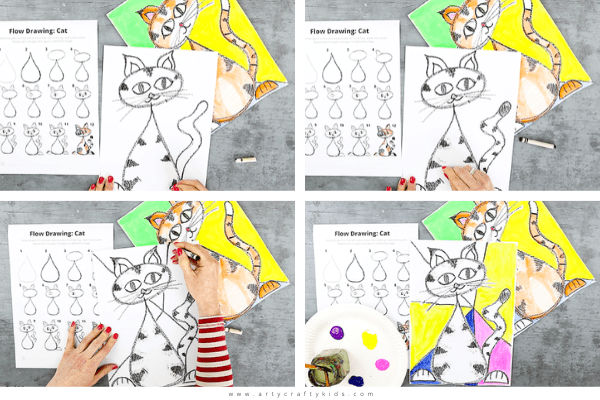
You have an amazing cat! So now it’s time to get creative! If you have a pet cat at home, you could try copying his or her markings. Or create a pattern from your imagination!
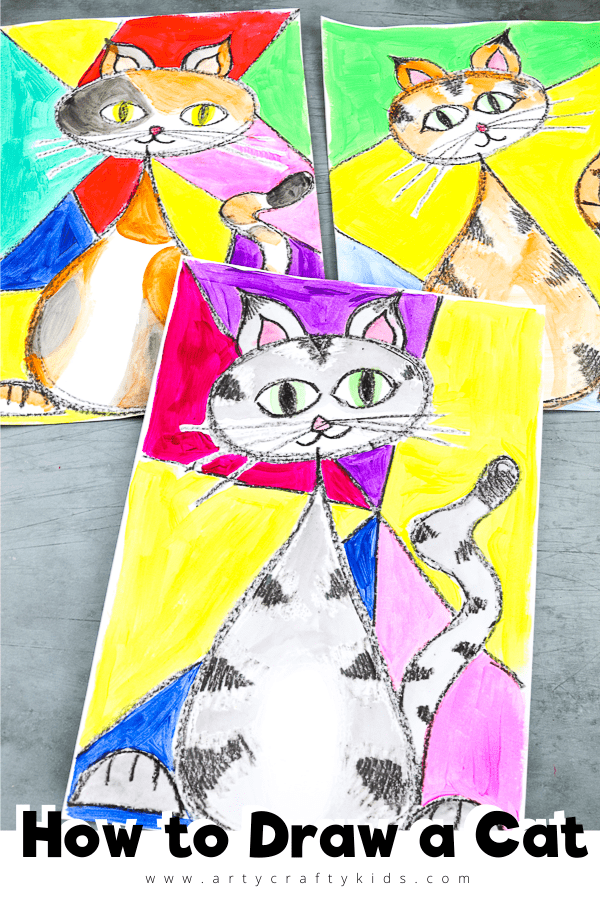
At Arty Crafty Kids, we’re fond of a tabby cat, so that’s the design we’ve gone for here. You can do the same by drawing black scribbly stripes on to the outside of the body and head, and all the way up the tail.
Now use your white crayon to add some extra special magic touches. Color around your black stripes, in a pattern on the body, or perhaps in a big circle on his tummy. You won’t see the design now, but remember that when you add the watercolor paint, the wax will repel the water and you’ll uncover your hidden design!
You could stop here and move straight on to painting, but we’d love you to add a fun background to show off your cat! Why not have a play with some simple geometrics like us?
Behind your cat, draw random lines with wax crayon. They can go in any direction and don’t need to make a particular pattern – the only important thing is that they’re straight! That’s what will create that bold, recognizable geometric design.
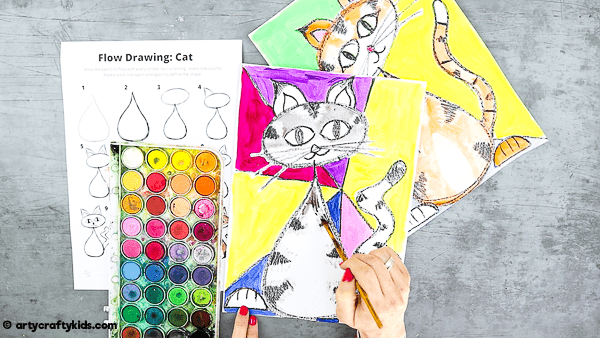
To really make the pattern pop, we’ve painted the background with acrylic paint, which gives a great bold color.
Complete the Cat
Now use your watercolor paints to wash over the cat – remember, your wax crayon lines will repel the water and stay nice and defined. Will you go for a brown tortoiseshell effect, a bright ginger Tom or, if you’re a Julia Donaldson fan, you could use grey and black to create your very own Tabby McTat!
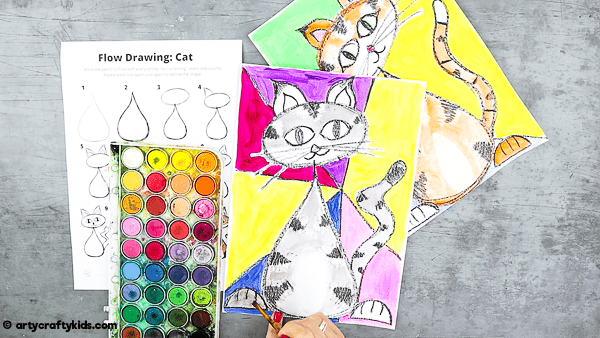
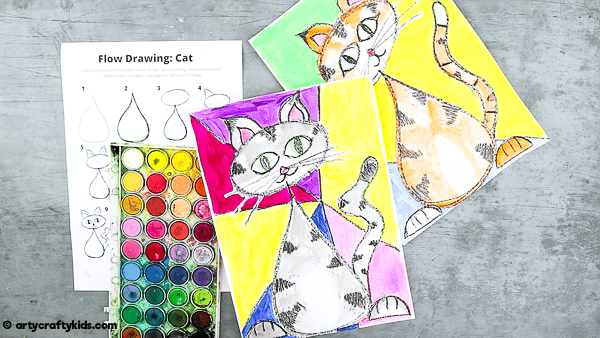
Complete your cat by painting the eyes, nose and ears. Add extra detail by highlighting these features with color – why not try a cute pink nose and bright, green eyes?
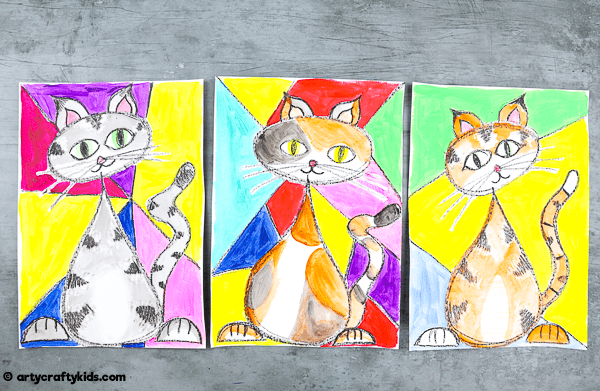
Don’t forget – get creative with your cat design! Draw a portrait of your family pet or go completely abstract, the choice is yours! And if you don’t like geometric shapes, add flowers, lightening bolts, stars… the possibilities are endless.
Make sure you send us a picture – we’d love to create a colorful cat gallery of your amazing artwork!
