Sharing is caring!
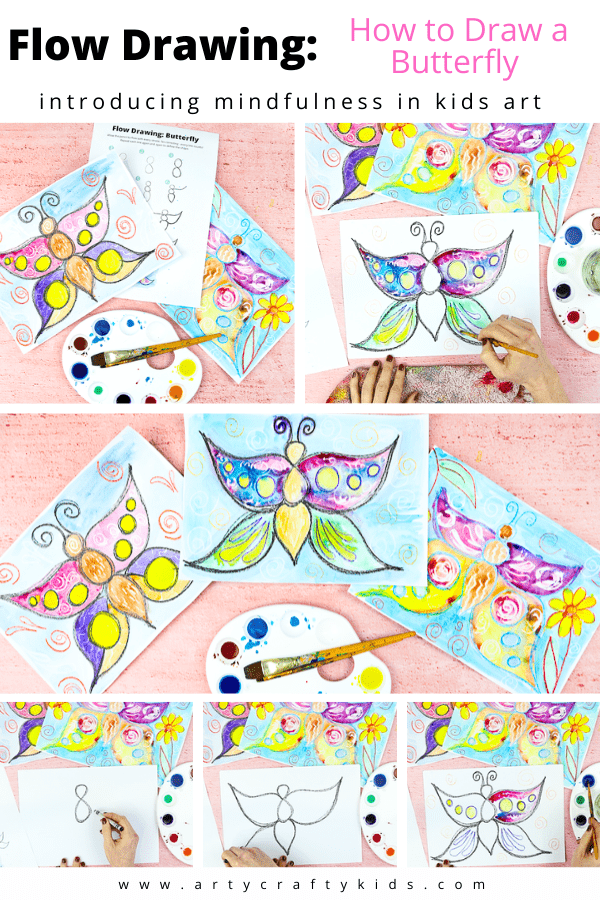
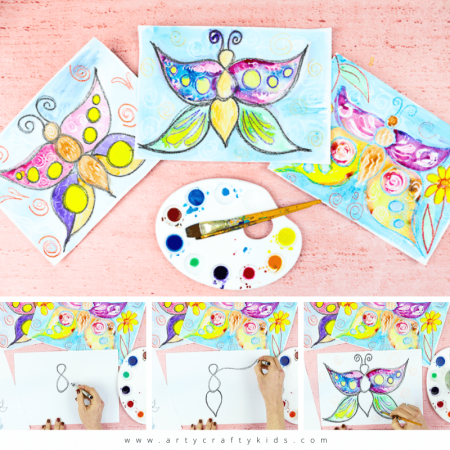
Flow Drawing for Kids: How to Draw a Butterfly – Flow Drawing is a new art technique developed by us to encourage children (and adult beginners too!) to understand shapes and create illustrations, in a much ‘freer’ way.
It’s the perfect alternative to traditional ‘how to draw’ guides – by removing restrictions, flow drawing encourages children to fully engage in the moment and discover their natural flow, bringing mindfulness to their creative process.
Here at Arty Crafty Kids, we really believe in this concept, and have seen the benefits ourselves.
And, we plan on sharing a whole series of flow drawing guides, starting, in honor of spring, with how to draw a butterfly!
What is Flow Drawing for Kids?
As a child learning to draw, I instinctively refused to erase incorrect lines: in my creative mind, every line belonged and had a purpose. However that’s not necessarily the way we’re encouraged to learn and draw. Many how to draw guides for kids focus on single clear shapes, and being unable to reproduce exactly what they see can lead to frustration and a loss of confidence.
The flow drawing process eliminates the notion that lines can be incorrect and so empowers the children in their own creativity and ability.
Using repetitive flowing movements along the same line helps to define the shape into something clear and bold, allowing the child to fully engage in the process, understand more about how shapes are formed and discover their own natural rhythm.
Through this process, of drawing up and down, up and down, a single clear line will eventually emerge – the result of literally going with the flow.
Flow Drawing and Mindfulness
Mindfulness is the process of purposely bringing one’s attention to the present moment; to be fully immersed, free from distraction.
Mindfulness is now being discussed more and more, as we’ve begun to understand its importance for mental health and wellness, and actively practicing mindfulness can bring a whole host of benefits, from lowering stress and anxiety, to fostering calm, aiding sleep and even boosting your immune system! And utilising mindfulness in art can really open paths to creativity and innovation, free from judgement.
But it can be easy to forget, as often frazzled adults, that this is just as important for our children’s wellbeing as it is for our own.
So our Arty Crafty Kids flow drawing guides aim to bring mindfulness to the creative process by shifting the focus away from the end result (which can sometimes bring anxiety, through a need for perfection) to the process of drawing itself – discovering natural flow and rhythm through repetitive movements. As people often say: it’s not about the destination, it’s about the journey.
Our guides will help children to explore simple shapes and are designed to build confidence in their own creative ability, and foster a love of art and self-expression.
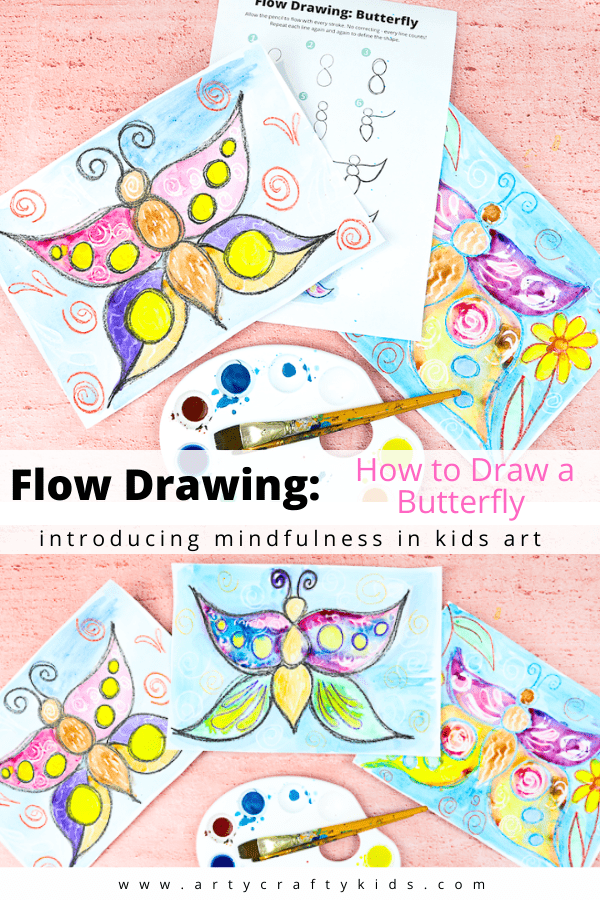
Flow Drawing for Kids: How to Draw a Butterfly
Many children may not have heard of flow drawing and initially might find it a bit of a strange idea, so to help get them started we have a step by step ‘how to’ guide. But this is optional, not essential. Remember that the key is not following a strict process; the focus should always be on their own free flowing shapes, and these are likely to differ from the guide.
What you Need:
White Cardstock
Watercolor Paints
Crayons including Black and White
How to Download the How to Draw a Butterfly Guide:
The How to Draw a Butterfly guide is available to members of the Arty Crafty Kids club. Members will need to log in to access the template: https://www.artycraftykids.com/product/flow-drawing-how-to-draw-a-butterfly/
Not A Member?

Watch the Video:
How to Draw a Butterfly
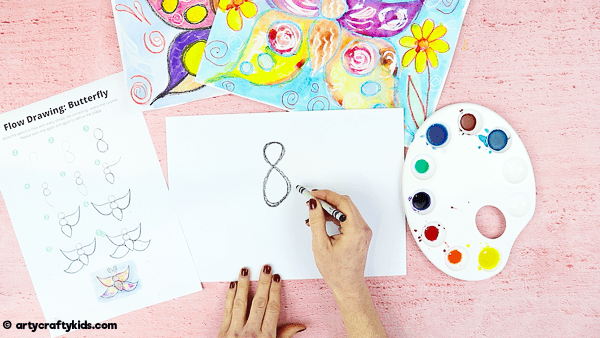
Start with a Figure of Eight
To help you build the butterfly, we’ve broken it down into three segments. First, create the head and middle section (the top half of the butterfly’s body), by slowly drawing a figure of eight over and over until you’re happy with the shape you’ve created.
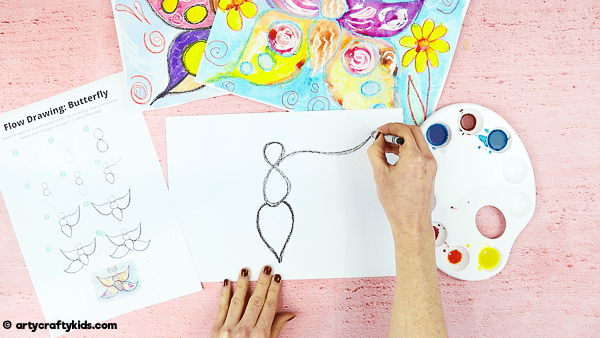
Draw the Third Segment and First Wing
Finish the butterfly’s body by drawing a rounded triangle that starts from the bottom of the figure of eight. Draw down to create a tip and then back up to the second segment. Repeat until the line is strong and defined.
Now we have three segments to the body, which we can use to help us guide where we draw the butterfly’s wings.
For the first wing, start from the head (the middle of the figure eight) and draw a single curvy line away from the body. Go back and forth over your line until you’re happy with the shape.
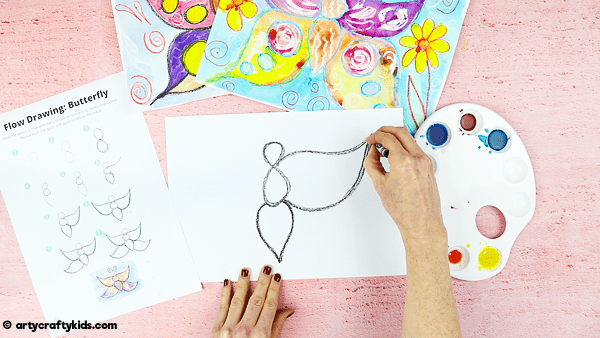
Complete the First Wing
To finish the wing, draw a second line down from the tip to the bottom of the second segment.
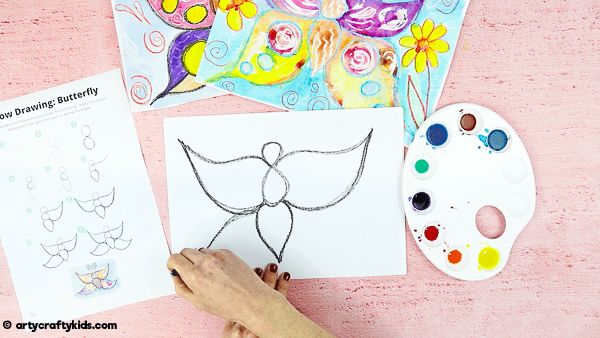
Draw the second wing by doing the same again on the other side – starting from the head, draw a single curvy line up and away from the body, and back again until it meets the bottom of the second segment. Draw over your line, back and forth, until you’re happy with it. Remember that your second wing won’t look exactly the same as the first – and that’s OK!
We’re going to make a doubly beautiful butterfly, by adding a second set of wings, so let’s repeat the process again. Begin with the right wing, and start your line either at the bottom of the second segment, or from the bottom of your top wings, depending on the space you have.
Draw your line down and away from the body, going back and forth, back and forth, and back to the body again. Then the left wing: draw down and away from the body, back, and forth, back and forth, and back to the body again.
Add Detail
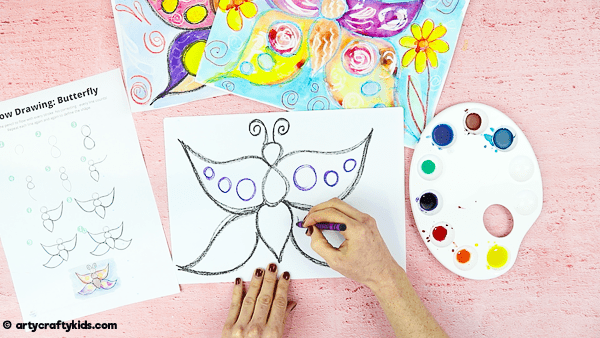
Now it’s time to decorate the butterfly’s wings, so you can add any pattern you like. You could create a more realistic butterfly with circles or stripes, or make something a little more unique with hearts or stars!
Just remember that you want your design to be roughly symmetrical, so your left and right wings look the same.
Add Some Magic
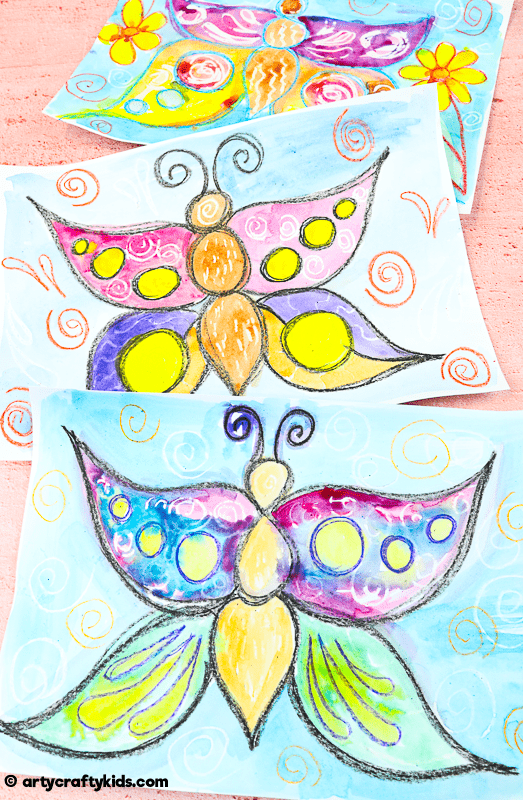
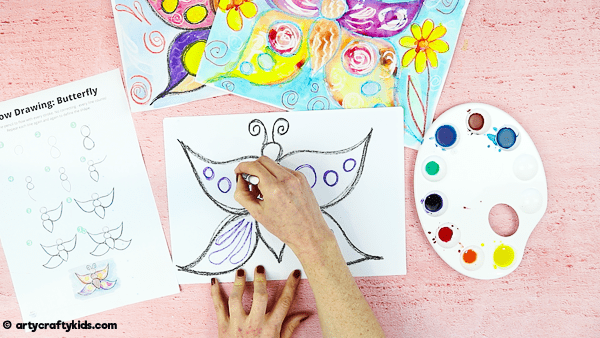
This is the cool part! Draw swirls, patterns and shapes over your butterfly with a white crayon. Yes, we know you can’t see the design! It will stay hidden until the watercolour paint is washed over it…
Let’s Start Painting
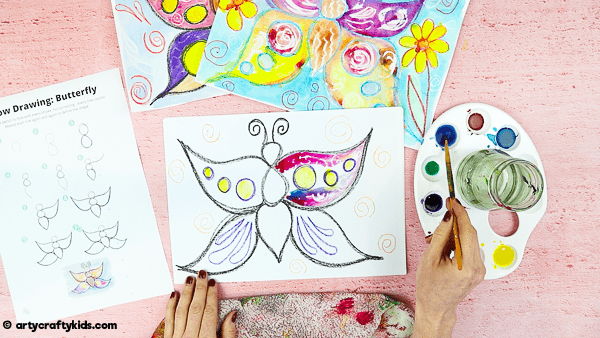
Crayons and watercolours are a dream combination. The wax repels the water leaving the lines solid, meaning you can really play with the paint without spoiling your design.
So take your paint and have fun! Allow the paint to spread and merge together to create gorgeous blends and new colours. Just like we did when we drew the outline, be free and bold with the paint – there are no mistakes!
Add Background Detail
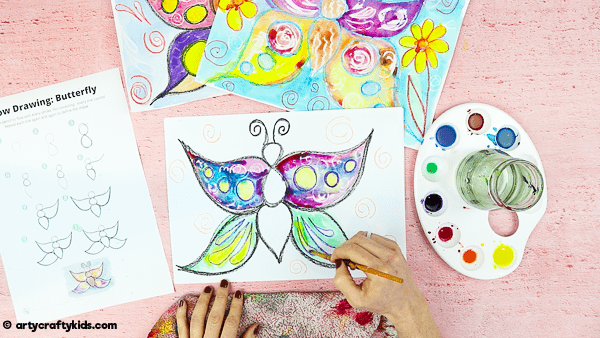
Finish your piece of art by adding in a background. Your butterfly could be exploring some spring flowers, or flying in a blue, cloudy sky! Or if you want to stay free, you could just add some decorative patterns to show off your design.
And the brilliant thing about flow drawing is that each of your creations is totally unique – so grab a fresh sheet of card and do it all over again!
