Sharing is caring!
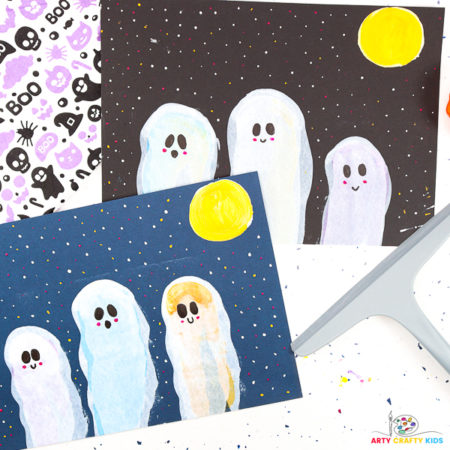
Get ready for some spooky fun with this super easy Squeegee Ghost Art for Halloween tutorial! Perfect for kids of all ages, this simple technique is a hit for Halloween crafting, parties, and group activities.
Whether you’re looking for a creative way to decorate for the season or need a fun activity to entertain little ghosts and goblins, this project is perfect.
Our step-by-step guide will show you how to paint your own ghostly paintings, with plenty of tips to make each ghost unique.
With just a squeegee and some paint, your Arty Crafty Kids will have a blast creating their own spooky (or silly!) ghost crew!
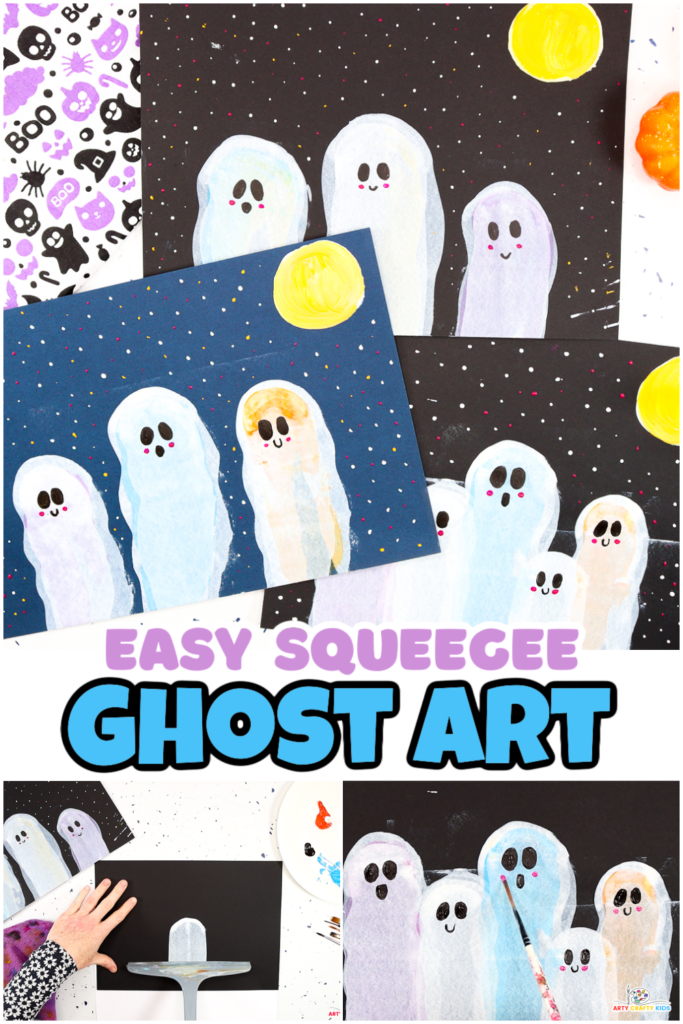
For older children looking for more of a challenge, this tutorial pairs perfectly with our popular How to Draw a Ghost: Step-by-Step Painting Tutorial, offering an advanced painting option to ensure all abilities are covered!
How to Make Easy Squeegee Ghost Art for Halloween
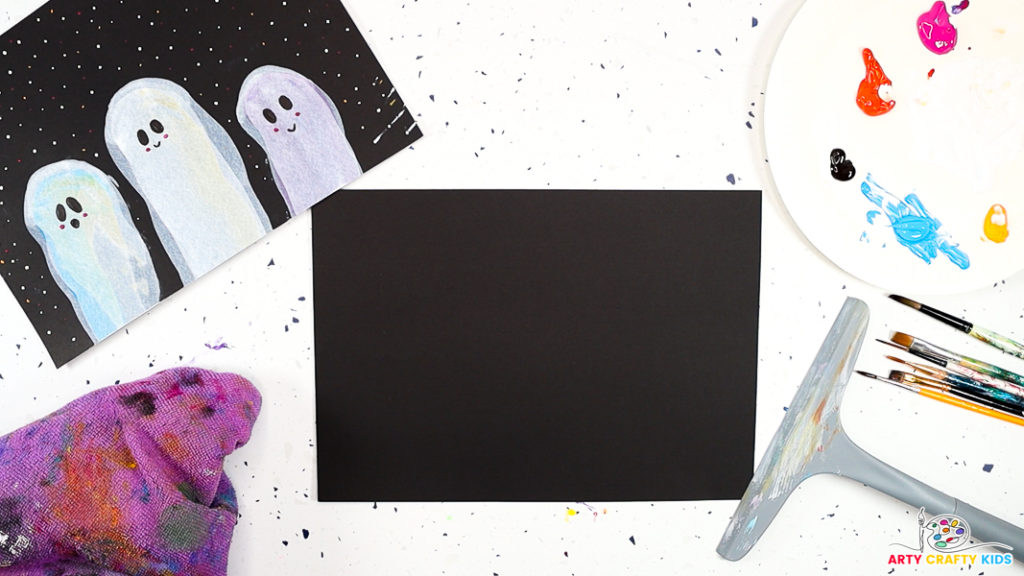
Materials:
- Black or Blue Card Stock
- White Acrylic Paint
- Optional Colored Acrylic Paint
- Squeegee or Card Board
- Paintbrush
- Cloth
- Scrap Paper or a Suitable Table Covering
Step-by-Step: Let’s Make a Squeegee Ghost Painting!
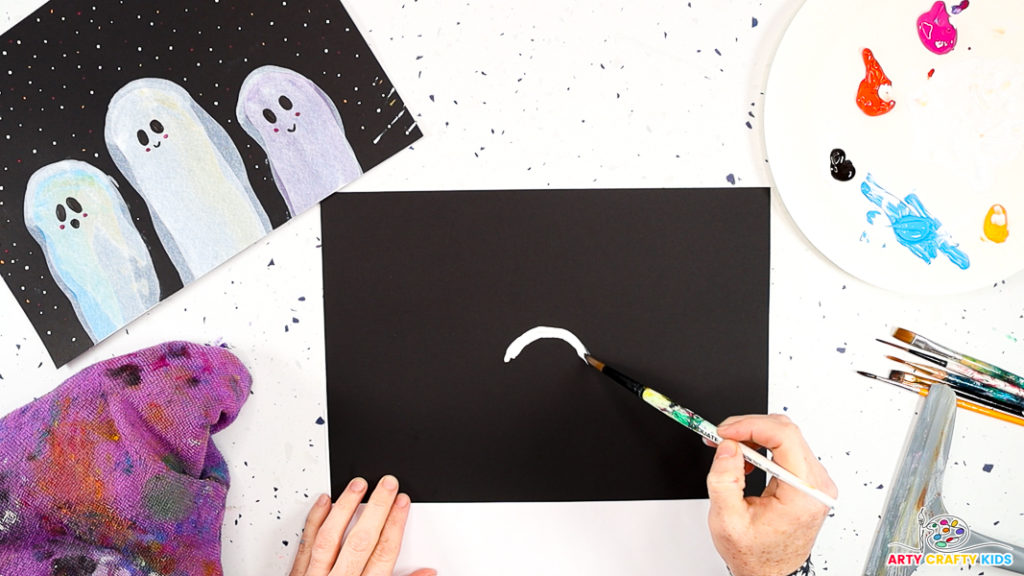
Step 1: Paint an arch.
Using a paintbrush, paint an arch shape directly onto the black backing card.
While some may prefer to squeeze the paint straight from the bottle, young children often struggle to control the flow, which can lead to excess paint and unwanted mess.
A paintbrush provides better precision, making it easier for little hands to manage.

Step 2: Use a squeegee tool to scrape the paint.
Place the squeegee just above the painted arch and gently drag it downward, all the way to the bottom of the backing card.
As you pull the squeegee, guide any excess paint onto the scrap paper beneath the card.
Pro Tip: Make sure Arty Crafty Kids wipe off any excess paint from their squeegee between each application for clean, crisp results.
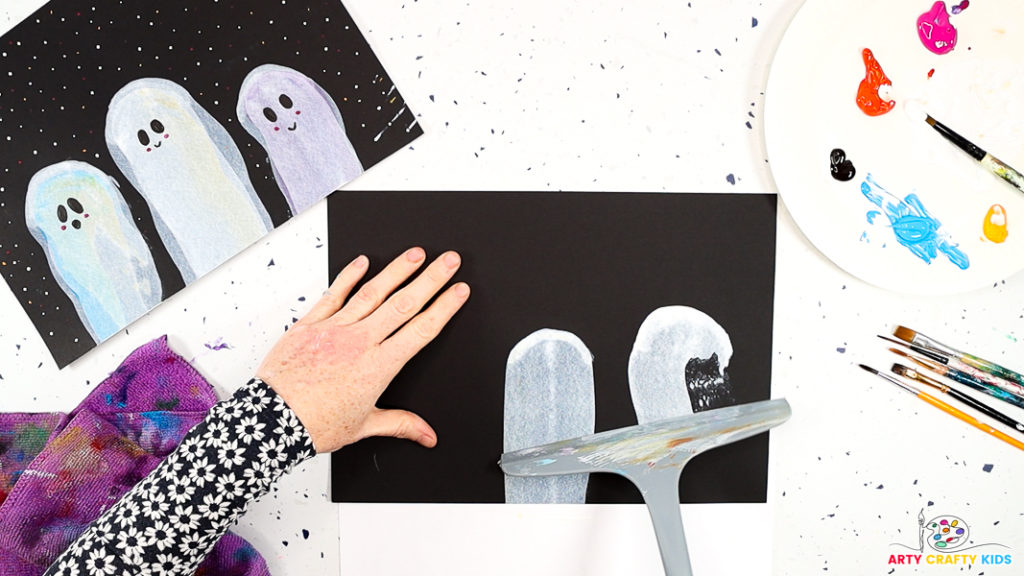
Step 3: Experiment with different scraping motions.
Now that your Arty Crafty Kids have mastered the basic technique, it’s time for them to get creative by experimenting with different ghost shapes.
For the second ghost, try using a wiggly motion as you pull the squeegee down. This will create a fun, wavy effect, adding movement and personality to their ghostly creations.
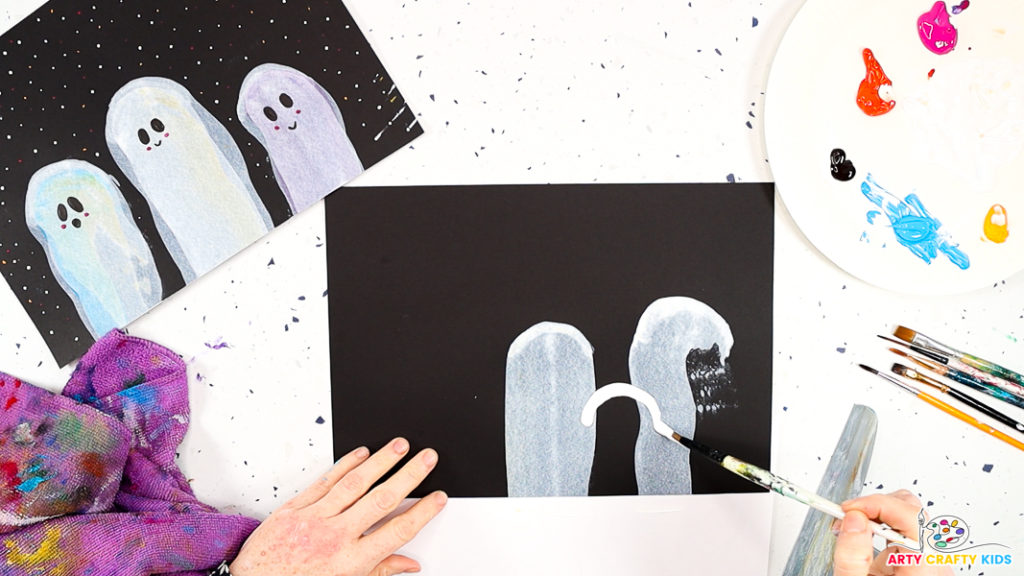
Step 4: Let’s try layering the ghosts.
Start by painting an arch in between the first two ghost paintings.

And again, pull the squeegee over the paint to create another ghost.
Squeegee painting easily creates beautiful, translucent layers—perfect for ghostly effects. As the squeegee pulls the paint, it naturally thins, giving the ghosts a soft, misty appearance.
Encourage your Arty Crafty Kids to experiment with layering to make their ghosts look like they’re floating or fading!
The ghost art can feature as many or as few ghosts as your Arty Crafty Kids like—whether it’s a whole ghostly family or one large, spooky figure taking center stage, the choice is theirs!

Step 5: Adding colorful under tones to the ghostly art.
Now, let’s add some colorful undertones to bring depth and character to your ghosts!
Using the same squeegee technique, apply a light layer of color directly onto the ghost shapes.
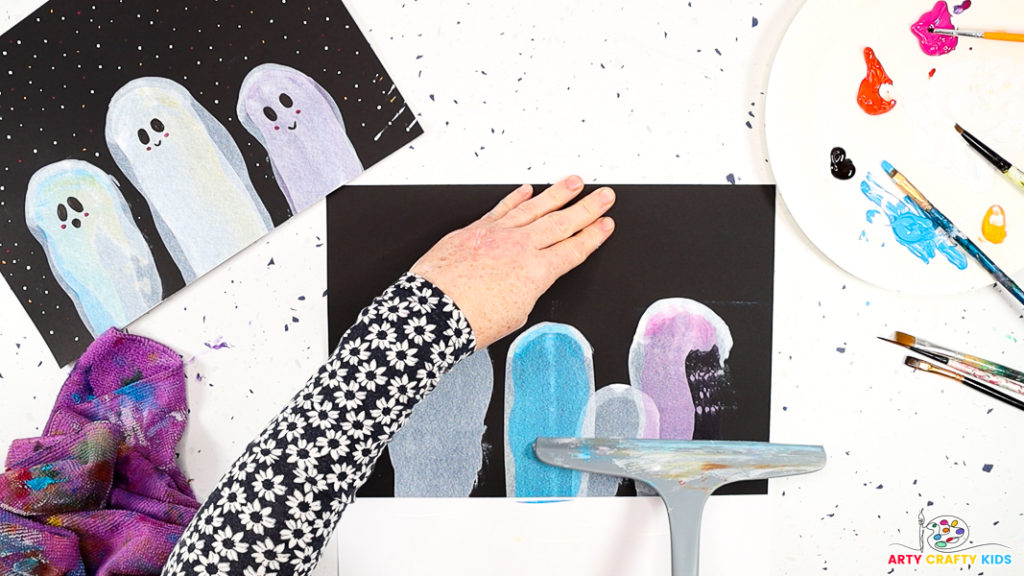
Gently drag the squeegee down as before, allowing the color to spread over the white.
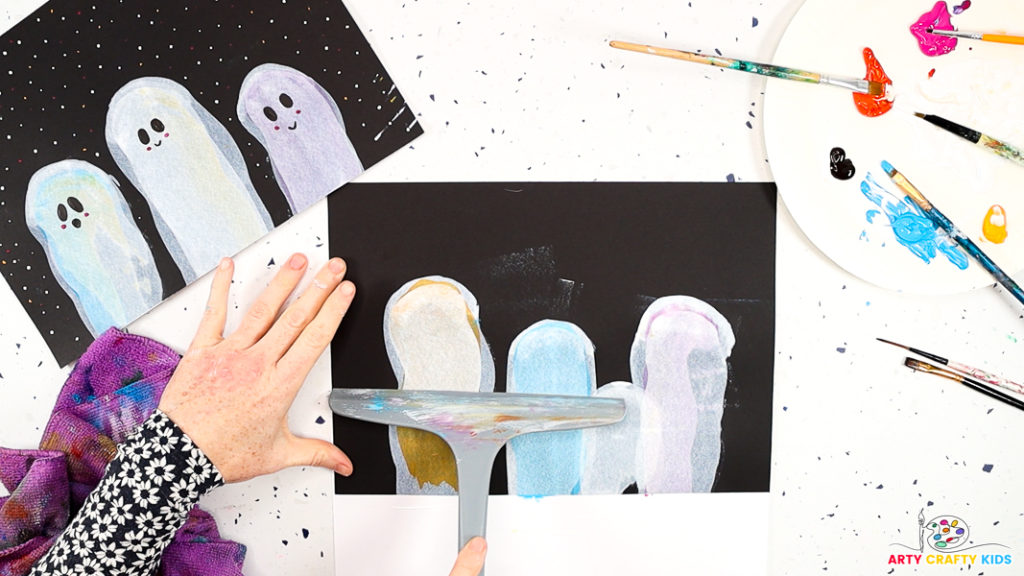
To tone down the colors and make them more subtle, apply a layer of white paint over them.
Gently drag the squeegee down as before, allowing the colors to softly peek through the ghost layers.
This adds dimension and gives your ghostly art a soft, otherworldly glow.
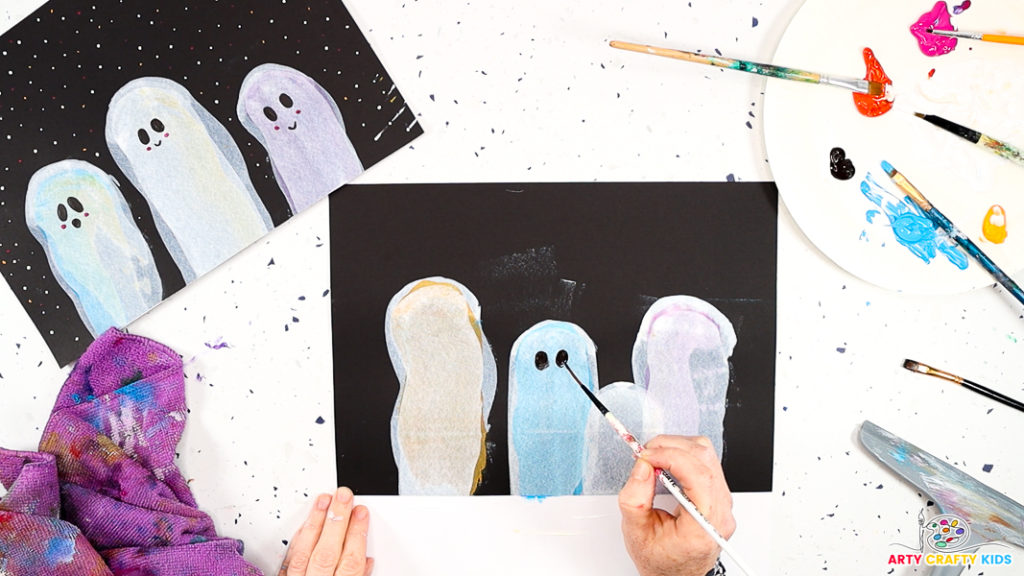
Step 7: Paint cute and simple facial expressions onto the ghosts.
Now it’s time to bring your ghosts to life! Using a small brush, paint big black eyes, a cheerful smile, and add little pink cheeks for a playful touch.
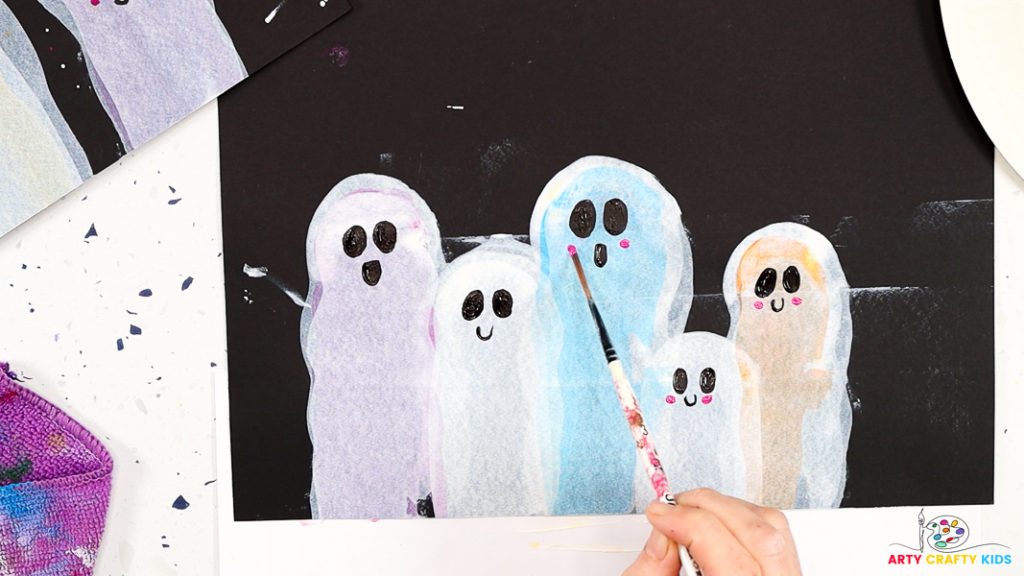
For an alternative approach, let the paintings dry completely, then use a black sharpie to draw the facial expressions. Both methods will give your ghosts a charming, friendly look that kids will love!
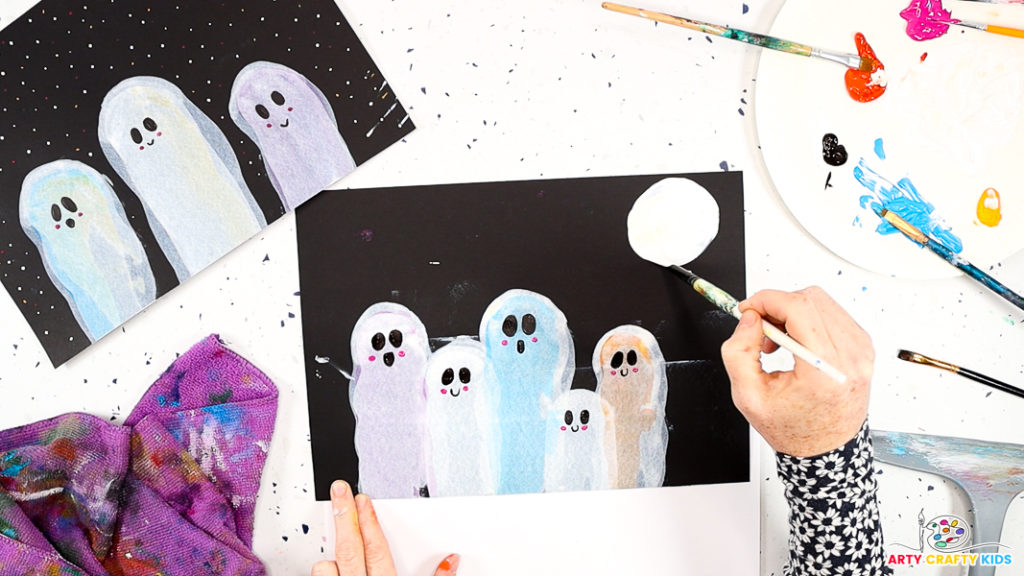
Step 8: Paint a simple background.
Now that the ghosts are complete, use the surrounding space to create a nighttime scene. Begin by painting a white circle above the ghosts to represent the moon.
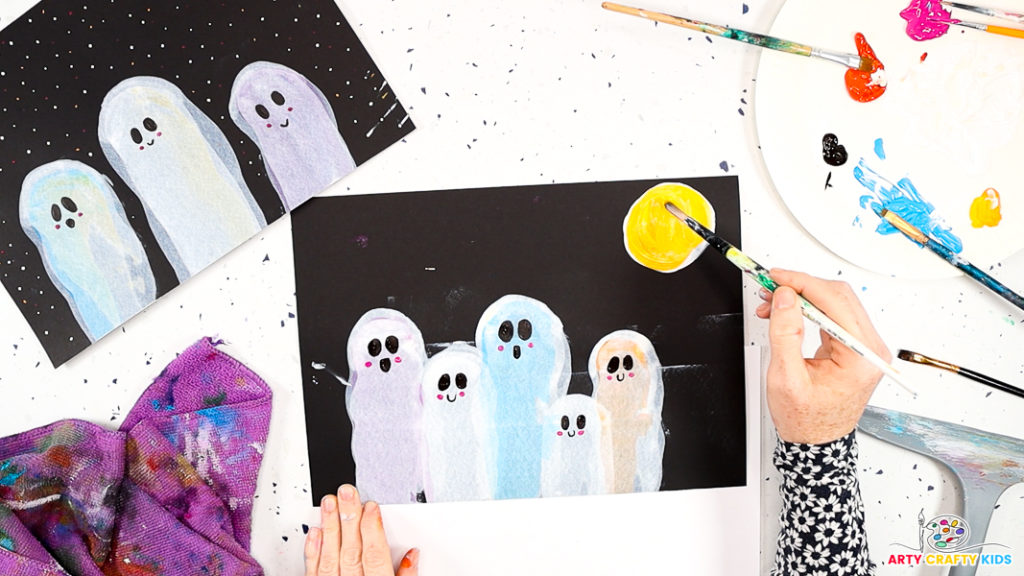
Apply a generous layer of yellow paint over the white to create a vibrant, glowing moon.
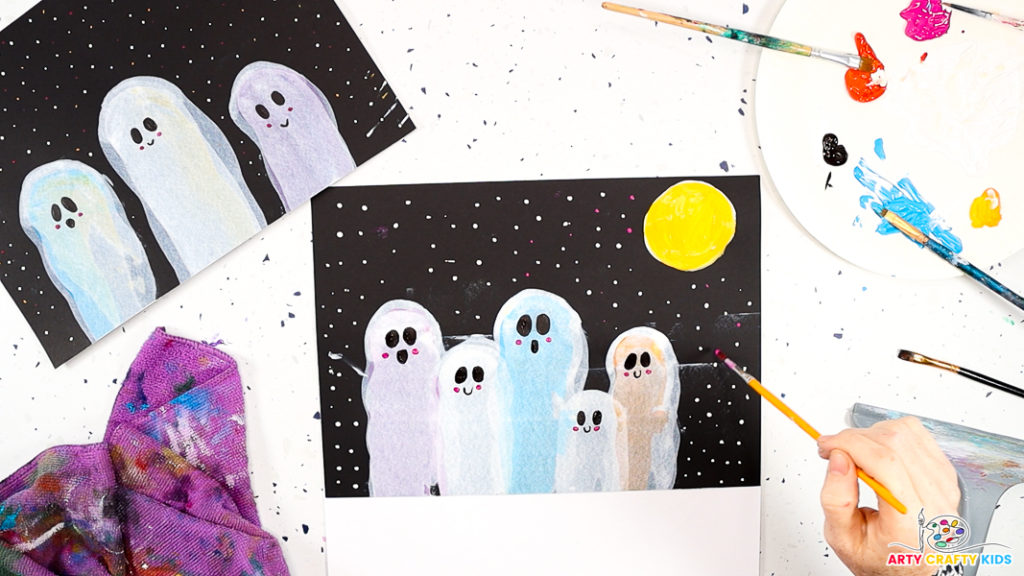
Next, dip a paintbrush into white, yellow, or colored paint, and sprinkle the sky with small dots to represent twinkling stars. Feel free to mix colors for a more playful and magical night sky!

The Easy Squeegee Ghost Art for Halloween Tutorial is Complete!
With so many options, your Arty Crafty Kids can truly make their squeegee ghost art unique!
They can experiment with ghost shapes, add colorful layers for depth, and even create a whole ghost family or a single spooky figure.
Cute facial expressions, twinkling stars, and a glowing moon add extra charm, making each piece personal and fun.

