Sharing is caring!
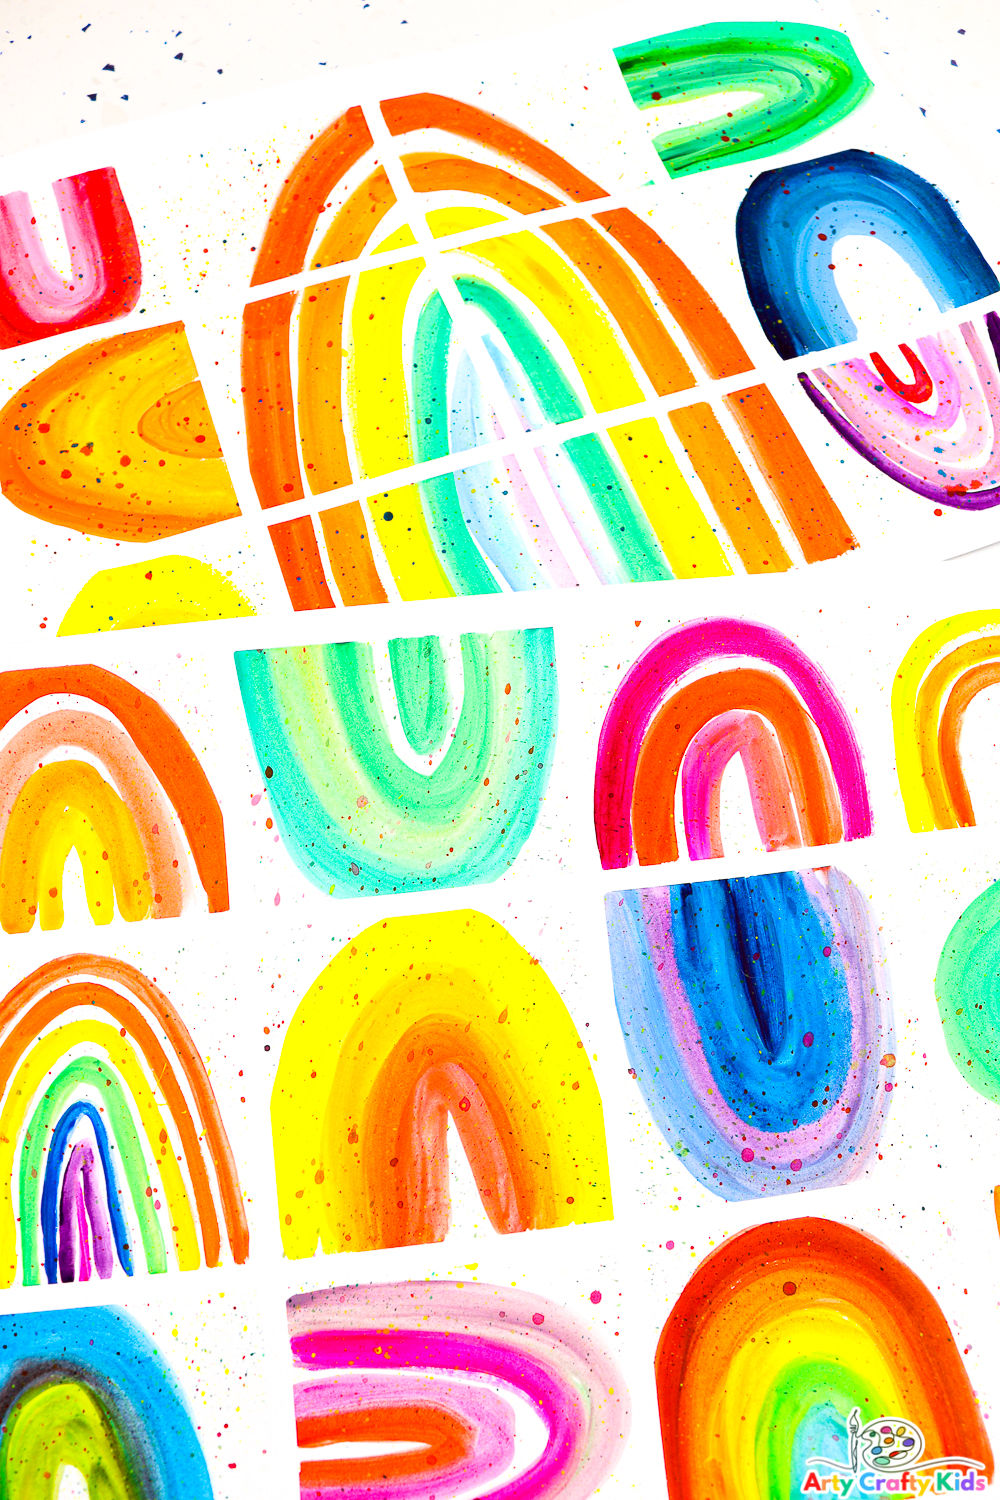
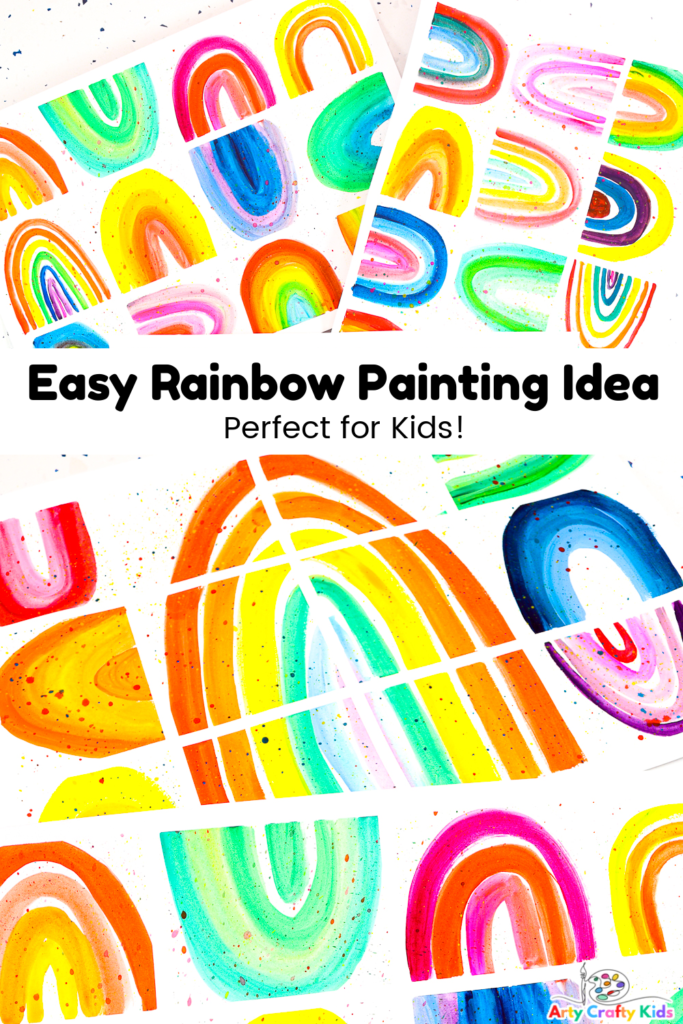
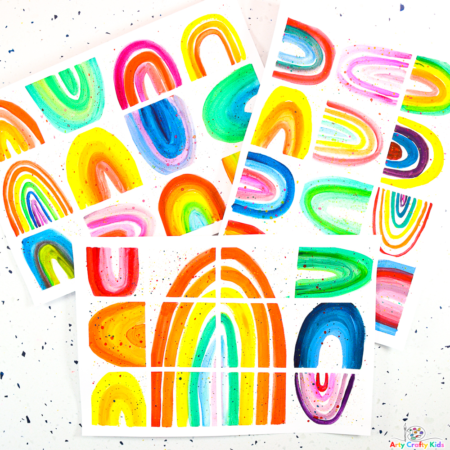
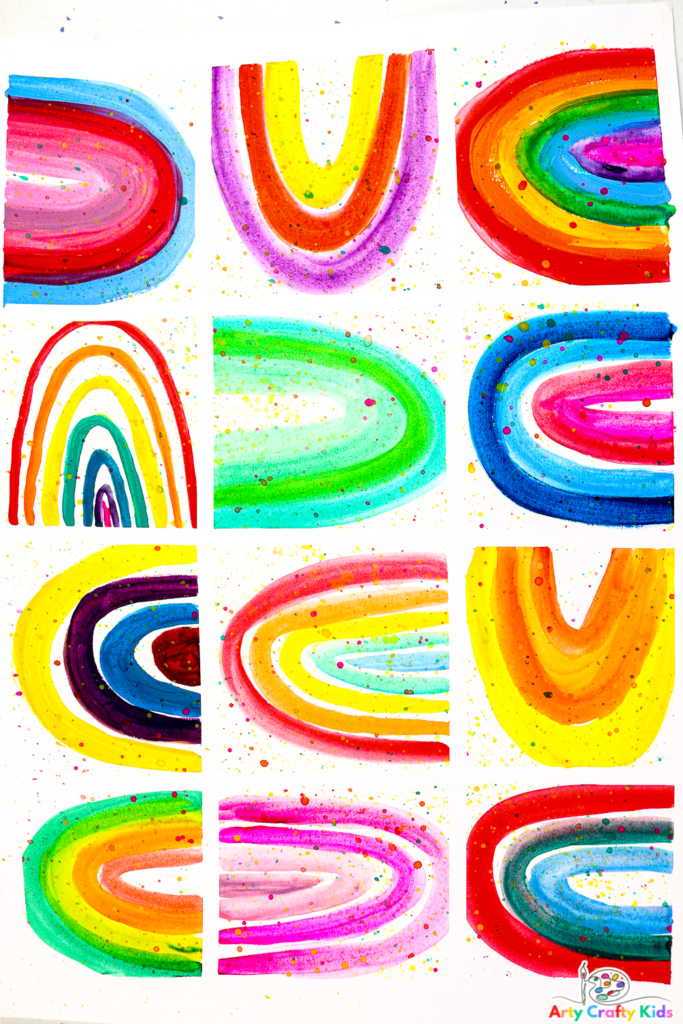
Our abstract and easy rainbow painting idea is a bright and colorful art project for children of all ages!
Rainbows are one of the most fascinating natural wonders that can captivate anyone’s attention. It’s no wonder that kids are especially drawn to them with their vibrant and contrasting colors.
They’re a wonderful subject to create and paint all year round, but are especially popular for Spring themed topics and St Patrick’s Day.
Our rainbow art project encourages children to experiment with different watercolor painting techniques, explore and play with color theory, and really indulge their creativity in a fun and free style.
Related posts:
- 22 Rainbow Kids Crafts
- Easy Paper Plate Rainbow Craft
- Paper Rainbow Craft for Preschoolers
- Rainbow Scrape Painting
- 10 Easter Grid Drawings
Easy Rainbow Painting Idea for Kids: How to Paint an Abstract Rainbow with Watercolor Paint
Materials
- White Cardstock, Mixed Media Paper or Watercolor Paper
- Watercolor Paint
- Paint Brushes ( various brush ends)
- Water
- Artist/Masking Tape
Watch the ‘Painting a Rainbow’ Step-by-Step
Watercolor Techniques:
Watercolor painting is a versatile medium that’s super fun for Arty Crafty Kids to use.
With so many painting techniques to explore, kids’ have the opportunity to learn how different effects can be created by simply playing with paint to water ratios. It’s maths, problem solving and creativity all wrapped up into one art package!
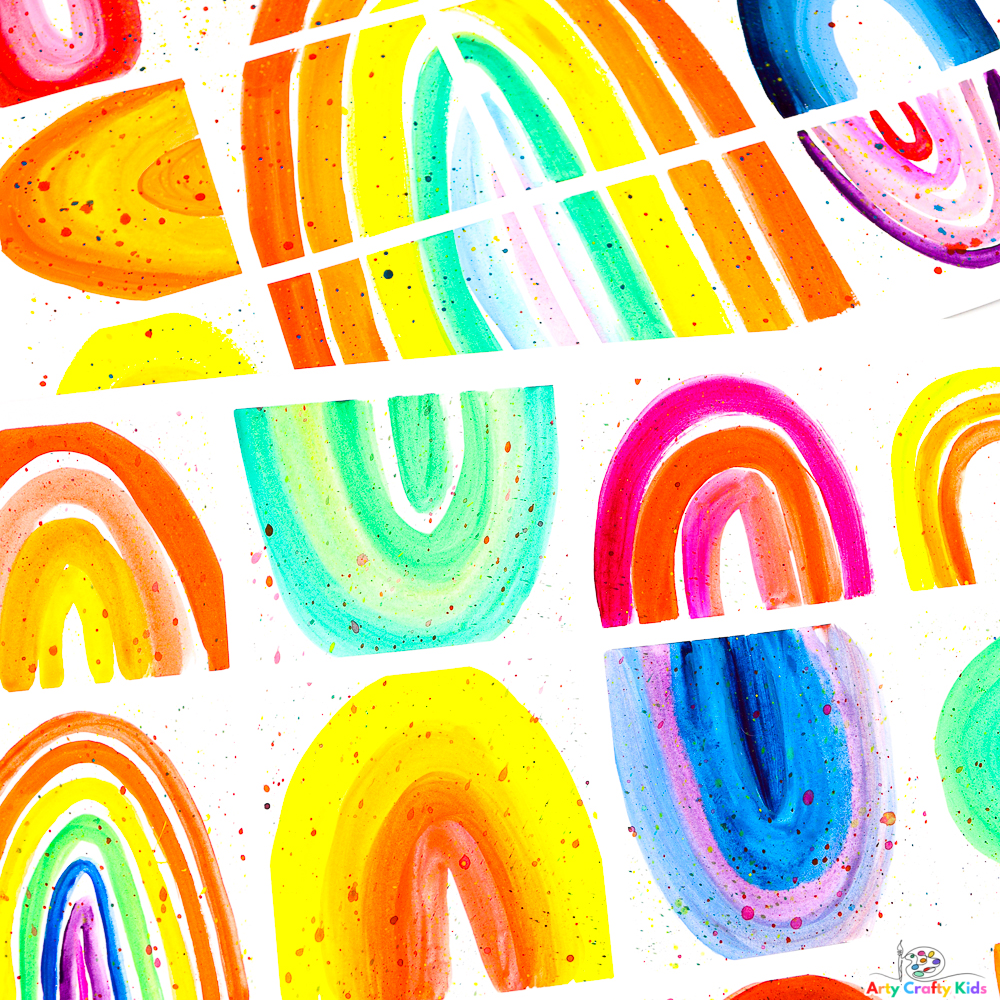
The amount of water applied and where will determine how the colors present and blend; whether they’re bold and bright or translucent in appearance.
Here’s an overview of some of the techniques we regularly use in our watercolor paintings:
Wet-on-wet technique
Wet your paper with water using a clean brush and then add paint to the wet surface. The paint will spread and blend, creating a soft and diffuse effect.
Wet-on-dry technique
Apply paint to dry paper using a brush. The paint will stay where it is applied, creating a more controlled and defined effect.
Layering
Wait for one layer of paint to dry completely, then add another layer on top. This technique allows for depth and texture in your painting.
Dry brushing
Dip your brush into the paint, then remove most of the water by wiping it on a paper towel. This technique allows for fine lines and details, and can create a dry, textured effect.
Let’s Paint a Rainbow!
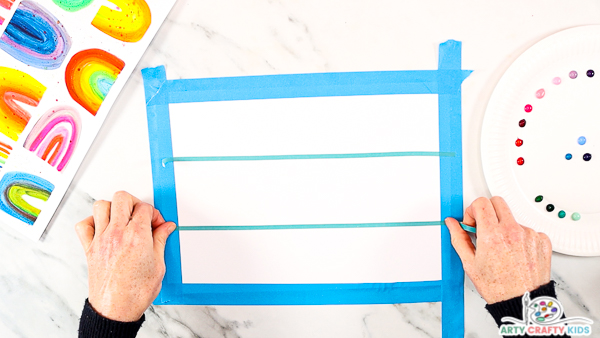
Step 1: Prepare the canvas with artist tape.
Using white card stock or watercolor paper, use artist/masking tape to secure the canvas to the table top.
The tape should cover between 5mm-1cm of the paper’s perimeter to create a nice border for the rainbow painting.
The tape will also reduce mess from residue paint while creating even lines for the rainbows.
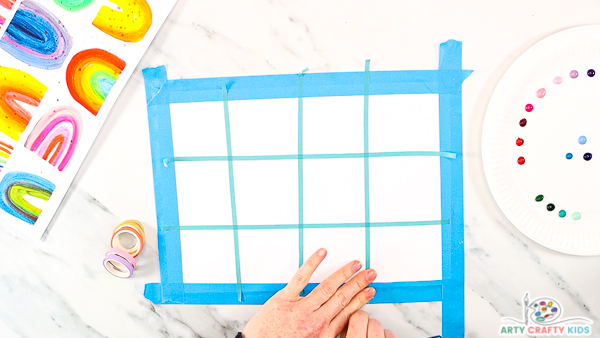
Step 2: Create a grid.
Use slimmer tape to create a grid.
Don’t worry if the grid isn’t evenly spaced; wonky tape lines or slightly uneven spaces will only add to the abstract effect of the finished painting.
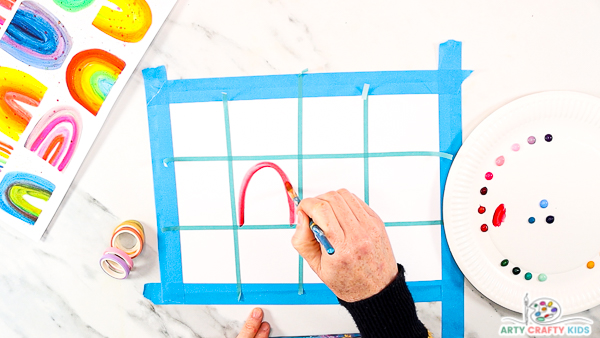
Step 3: Select a grid and paint the first arch of a rainbow.
Select a painting technique (we’re using dry brushing for our first rainbow) and paint the first arch.
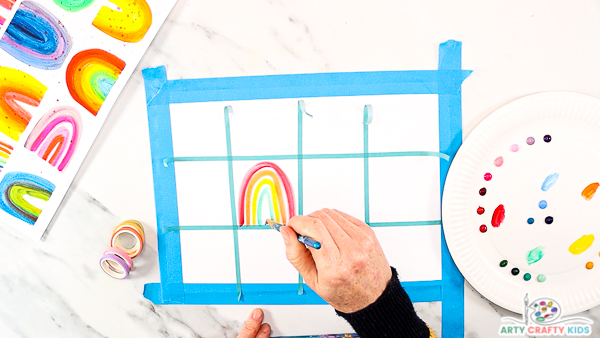
Step 4: Complete the first rainbow.
Dry brushing has created bold and defined rainbow arches, which are separated by an arch of white space.
A wet-on-wet technique would create a very different looking rainbow, with paint likely to spread within the arch and blend.
The beauty of this art project is that each grid can host a different rainbow, allowing for experimentation!
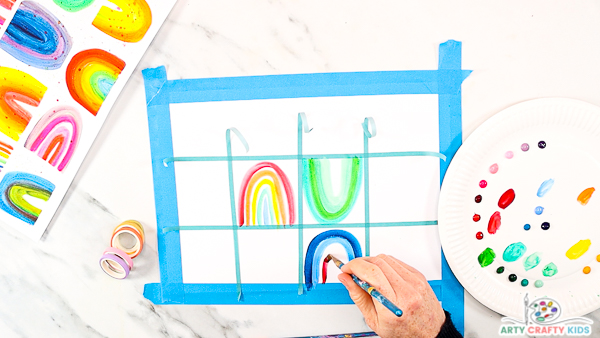
Step 5: Fill the remaining grids with painted rainbows.
The rainbows do not have to take a traditional form.
They can be a selection of your Arty Crafty Kids favorite colors or can be created as part of a color study.
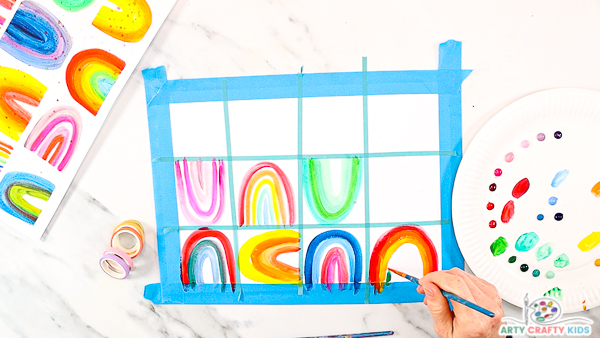
Color combinations could be:
Complementary
These are colors that are opposite each other on the color wheel (i.e yellow and blue). These colors create a high contrast, appearing brighter and more prominent.
Monochromatic
These colors are very tonal with subtle differences between the lead color. Together they tend to present a harmonious look.
Analogus
These are combinations of colors that are very similar, usually represented as next to each other on the color wheel.
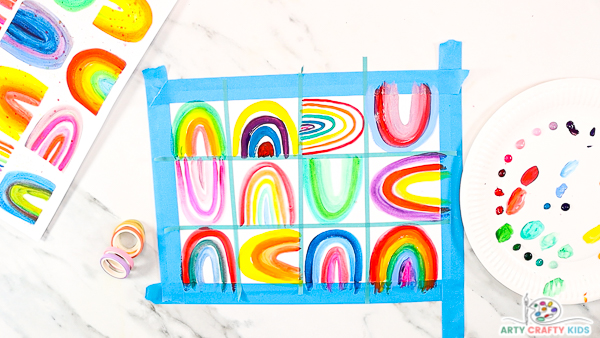
The rainbows can be painting in different colors using different watercolor techniques and can be painted in different directions!
With so much choice, Arty Crafty Kids will be guaranteed to create something unique and reflective of their creativity.
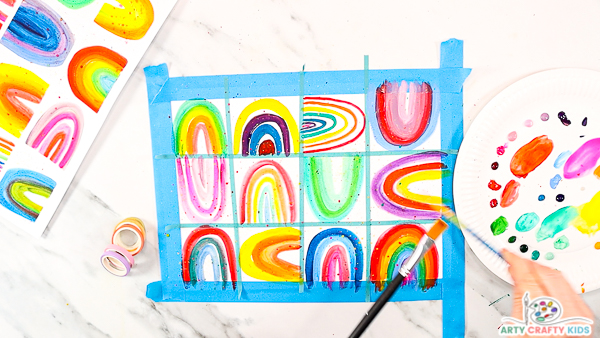
Step 6: Add a layer of splattered watercolor paint.
(Optional ) Once each grid hosts a rainbow, add lots of water to a preferred colored paint and use two brushes to splatter color across the painting.
Use various different colored splats to complete the painting.
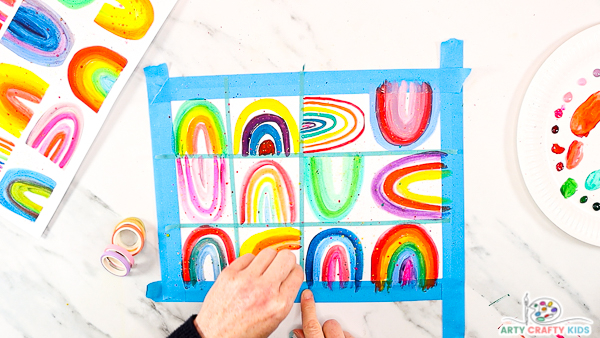
Step 7: Carefully remove the artist tape.
Starting with the grid, carefully peel the tape away to reveal the white lines.
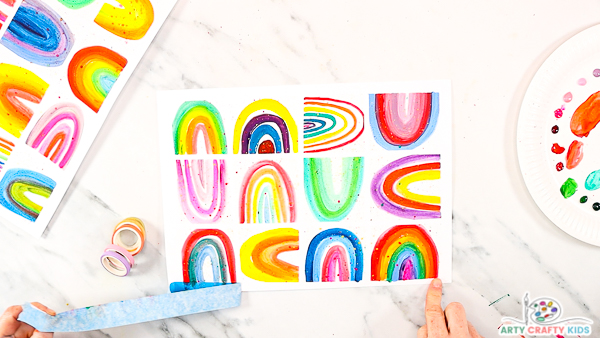
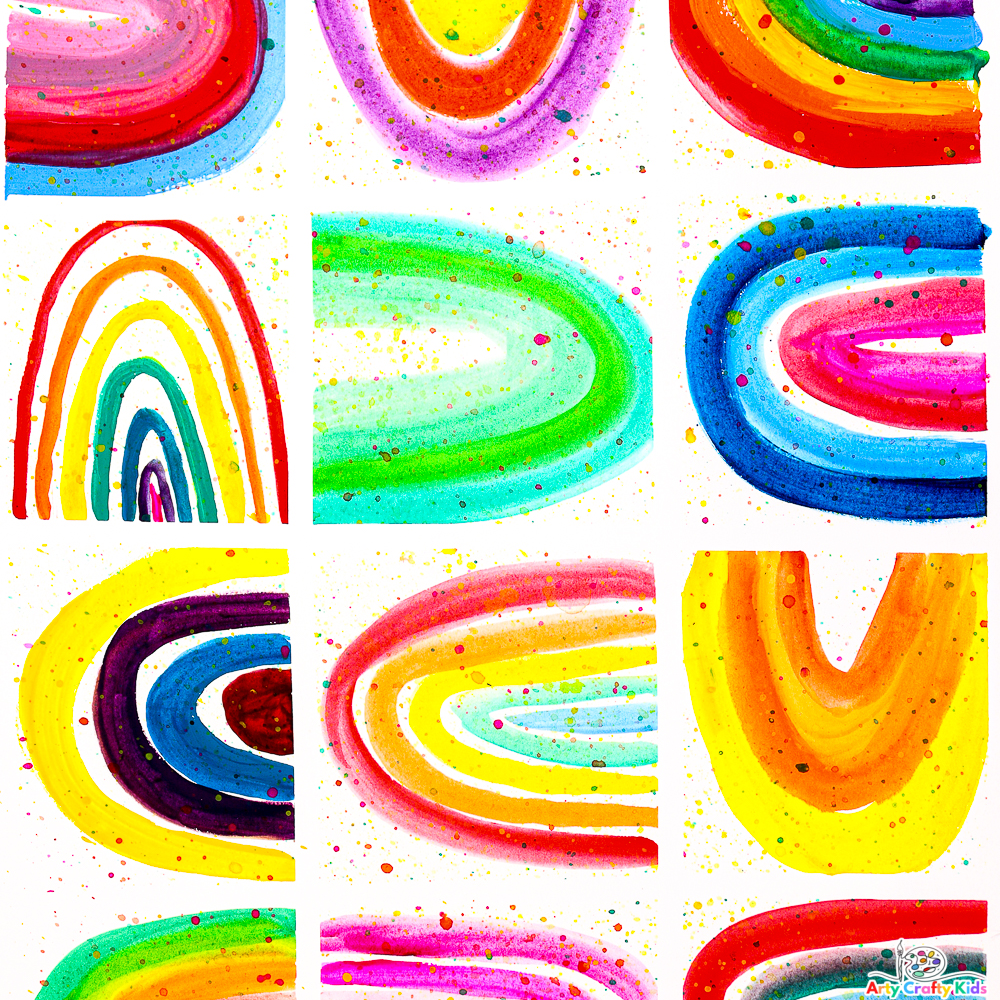
I hope your Arty Crafty Kids enjoy exploring their creativity within this art project. Rainbow art projects are particularly popular for St Patrick’s Day and Spring themed topics – personally, I love a rainbow painting anytime of the year!
As always, we love to see Arty Crafty Kids’ creativity in action and if you happen to share their completed makes on social media, please do give us a tag or/and use the #artycraftykids – happy crafting!
