Sharing is caring!
I think most people are in agreement, that when it comes to gifts, whether it’s for Christmas or a Birthday, or ‘just because’ days, home-made gifts are the best!
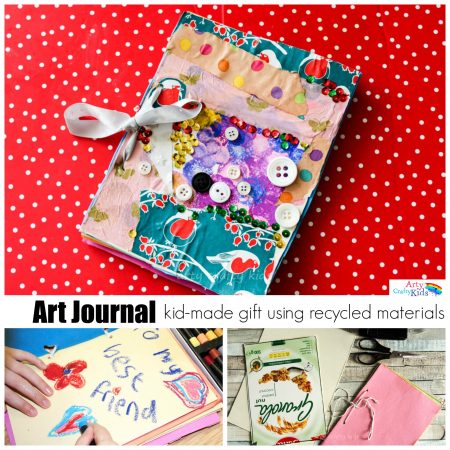
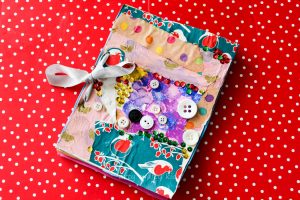
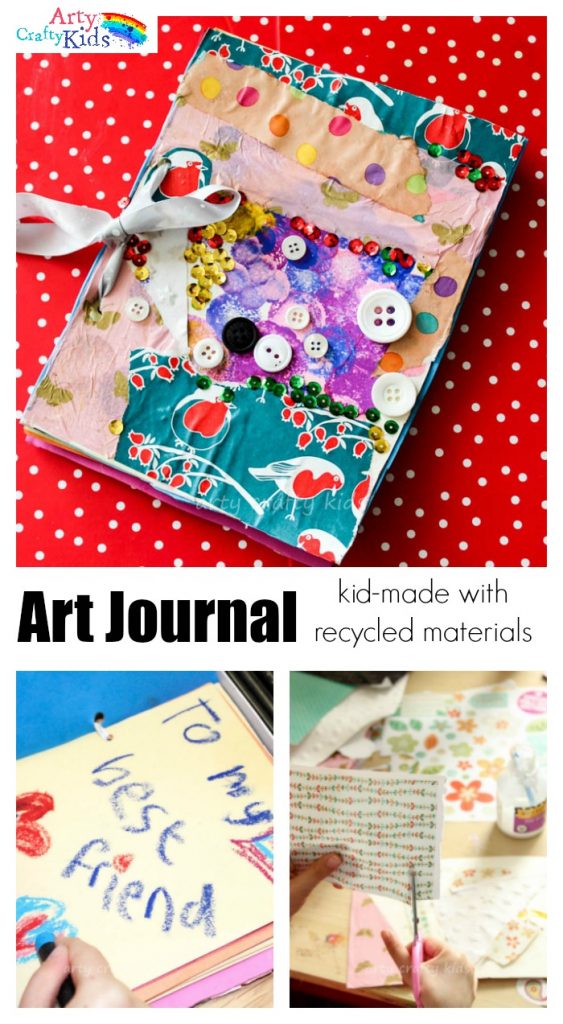
This cute DIY Art Journal was made entirely by my six-year-old!
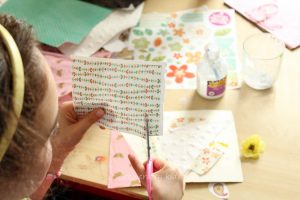
And she had the best time rummaging through the recycle bin and scrap paper draw looking for the perfect pattern to include in her collage.
Art Journals are a super way to encourage creativity and can be used as a simple scrap-book, note-book, for doodling and anything that inspires your little artist.
What sets this DIY Art Journal aside from shop bought, is of course the personal touch.
My daughter poured her heart and soul into this creation, while thinking about her best friend. I hope that when she finally gets to pass her gift on, it is treasured and filled with many drawings and keepsakes.
MATERIALS: Easy DIY Art Journal
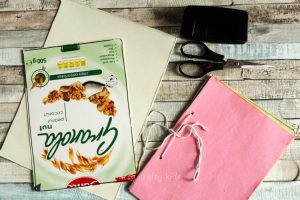
Cereal Box
Scrap Paper
Sugar Paper
Buttons, Sequins – No need to buy extra embellishments, use what you have a get creative!
Paints (optional)
PVA Glue
Ribbon, String or Yarn – Again, use whatever you can find at home!
Scissors
Hole Puncher
Directions: Easy DIY Art Journal
Cut up the cereal box into two A5 sized rectangles or into the size of your choice. These will form the Art Journals covers.
Gather numerous sheets of paper, hole punch and tie with some string.
We used some spare coloured sugar paper.
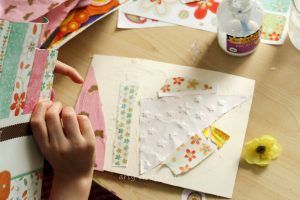
Begin cutting up or tearing the scrap paper and glue directly onto the cereal box, covering both sides!
With one of the cereal boxes, my daughter decided to do a little sponge painting first and then covered parts of the paint with paper.
alternately, paint could be added once the collage is complete.
Either way, this is a great way to introduce mixed media techniques and can add texture and depth to the finished piece.
In addition to the paint, if you have any embellishments, add those too!
They could range from sequins, to glitter, to bottle tops!
Continue cutting and sticking until both pieces of card are completely covered.
As an optional extra, spread a thin layer of PVA glue over the entire design. This will help to seal the covers and add sheen.
Once the both covers are dry and firm, use the hole punch to create the holes for binding the DIY Art Journal together. It might be helpful to mark where you would like the holes to be before committing!
To finish off, remove the string from the content paper, add the Art Journal covers either side and thread it all together using string or ribbon.
TIP: Do not tie all together too tightly, leave some slack so the DIY Art Journal can be easily opened and used.
And that’s it!
You should have your very own DIY Art Journal.
There are many things that I love about this idea:
- It’s personal
- Made with love
- Made using recycled materials
- Encourages creativity
- Brilliant for developing fine motor skills!
If you have you been inspired by our DIY Art Journal and try this out with your kids, I would love to hear how they get on!
SIGN-up the the Arty Crafty Kids Newsletter for regular updates!
PIN for later!
Our DIY Art Journal forms part of a gorgeous series of Kid-Made gifts hosted by Teach-me -Mommmy.
See them all here:

