Sharing is caring!
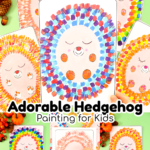
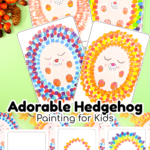
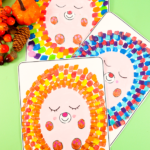
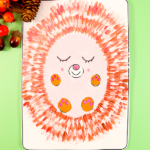
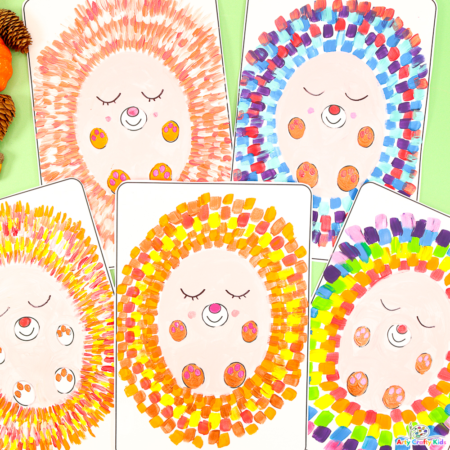
This cute hedgehog painting idea for kids is perfect for getting into the spirit of fall; a time where many forest animals begin to think about hibernation and the season transitions into spectacular colors of red, yellow, orange and brown.
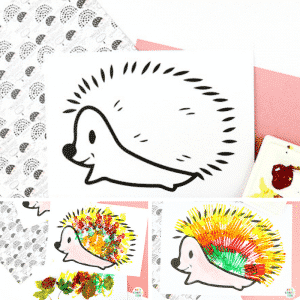
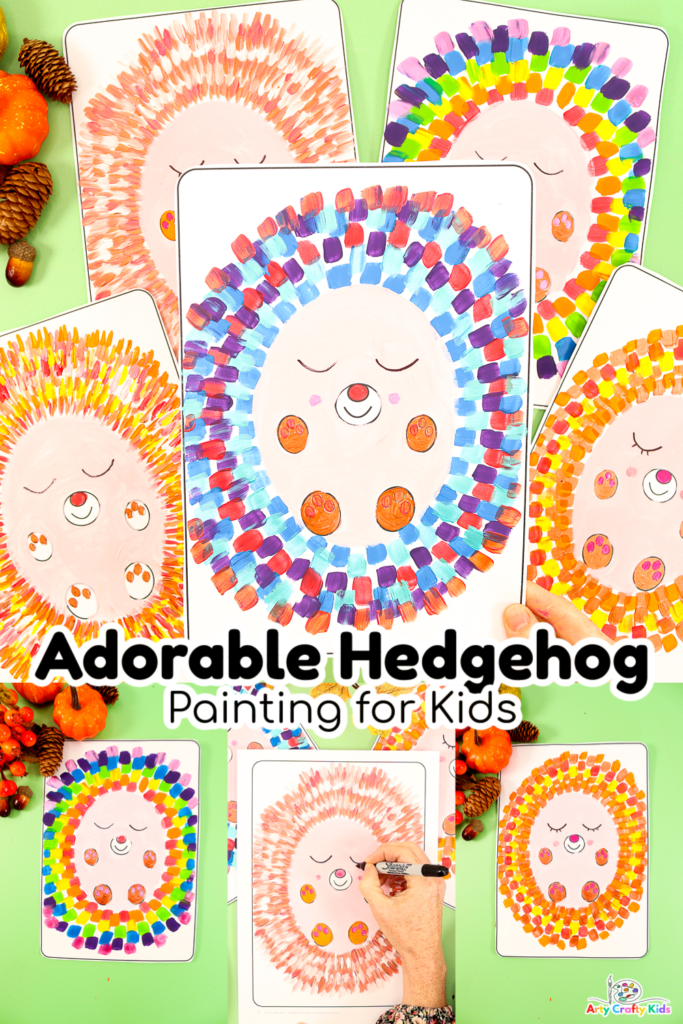
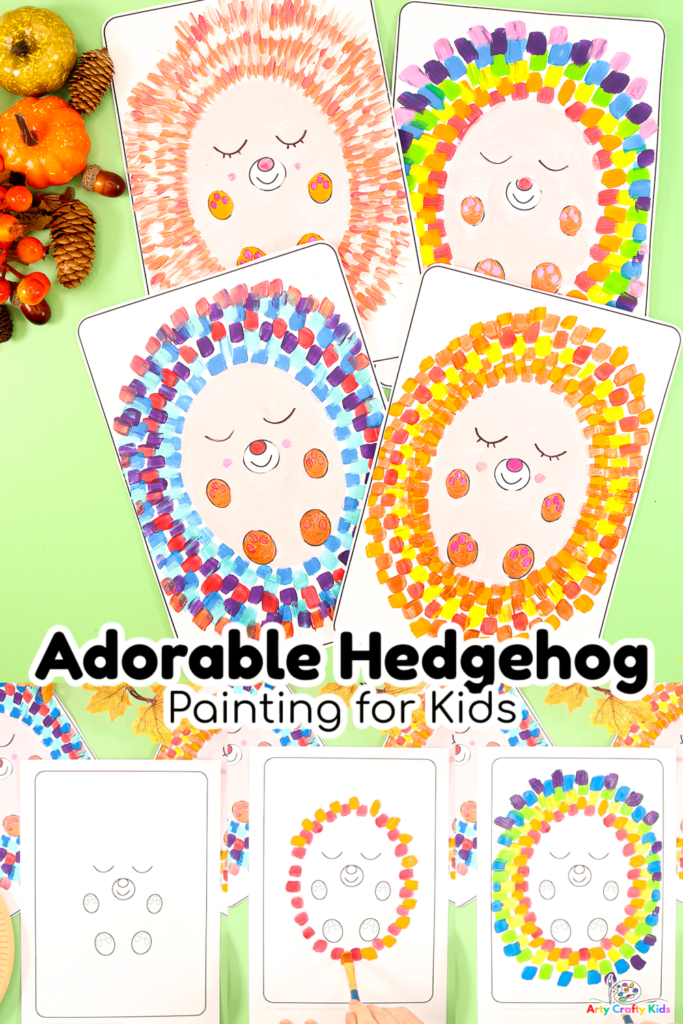
With the use of our printable hedgehog template, children are free to use the full spectrum of the rainbow and more to color their hedgehogs.
The art project could be used as a lesson in color blending and creation of traditional Autumn colors or/and centered around capturing the texture and color of real hedgehogs.
However your children choose to approach their hedgehog art, they will be sure to have fun and one of the best features of this project, it will appeal to children of all ages from preschoolers to early tweens!
- 3D Paper Hedgehog Craft
- Paper Plate Hedgehog Craft
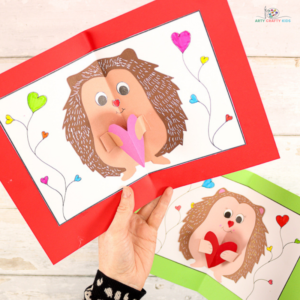
- Hedgehog Card with a Pop Up Heart | Card Idea for Valentine’s Day
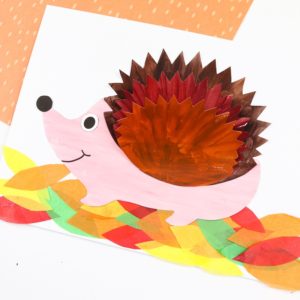
- Hedgehog Fall Leaf Craft
- Hedgehog Card Template
How to Create a Cute Hedgehog Painting with the Kids
Materials
White Card Stock for Printing
Paint
Paintbrushes – Fine Tipped or/and Flat
Download the Hedgehog Painting Template:
The printable Hedgehog Painting Template is available to members of the Arty Crafty Kids club.
Members will need to log in to access the templates: https://www.artycraftykids.com/product/hedgehog-painting-template/
Not a Member?

Watch the Step by Step Video Tutorial:
Let’s Paint a Hedgehog!
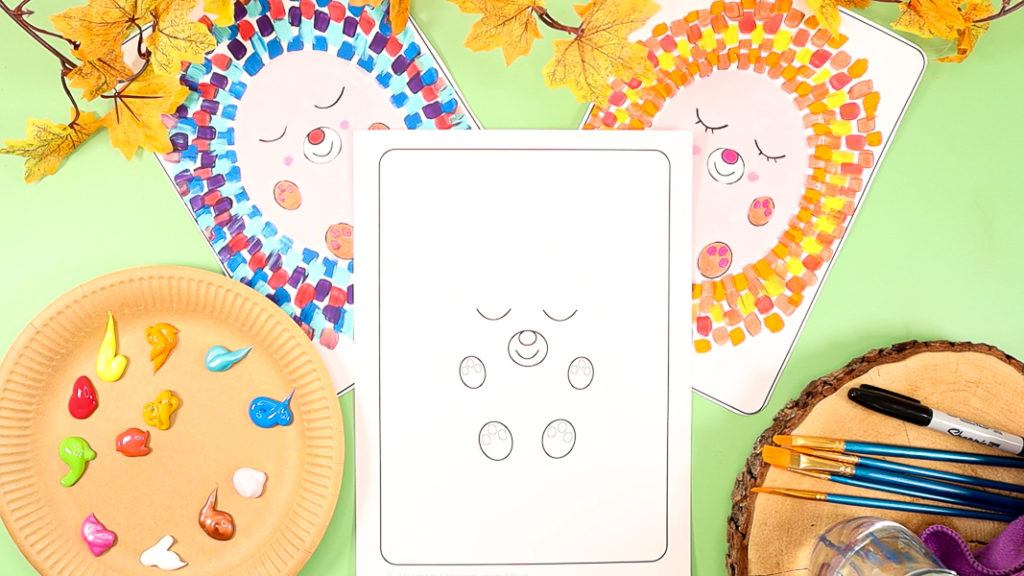
Step 1: Print the Hedgehog onto White Card Stock
Before printing, make sure the printer settings are set to “fit to page” and the paper setting is adjusted to “heavy card” or similar.
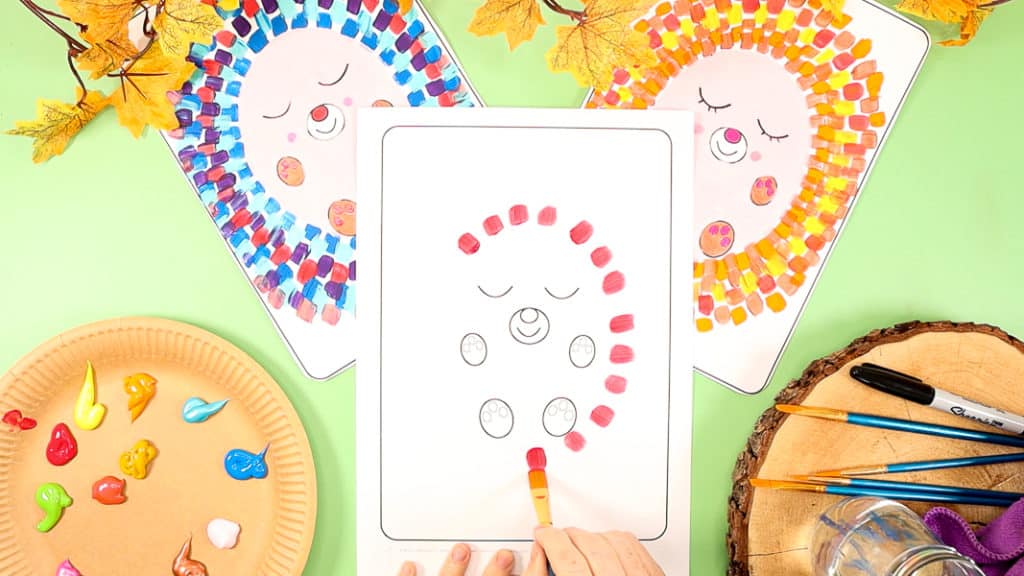
Step 2: Paint the First Layer of Spikes Using Single Paint Strokes
Apply paint to either a flat or fine tipped paintbrush and follow the oval dotted line around the to create the first layer of “hedgehog” spikes.
The paint strokes can be evenly spaced…
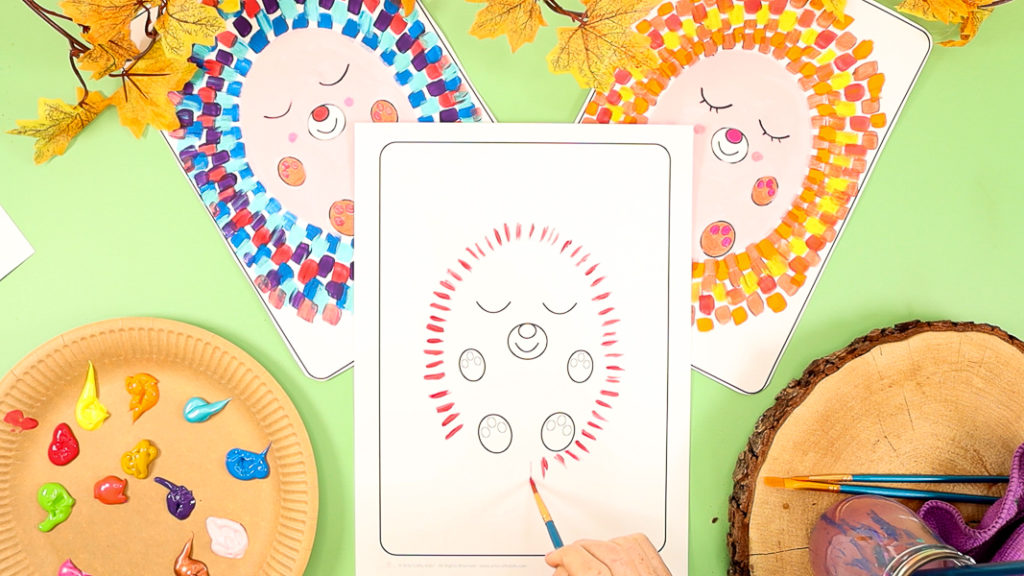
Or close together!
This may vary depending on the size of the paintbrush tip.
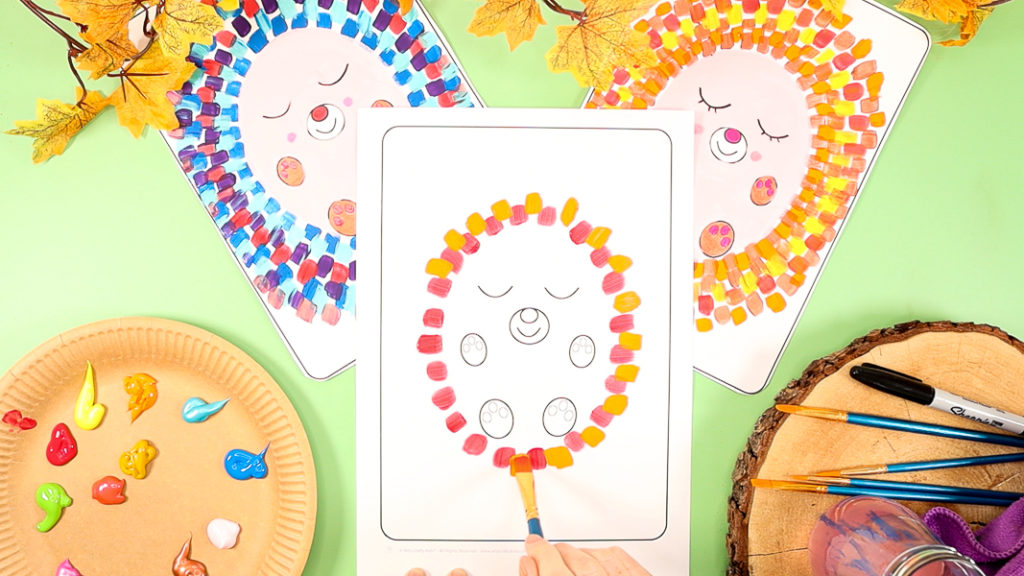
Step 3: Paint a Second Layer of Spikes to the Hedgehog
Next, select a different color and paint a second layer of spikes around the hedgehog.
Try to paint these strikes in the spaces between the first layer.
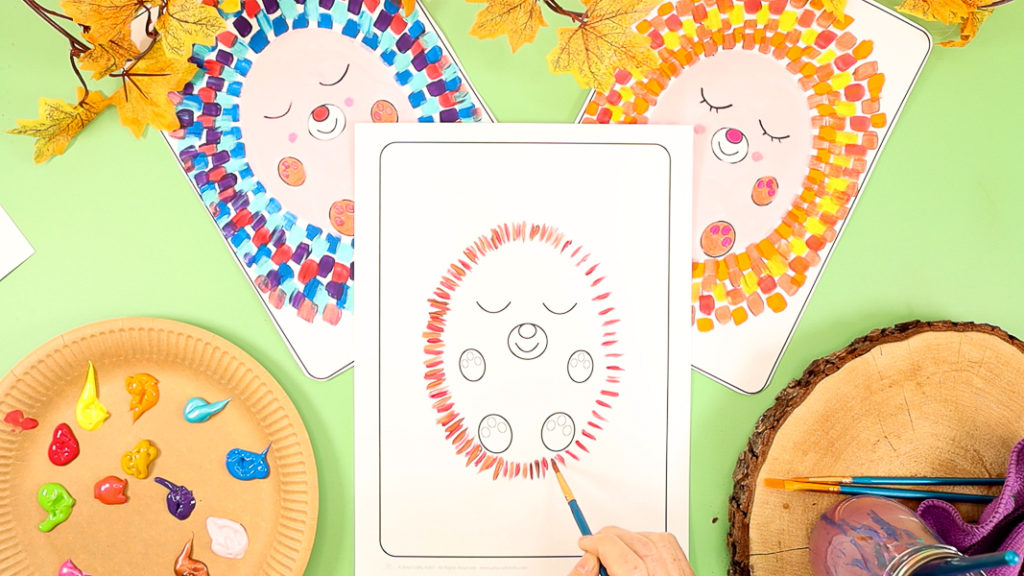
Don’t worry if the paint strokes overlap, this will only add to the overall effect and create interesting color tones and variations within the hedgehog’s body.
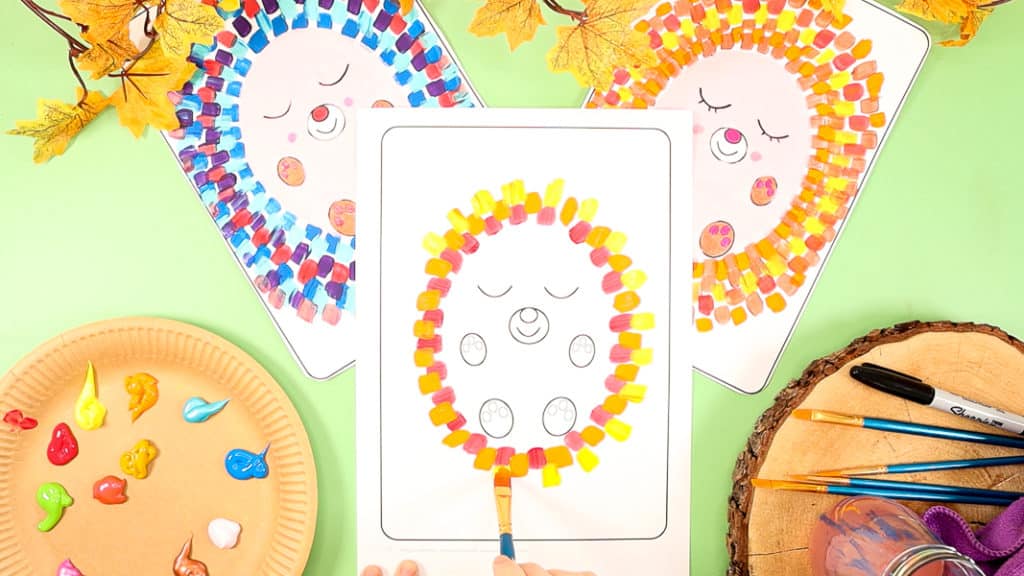
Step 4: Continue Layering the Paint Strokes and Add Different Colors
Continue building the hedgehog’s body with painted spikes (quills).
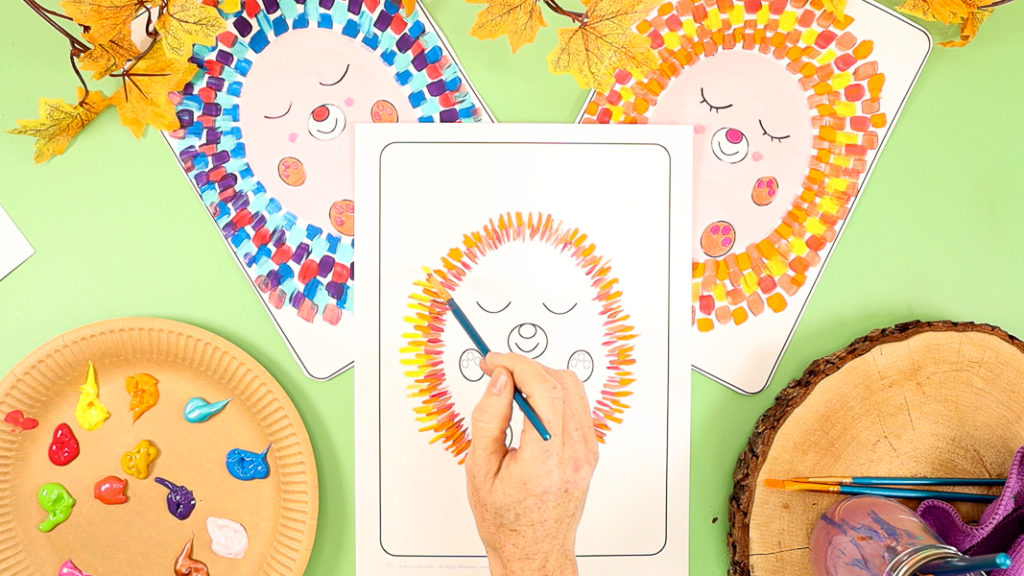
If your Arty Crafty Kids have chosen to use a fine tipped brush to create realistic spikes, try adding a sporadic layer of white between colors – perhaps after every two to three layers.
Real hedgehog spikes feature a lovely blend of deep browns and reds with white tips.
Adding white to the creative process will help to recreate this cute characteristic.
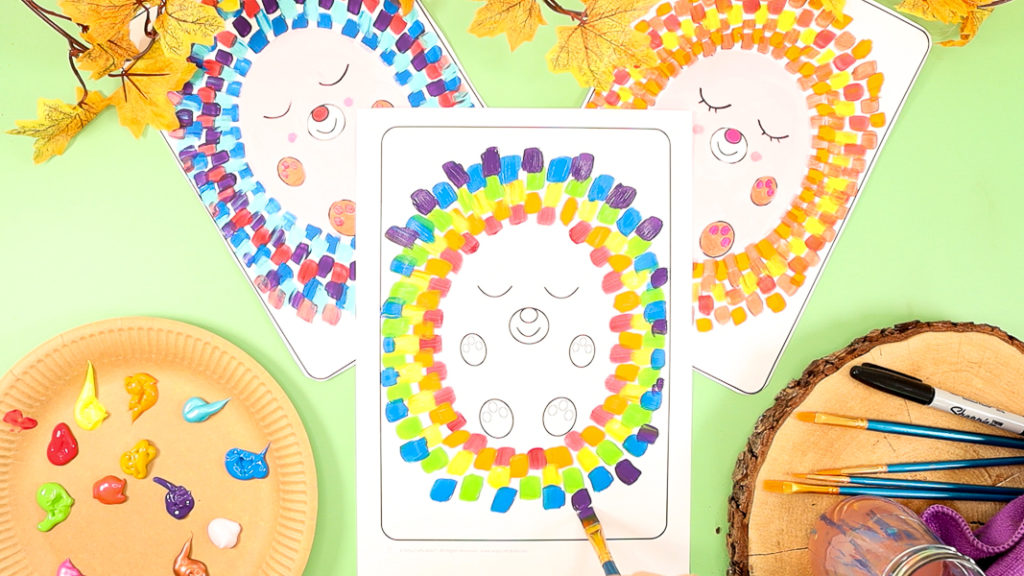
Alternatively, the hedgehog’s do not need to look realistic at all and Arty Crafty Kids can use all of their favorite colors within their painting.
They could even take inspiration from popular hedgehog characters such as “Sonic the Hedgehog”.
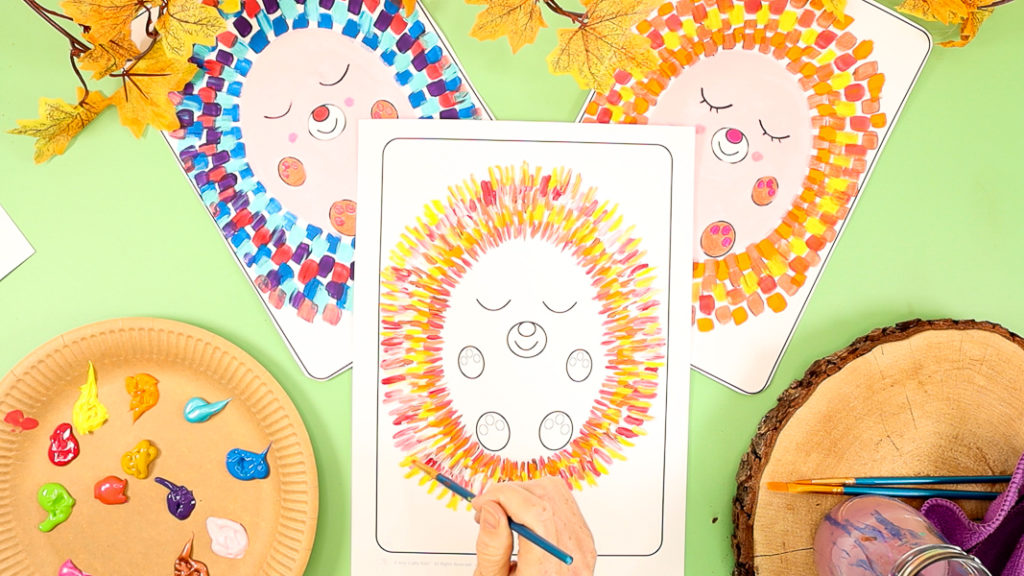
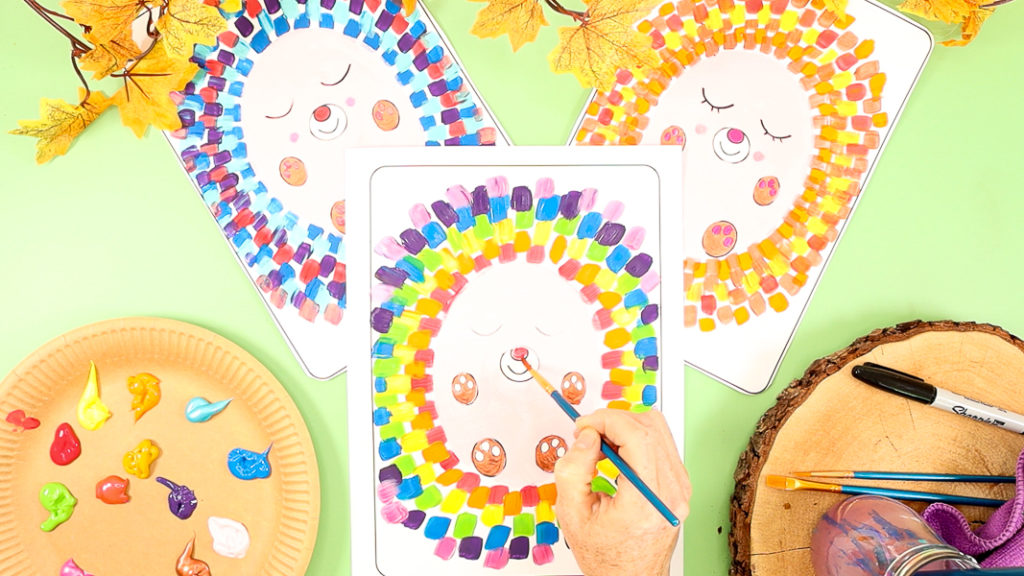
Step 5: Paint the Hedgehog’s Body, Pads and Nose
Once the surrounding spikes are complete, paint the body a light pink or beige color and color the pads and nose.
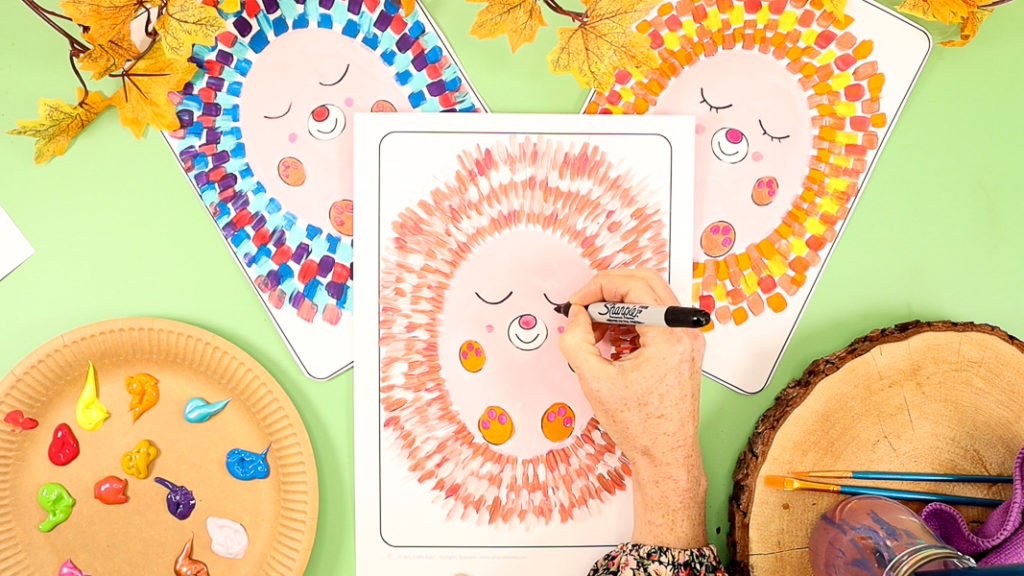
Step 6: Draw the Hedgehog’s Sleepy Eyes
Once the body is dry, trace over the eye lines with a black marker pen.
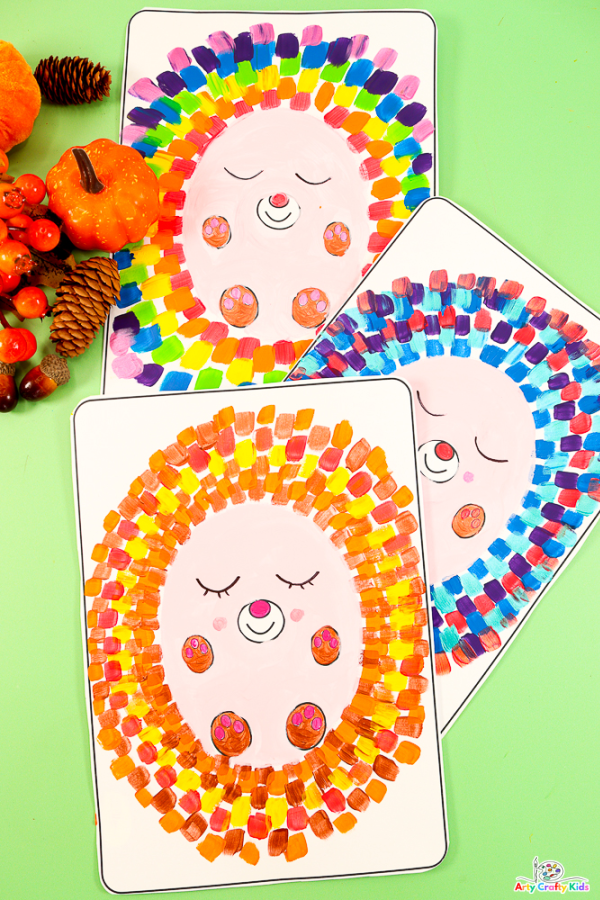
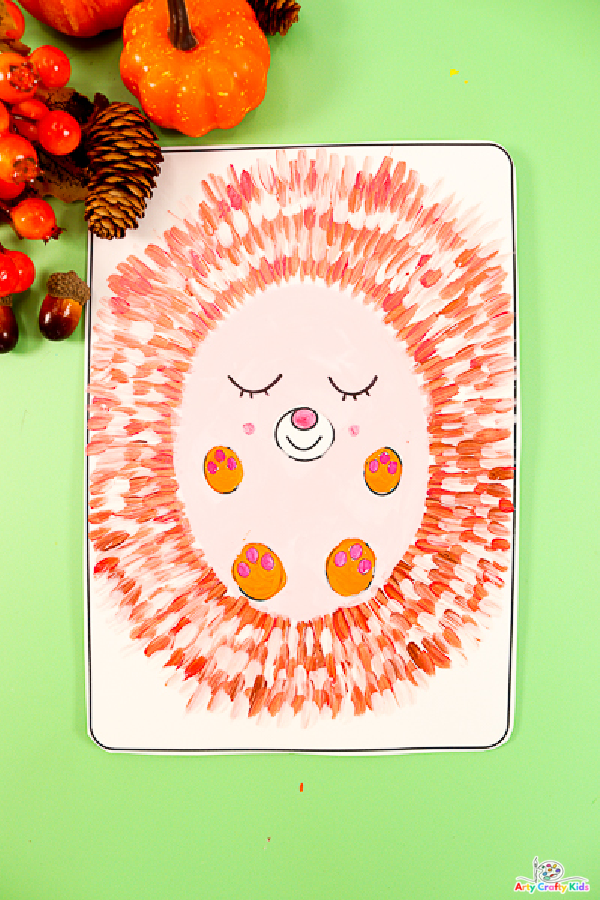
I hope your Arty Crafty Kids enjoy the process of painting their own hedgehogs. Will the spikes be flat and colorful OR spiky with a little hat like “Miss Tiggywinkle“.
As always, we love to Arty Crafty Kids’ creativity in action and if you happen to share their completed makes on social media, please do give us a tag or/and use the #artycraftykids – happy crafting!
More Woodland Animal Arts and Crafts to Try this Autumn
We have a plethora of fun and easy woodland animal themed arts and crafts for kids to try! Here are a few of our favorites…

