Sharing is caring!
“Never, even as a child, would I bend to a rule” – Claude Monet
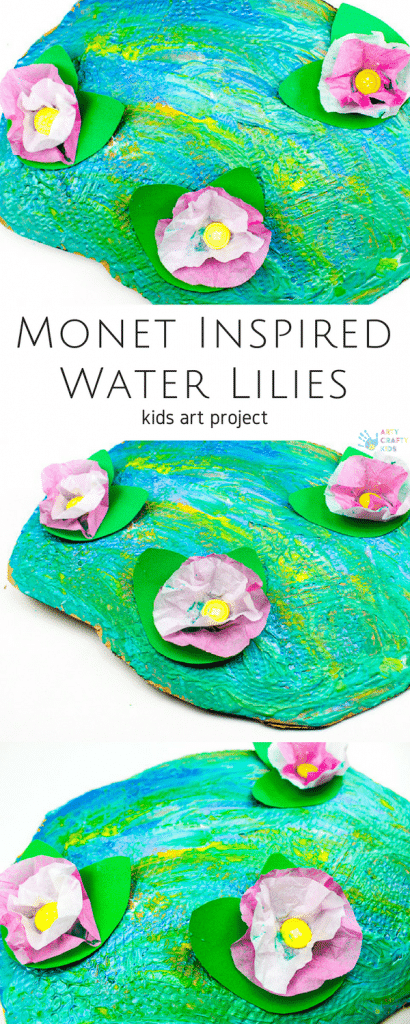
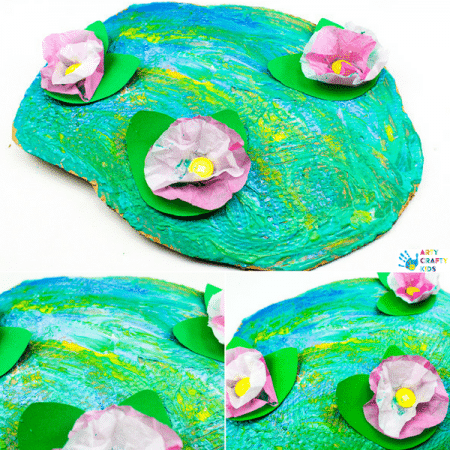
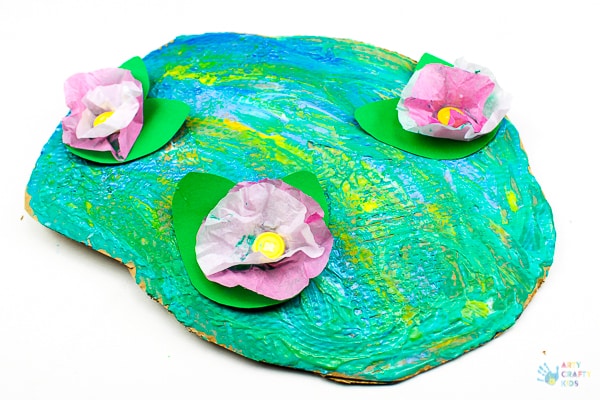
Our Claude Monet Water Lilies Art Project for Kids is open to breaking the rules. Using a piece of card and spoon for colour mixing, children can recreate their own impressionist water lily painting. And while our tool of choice is the spoon, children can explore and experiment with their hands, brushes, a sponge, scrap card or anything else they fancy trying to add texture and movement to the pond.
A spoon could be considered an unusual tool for exploring the works of famous artists. However, as you will soon find out, it blends the colours beautifully and smooths the paint as it spreads across the cardboard canvas, creating a ‘reflective’ surface that was key to Monet’s exploration of capturing patterns of changing light. The spoon can create swirls and movement, that naturally flows, almost like water.
Although a simple twist, it’s one that lends itself to adaption and can be easily applied within the home or classroom.
So let’s gather some old cardboard, paint, and a spoon, and get started!
Claude Monet Water Lilies Art Project for Kids: Materials
Thick Cardboard from an old box
Paint (Blue, White, Yellow)
A Spoon
Tissue Paper
Green Stockcard
Button
Scissors
PVA Glue
Claude Monet Water Lilies Art Project for Kids: Tutorial
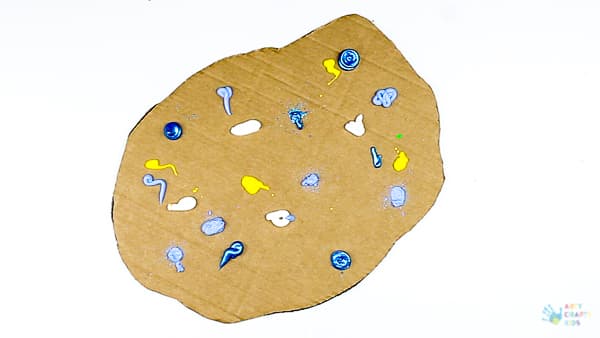
Step 1: Using a piece of cardboard, cut it into a pond like shape and add sporadically add blobs of blue, yellow and white paint across the surface.
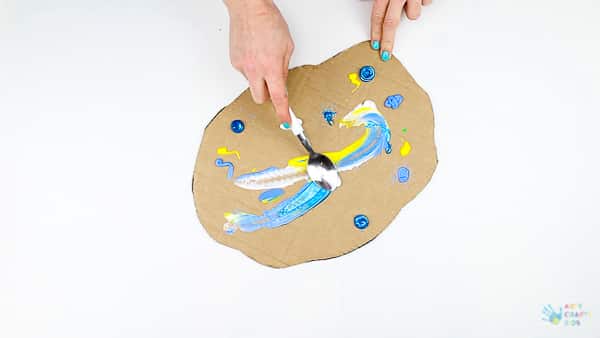
Step 2: Spread the spoon across the surface, capturing the paint and blending, while spreading to across the surface.
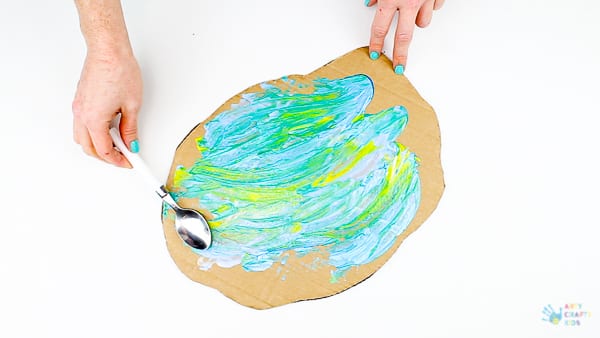
Step 3: Swirl and move the paint across until the cardboard is completely covered.
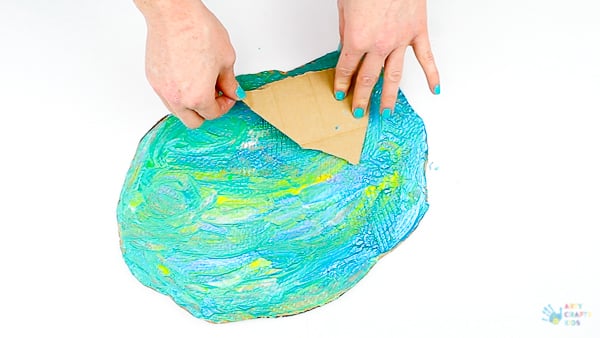
Step 4: To add texture to smooth surface, try tearing the top layer of the cardboard to reveal the corrugated card to create prints across the ‘pond’.
My daughter suggested that these could be ripples created by bugs that often hover across the water, or perhaps a frog that’s just leaped in.
Either way, encourage the Arty Crafty Kids to spend time working on their pond surface, blending colours and if necessary, adding more paint.
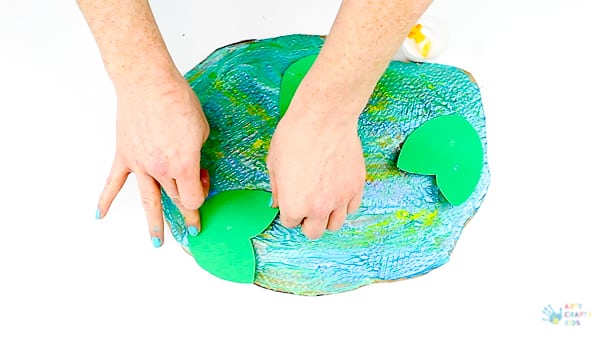
Step 5: Using green stock card, add some lily pads to the pond.
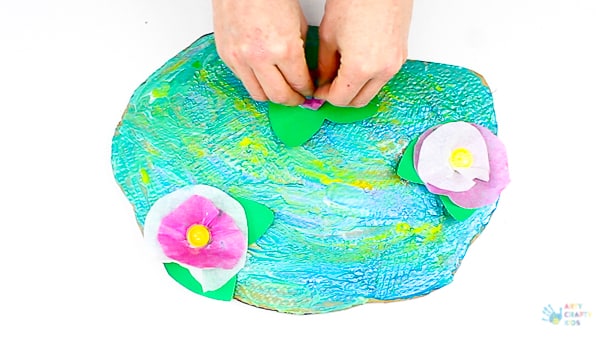
Step 6: And finishing off with tissue paper lilies!
To make the lilies, cut out a pair of circles using two different colours for contrast (or the same) and place a button into the centre, securing with PVA glue.
Then simply scrunch the paper around the button to create a 3D effect.
And the Claude Monet Water Lily Art Project for Kids is now complete!
I hope your children have fun recreating Monet’s Water Lilies. For more projects inspired by famous artists, check out:
Pin for Later!
