Sharing is caring!
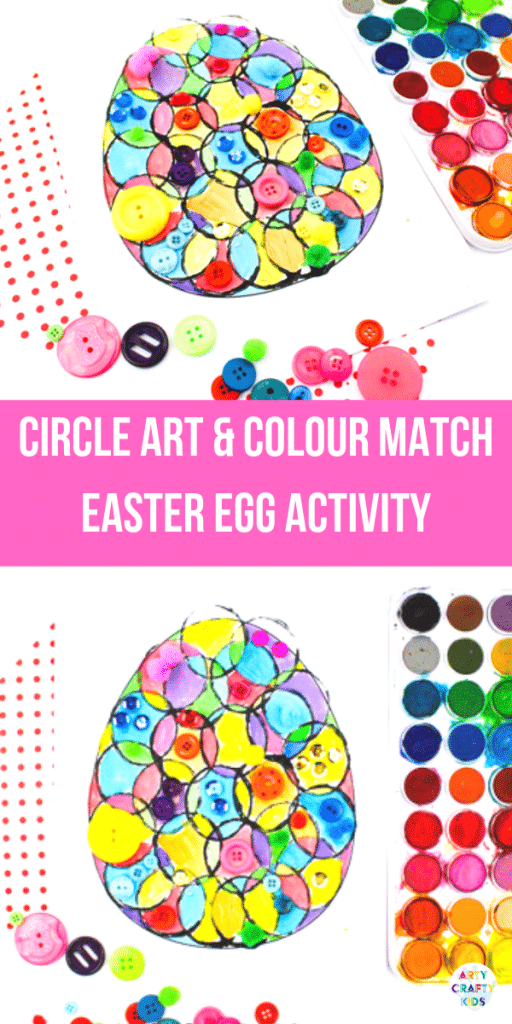
This simple Circle Art Easter Egg Activity can be adapted to suit children of all ages and explores printing techniques, line work, colour matching, basic colour theory and shapes.
With the aide of our handy printable Easter Egg Template, this project can be largely child-led and I would encourage Arty Crafty Kids to explore this concept in their own way, using this post as a guide only.
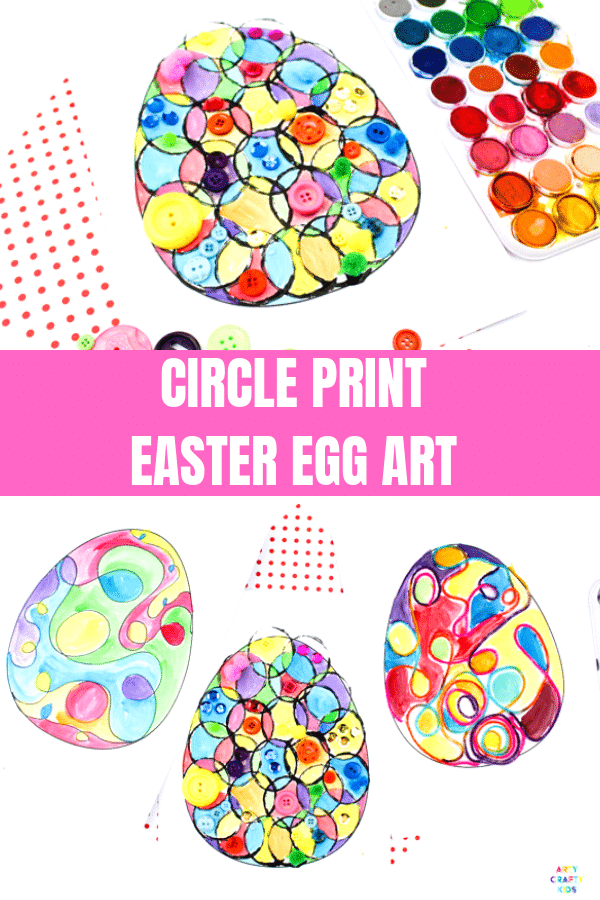
For example, Arty Crafty Kids can play with the shape of their paper rolls and give it little squish to create an oval ‘egg’ shape.
The white space could also be filled with a variety of different mediums and techniques – finger painting might be really fun!
Circle Art Easter Egg Activity: Materials
White Card Stock
Black Paint
Small Plate (or recycle an old piece of cardboard)
Cardboard Tube
Watercolour Paint (or try pencils, crayons or chalk etc)
Colourful Extras – Buttons, Sequins, Pom-Poms
The Easter Egg Template is exclusively available to Arty Crafty Kids Club members.
Join the Arty Crafty Kids club to download the templates and access our complete collection of Art & Craft templates, Colouring Pages, How to Draw Guides, Activity Booklets and much more!
Already a member? login here! and search Easter Egg Outline
Circle Art Easter Egg Activity: Tutorial
Step 1:
Download and the print the Easter Egg Template onto white card stock.
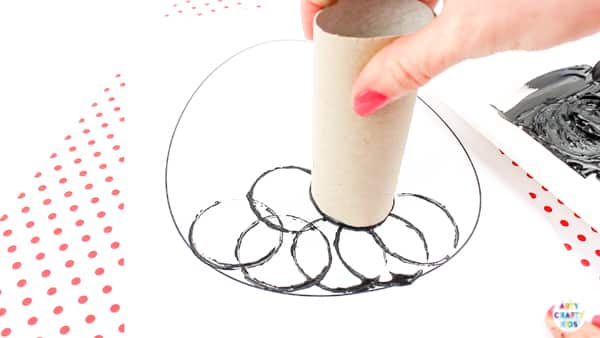
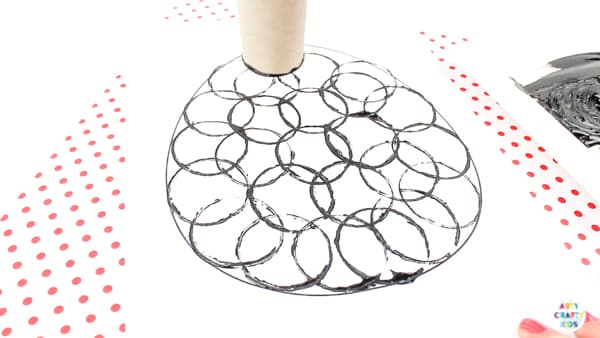
Spread the black paint across the plate to create an even layer and dip one end of the paper tube into the paint. Give the tube a few twists to ensure the edges are covered.
Following the edge of the Easter Egg Outline, begin printing overlapping circles.
Step 2:
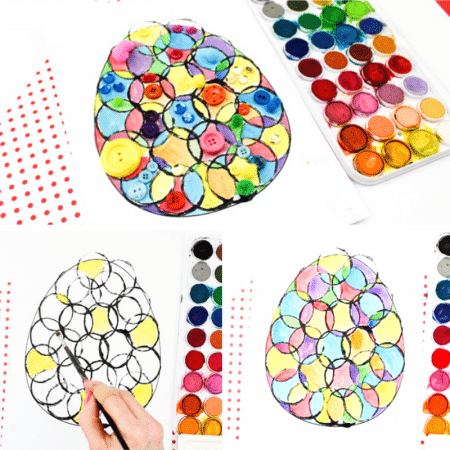
Fill the Easter Egg Outline with printed black circles and leave to thoroughly dry.
Step 3:
Let’s add colour!
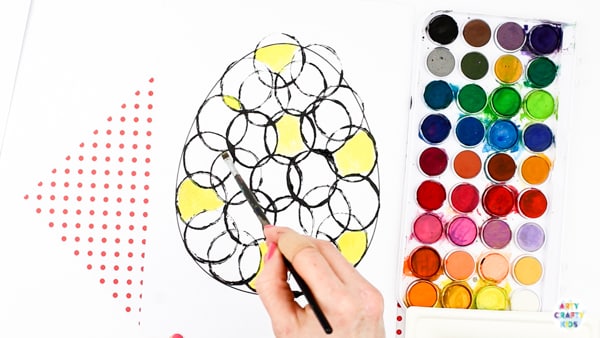
Using your Arty Crafty Kids favourite medium, fill in the white space with colours.
If your Arty Crafty Kids are using watercolours, there are a couple of techniques they may enjoy exploring.
They could experiment with a wet-on-wet application, whereby a light layer of water is spread across the paper first with the paint applied on top.
Alternatively, or as well as, they can mix water directly with the paints. The amount of water used will affect the vibrancy of the colour i.e. less water will create bolder colours; more water will create lighter shades and are more likely to blend with surrounding colours.
Step 4:
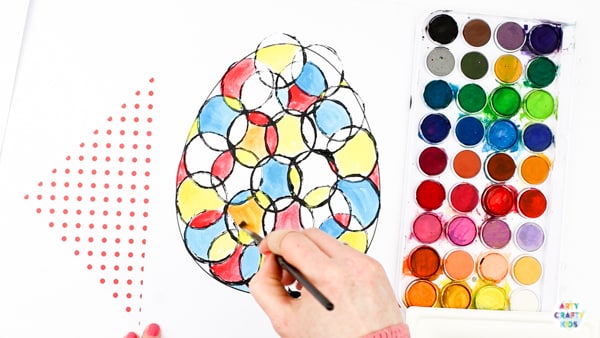
Continue filling the white space with various colours.
This is a great opportunity for Arty Crafty Kids to explore and play with colour.
Try mixing primary colours (red, blue, yellow) to create new shades. How many new colours can your Arty Crafty Kids make?
Step 6:
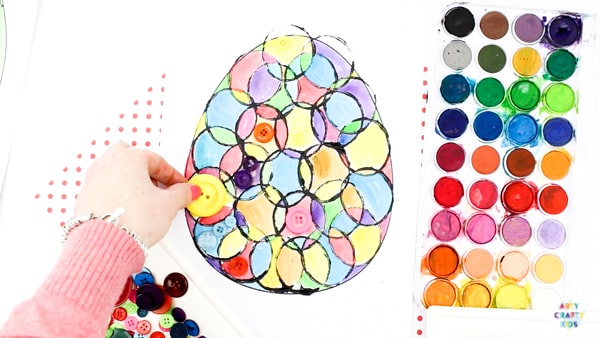
Let’s add a colour matching element!
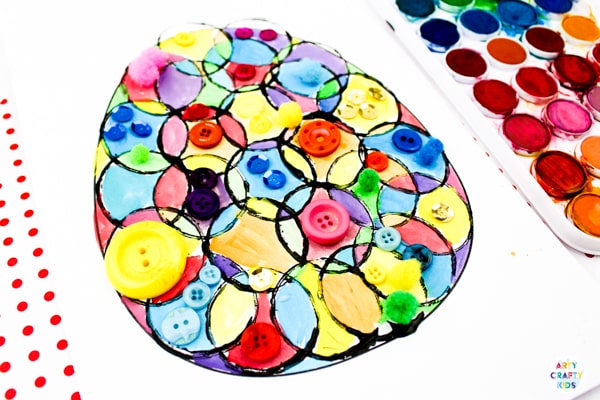
Using buttons, sequins or/and pom-poms, match their colours to the correct painted area.
Step 7:
Continue filling the Easter Egg with colourful extras until your Arty Crafty Kids decide it’s complete!
Arty Crafty Kids Club
Creative and playful Art & Craft Templates
How to Draw Guides and Pre-writing Line Work
Colouring Pages & Seasonal Activity Booklets
Perfect for Educators and Parents, with new content added weekly!
I hope your Arty Crafty Kids this Circle Art Easter Egg Activity. This concept forms of one three that we’ve created with the same template.
Take a look at our Yarn Squiggle Art Easter Egg Activity and easy peasy Squiggle Art Easter Egg Activity.
For more Easter arts and crafts, take a look at these popular posts:
Happy Hoppy Easter Bunny Craft
