Sharing is caring!
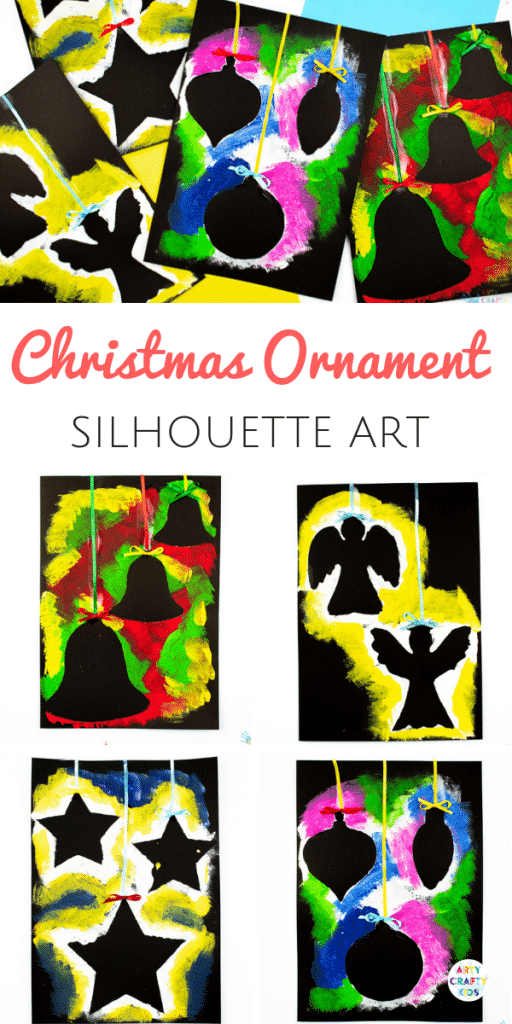
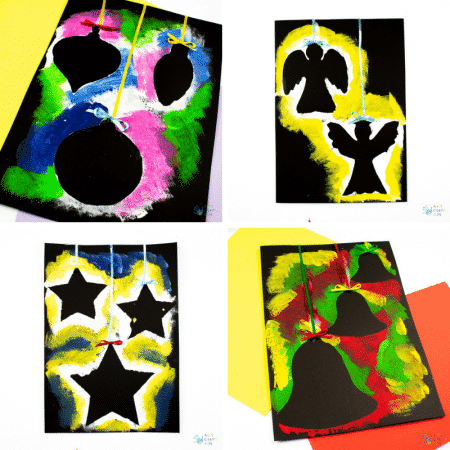
This simple and effective Christmas Ornament Art for Kids is perfect for the festive season.
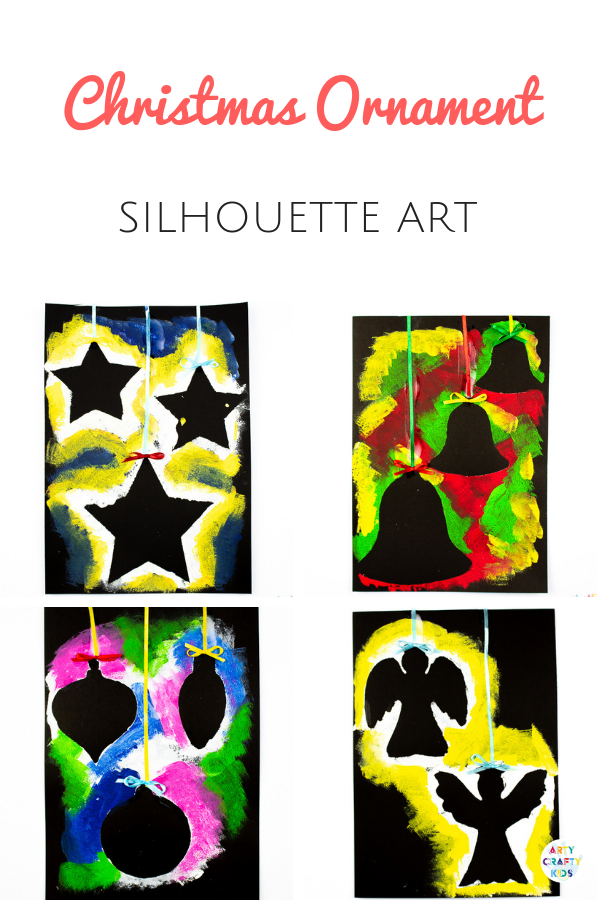
With a choice of four templates to download and print, kids can play with colour to create the illusion of ornaments glistening on the Christmas Tree.
This is a fun and interesting way for Arty Crafty Kids to play and explore negative space.
Christmas Ornament Art for Kids: Materials
Black Cardstock
Paint
Sponges
Ribbon
PVA Glue
Scissors
Download a selection of Ornament Templates :
We’re offering the Star Ornament template as a freebie and this can be found towards the end of the post when you sign-up to our newsletter.
You can also sign-up to our online membership area to gain instant access to our full catalogue of art & craft templates!
Christmas Ornament Art for Kids: Tutorial
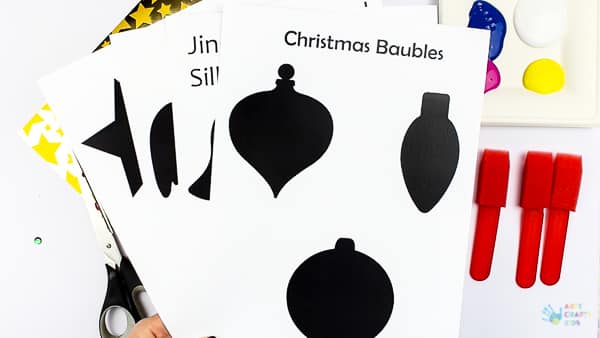
Step 1: Download one of our Christmas Ornament templates and print.
Download our freebie via the newsletter form found towards the end of this post or gain instant by joining the Arty Crafty Club members area!
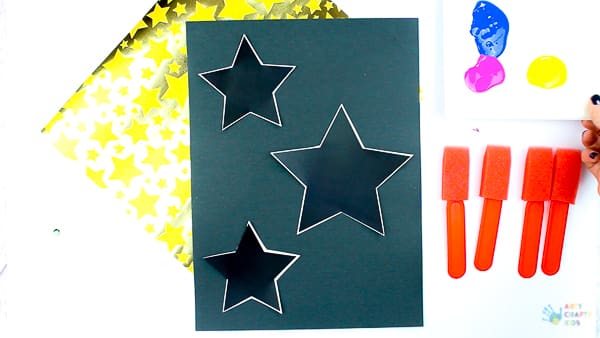
Step 2: Cut out the ornament silhouettes and position on to the black cardstock.
The templates have been designed to encourage Arty Crafty Kids to practice their cutting skills. The smooth lines and simple shapes are perfect for little hands to navigate around and allow for little mishaps that may occur.
Allow enough space between the silhouettes for the ribbon to descend from the top of the page to join each shape.
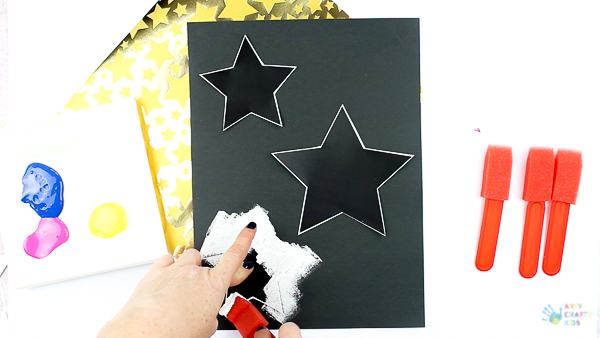
Step 3: Apply white paint (ideally acrylic) to the sponge and begin gently dabbing the paint around the silhouette outline.
With each silhouette, start with white. This not only creates a bold and striking contrast against the black, but it also acts as a good base layer for other colours.
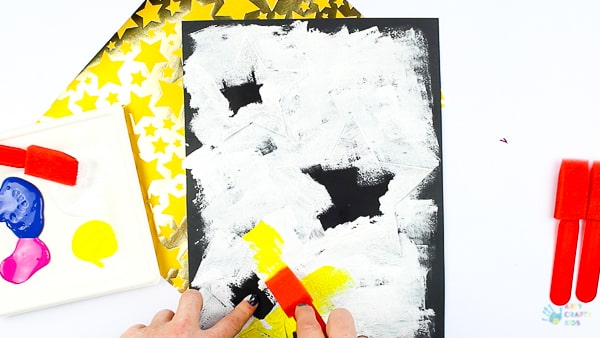
Step 4: Add a second colour.
As per the previous step, follow the outline of the silhouette and extend further into the black space.
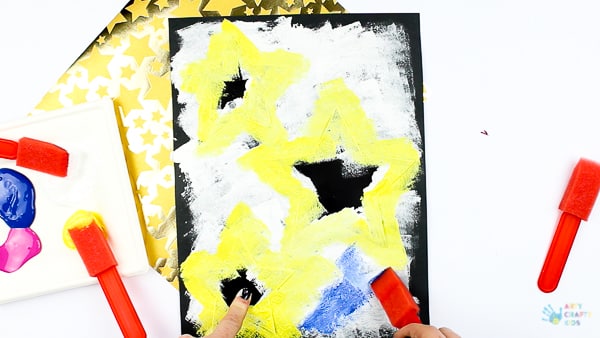
Step 5: Continue to add additional colours.
Your Arty Crafty Kids may begin to notice that some colours will change as they layer and blend. This is a great opportunity to talk about colour mixing, inviting the kids to describe the changes they observe.
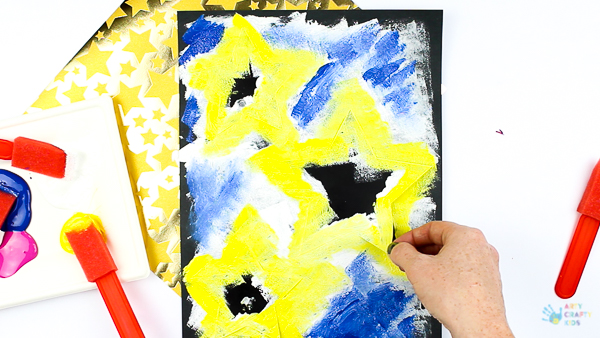
Step 6: Once your Arty Crafty Kids are happy with their painting, gently peel the shapes away to reveal the silhouette.
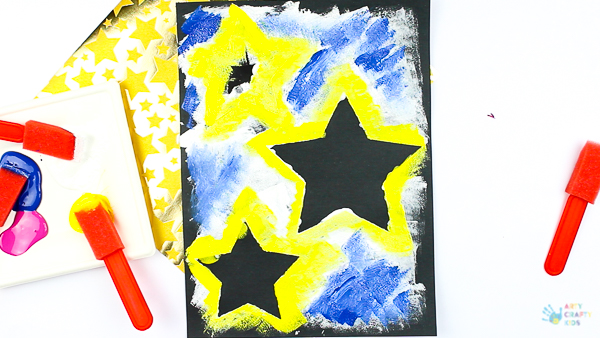
Step 7: As you can see, we’ve used the negative space as an extension to our shape.
The yellow creates an illusion of a twinkling star and this effect can be achieved with each of our templates.
The baubles are surrounded by pinks and blues to suggest a reflection of colours.
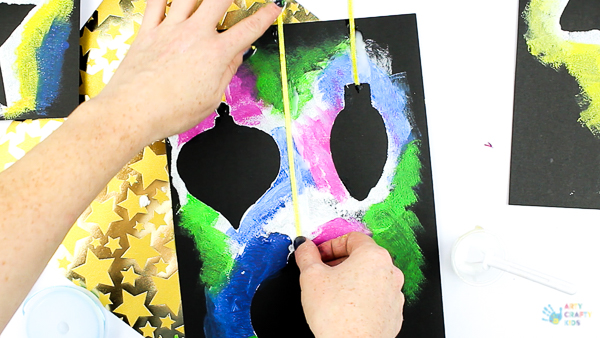
Step 8: Once the paint has dried, add a vertical line of PVA glue from the bauble to the top of the page.
Add a strand of ribbon.
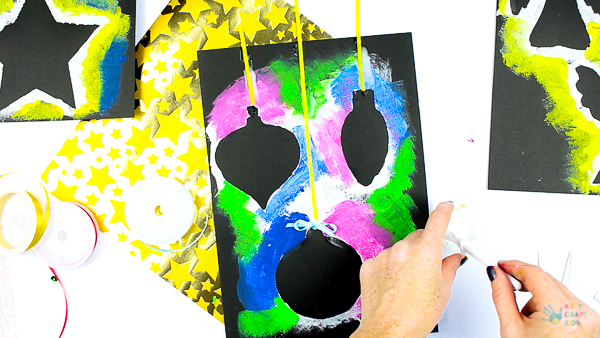
Step 9: Create a small bow out of ribbon and attach this to the join between the bauble and ribbon strand.
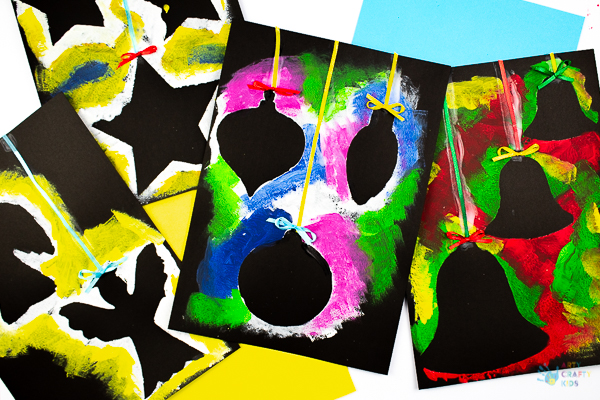
This is Christmas Ornament Art for Kids uses a fun and abstract technique, that’s perfect for colour play.
With the ease of ready-mixed paint, it’s tempting to offer the full spectrum of ready-made colours, however, this denies kids the opportunity to experiment, play and ultimately learn through the process of trial and error.
For this reason, our Arty Crafty Boxes and many of our projects focus on primary colours, with the addition of white and black.
This is to encourage Arty Crafty Kids to explore and develop their colour mixing skills.
And it’s always fun to challenge them to make as many colours as possible, as well as asking simple questions throughout the process:
- How much yellow and red do you need to make orange?
- How many shades of blue can you make?
- What happens when you mix all the colours together?
To access the template, sign up to our Arty Crafty Kids Club newsletter, and we’ll also keep you posted about other crafts and templates!
This template, and many others, is also available in our Arty Crafty Kids Club Members Area Sign Up Here
For more Christmas inspiration, check out:
- Santa with a bouncy curly beard
- TP Roll Christmas Elves
- Angel Paper Ornaments with a free downloadable template!
