Sharing is caring!
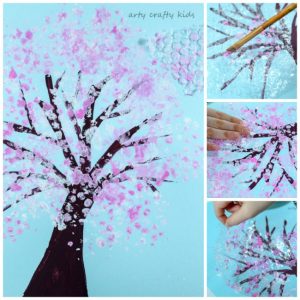
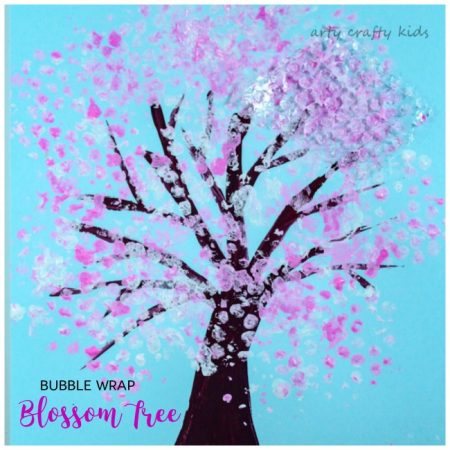
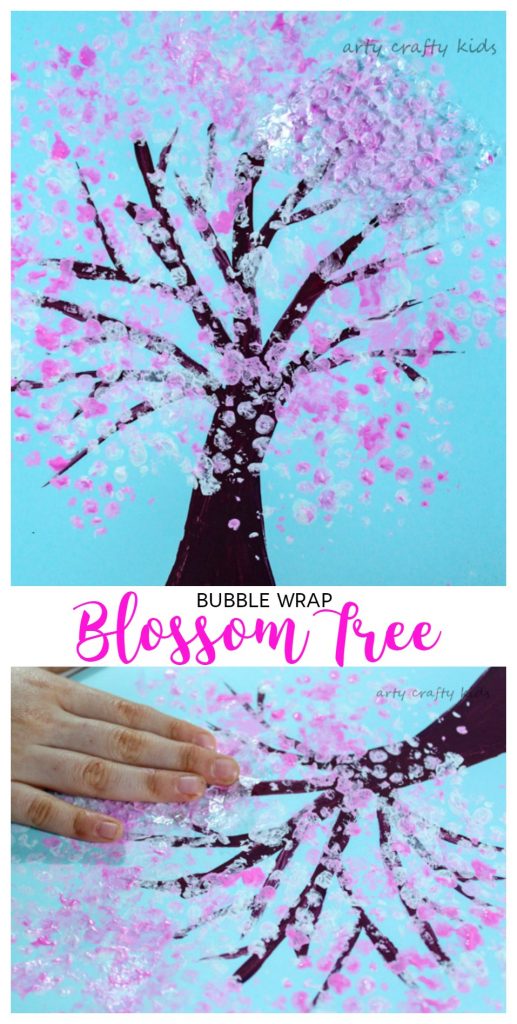
Bubble wrap is one of our favourite materials to craft with. It’s fun, dynamic (it’s also very cheap to buy or can be recycled from packaging), and combined with paint, the prints are fabulous! As you can see from our Bubble Wrap Spring Blossom Tree – it’s perfect for creating tree leaves and blossom!
Seasonal change is often a hot topic in my home. My kids are simply fascinated by the changing appearance of trees; so it’s not surprising that many of our art projects are inspired by trees as this is a great way to learn and interpret seasonal changes.
To recreate our Bubble Wrap Spring Blossom Tree at home, all you need is a few basic materials…
Bubble Wrap Spring Blossom Tree
This post contains affiliates
Supplies:
Stock Blue Card
Bubble Wrap
Pink and White Paint
Paintbrush
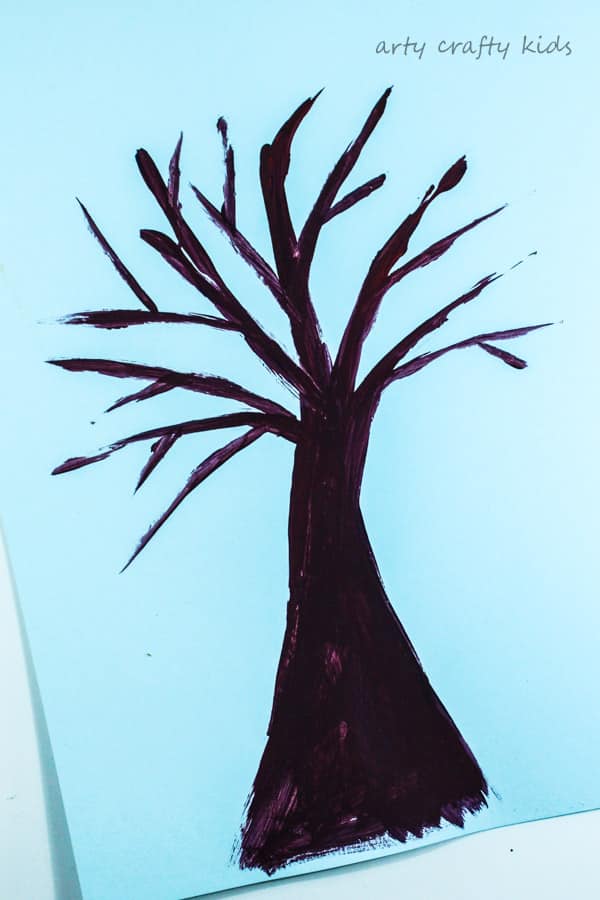
To get started, simply mix the paint to make brown and paint a basic tree shape.
Alternatively, try drawing around your child’s hand and arm to create a ‘handprint tree‘.
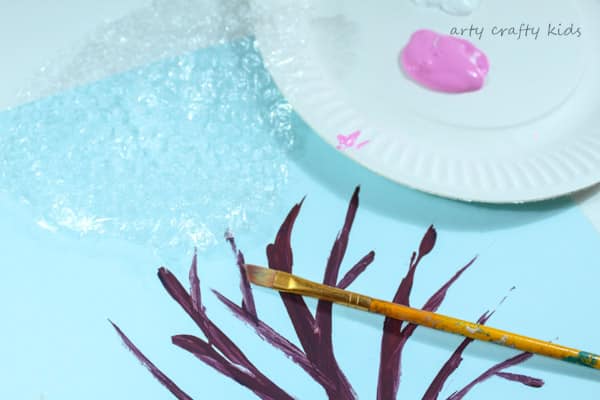
Cut out a small of bubble wrap.
Aim for an amount that will be suitable for your child’s hands – it will quite simply make it easier for them to use.
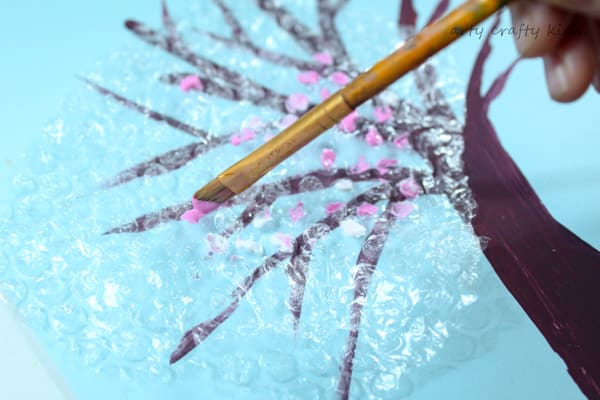
Using a paint brush, paint the individual bubbles with a mixture of white and pink paint.
This is a great activity for developing fine motor skills!
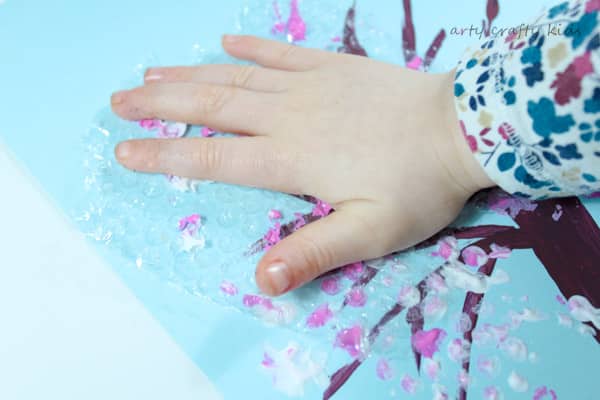
Turn the bubble wrap over, place it onto the tree and press down firmly.
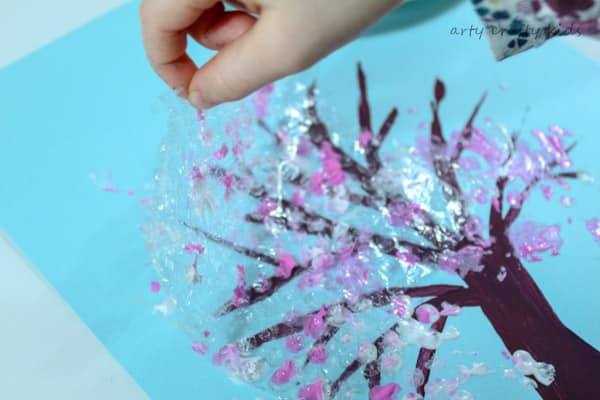
Remove the bubble wrap to reveal the print.
Repeat and layer until the tree is covered with blossom and ta-da, you’re arty crafty kid will be left with a gorgeous Bubble Wrap Spring Blossom Tree!
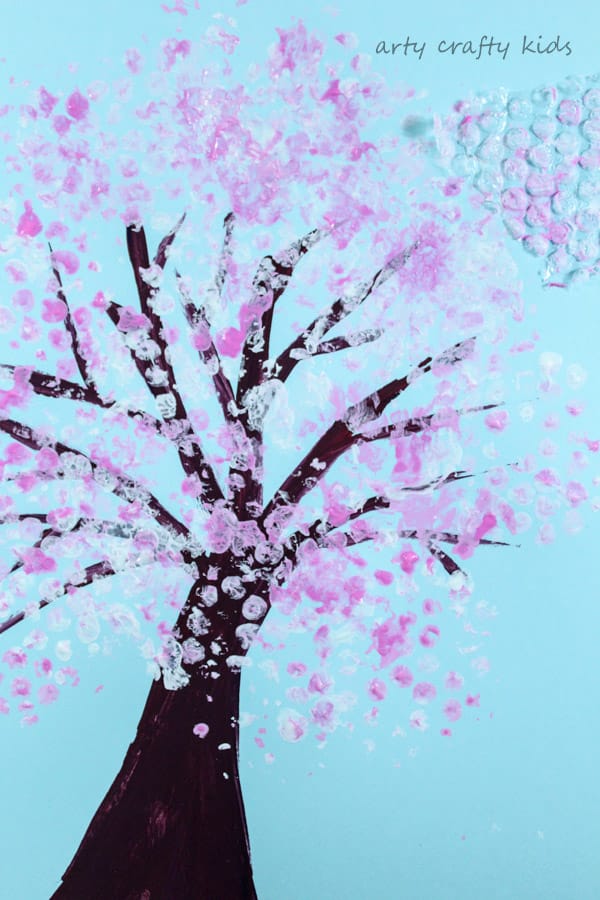
I hope the love it and have had a great time making their Blossom Tree!
For more Spring inspired activities, take a look at our Finger Print Blossom Tree, Rainbow Paper Plate and Easy Butterfly Art.
Pin for later!
Share on Facebook!
