Sharing is caring!
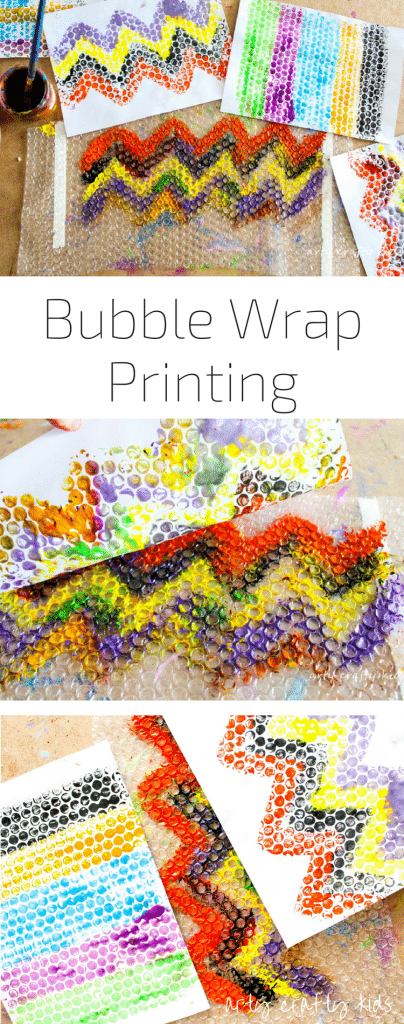
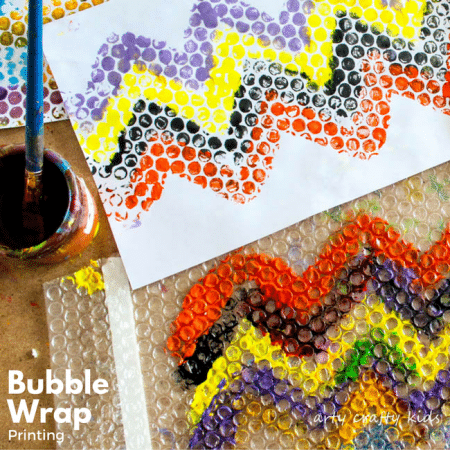
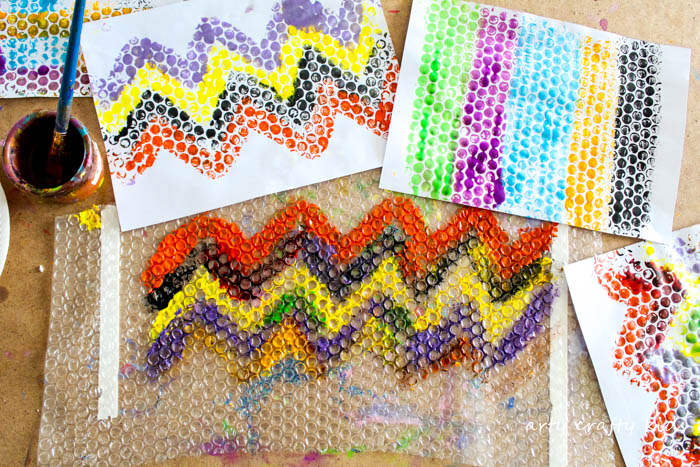
Bubble Wrap Printing is a fun and easy art process for kids, with endless possibilities.
Kids can play with colours and patterns to create frame worthy works of art or transform them into snakes, lizards, fish, collages or mosaics. They could be recycled as wrapping paper or used to decorate a plain notebook.
The process could be applied to create beautiful sunsets or underwater backdrops.
There really are no boundaries and with just a few materials and minimal prep, this is a great art idea for a rainy day or with a group of kids!
Shall we get started?
Bubble Wrap Printing
*This post contains affiliate links*
Paper / Stock Card
Paint
Bubble Wrap
Double Sided Sticky Tape
Scissors
To see bubble wrap printing in action, check out our nifty video and sign up to our new YouTube Channel!
[mv_video key=”qlyeuti8wq6hdtp13ppp”]
The one thing I can tell you is that once the kids get started with this process, they will not want to stop!
To make life easier, stick some double sided sticky tape onto a table. Once the kids have used up the bubble wrap and are ready to move onto the next piece, all you have to do is whip of the bubble wrap and stick the second piece onto the tape. This will make the change over so much easier as the tape can be reused time and time again until the kiddies have finished.
Next, add paint.
As you will see from the video, my daughter and I had two different approaches, and that’s the beauty of this process – there is no right or wrong, kids are free to explore, play and experiment.
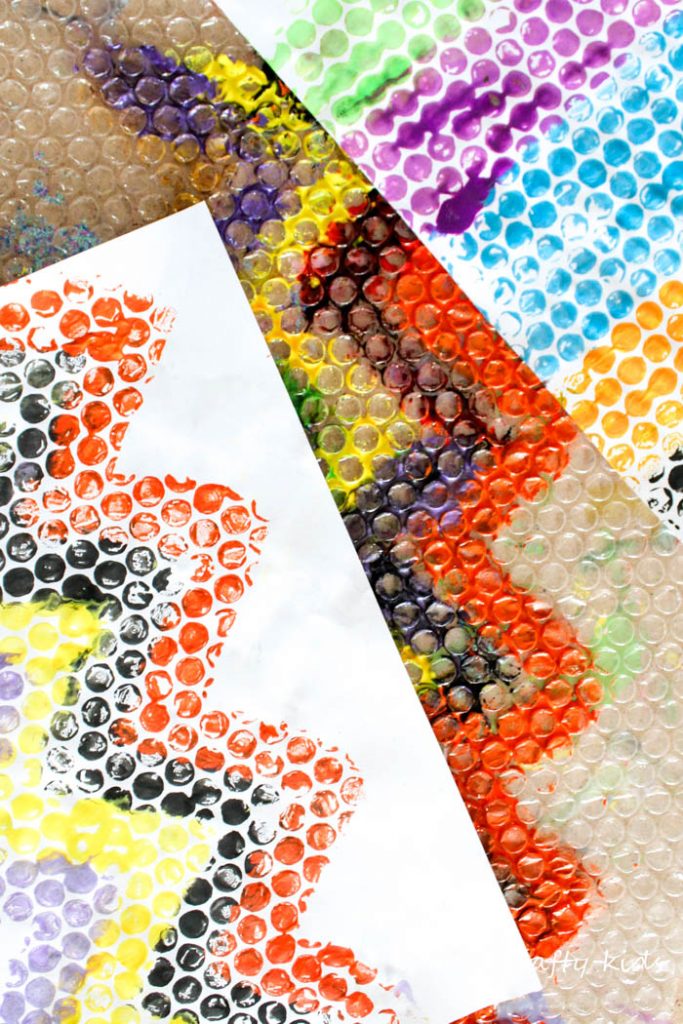
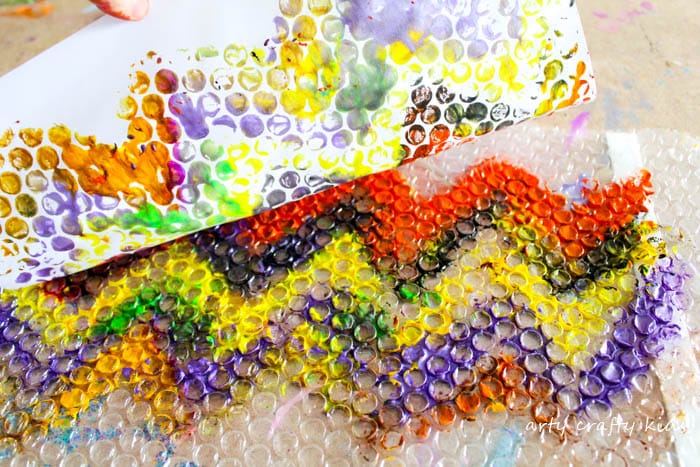
However your child chooses to apply the paint, once the bubble wrap is sufficiently covered, place the paper on top of the bubble wrap and gentle press down until you see the ‘bubble’ shadows appear through the paper.
Gently peel the paper away, leave to dry and admire the gorgeous prints!
I hope you enjoy this simple bubble wrap and for more bubble wrap art ideas, take a look at our bubble wrap stamps and mess-free bubble wrap art.
Pin for Later!
